


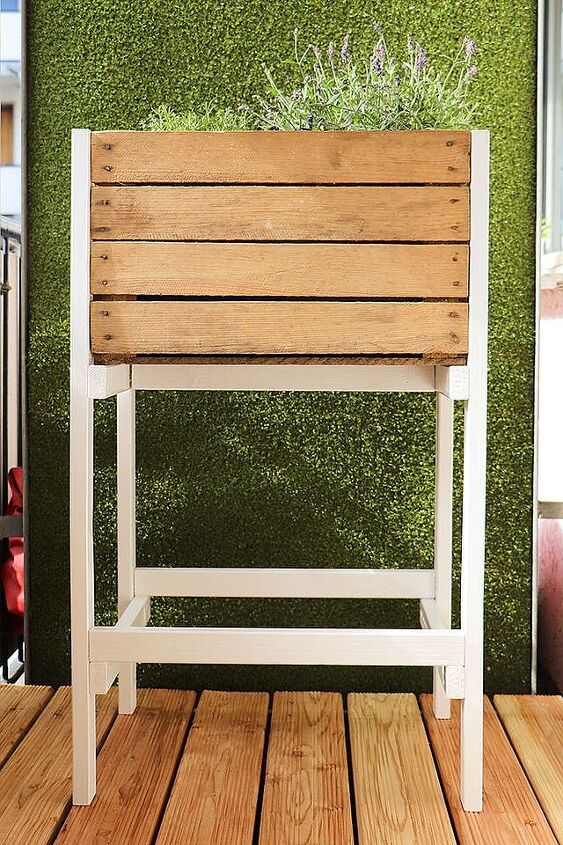
Build a Mini Raised Bed From a Fruit Crate
If you don’t have a garden and have little space, you don’t have to do without fresh herbs and home-grown vegetables. Mini raised beds for balconies or patios can be built from fruit boxes.
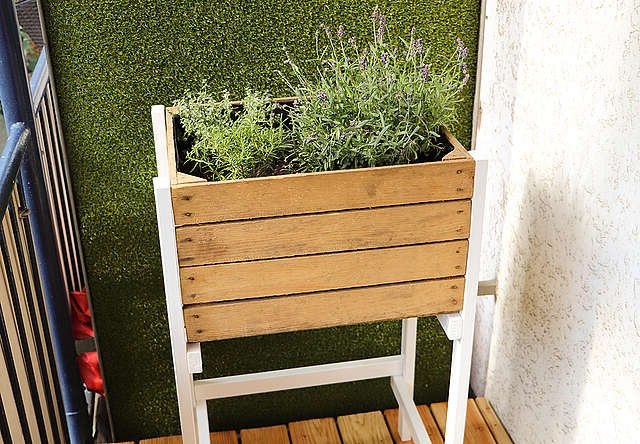
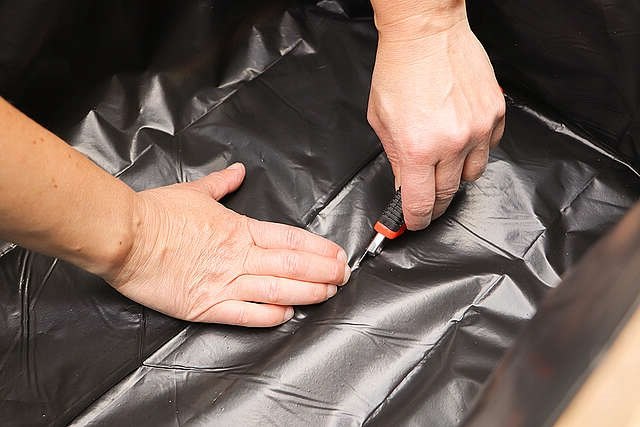
When choosing the plants, you should consider the location of the mini raised bed – depending on whether it is sunny, in the shade or in partial shade. In principle, plants that do not have too deep roots such as salads, strawberries and herbs are suitable for planting the fruit boxes. But also Swiss chard, garlic, baby carrots, tomatoes and radishes feel at home in this environment. To avoid waterlogging, you should make sure that the water can drain off. Therefore, provide the fruit boxes with drainage holes – if the container does not have any yet – and cut the foil between the floor boards in three to four places. A drainage layer is also useful.
What you need:
- Fruit crate; here with the dimensions 50 x 30 x 40 cm (W x H x D)
- 8 m wooden slats made of spruce / fir, planed 24 x 44 mm
- Water-permeable plastic fabric or stable film
- Wood screws 3.5 x 35 mm
- Paint for the outside in white
- Folding rule, pencil
- Saw, clamp
- Sanding block with 150 grit sandpaper
- Cordless sander with 150 and 180 grit sandpaper
- Cordless drill with 3 mm wood drill bit
- Scissors, craft knife
- Tacker with 8 mm staples
- Brush, paint roller, if necessary paint tray
- Wooden blocks, foil, paper to lay out
Materials for the planting:
- Expanded clay
- Potting soil
- Weed fleece 40 x 50 cm or cotton kitchen towel
- Herbs, vegetables, flowers
- Planting trowel
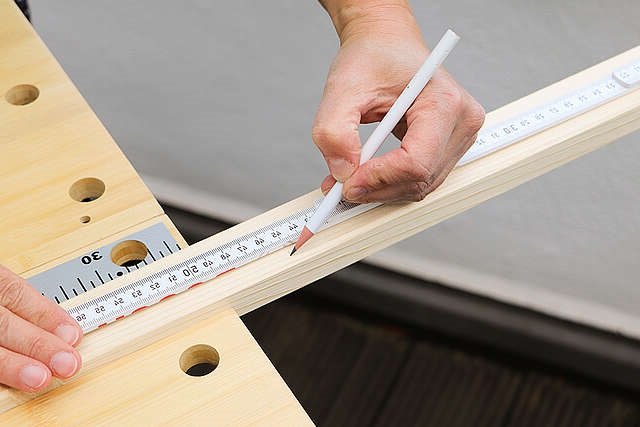
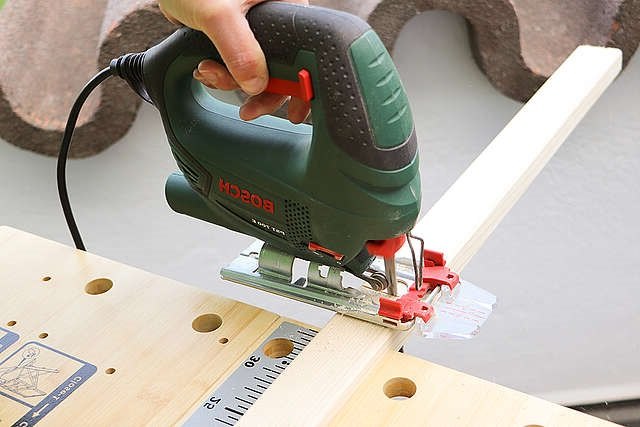
First cut the required wood with the saw:
- 4 upright: each 90 cm long
- 2 crossbars – width of the box: 50 cm
- 4 slats – depth of the box: 40 cm
- 1 support batten under the box: 45.2 cm
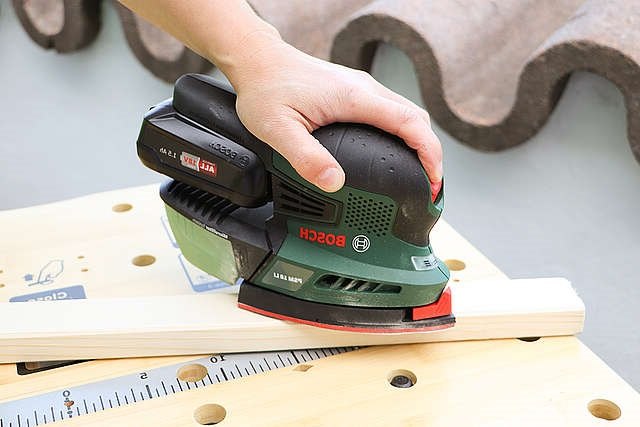
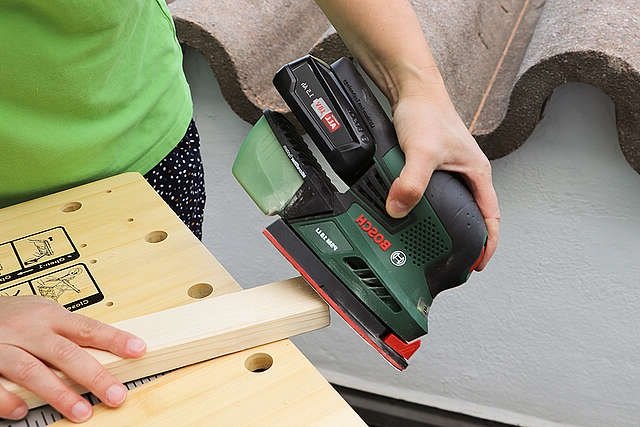
Mark the lengths on the wooden slats. Then saw to size and sand the surfaces and the sawed edges smooth. Remove dust.

After 24 hours of drying time, you can connect the frame with screws. Carefully mark the screw holes and pre-drill with a 3 mm wood drill bit.
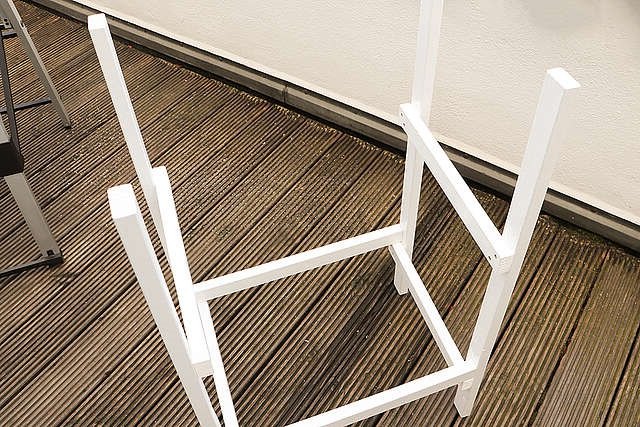
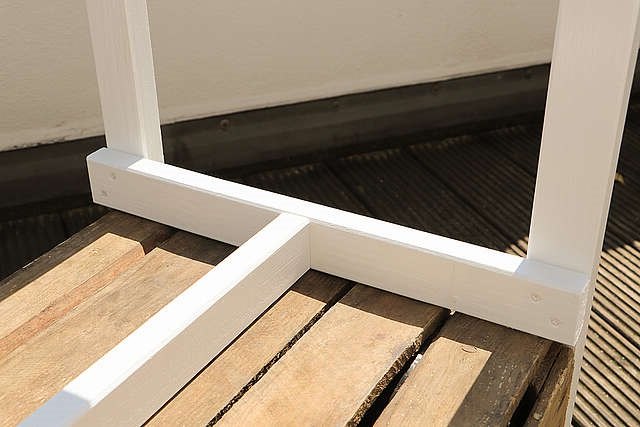
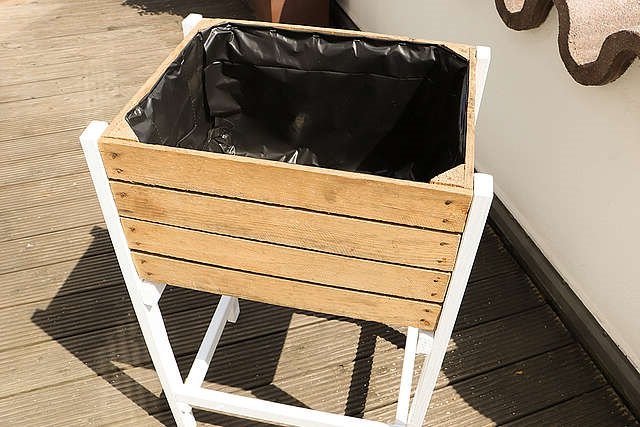
Then you start with the two side parts by screwing the 40 centimeter long slats to the upright ones. Then you connect the side parts with the crossbars (dimensions, see drawing). Pay attention to right angles. Thanks to the support bar, you can simply place the box in the frame – it doesn’t necessarily have to be screwed on.
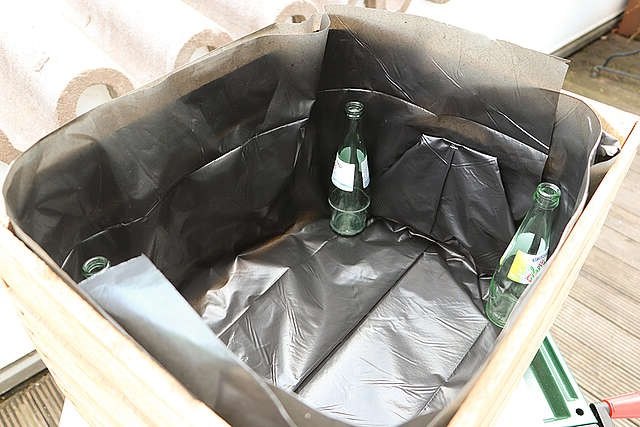
Then you put the foil in the box and press it into the corners.
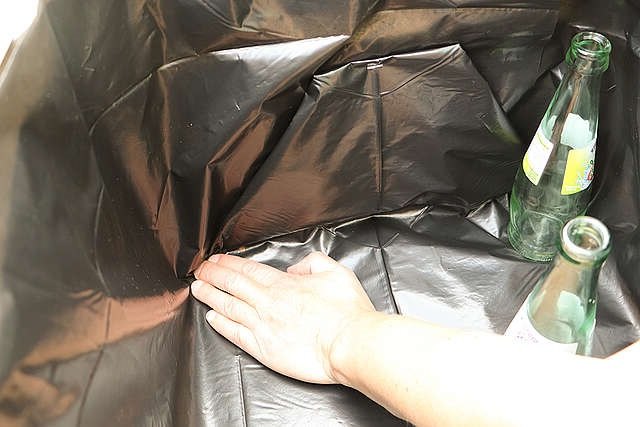
Make sure that the foil protrudes about an inch over the edge on all sides. Then fold the overlapping film inside the box in the corners as you would when wrapping gifts.
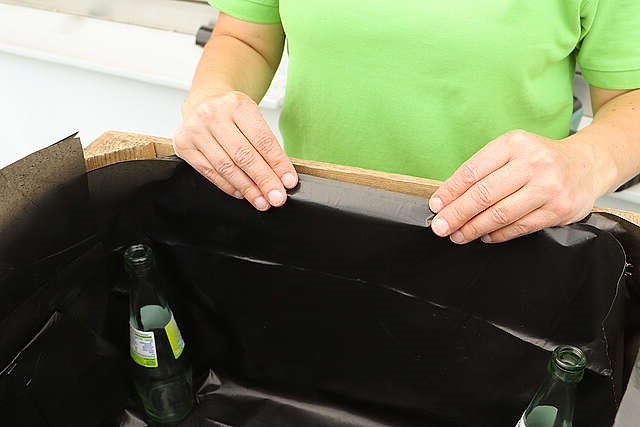
For example, place stones or bottles in the corners so that the film does not slip. Then fold in the protruding film and staple approx. 1.4 cm from the upper edge on the inside.
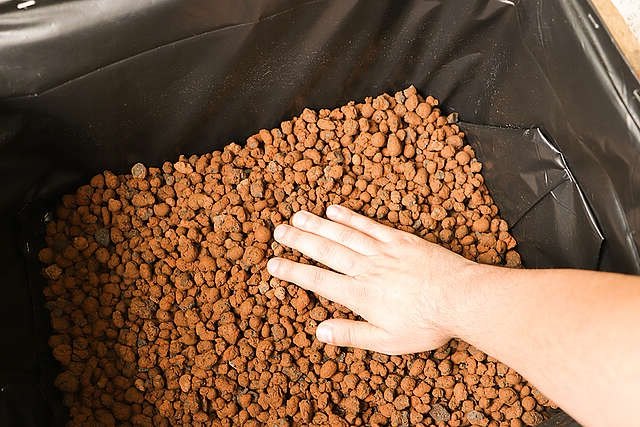
First, fill the expanded clay drainage layer into the box.
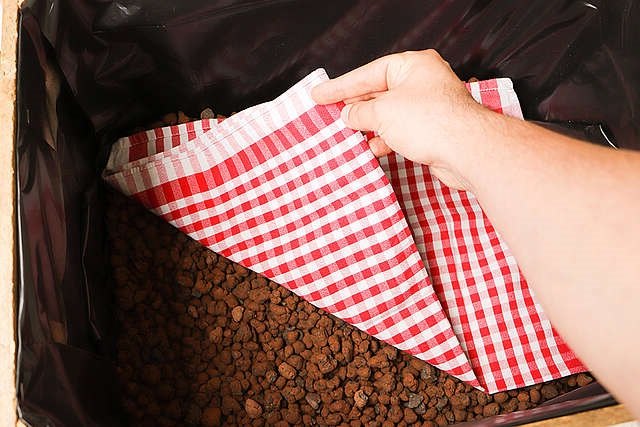
To prevent the potting soil trickling into it, cover the clay with a piece of weed fleece or an old kitchen towel.
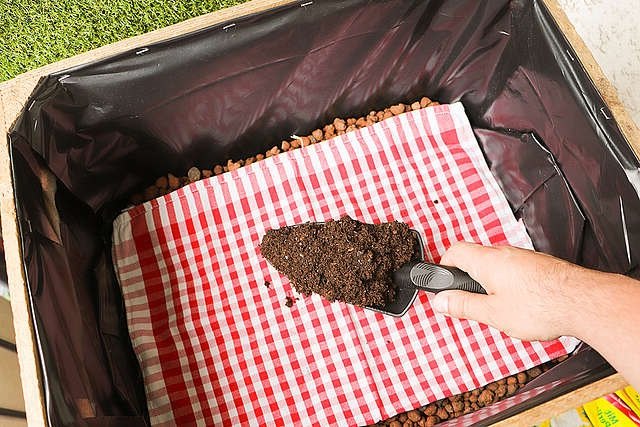
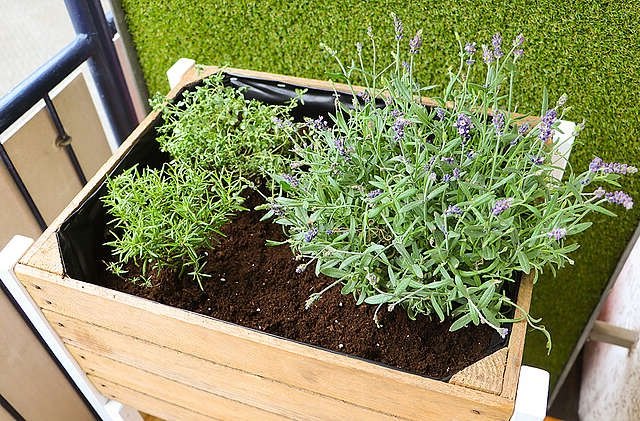
Now you can fill in the soil and plant the box with herbs or vegetables.
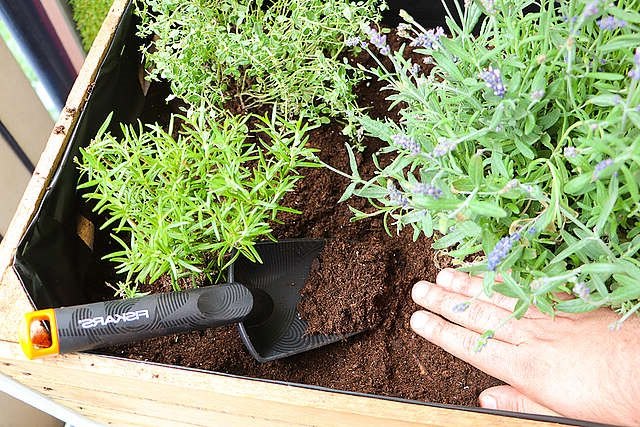
Now water the plants nicely – done!
Resources for this project:
See all materials


Comments
Join the conversation
-
Great idea, thank you for sharing :)
-
Good idea but misleading with kitchen towel as focal point Lol


Frequently asked questions
Have a question about this project?
Great project, I’d love to do this. But I’ve never heard of “foil paper”? Can you enlighten me?