


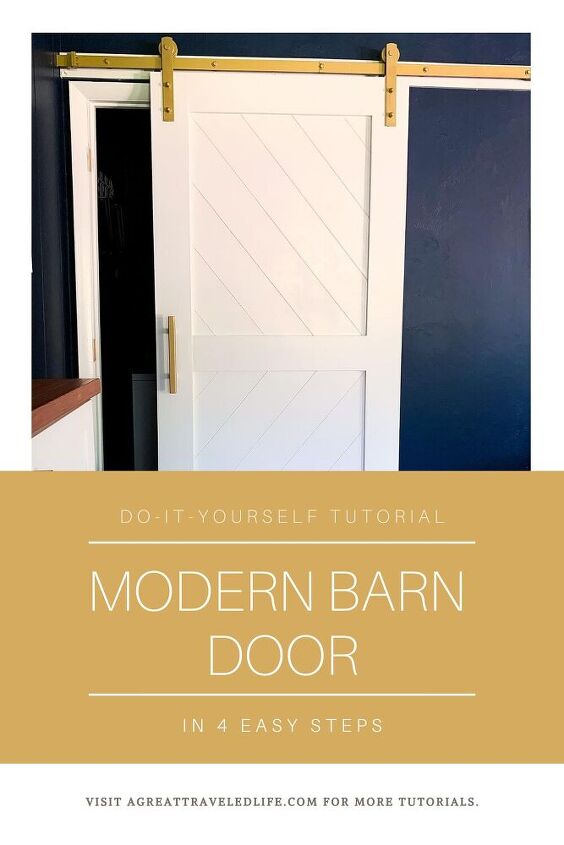
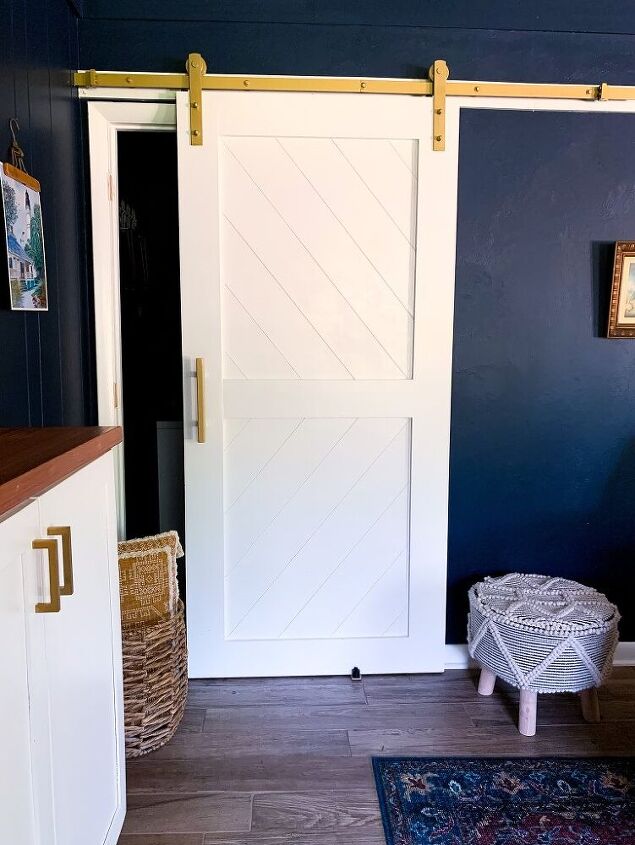
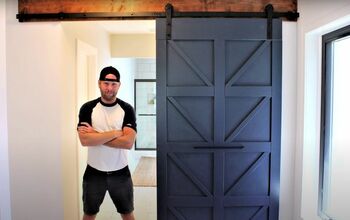
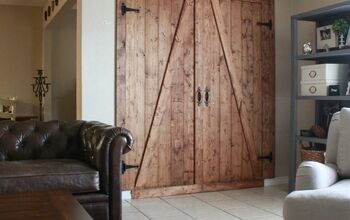
DIY Modern Barn Door in Four Easy Steps

For the longest time I’ve wanted a barn door in my house but I was only finding rustic barn doors or farmhouse style doors, which are beautiful, but are just not my style. So I decided to design and build a barn door myself to fit my modern aesthetic, my budget, the space, and I absolutely love how it turned out.
I have NEVER built a barn door before nor did I really even know where to start! So, I found inspirations and I researched ways that barns doors have been built by other DIY’ers. Knowing my skill set and the tools I had available to me, I was able to construct a unique custom barn door! Follow along and I am going to show you what worked for me!!! If you'd like to read more on how to make your own modern barn door, click on over to my blog from the link below to find the full Supply and Materials List!
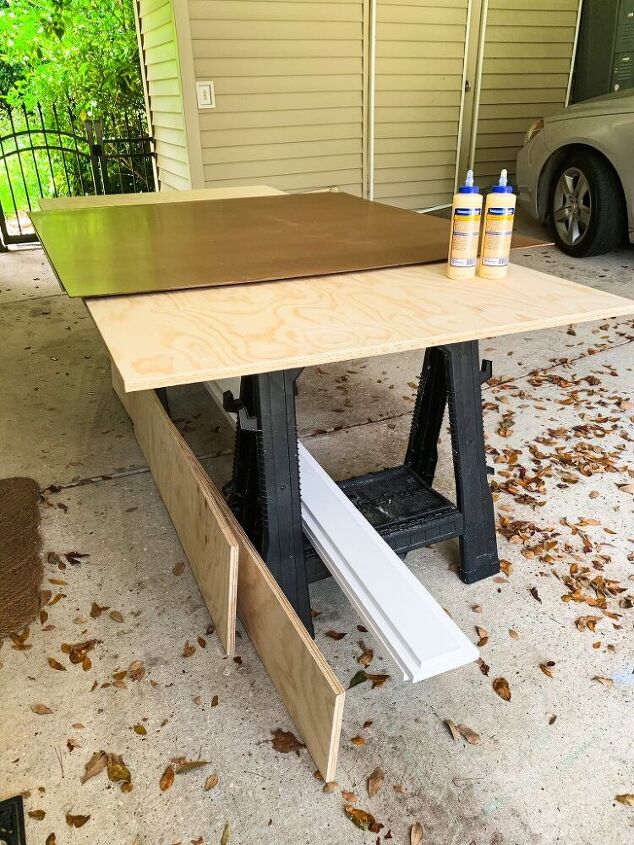
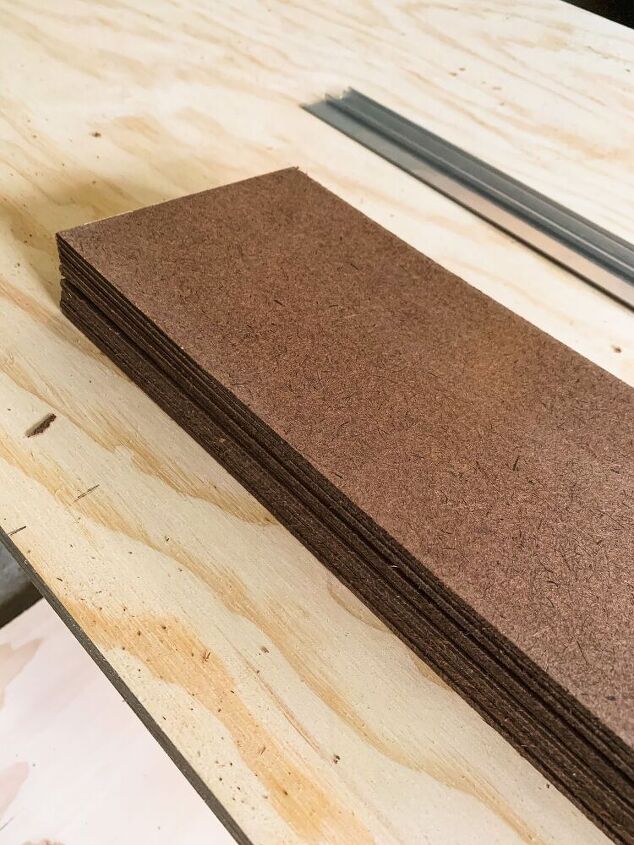
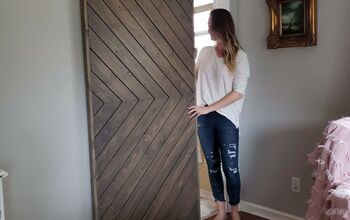
This door has three easy to use layers. I started with a plywood base (cut to the size of your door),for the center angled panels I used Eucaboard cut into 6" strips, and I finished the door with 1x4" pre-primed trim boards.
What’s Behind Door Number One?
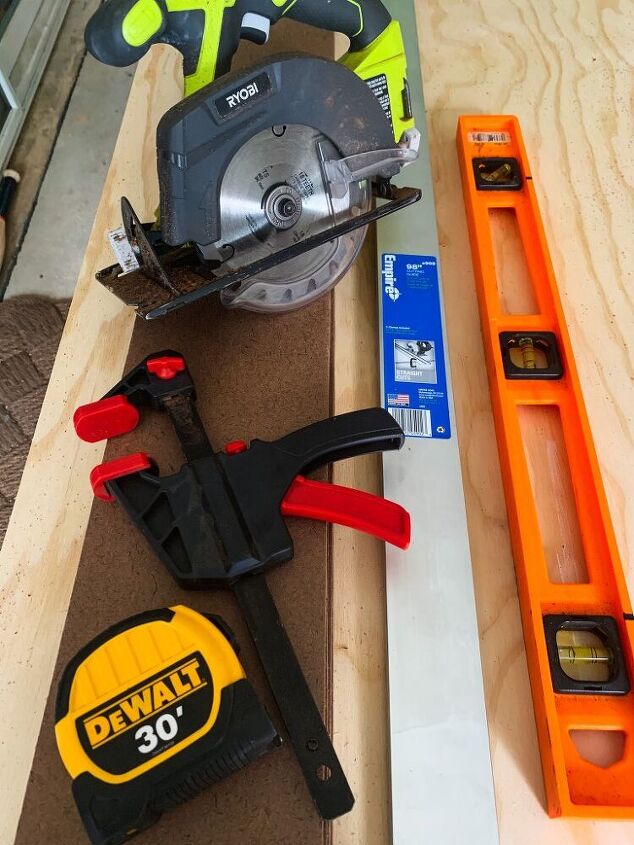
The first step in creating our Modern Barn Door is to cut the plywood to size. I used a sturdy 3/4″ plywood for this project. {Please note that ALL door openings will be different. Please measure and cut your pieces to fit YOUR DOOR.}
Did we Make the Cut?
Now it's time to cut and assemble the middle layer to achieve the angled panel effect. I chose to cut 6" panels using Eucaboard as my base. It was inexpensive, easy to manipulate, and it had a smooth surface that I was looking for .
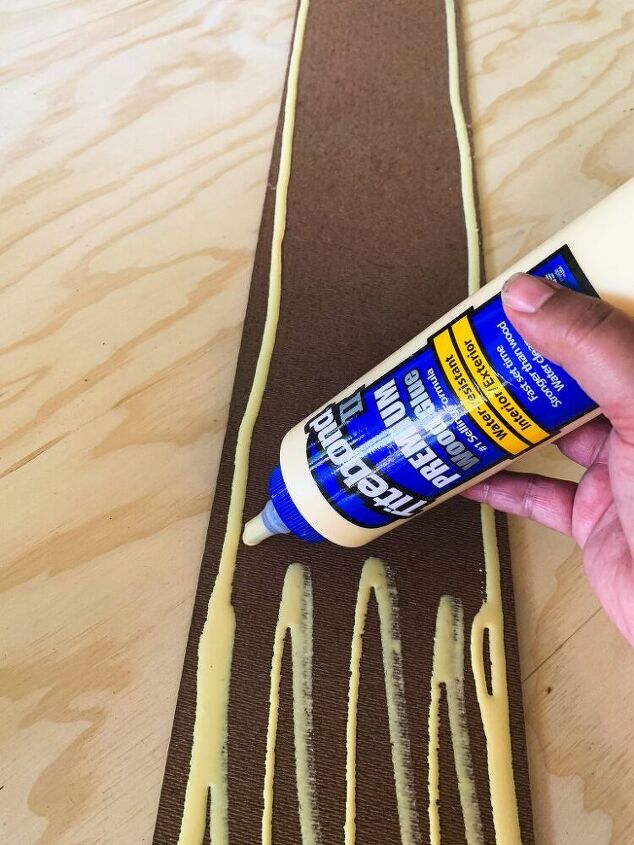
Using a Premium Wood Glue, glue your boards to the plywood in the pattern of your choosing. Check out my blog post for further instructions on how I created my angular pattern and for my biggest game changing tip.

Trim, Trim, and more Trim
I consider this the most crucial step in making this rectangle piece of plywood look like an actual barn door. In this step I suggest you prime the panels before adding the trim pieces. For the trim layer I chose to use pre-primed boards to help me save an extra step. I then measured out my boards and cut them to size. Using my nail gun I secured the trim pieces in place.
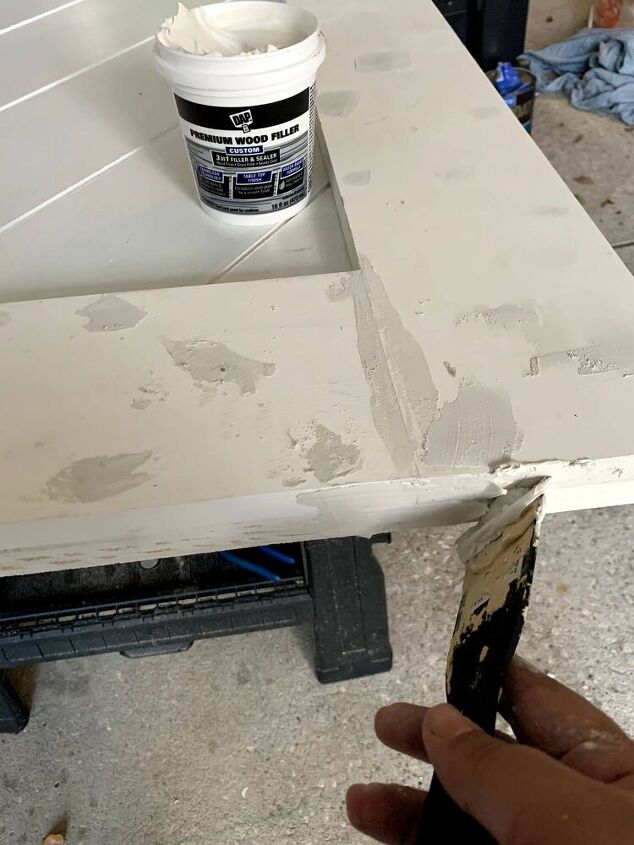
To finish the door I chose to use a Premium Wood Filler to help hide those imperfections and to fill in my nail holes. Once the compound is dry I used a 120 grit sand paper to smooth down all the edges. Check out my blog post to see what step I HATED the most!!!
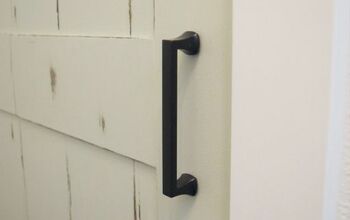
The Crowning Jewels
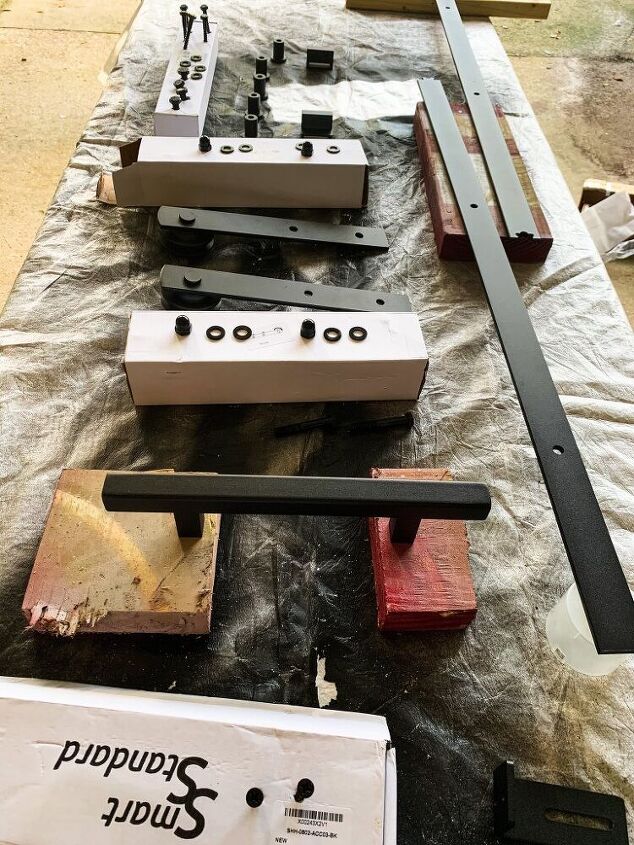
I purchased a Barn Door Hanging Kit from Amazon but it only came in black. I spray painted it using Rust-o-leum Pure Gold and it turned out better than expected. I also was very pleased with this Amazon purchase! I was consistently finding sets that were $150+ and that just wasn’t in my wheel house until I came across this kit that was under $50 (including the handle)! You won't believe what these pieces look like AFTER!


Frequently asked questions
Have a question about this project?
The door is fantastic! How well is the gold paint holding up with the friction of the rollers?
How well is the gold paint holding up with the friction of the rollers moving?
Great looking door! How long is 1x4 board? And what size screws did you use to install it?