


Easy DIY Sliding Barn Door With Mirrored Glass
Want to see the full post, more renovations, or product links from this post?! Find them all on the Southern Yankee DIY blog here!

Have you ever started with a small simple idea & then it just starts spiraling into something much more amazing?!
Cue these DIY sliding barn doors!
We have been knee deep in our master bedroom renovation & we are finally seeing the light.
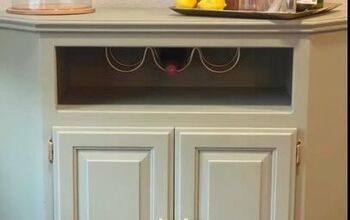
Remember where we started:
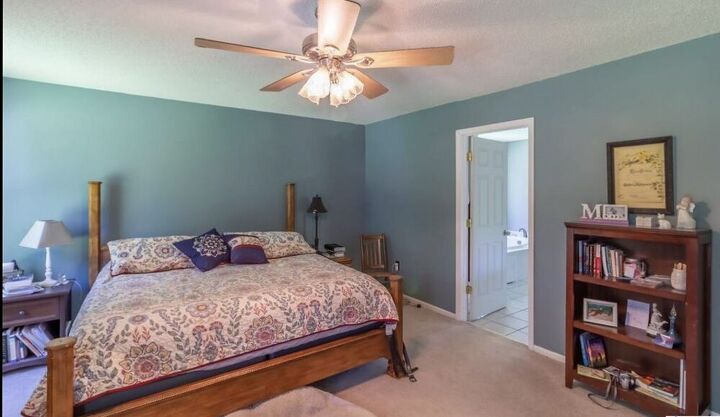
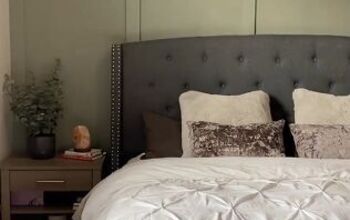
It’s been a process but we have made some amazing progress:
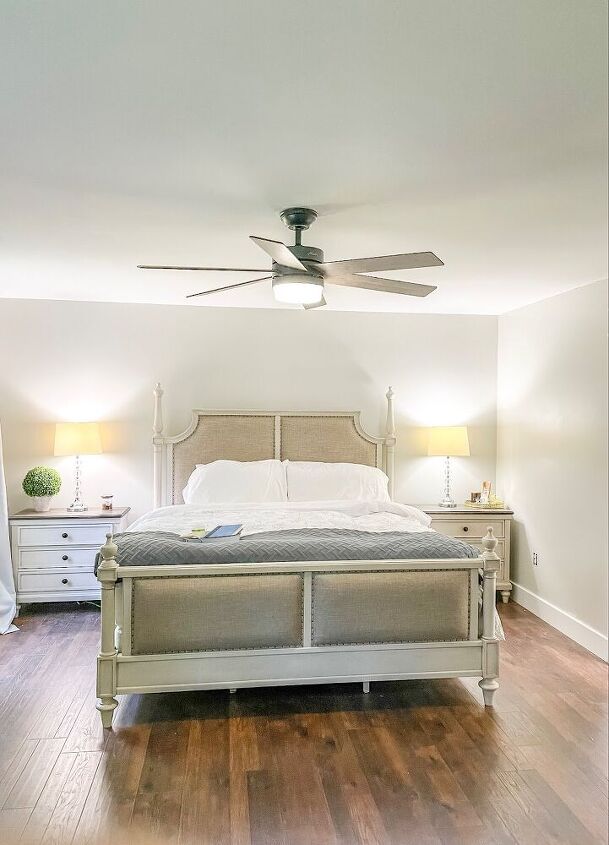
The space already feels so much bigger & brighter. Especially after removing that closet wall & turning it into a little open office.
When we were demoing the space we removed the bathroom door & reframed in the opening with hopes of adding a sliding barn door in the future.
Well the future turned out to be immediately after the initial makeover because I can’t leave a space unfinished. It’s just not in me y’all!
So here’s how I made 2 sliding barn doors the easy way!
Supplies:
- Hollow Core Door Slab
- Sliding Barn Door Hardware
- (4) 1 x 4 pine boards
- (1) 1 x 6 pine board
- (1) 1 x 8 pine board
- Square trim pieces
- Mirrored glass
- Loctite Adhesive
- Wood Glue
- Caulk
- Paint
Procedure:
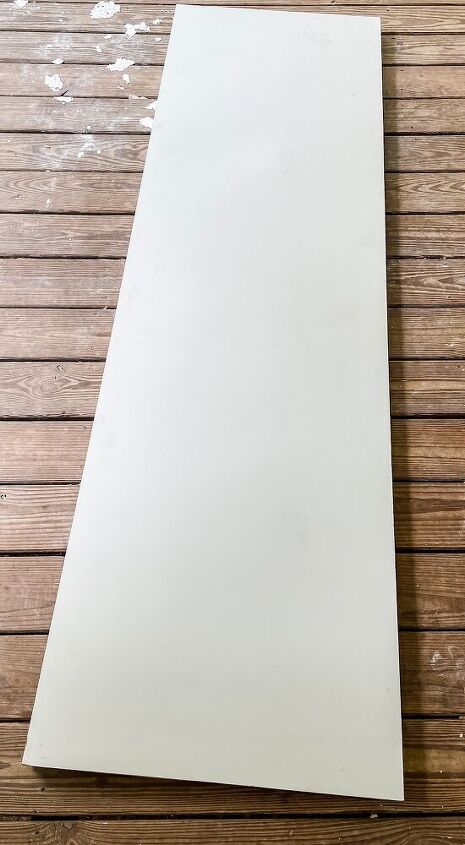
- For our sliding barn doors I started with plain hollow core doors from Home Depot.
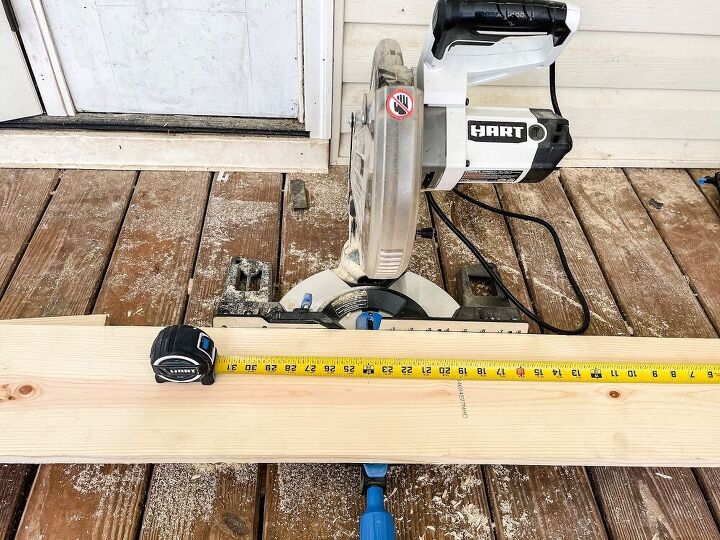
- I measured the width of the door & started by cutting the 1×8 & 1×6 to that length.
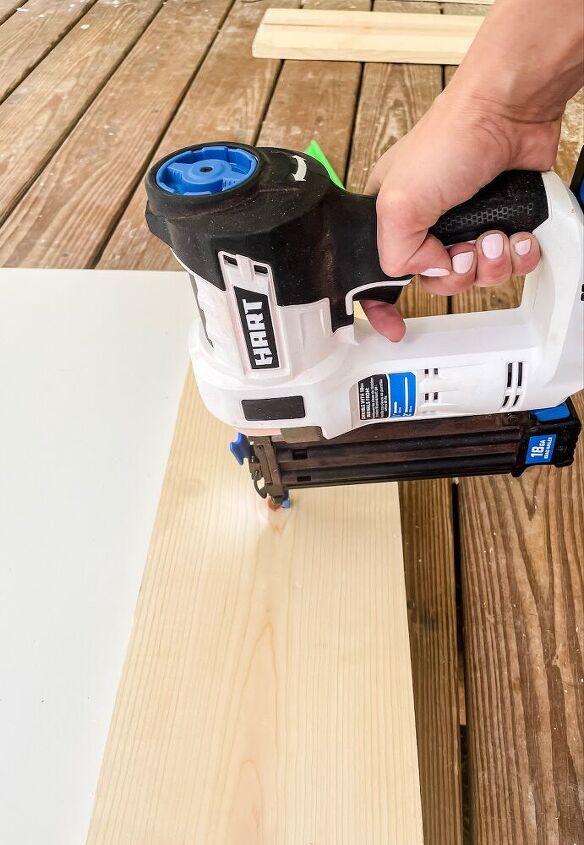
- Attach the 1×8 to the bottom of the door & the 1x 6 to the top using finishing nails & wood glue.
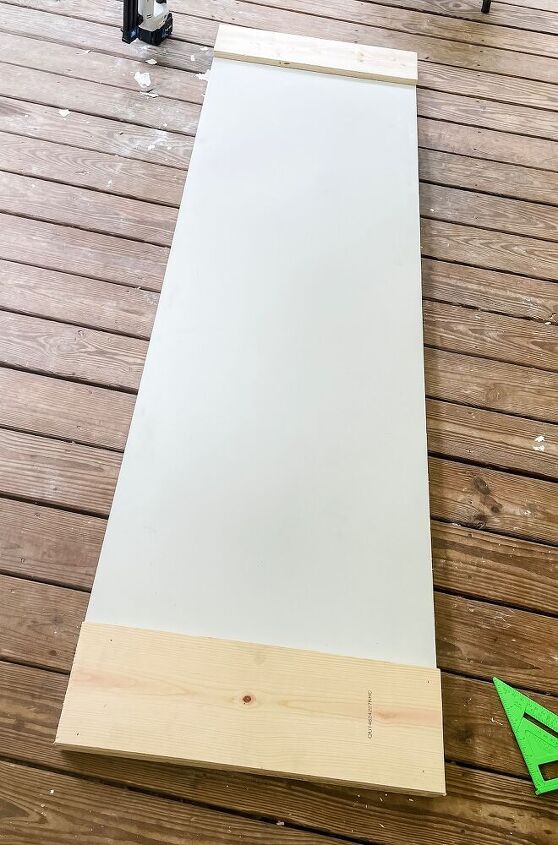
This is how the door should look so far!
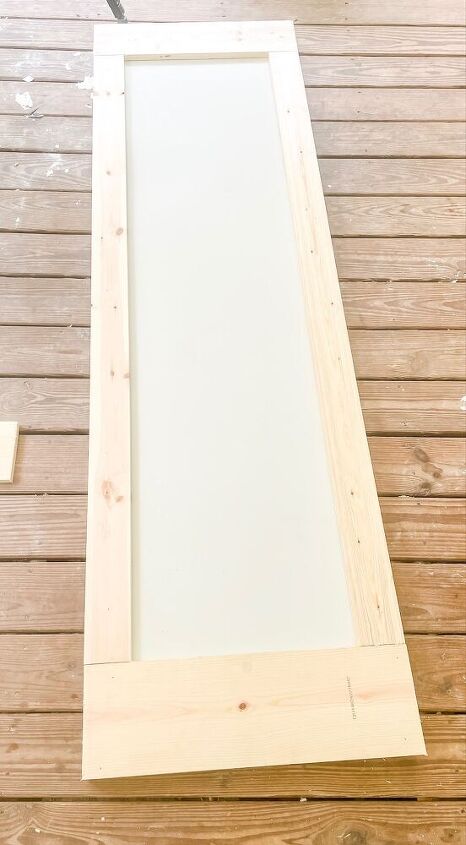
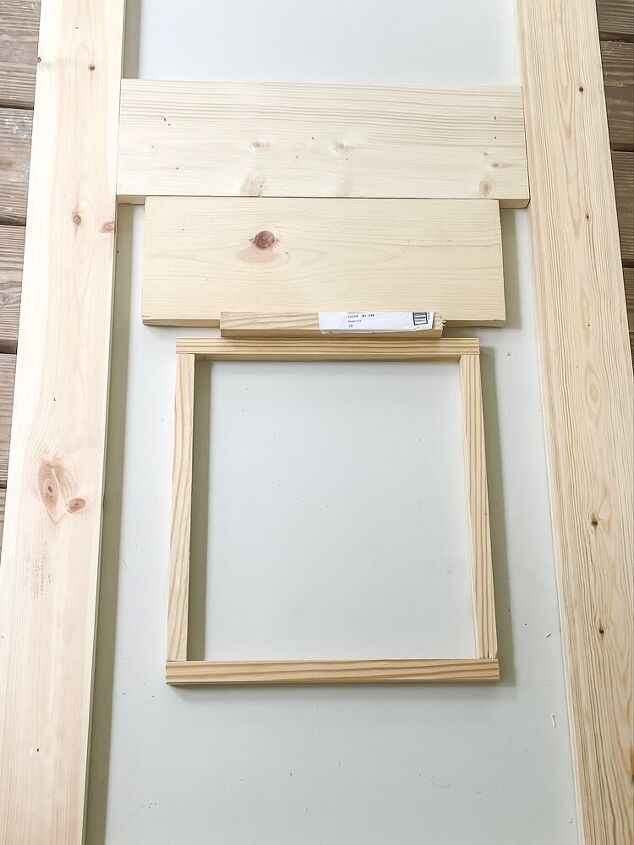
- Next, measure & cut the 1×4 pieces & attach them to the sides of the door with nails & wood glue.
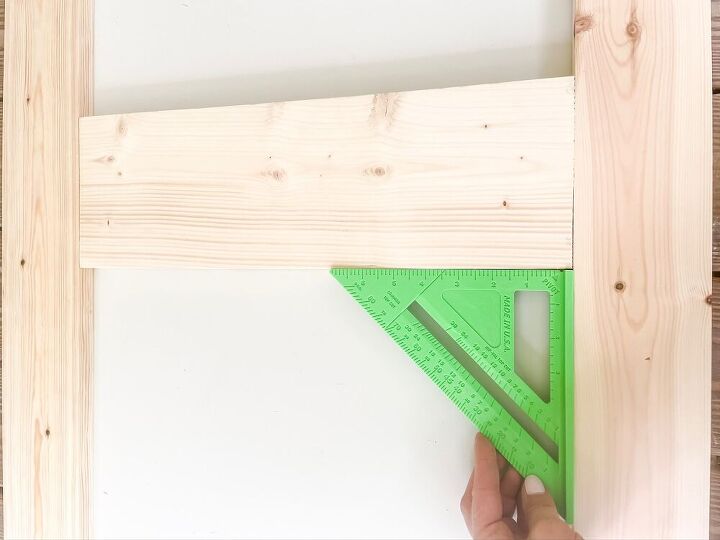
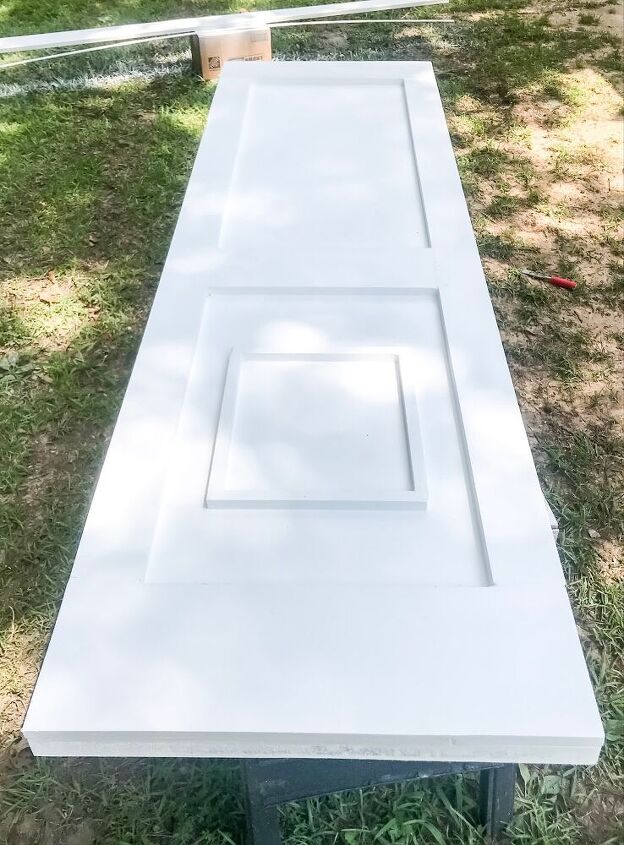
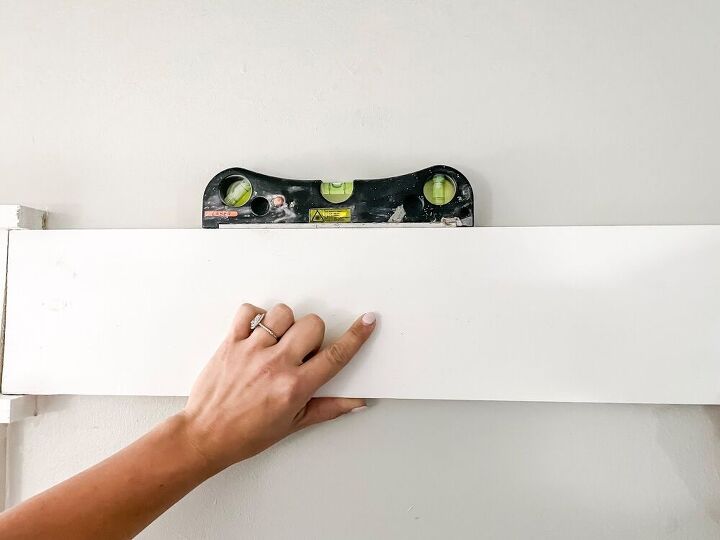
- Once the top, bottom, & sides are in place, measure & cut a 1×6 to fit in between the side pieces. Use a square to make sure it is in position.
- This piece is not in the center of the door, it is inches from the top.
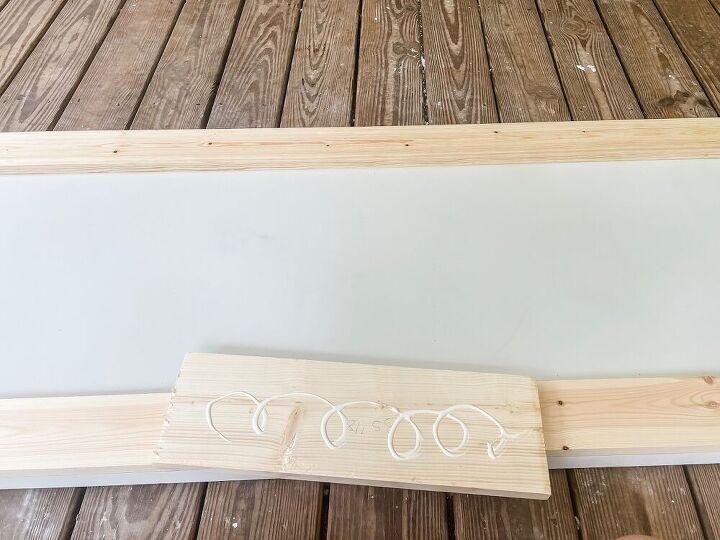
- I used trim pieces to add a fun detail to the bottom portion of the door. This is completely optional but I felt like the barn door was missing something without this detail.
Scrap wood is great for spacing the trim detail easily

- Once the door is trimmed on, fill all the nail holes & seams.
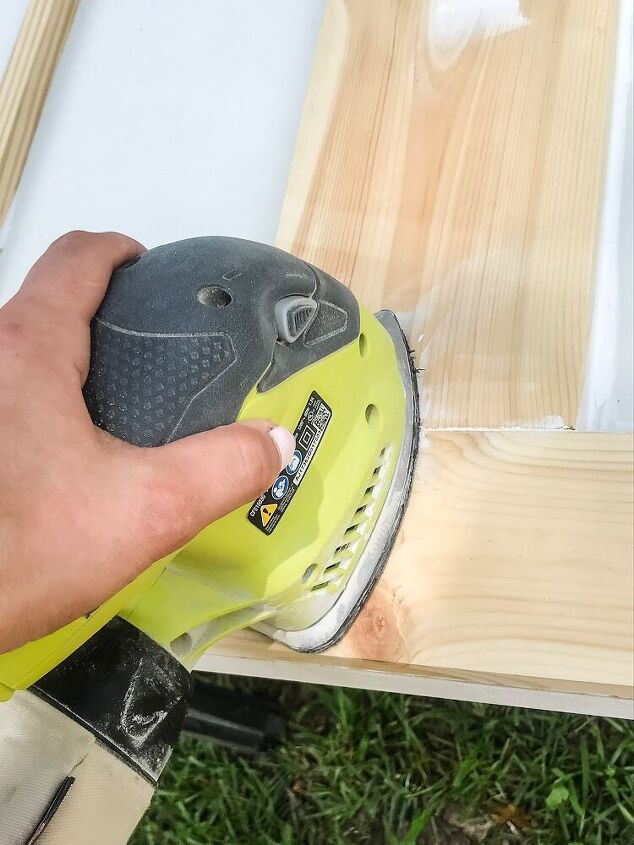
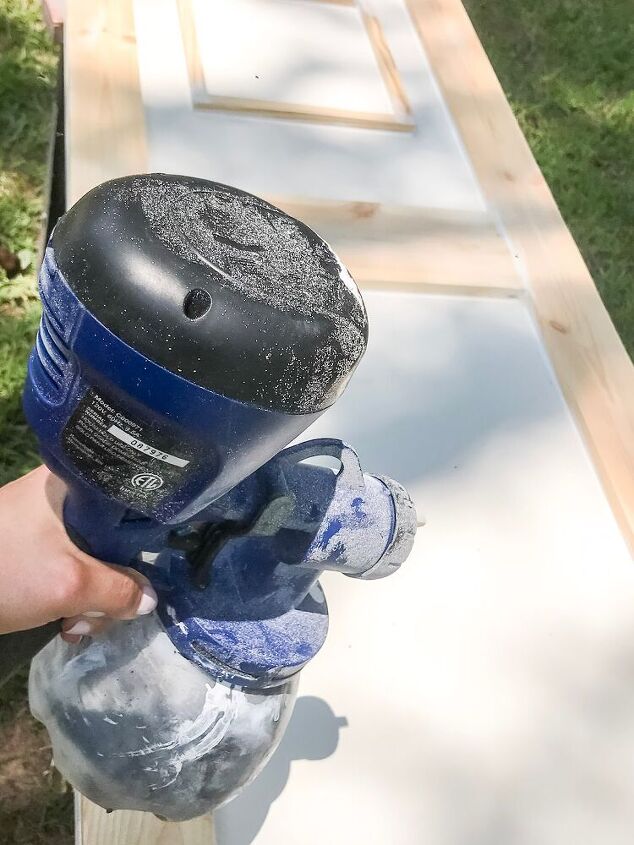
- After the filler is dry, sand the entire door with 220 grit sandpaper. If you don’t have an electric sander now is the time to add it to the Amazon cart!
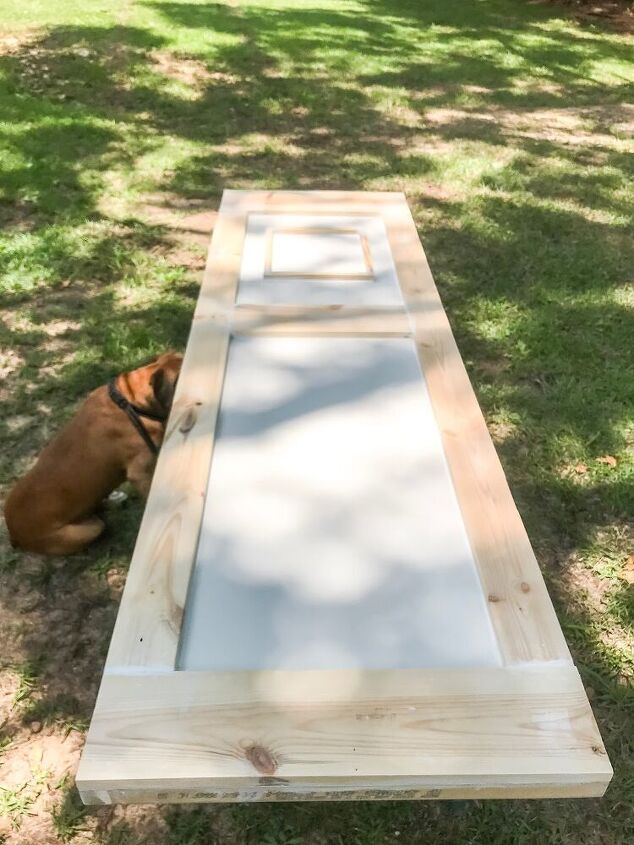
Here is how the door should look so far, plus my sweet helper!
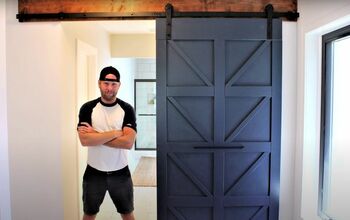
10. Choosing the color for the door was hard because I was torn between going super dark or matching the trim & door frame. I went with matching & painted them Pure White by Sherwin Williams in a semi gloss finish.
The door is definitely already looking ooh la la but we aren’t done yet!
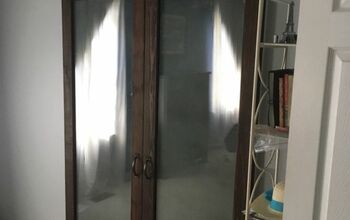
Adding Mirrors
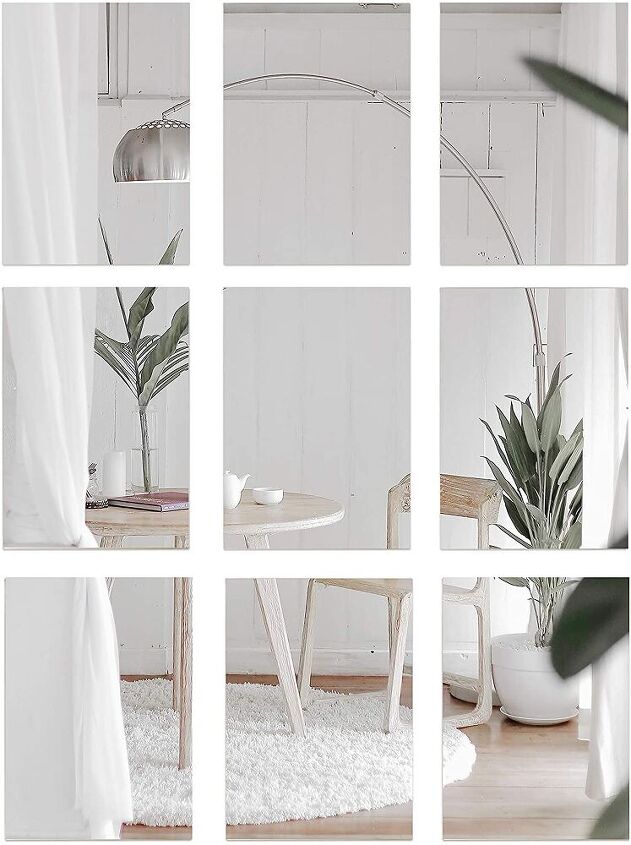
11. I really wanted the faux french door type window look for these sliding barn doors so I scoured Amazon & found these mirror piece sets. They were pretty cheap & really good quality!
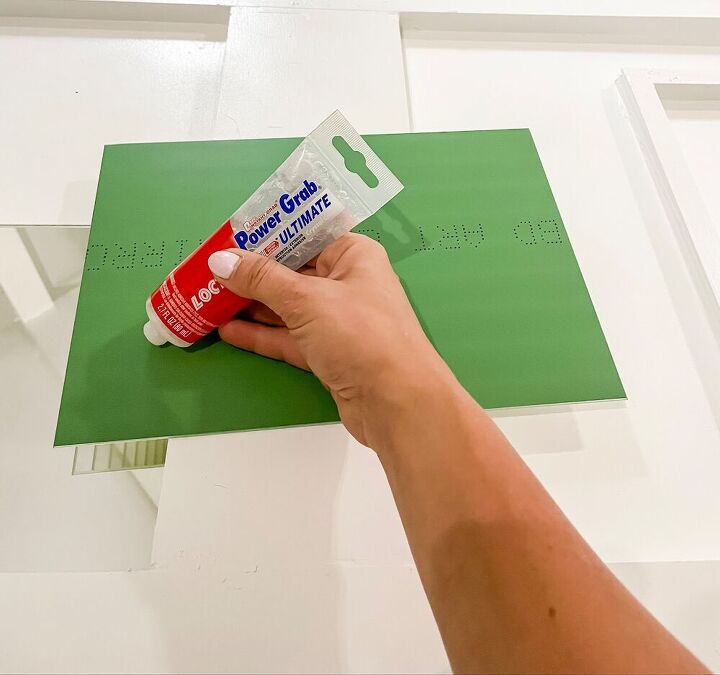
12. The mirrors come with adhesive strips but I ended up using Loctite Power Grab glue to attach them to the door.
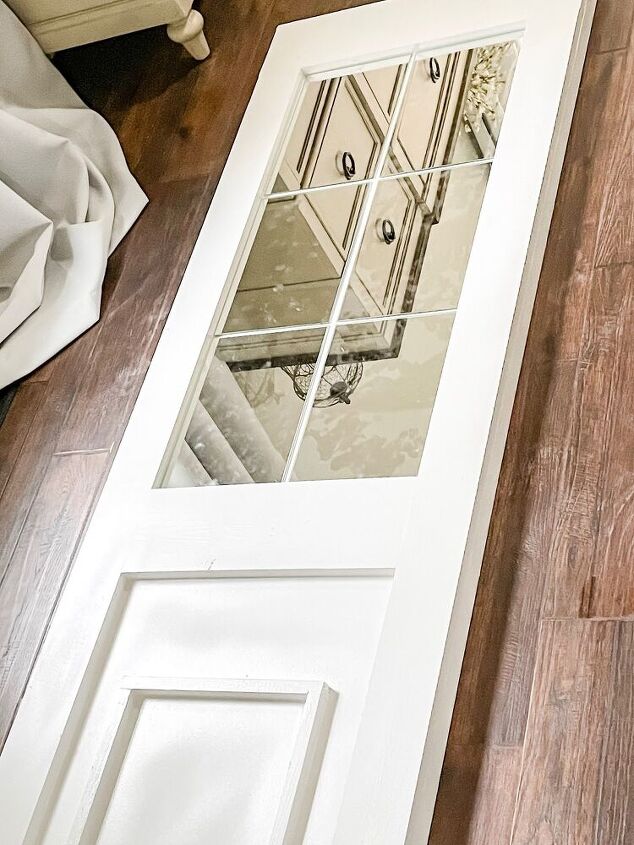
Ahhh I am already big puffy heart in love with this look!
13. As a finishing touch I added trim pieces in between the mirrors. Attach them with wood glue.
BIG TIP: Paint the trim front & back before attaching them to the mirrors
14. To attach the barn door hardware track I needed to add a 1×6 to the existing door trim. If you don’t have trim above the door you can skip this step.
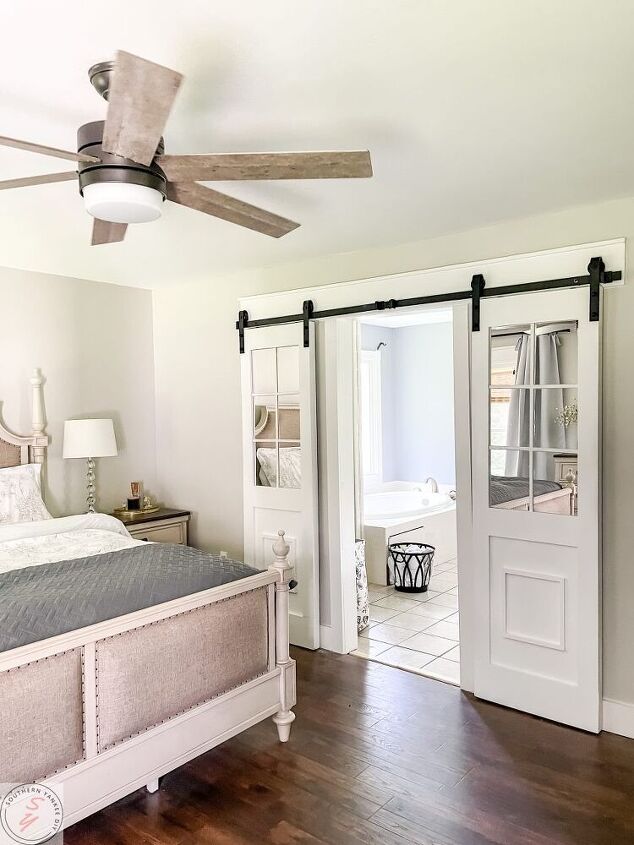
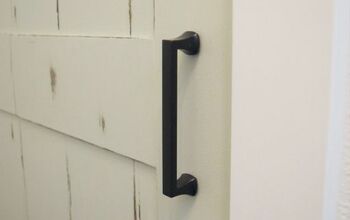
15. Finally, install the sliding barn door hardware according to the directions & hang those gorgeous doors up!
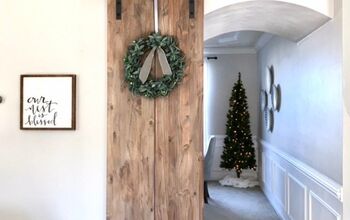
Y’all, I am so in love with these doors! They are exactly what I pictured in my head & that rarely happens 😉
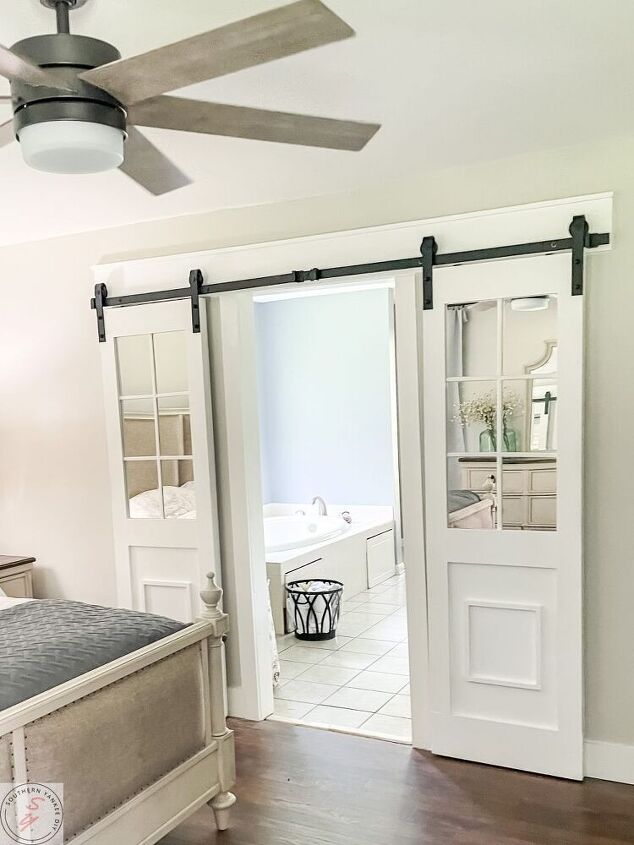
The mirrors make the room look larger & brighter which are obviously both qualities this room needs!
These DIY sliding barn doors were so simple to make & add a finishing touch to the space.
All that’s left on this rooms to do list is:
- Built-in bookcase in the office nook
With so many other rooms to complete in our fixer upper farmhouse I think I’ll be saving that task for after the walk-in closet renovation, but who knows, I might start tomorrow!
It’s all apart of the creative process & also a little bit of my ADHD sprinkled in 😉
Resources for this project:
See all materials


Comments
Join the conversation
-
You did not show the doors closed. A query... is it because they are just decorative and not functional closing doors. I am particularly interested to see where the fastening hardware resides when the doors are closed... thank you
-
My first pass through your entry made me ask the question-why. Would they use glass in the door-never occurred to me it was mirrors! Genius! The light is so important to me! I live in a very dark house so appreciate any efforts to bring in the light! Beautiful bathroom/bathroom!


Frequently asked questions
Have a question about this project?
Our new home has very high ceilings…there isn’t a door for the bathroom & the light from the window is blinding in the A.M. so my husband took off one of our closest doors & hung it as a barn door. Works great.
He bought another closet door & we will eventually get a more rustic door to hang.
Wonderful job! Love it. Thank you for sharing!!!
You did a great job on these doors. However, I will never understand barn doors on a bathroom, especially in a bedroom. The person using the bath during the night has less privacy, and the the other person has more light, sound and smell. No thanks. A tight fitting door is best for bathrooms!