


How to Make a Woven Leather Coaster
I never have enough coasters. They just aren’t something I ever think (or really want) to buy, you know? Rather than spend money on a set, I set out to make some instead.

A few weeks ago I upcycled an old leather skirt to make napkin rings, and I ended up with a good amount of leftover leather. So I figured I could use the leather to DIY my coasters!
In this post, I’ll show you how to make a DIY woven leather coaster with leather remnants and an inexpensive cork base.
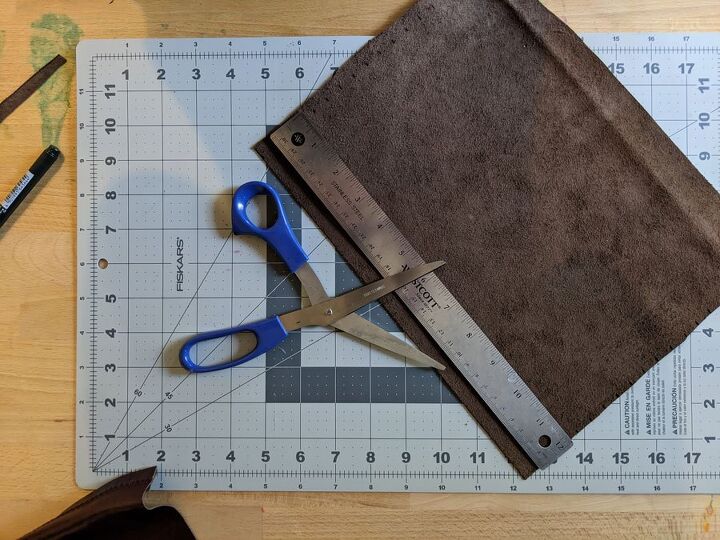
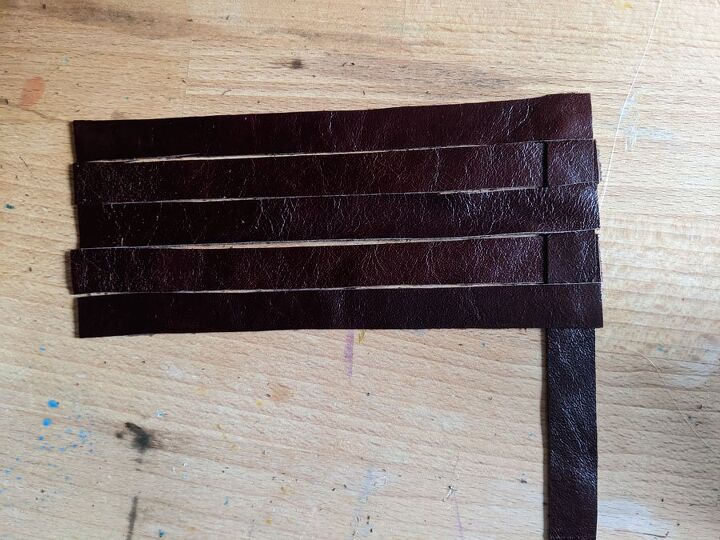
First, you’ll cut your leather remnants into 1/2″ wide strips. To DIY my leather coasters, I cut the leather strips down to 5″ lengths to be sure I had generous overage for the coaster base.
In my first attempt, the leather was just shy of covering my coaster so I needed to start over. I learned my lesson!
For each coaster, I used 16 leather strips: 8 across and 8 down.
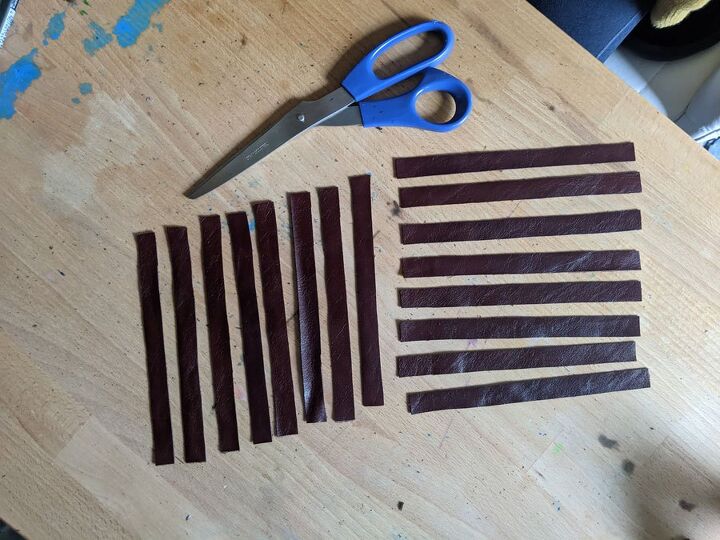
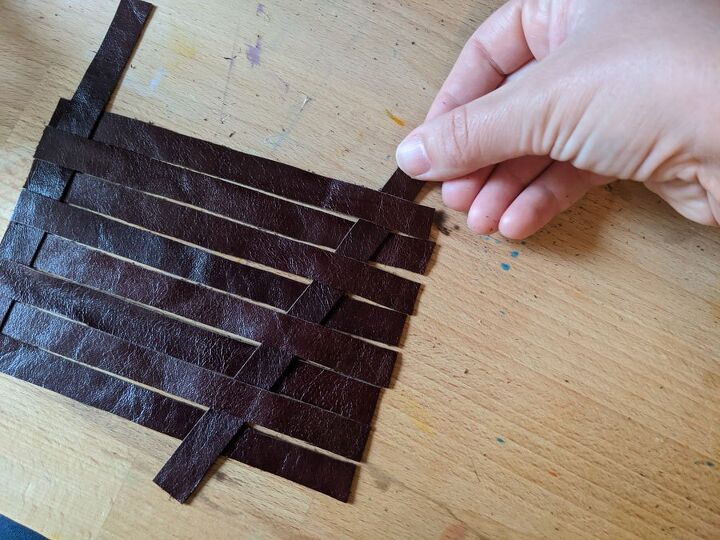
Using a simple basketweave pattern, weave your leather strips together to form a 4″ x 4″ rectangle to cover the 3.5″ round cork base.
Start by taking one strip and laying it on the table vertically.
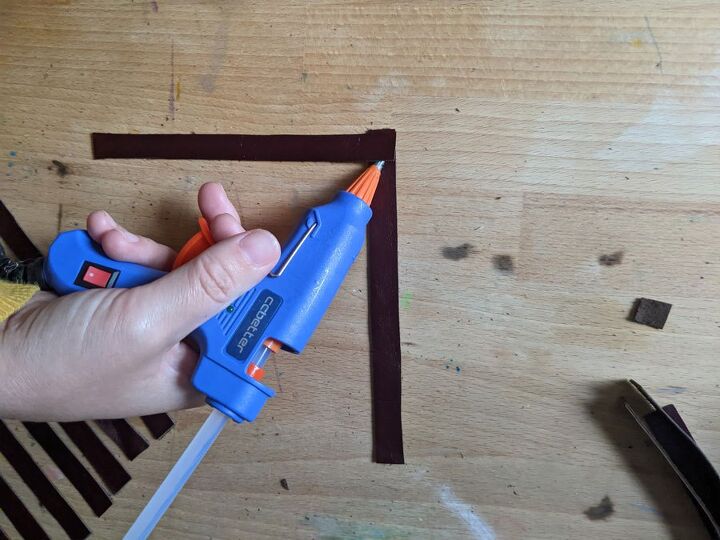
Next, take a second strip and hot glue it perpendicular to the bottom of the vertical strip. Try to align the edges as well as you can (if it’s not perfect, you can give it a trim at the end).
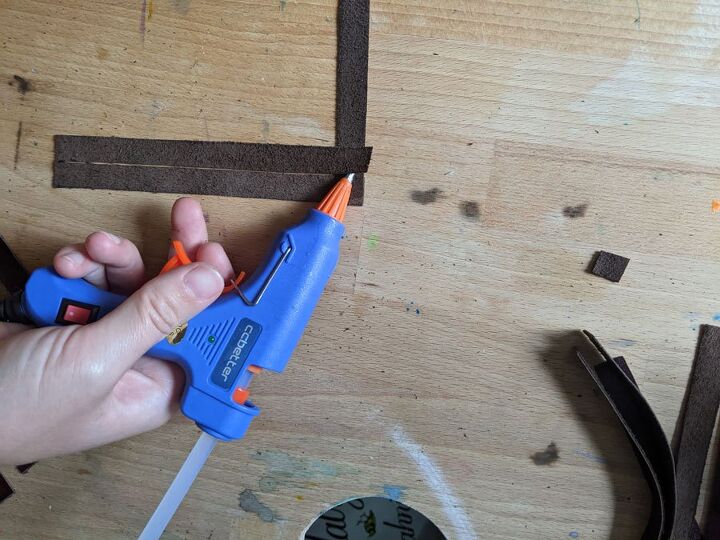
Continue to glue strips on alternating sides until you reach the top of the first vertical strip.
For the next vertical strip, slide it onto the “open” end of the horizontal strips but weave in the opposite order from the first. For example, if the first strip was started on the front of the piece, start the next strip on the back.
Slide this strip over and tightly nudge it against the first strip. Lift each horizontal strip to add a dot of glue to secure each section to the vertical strip beneath using the same method you used for the first row (gluing the front, then flipping over to glue the back).
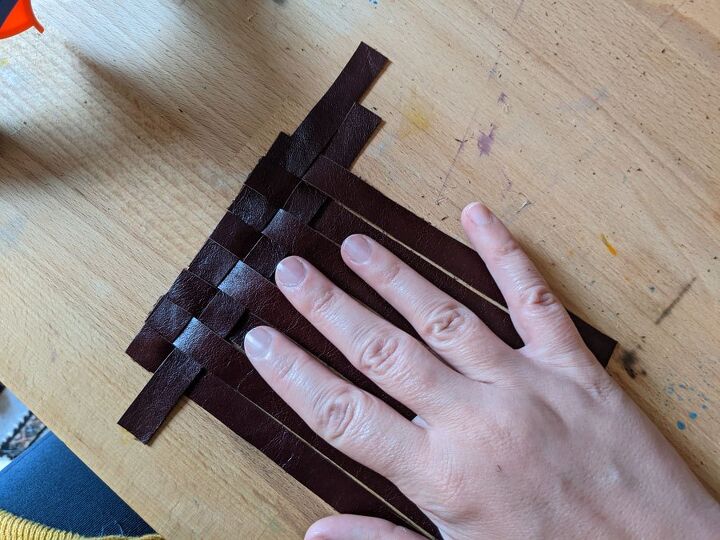
Continue weaving the remaining strips, alternating direction, until you’ve used up all your strips.
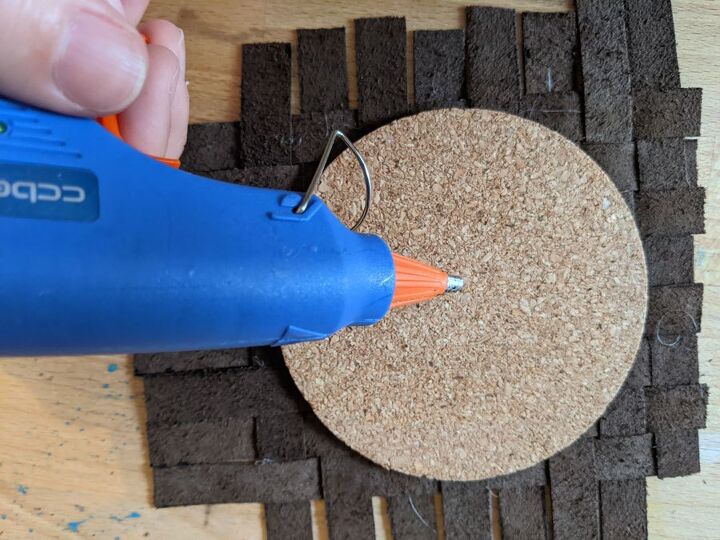
Next, hot glue the cork base to the leather top. Flip your woven leather piece over so the bottom faces up. Apply a generous amount of hot glue to your cork coaster base and press into the leather top.
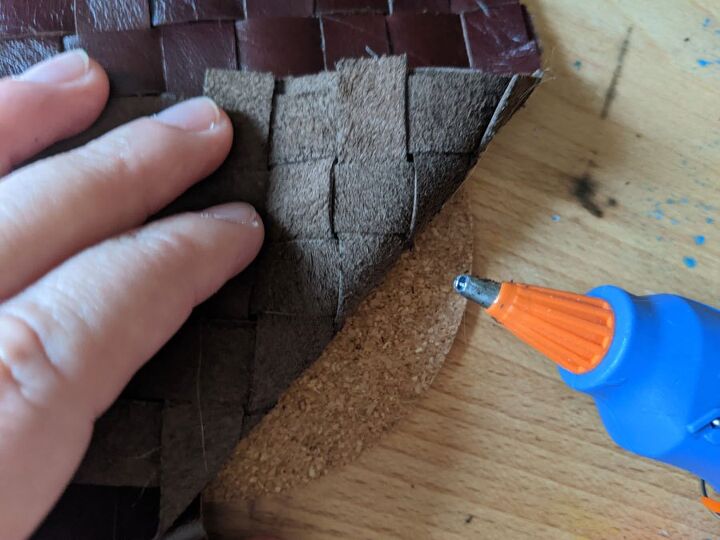
Add more glue as needed around the edge to ensure a secure bond all over.
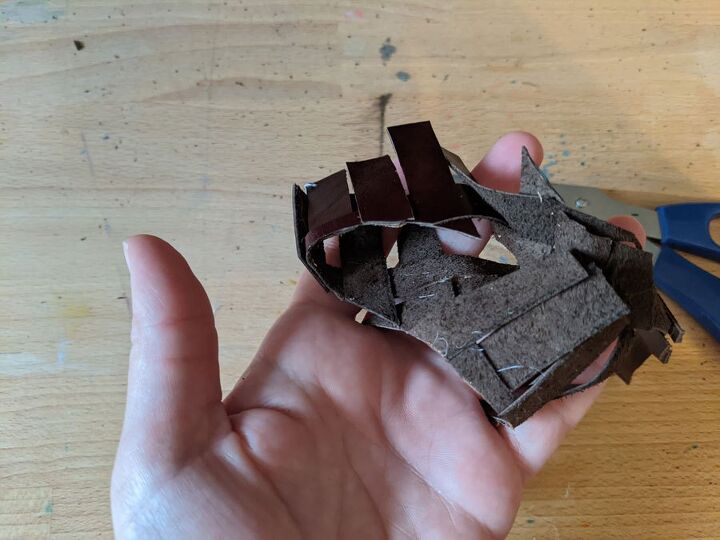
Finally, cut the excess leather from around the base. Go slowly and carefully to ensure the cleanest cut possibly. The sharper the scissors, the better!
In the unlikely event that you notice any loose leather coming up from the base, touch up with additional glue.
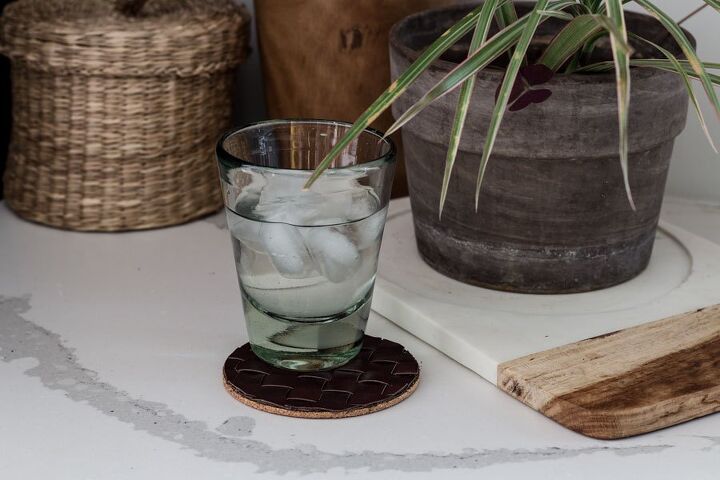
All done!
Beautiful, right? So much better than overpaying for something off the shelf. And remember, if you don’t have something leather that needs upcycling, leather remnants are super affordable.
So what do you think? Would you give this project a try? If you love DIY and are looking to decorate your home on a budget, be sure to check out my full collection of DIY posts!
Resources for this project:
See all materials


Comments
Join the conversation
-
Love this. I want to do this on a larger scale for a placemat. Thanks
-
I’d make squares to not waste leather or have to cut.
Otherwise super idea. I have old leather purse


Frequently asked questions
Have a question about this project?