


How to Make Your Christmas Tree Look Fuller!
Learn how to take your ordinary and sometimes bare Christmas tree from boring to beautiful with this easy tutorial for decorating it just like a professional! And the best part is that it costs you nothing if you use materials you already have on hand!

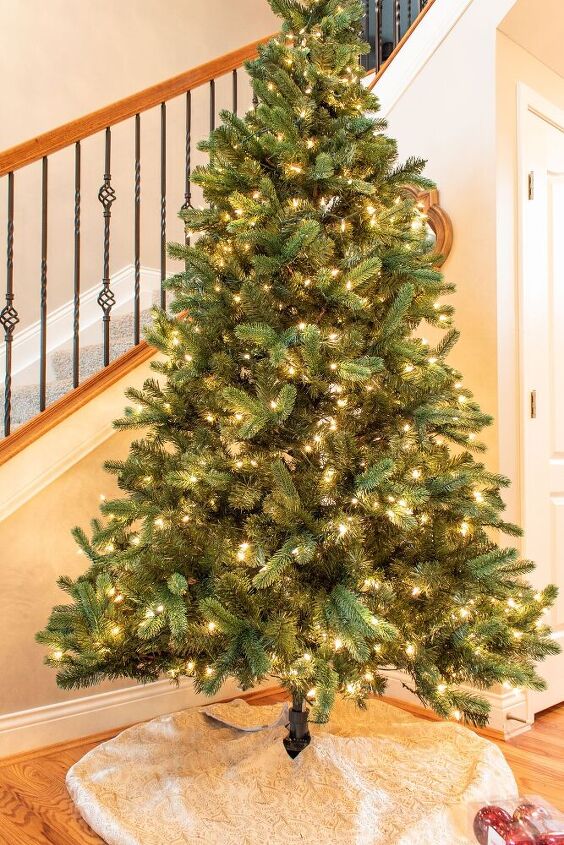
Before you begin, make sure that you take the extra time to fully fluff your Christmas tree. It really can make or break the decorating process and will help your branches appear much fuller.
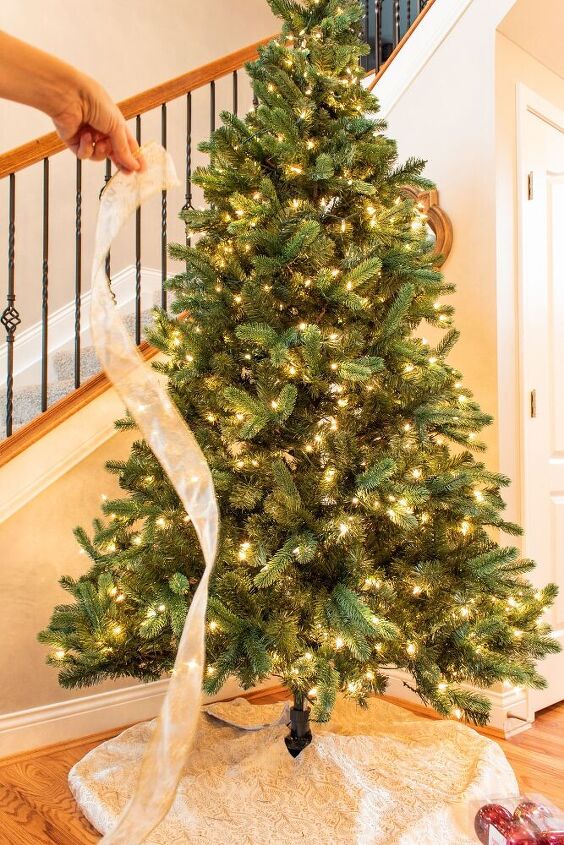
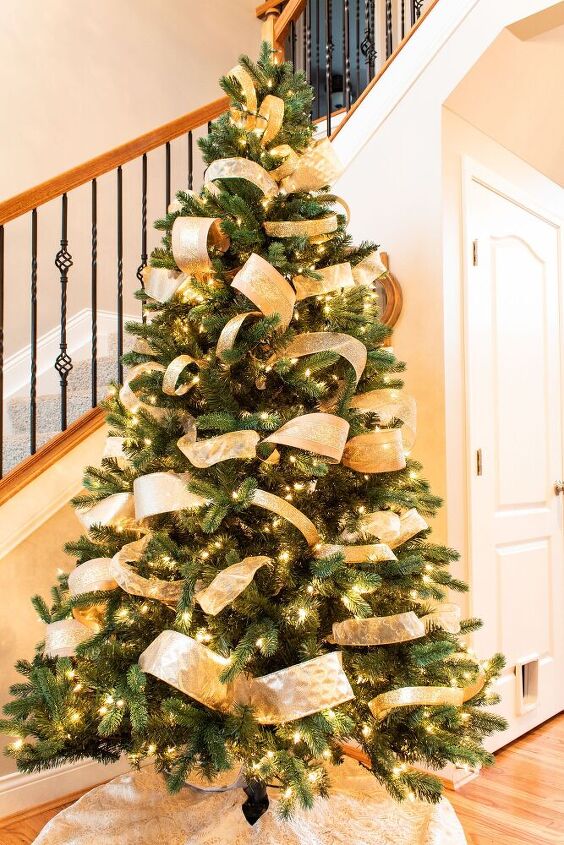
Starting with 1-2 spools of wide wired ribbon (approximately 3 inches in width), begin cutting the ribbon into 3 foot length sections and set aside.
Using one section of ribbon tuck the end into the tree so that it "grabs on to one of the branches". Gently pull the ribbon out to billow it and tuck the middle section into another branch area. This creates a single loop effect. Using the remaining loose ribbon tuck the other end into another branch creating a separate loop. You can obviously do as many loops as you'd prefer, but I found that 2 loops work perfectly for a 3 foot section of ribbon. I go into more detail about the process here.
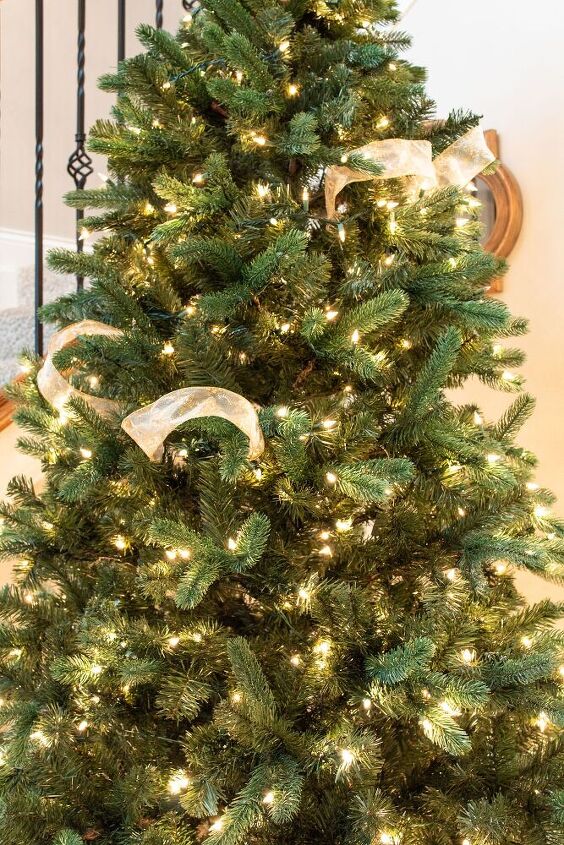

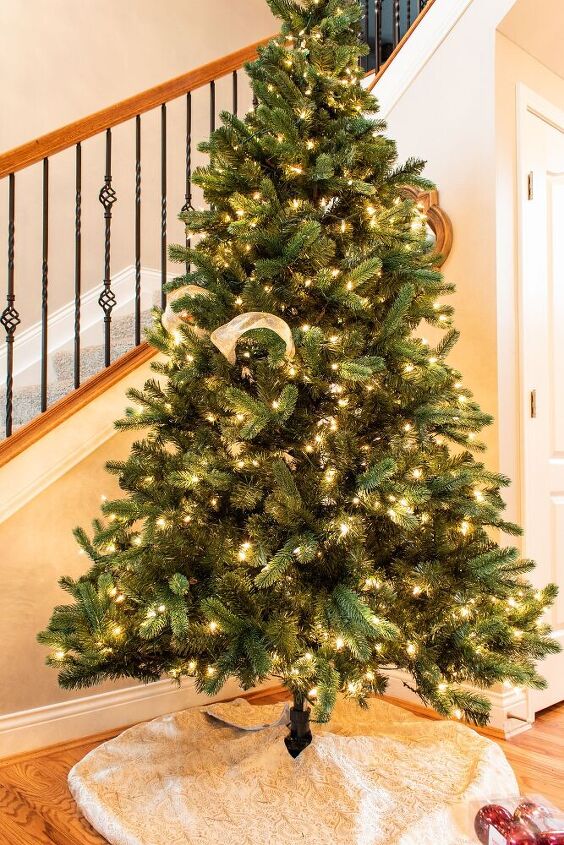
Continue the ribbon looping process using various widths and colors of ribbon until you're satisfied with the look. For this 7.5 foot tree I used about 5 rolls total.

Using large flower stems, begin by simply placing them throughout your tree to fill in any large obvious gaps.
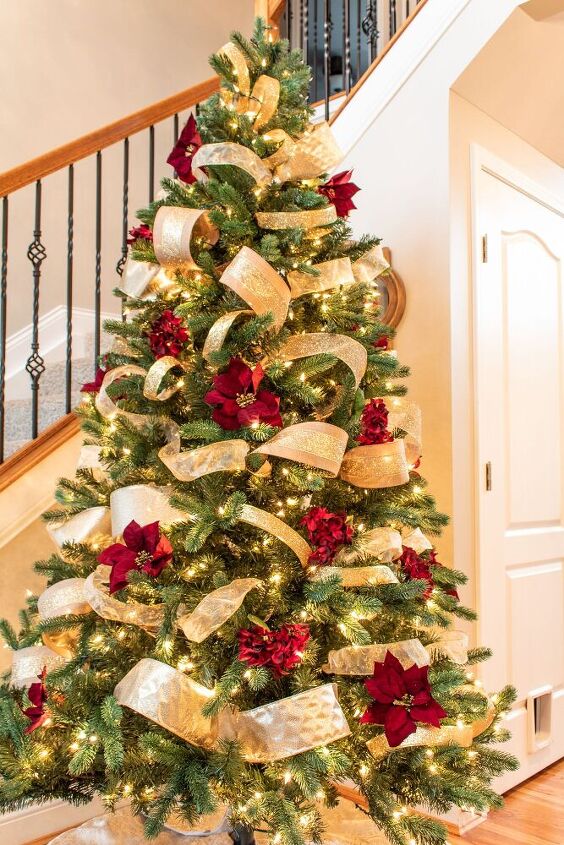

Finally, add in your ornaments beginning with the largest or most uniquely shaped ornaments first, making sure they take center stage appearance on your tree.


And That's it! It really is as simple as one, two, three steps! They key to achieving a fuller Christmas tree look is in the layering of decorations.

Resources for this project:


Comments
Join the conversation
-
I didn't say there were no lights on the tree. Please reread my comment. To make the tree have "depth", add lights up the center of it. Wrap around the trunk or pole.
-
Well done


Frequently asked questions
Have a question about this project?