


Wood Hutch Refinish

I had a client want his antique hutch his Grama gave him a bit more modern but to still be used in his house! This was a very time Consuming job, but in the end it’s always worth it! I personally like keeping as much antique as possible while still bringing it to a modern vibe.
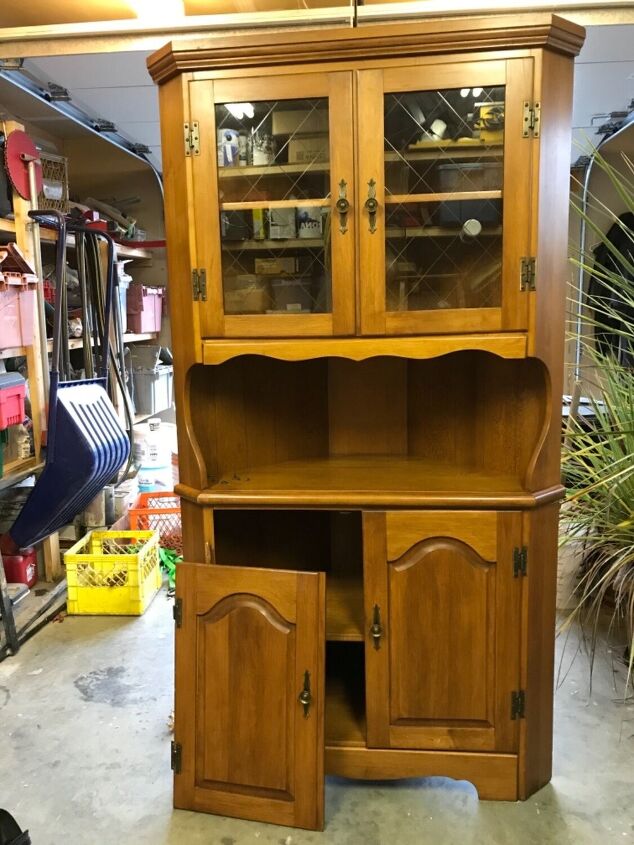
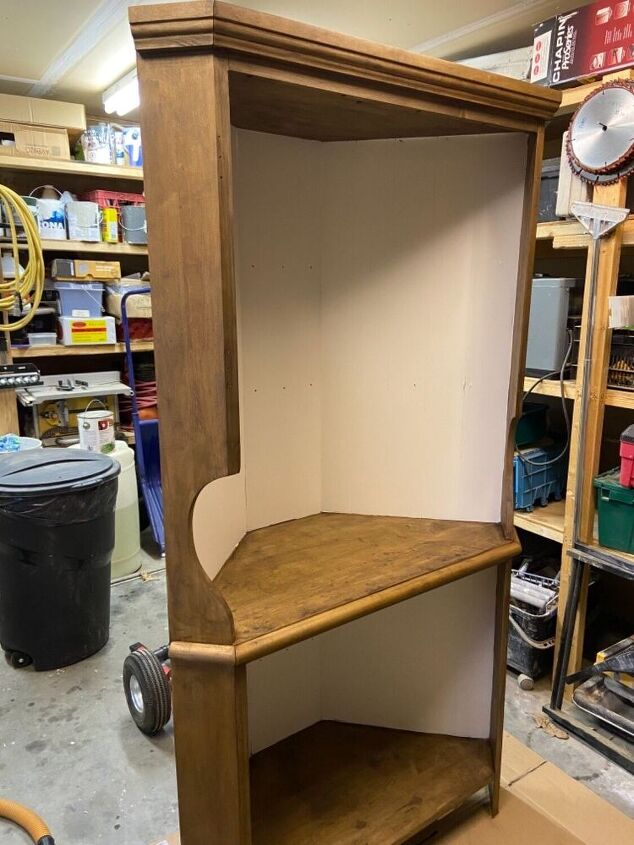
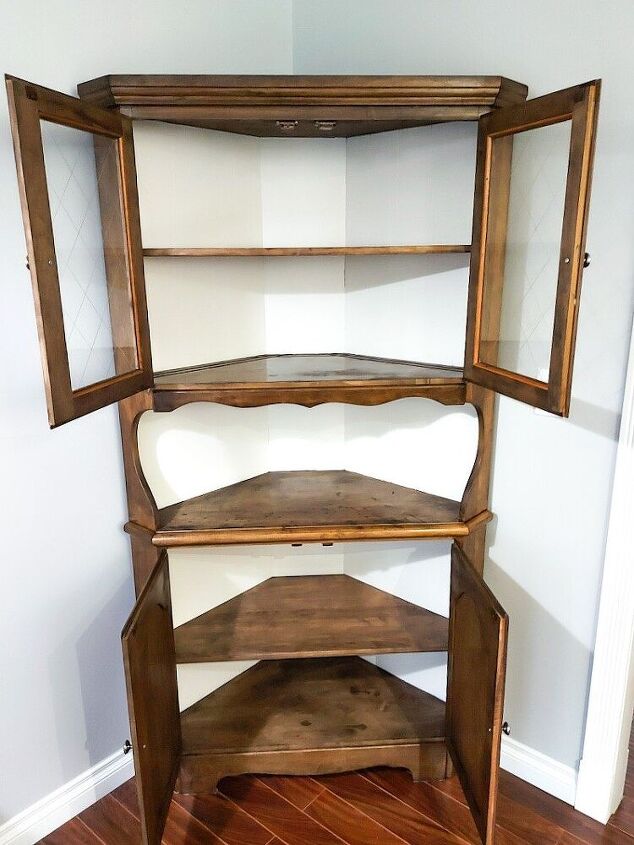
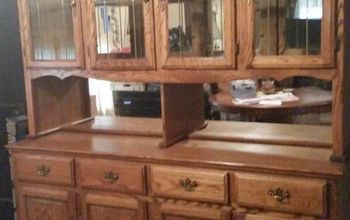
This is before
sanding this piece down took 11 hours of hard hard work. For bigger projects like these I hire out my sanding to a friend!
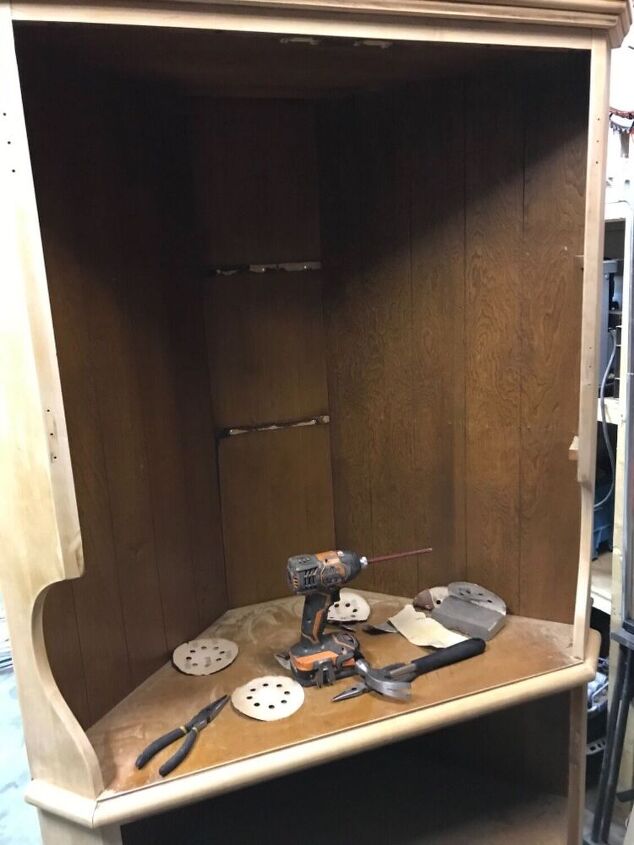
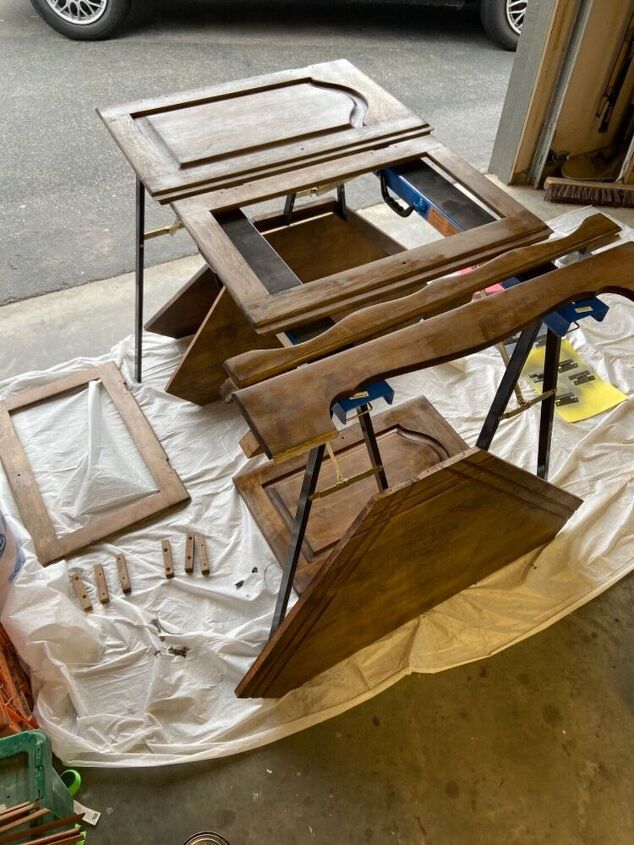
Sanding process
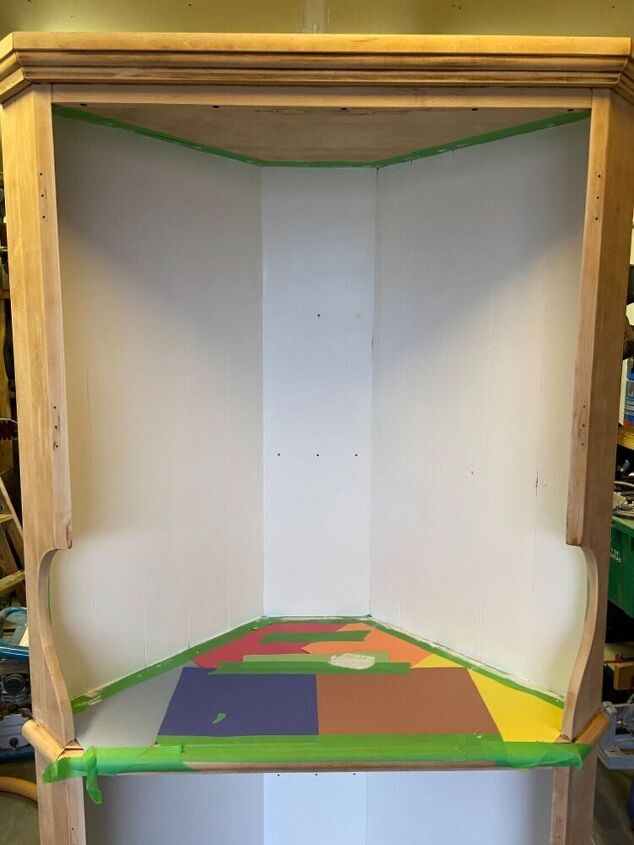
After it was sanded I used painters tape and construction paper to keep the wood from getting paint on it while
i painted the backing.
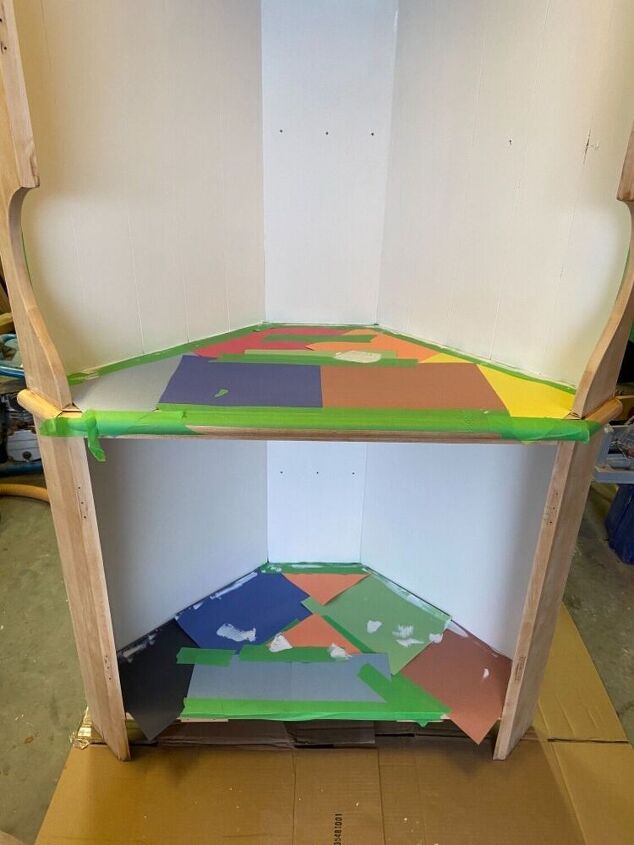
I used primer than painted 2 coats of behr paint
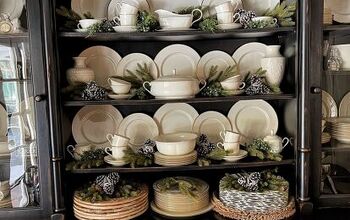
I stained the frame with minwax espresso and than a coat of ebony on top because this wood was not taking the darker look my client was wanting.
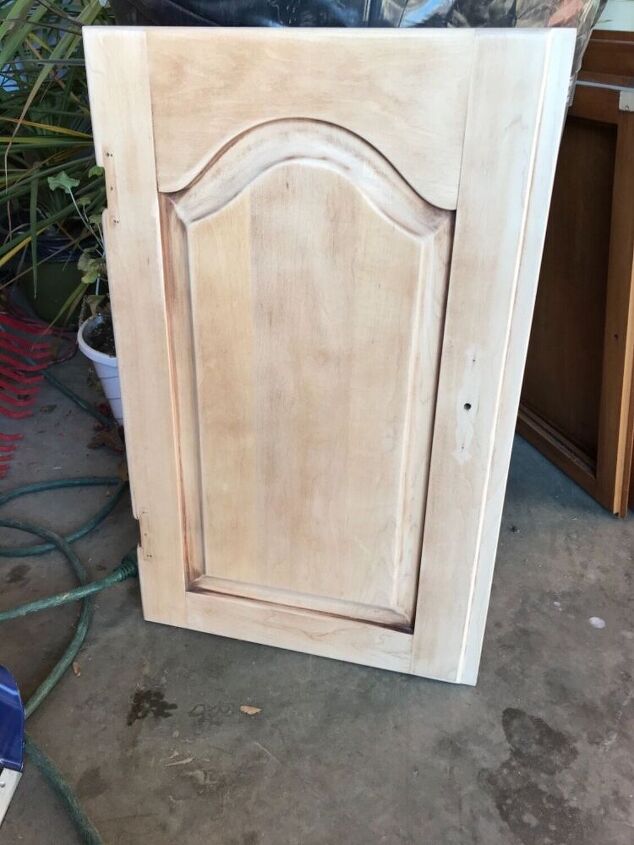
This was the door before stain, and after it had been sanded down.
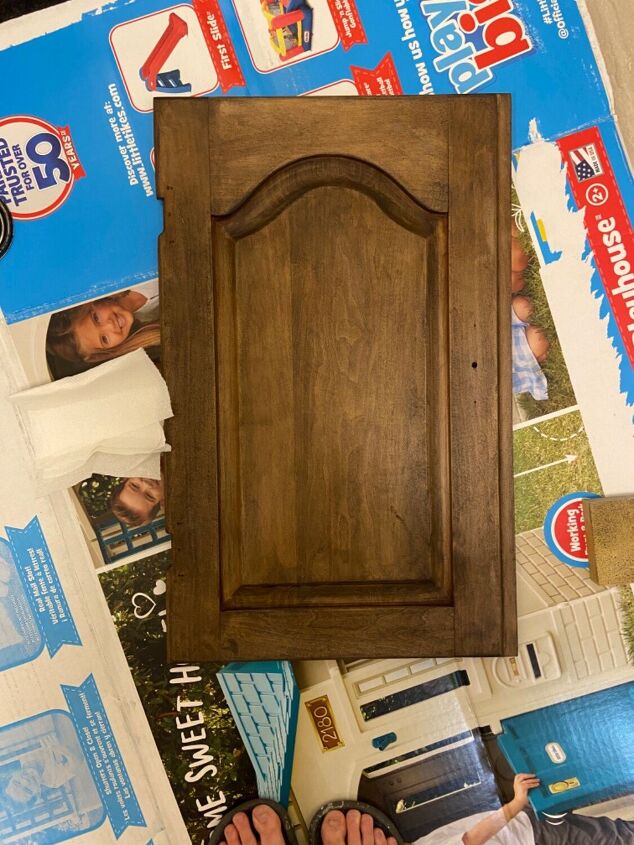
After applying the stain.
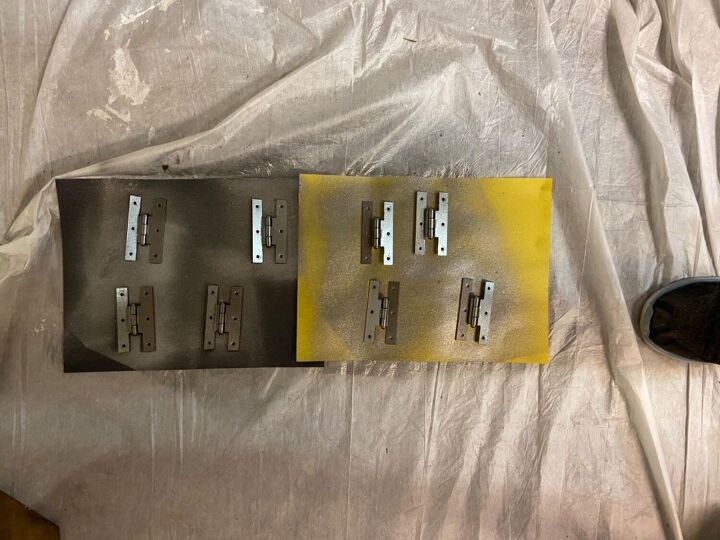
I took off the hinges and sprayed them silver to match the new hardware I was putting on.
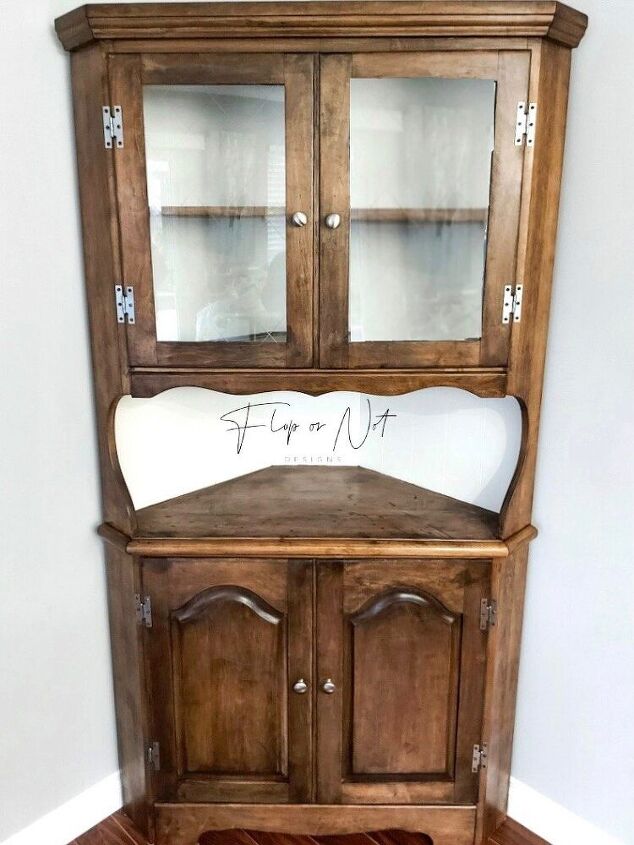
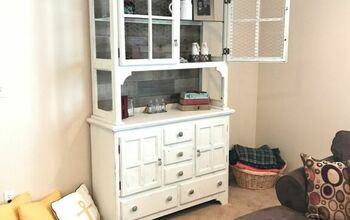
Final product :)
Resources for this project:
See all materials


Comments
Join the conversation
-
just a suggestion, but we had old wood kitchen cabinets and I wanted dark so I lightly sanded and used a gel stain, worked perfect
-
Great piece. Not to big but not to small. A piece of loved one. I’m glad you didn’t paint. That’s not what gmom bought. You refreshed and looks great and honored family piece


Frequently asked questions
Have a question about this project?
I will say your multicolored construction paper made me giggle... 😂... but in all seriousness, since you said the wood wouldn’t take the color stain you initially wanted, have you tried a wood conditioner pre-stain treatment? There are several kinds out there that prep sanded wood to help it accept stain better to prevent the problem you had.
Why is the finish blotchy? Is that the look your client was going for?