


DIY Open Shelves

I have wanted to make some open shelves for my coffee bar space for over a year! I finally took some time and got to work on this fun, simple, and easy DIY! You can make open shelves for a fraction of the cost of buying them! Come along with me as I show you how!
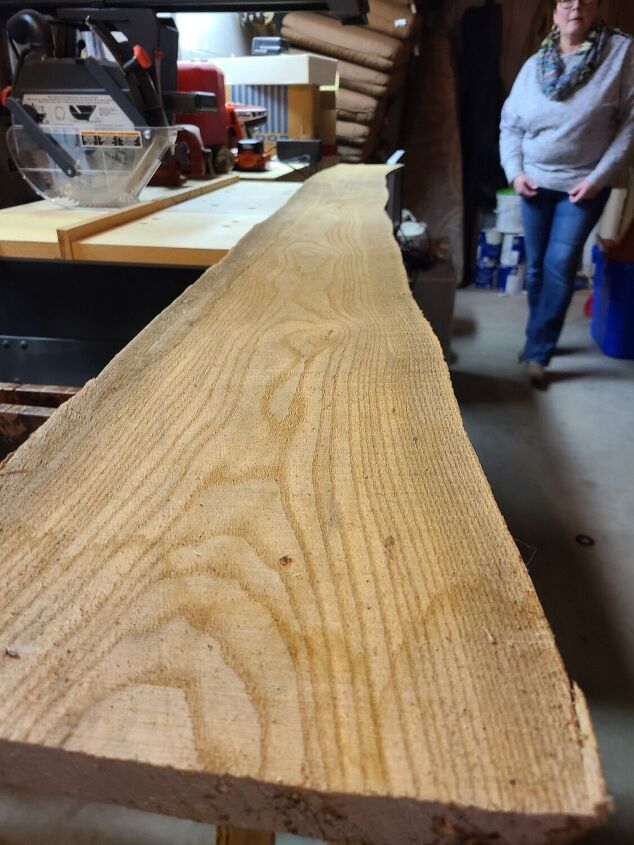
First, you need to find your piece of wood! I purchased this life edge piece at a garage sale for just dollars! It was a great find, and close to the length I needed!
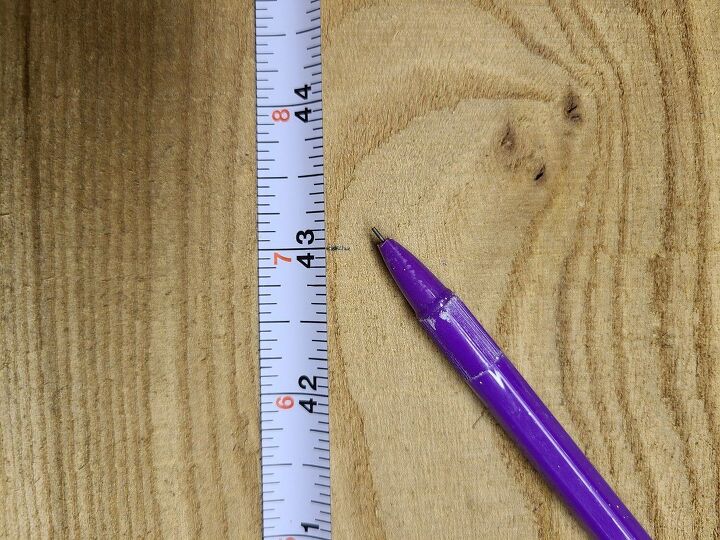
Once you've found your piece or pieces of wood, mark your length. I knew I wanted two 43" shelves, so I marked my wood accordingly with a tape measure and pencil.
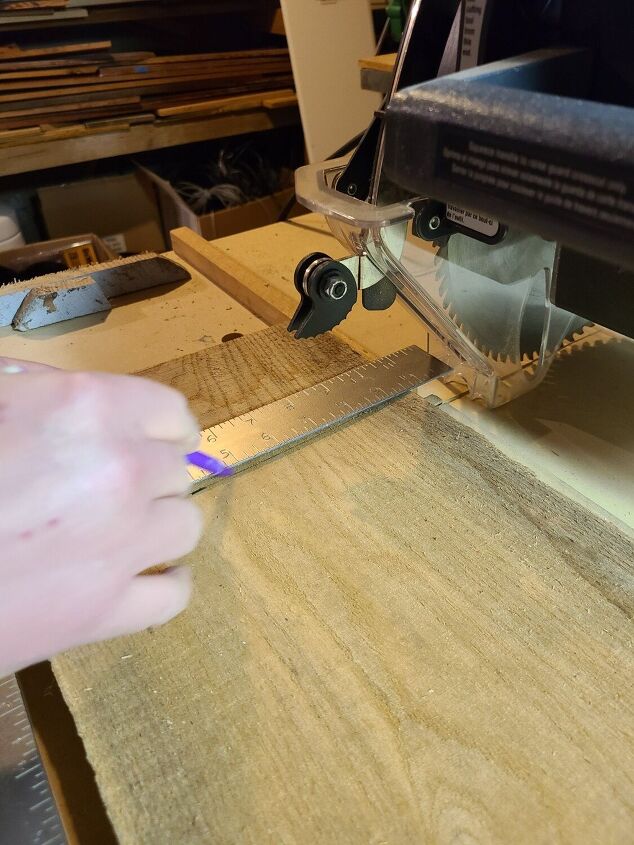
Draw a straight line on your piece of wood to help guide your table saw.
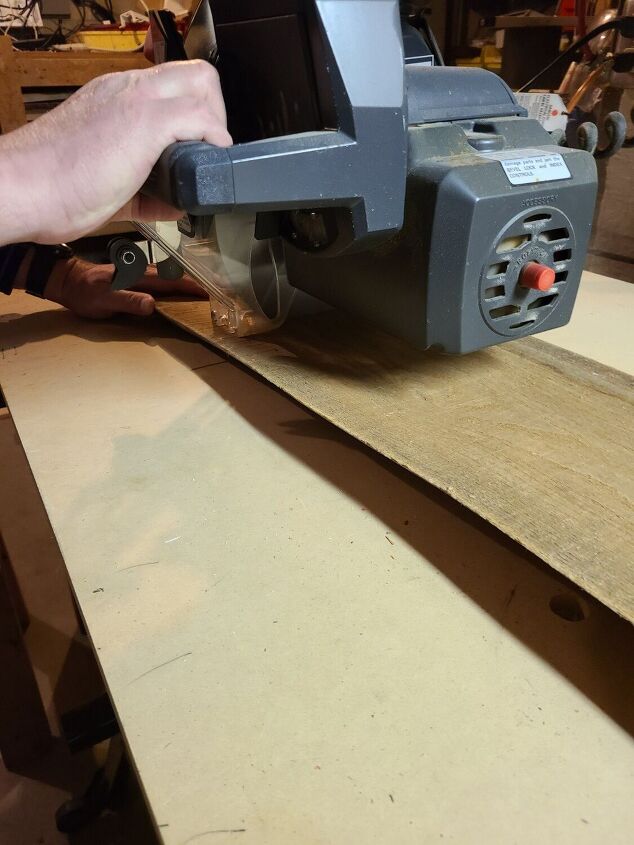
Cut your piece of wood using your table saw. This is a quick and simple way to make sure those edges are as straight as can be!
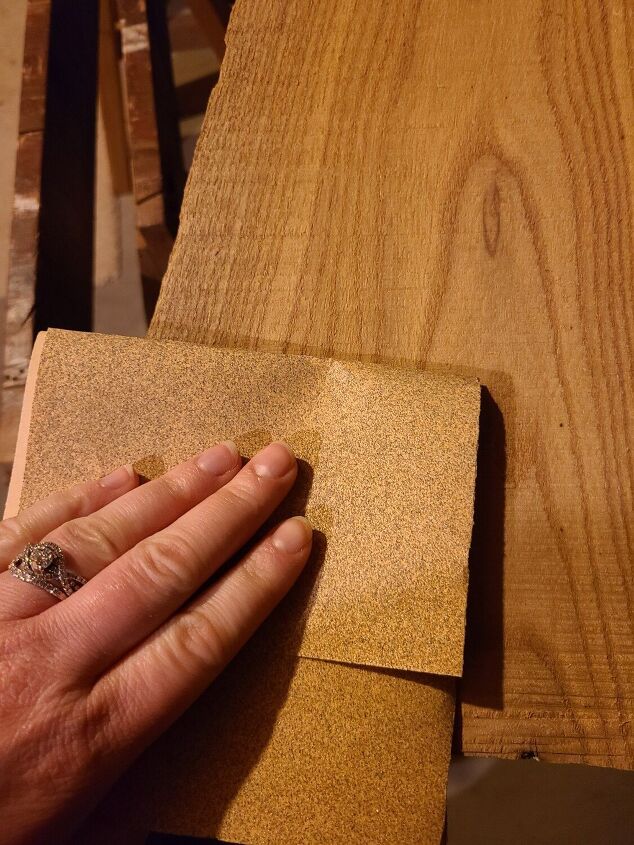
Once you have your pieces of wood cut to length, sand, sand, sand! You can use an electric sander if you have it, but I wanted my pieces to have a more rough look. This is a live edge piece of wood, so I wanted to make sure my sanding was minimal to keep that beautiful live edge!
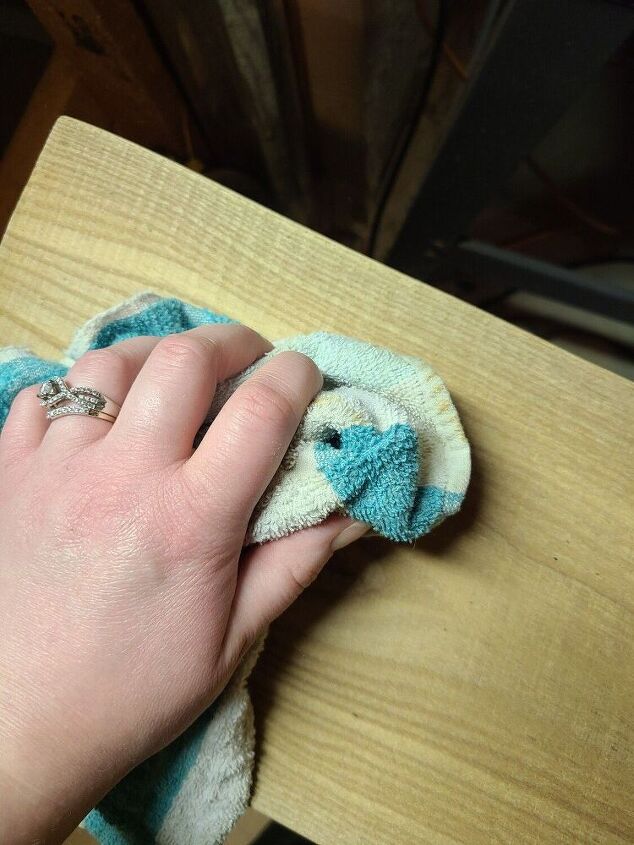
Once you're done sanding, wipe down your piece of wood with a cloth.
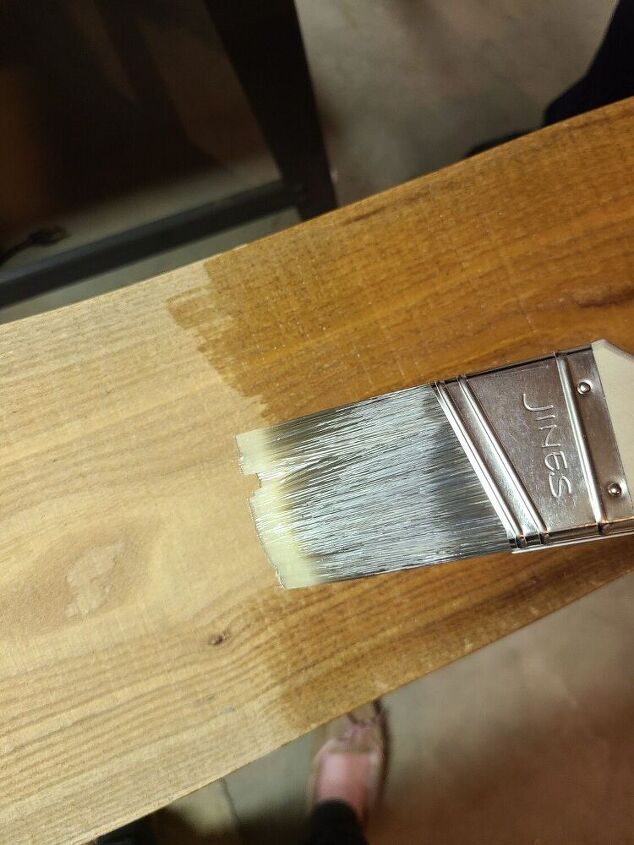
You're now ready to varnish! Purchase a varnish you're comfortable with. I wanted my pieces to be the same color, so I chose a clear varisnh to work with. According to the directions on my varnish, I needed to stir the can and paint on a decent layer. I then could let dry for 3-4 hours and repeat the process twice on each side. Please follow the directions of your varnish for this step though!
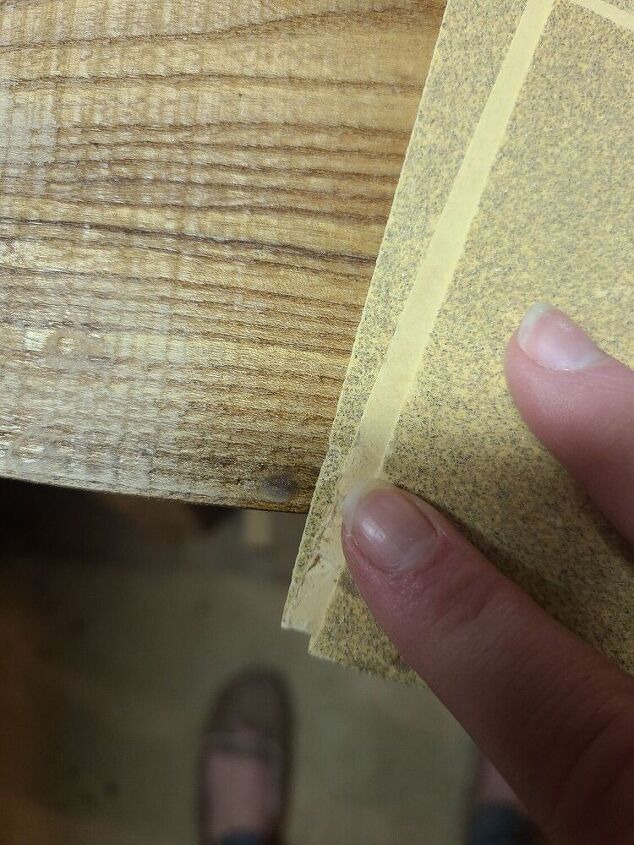
Lightly sand any imperfections on the wood pieces after the varnish is completely dry.
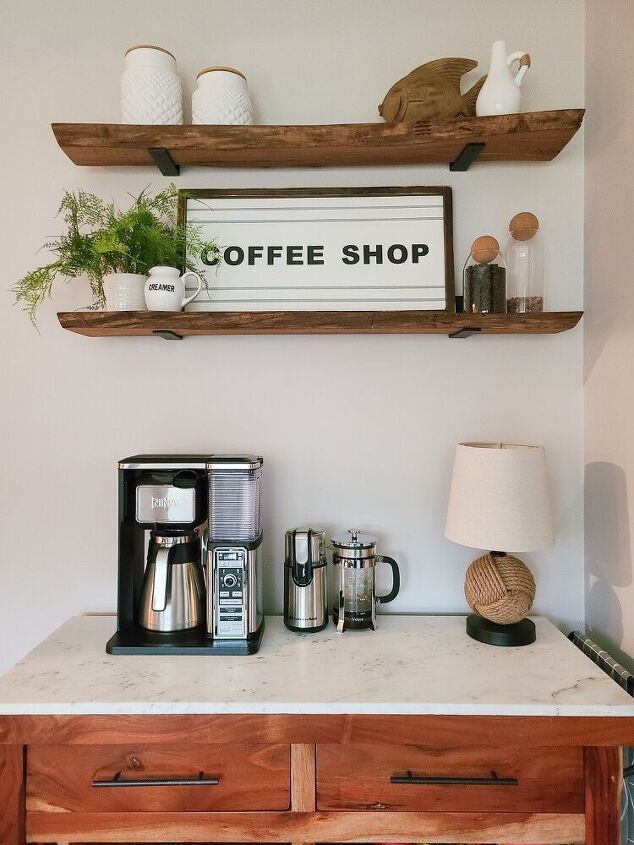
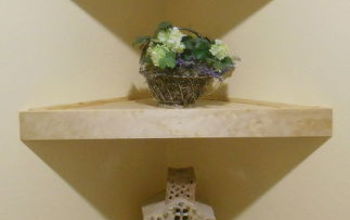
Hang your wood pieces and enjoy! Purchase any hardware that fits your style and decorate to your taste! My next DIY will be how to hang these shelves, so if you're interested in that, head to my profile! I'll take you through each step on how to hang and decorate your floating shelves!
Resources for this project:
See all materials


Comments
Join the conversation
-
They are really nice, but like Nancy said, not floating. I am looking for the best way to hang floating shelves that will allow my cat to cross from one side of the room to another.
-
A small, decorative picket fence on the outer edge of the shelving would be folksy and would keep things from sliding off the edges. This would also be a great way to display dollhouse furnishings, toy cars, or a barbie room.


Frequently asked questions
Have a question about this project?
What’s about brackets? Where did you buy?