


Budget Friendly Bathroom Makeover

I have been wanting to update my guest bathroom for several months. My goal was to brighten up the space and bring some life to it. Even though this is just a bathroom I wanted it to feel inviting to us and our guests, not dark and dreary.
I wanted to spend as little money as possible on this project, so if you want to see how my husband and I transformed this space for under $30 read below. We are more than happy with the end result, and even though the changes we made were small they made all the difference.
Best peel and stick corner trim!
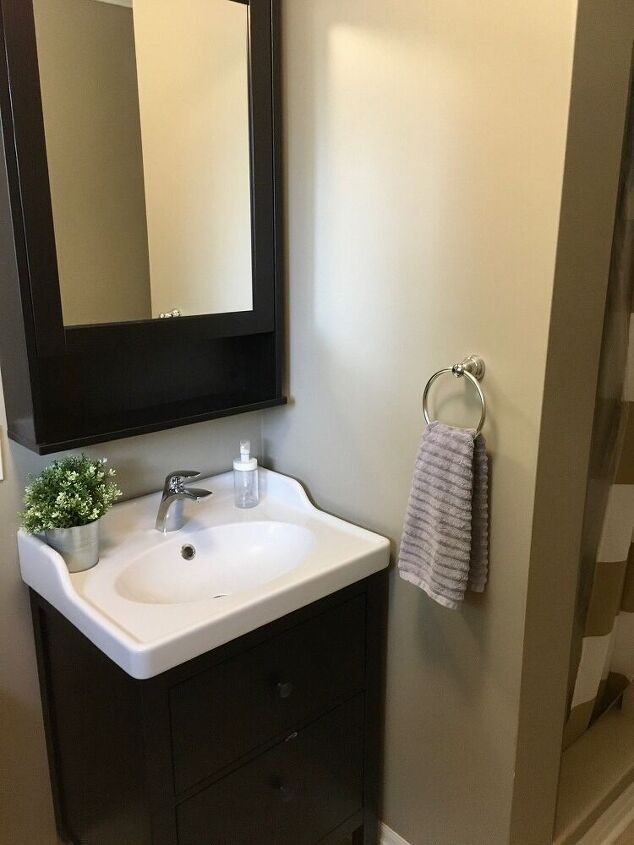
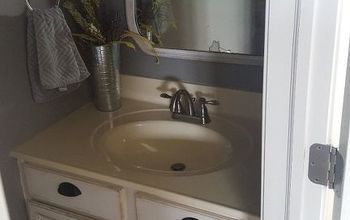
The space was not terrible, but what bothered me was how bulky the mirror felt, not to mention how high up it was. My little ones were never able to look in the mirror and adults could only see from their neck up. I knew right away this was something that needed to be changed.
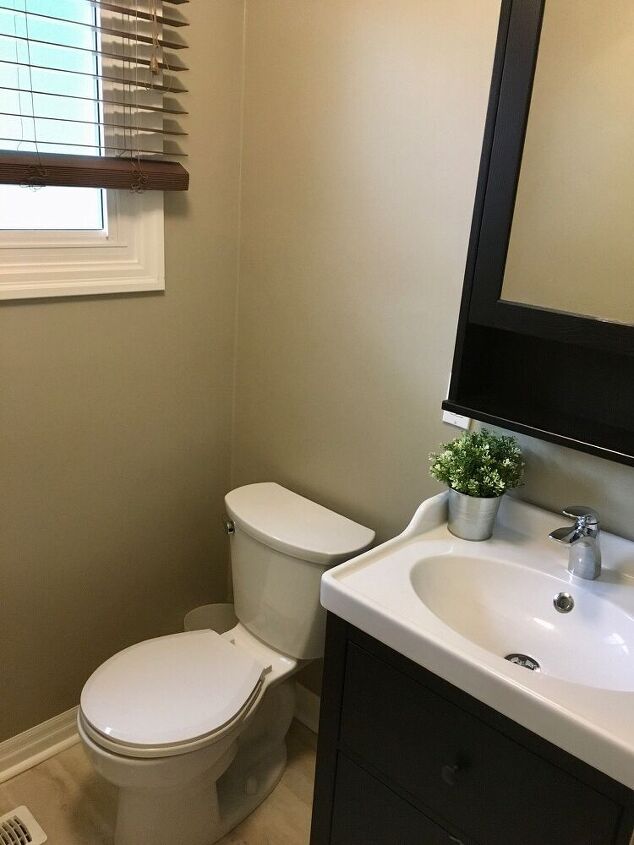
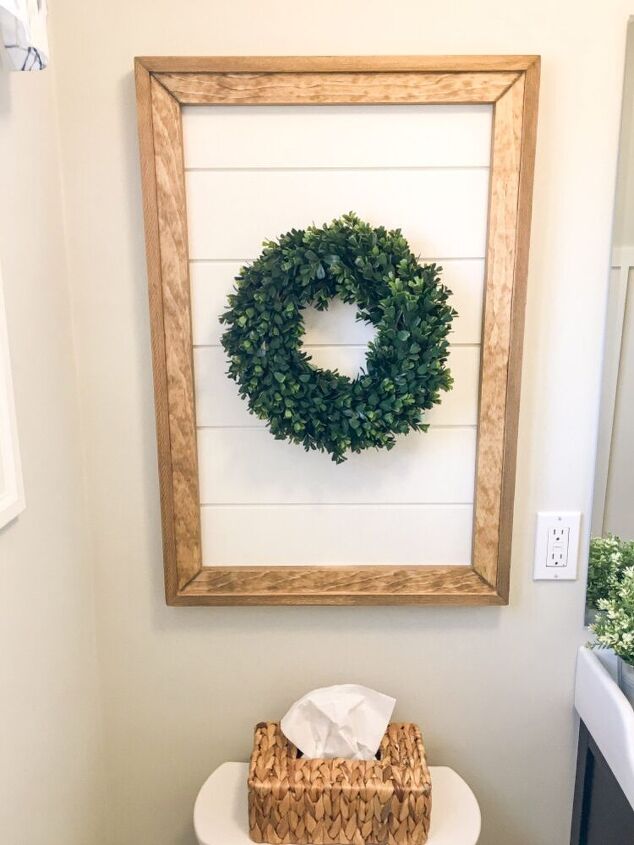
I never really bothered with decorating this space so another element that I wanted to add was some decor on this blank wall above the toilet.
You can see here just how dark and boring this space really is. The dark heavy blinds don’t help, so new window treatments were also on the list to be replaced.
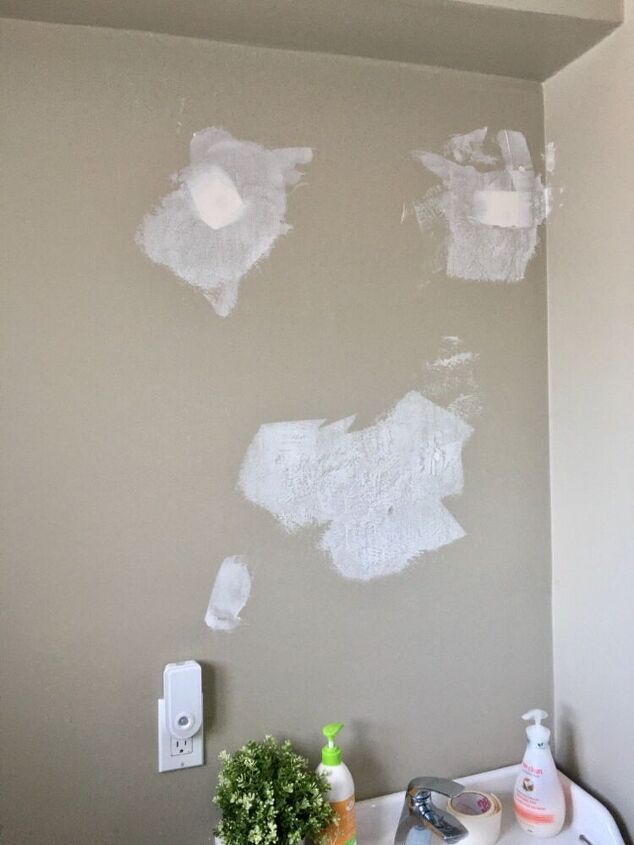
We began this project by removing the mirror and filling in all of the wholes with some drywall mud. While we were at it, we filled any other holes or dings we saw in the wall. Prep work is so important if you want professional results.
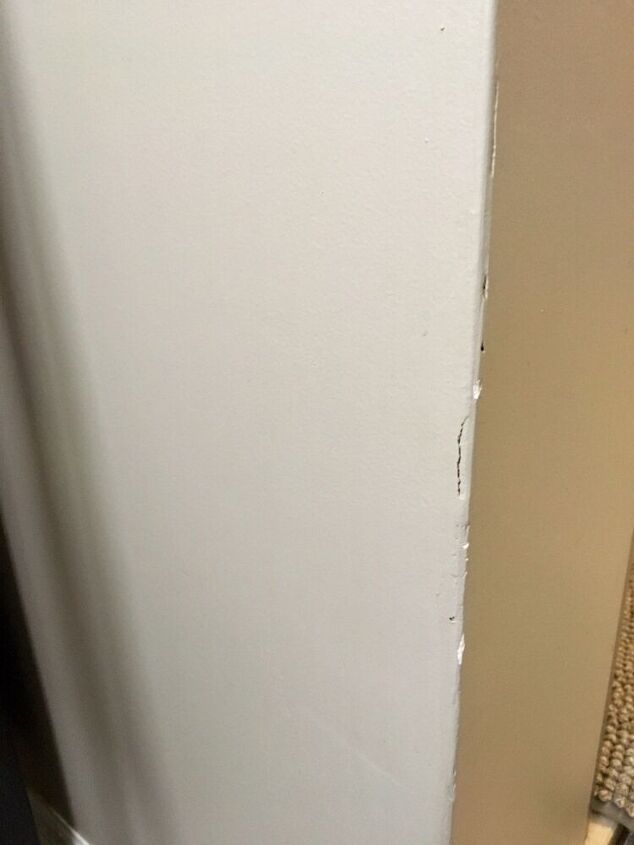
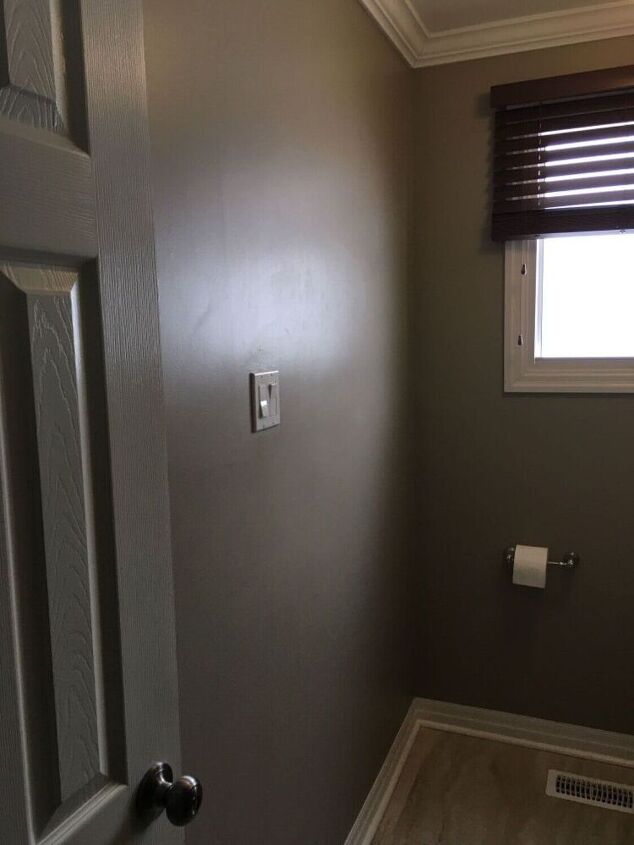
Our little bathroom is very narrow and this corner always gets bumped. Rather than trying to fix the crumbling plaster again, we decided to cover it with a piece of trim and fix it once and for all.
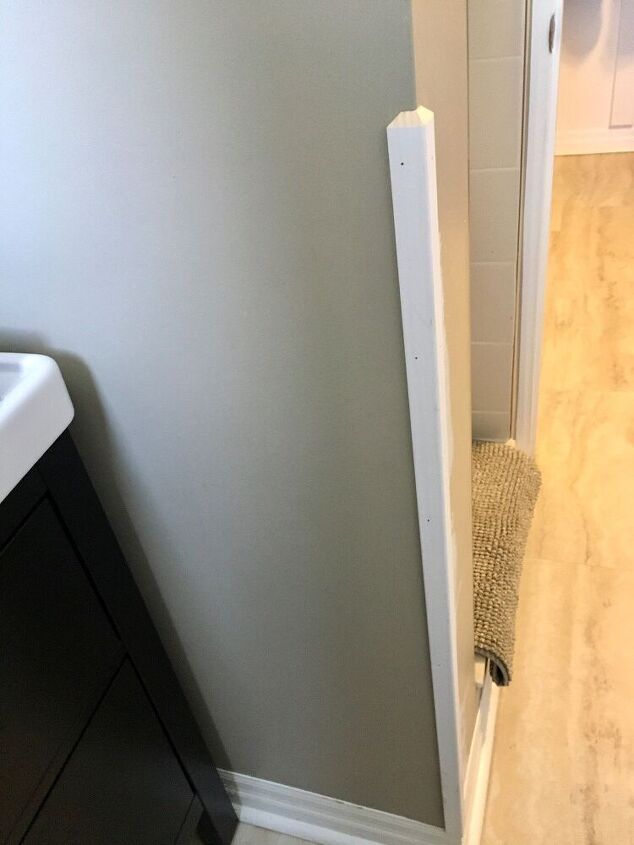
We used a piece of pine corner trim to cover up this high traffic corner and nailed it directly to the wall.
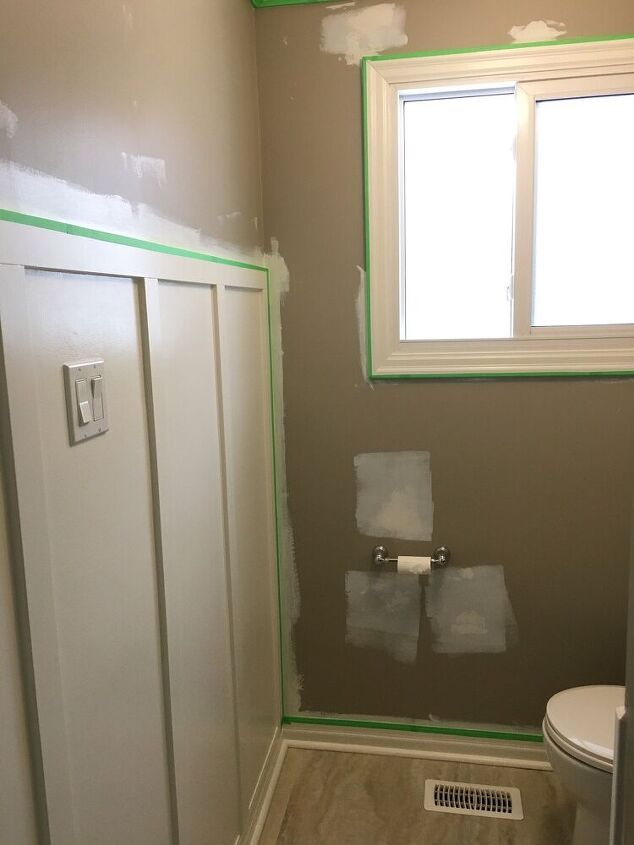
We added a simple board and batten accent wall for some visual interest to the wall across from the toilet (I have a tutorial on how we did that you can go and check out)
Next it was time to paint! I was so happy to be at this stage as I could really see my vision for this space coming together. I always use painters tape around the trim to get nice crisp lines.

Once caulked and painted, the corner trim blends right in and we barely even notice it. I’m happy to know I will never have to patch the wall on this corner again.

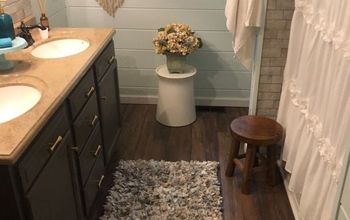
And here is the completed updated space! What a difference a few little changes can make. The window treatments I chose are light and airy which also help to brighten up the space. The hooks I already had on hand, they are both practical and pretty.
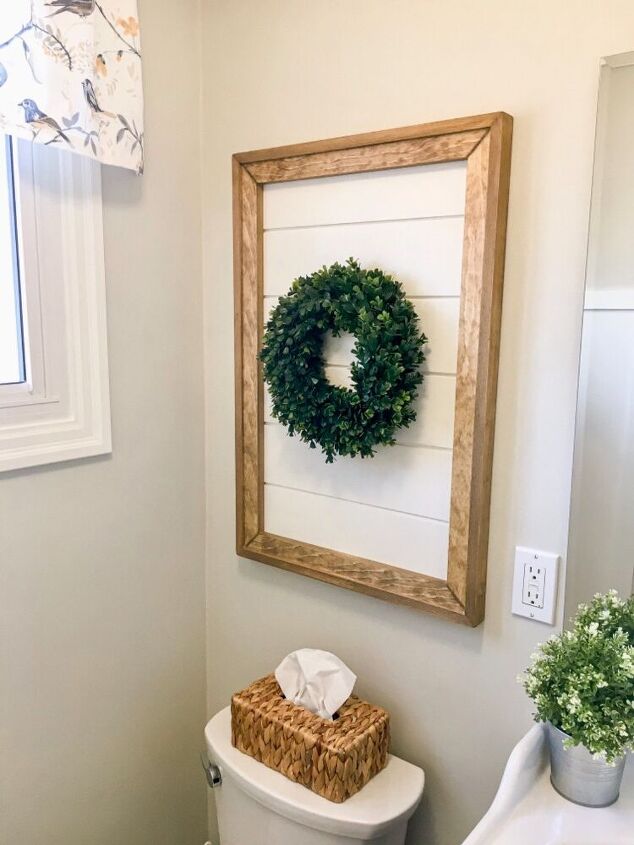
We replaced the bulky mirror with a simple frameless beveled edge mirror, and the empty wall above the toilet now has a beautiful piece of DIY decor (I also have a full tutorial on how we made that you can go check out).
Now if you are wondering how we accomplished all of this for under $30 I will fill you in on a little tip. Anything you will no longer be using in this space SELL! By selling just our old mirror and blinds we were able to cover the bulk of the cost of this makeover. My other big tip, is to try and use things you already have in your home. Be creative and think outside of the box with ways you can use things. I hope you enjoyed this makeover and are now inspired to tackle a space of your own. You don’t need a huge budget to accomplish great things!
Resources for this project:
See all materials


Comments
Join the conversation
-
Great job. I really like the update.
-
lovely job!


Frequently asked questions
Have a question about this project?
Where is your tutorial site for the frame wreath on the wall and the planks on the front of the toilet ?
where is your light source
Where is the photo of the new mirror? It was your primary focus, and you mention it.