


Trash to Treasure, Pottery Barn Dupe - Console Table
I am showing you yet ANOTHER curbside find. If you have followed me for awhile then you know that it is usually my husband that finds me good furniture in the trash (that I then turn into treasure). However, I scored BIG when a friend of mine who is a realtor and just sold a house in her neighborhood, texted me a picture of a huge pile of nice furniture that this client had put out for the trash. Good stuff too. She knows I like to makeover furniture so she said she thought of me immediately. Needless to say we rushed over there and took a bunch of things. Check out this pile….Will ya look at all this good stuff!!!
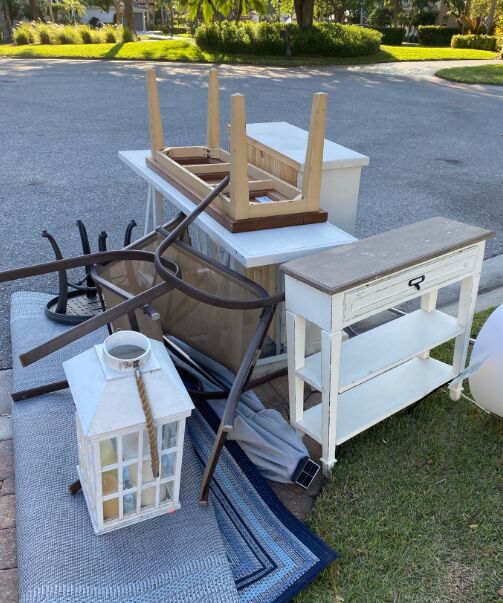
Last week I refinished this bench from this pile. And this week I tackled the console table.
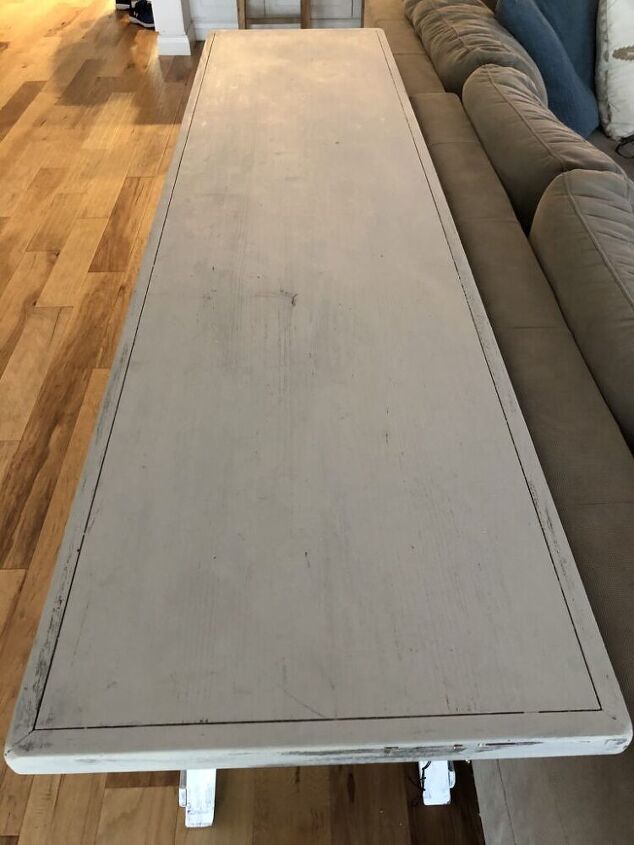
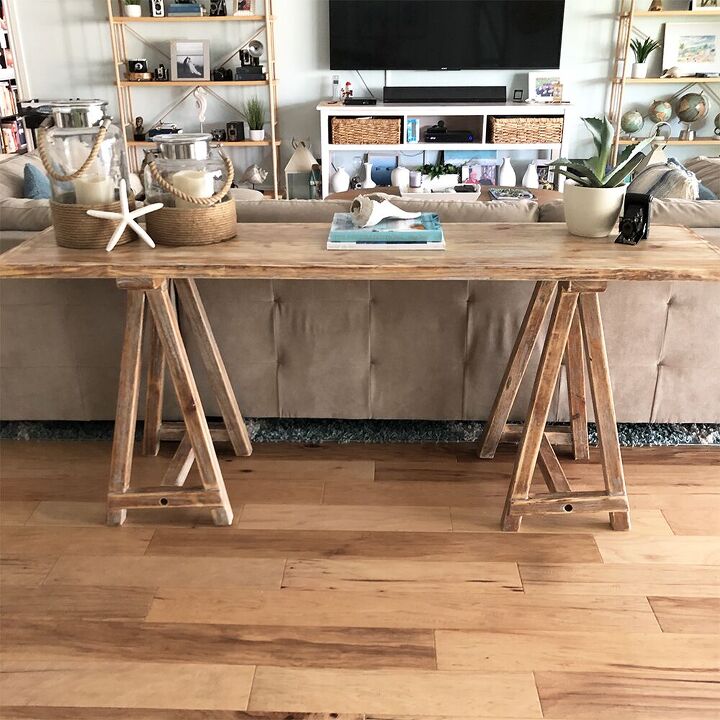
Can you believe someone was throwing this away? It is a large and long table and was previously painted white. The paint job was not the best and the legs on one side were wobbly. BUT, I knew I could fix it up. Here is what I did to my Thrift Store Challenge-Trash to Treasure-Pottery Barn Dupe – Console Table…
Step 1 in my Trash to Treasure Pottery Barn Dupe, Sand…
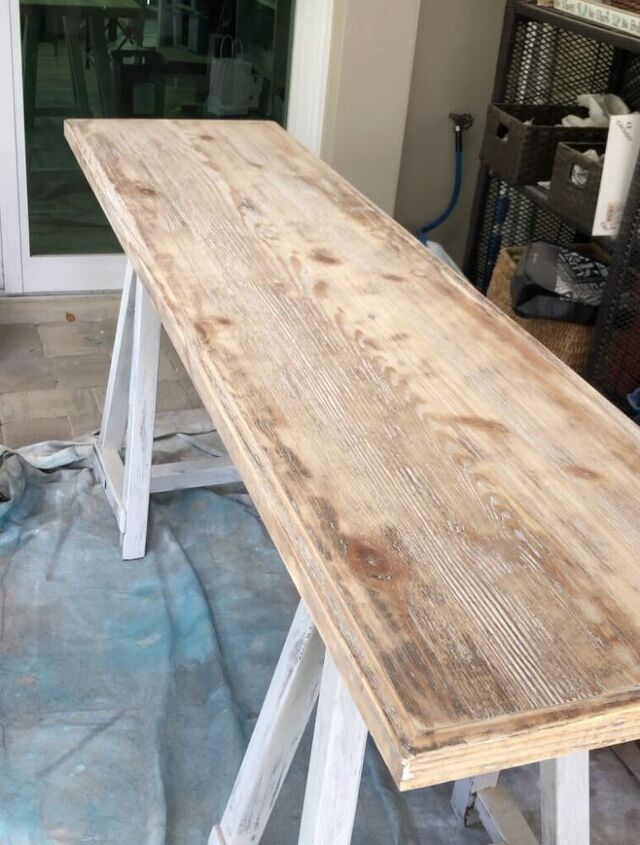
First, I brought the table outside to my ‘workshop’. Here is a closer picture of the top. It wasn’t the best paint job and appeared to have a sort of antiqued, chippy wood look to it. But the paint had seen better days and there were lots of scratches on it.
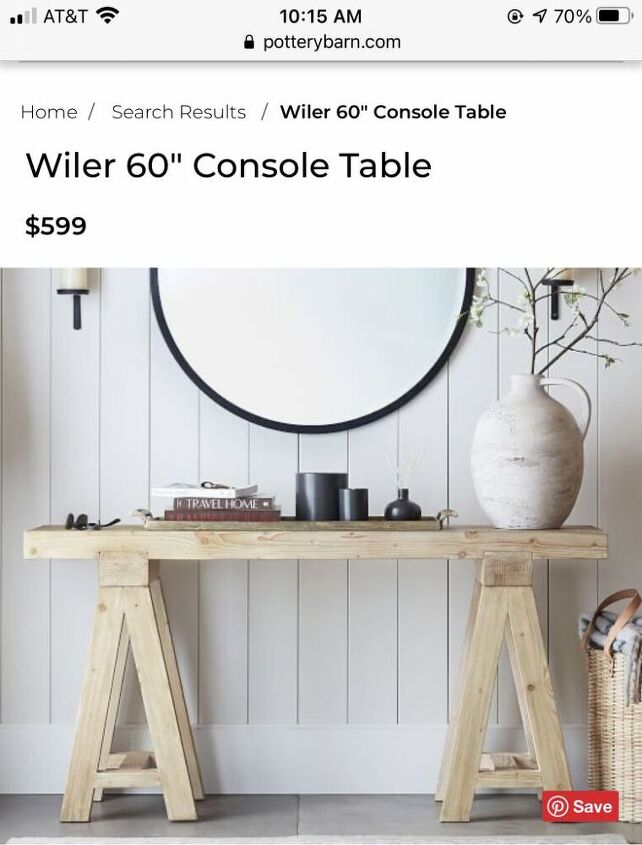
I saw very similar table on the Pottery Barn website that costs $599! I decided I was going to try to go for a natural look and make it a dupe to this table, as best I could.
Once it was outside, I began sanding. My hand sander that I usually use for these projects broke recently so I used this Skil sander and it was fine, albeit a bit smaller than my other one. Basically for hours on end I sanded and sanded and sanded until most of the white paint was gone.

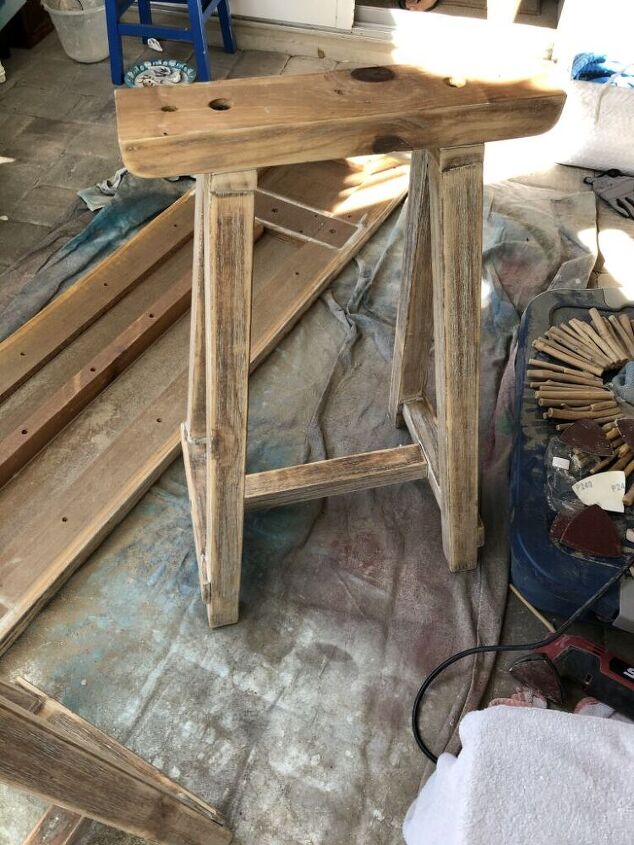
Step 2, Remove the Legs and Sand Some More…
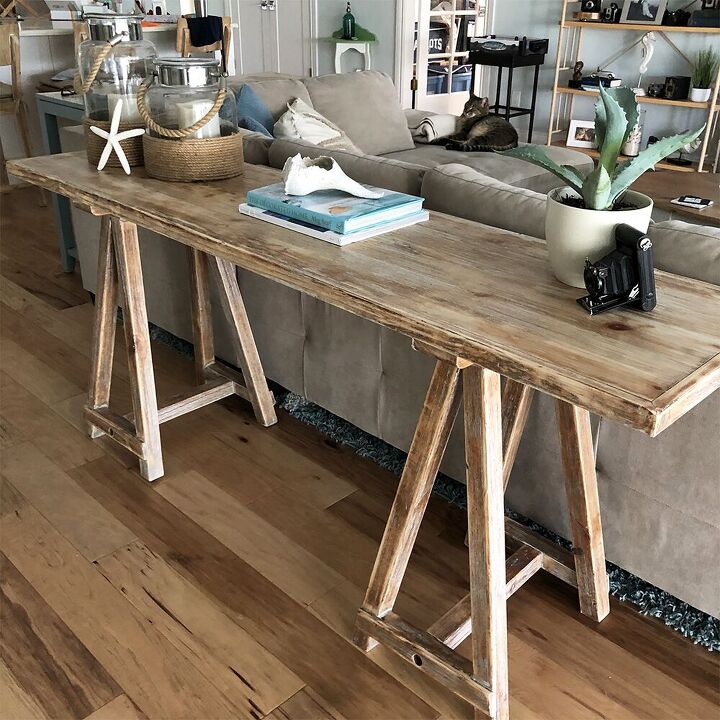
Next, I took the legs off and sanded, and sanded and sanded some more. Oh my aching neck and back!!! But, it was worth it because I was diggin’ how it was coming out. The wood has a sort of rustic, beachy, driftwood vibe with the white showing through a bit.
Step 3, Top Coat…
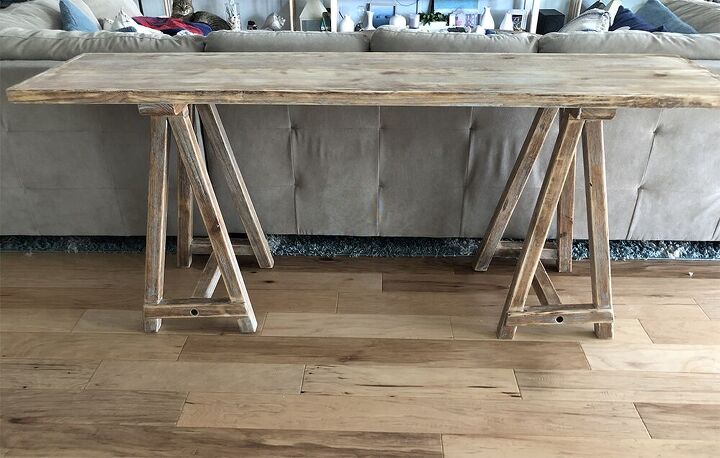
Lastly, I cleaned all the dust off using a damp rag and put the legs back on tightly. That fixed the wobbliness.
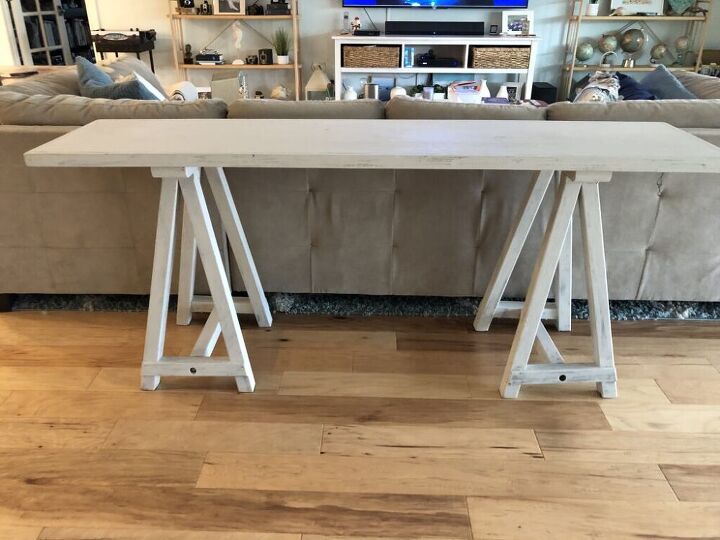
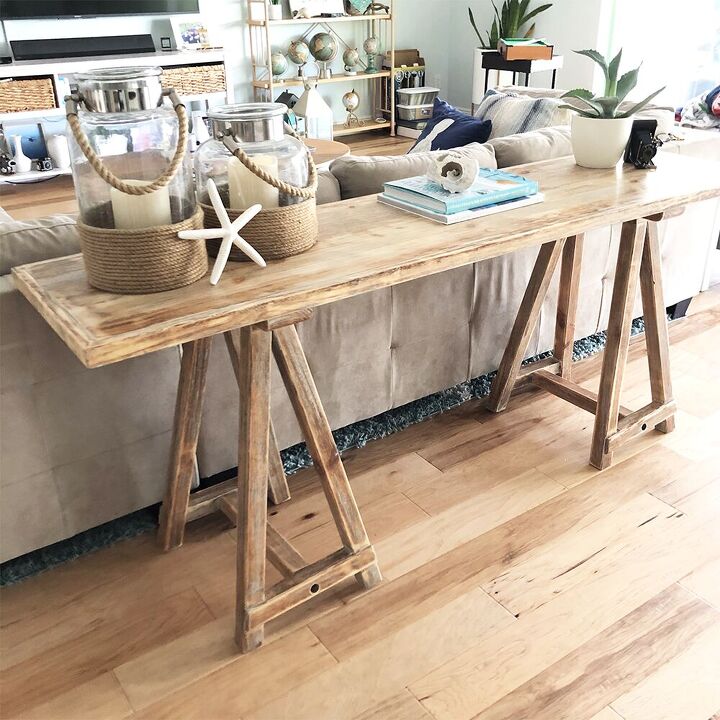
The end result. Ok, so maybe mine is a wee bit more rustic than the Pottery Barn one, but that’s ok with me. I like it so decided to keep it as is and just finish it off with some Polycrylic Top Coat rather than stain it another color. I always apply at least 3 coats of polycrylic. Minwax is my favorite. I love this stuff because it goes on clear and dries super fast. Again, I can’t believe I scored this great table FOR FREE. I usually sell most of my Trash to Treasure finds, but I am keeping this one, at least for now.
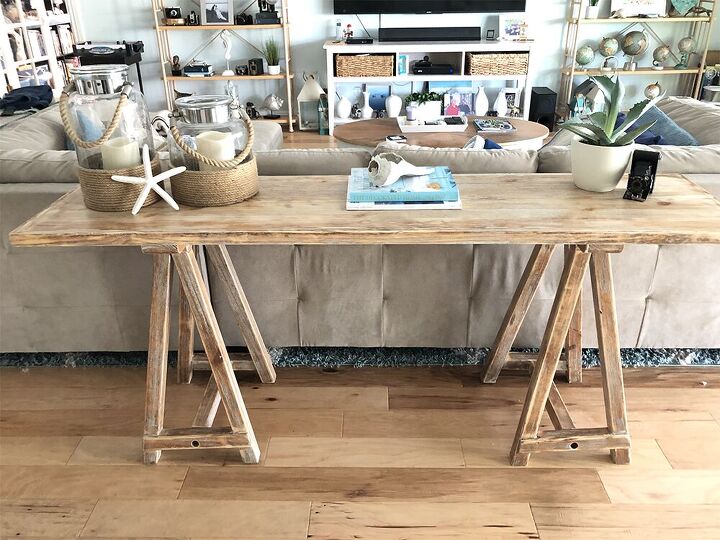
And here she is in all her glory, all styled and pretty…What do you think?


Comments
Join the conversation
-
Stunning! Well done. 😊
-
LIKE!! If you need more decor space, you could always add a board to the bottom support to make a second lower shelf without taking away from the cuteness of the structure. 🙂


Frequently asked questions
Have a question about this project?
Hello Jodi,
Where can I find the woodwork plans for these table Trestles Supports?
Your assistance would be most welcome.
Thank you, T
Love the table result. But what happened to the other stuff in the pile?
your legs are on backwards. What happened to all the other stuff you showed.