


DIY Lumber Organizer Rack
I created this DIY lumber organizer plan and this is the end result! As you can see, I have a lot of wood and stuff to store.
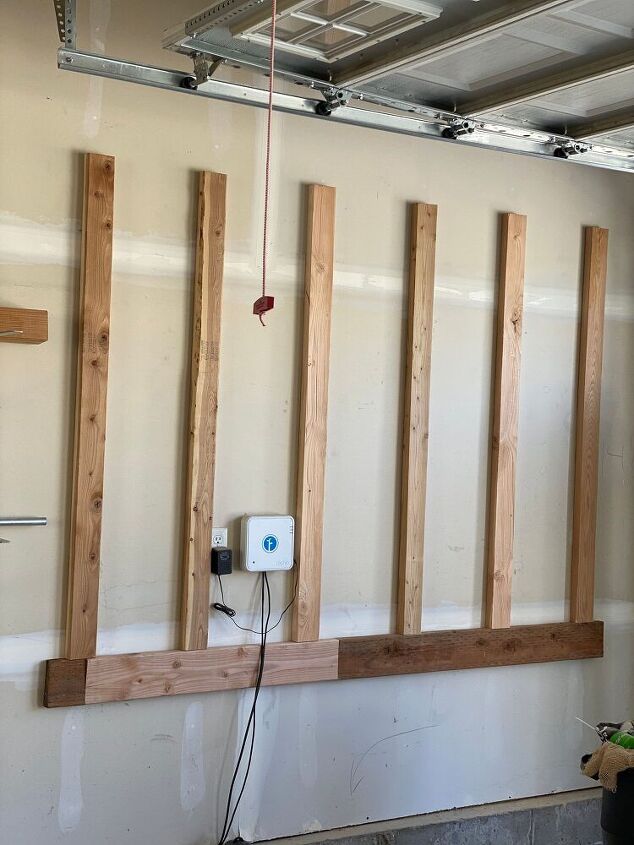
Step 1: Nail the 7′ 2×6 to the wall horizontally. Then nail the 5′ 2x4s vertically. Now you can drill holes into the studs and then screw in the lag screws so it’s very secure. Make sure your top lag screw is at least 2″ from the top.

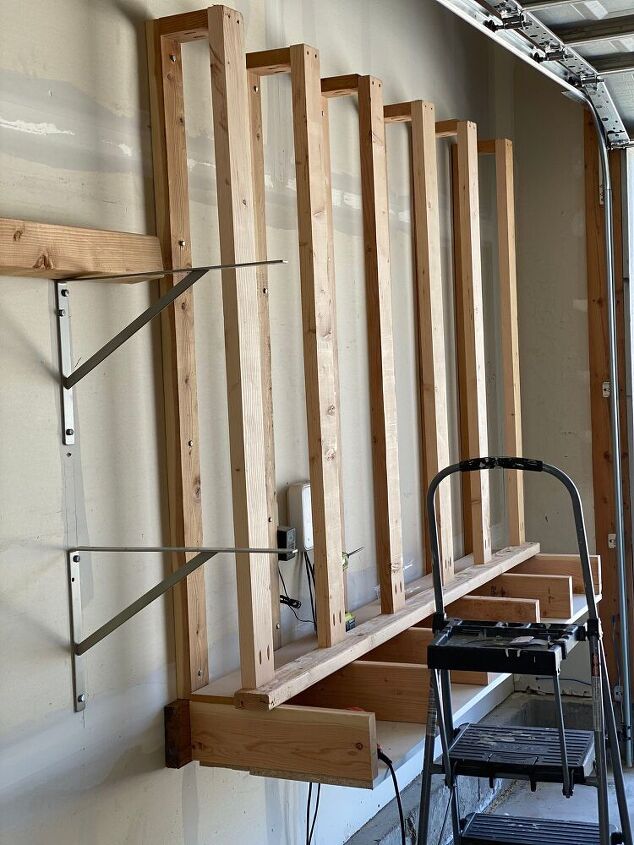
Step 2: Assemble the bottom organizer by laying out all 6 of the 17.5″ 2x6s on your work surface and then laying the plywood on top. Shoot some nails to hold it in place and then secure it with wood screws. Place the unit on a support (or have someone hold it up) so you can screw the pocket holes into the 2×6 on the wall.
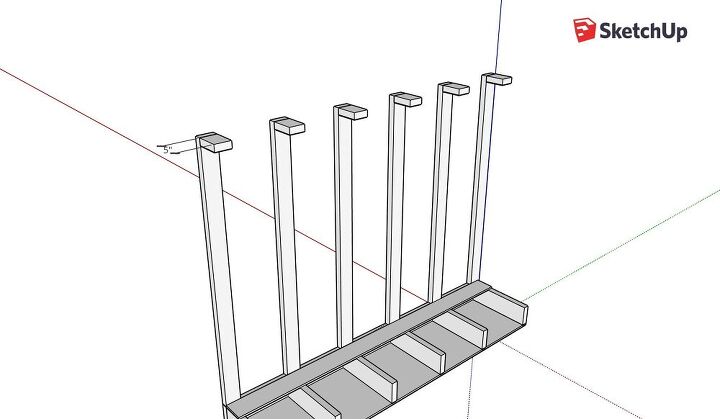
Step 3: Nail the 5″ plywood in place and then place a 2×4 next to it, securing with screws. Add the 5″ 2×4 pieces to the tops of your vertical 2x4s by screwing the pocket holes.
Step 4: Screw the 4′ 10.5″ 2x4s into the horizontal 2×4 with pocket screws. Then attach them to the 5″ pieces on top as a butt joint with wood screws.
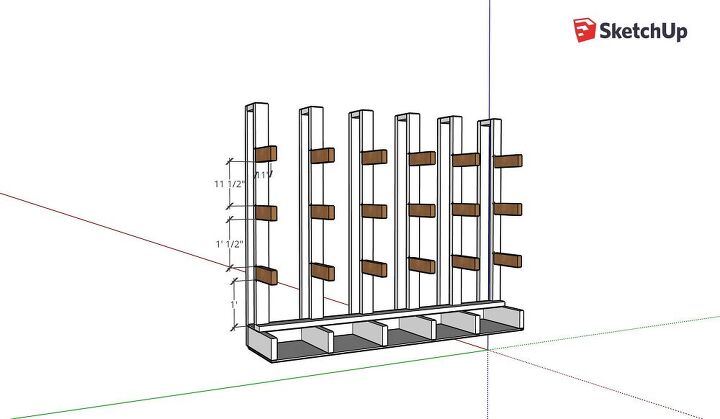
Step 5: Mark each front vertical 2×4 approximately every 12″ so that they will line up and make a level shelf. Attach the 11″ 2×4 bracket pieces in with pocket screws.
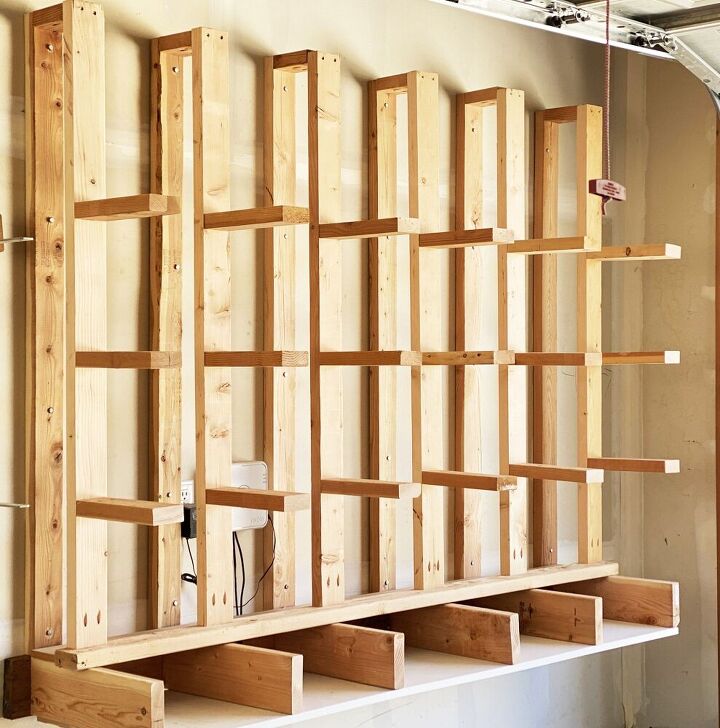
There you have it! A super sturdy lumber organizer with spaces for all different types of lumber.
For more DIY projects, please visit https://www.honeybearlane.com.
Resources for this project:
See all materials


Comments
Join the conversation
-
Very nice organizer. Would work in a small space with lots of storage. Something I need for my shop extension. Great share
-
Thank you. You are so kind.


Frequently asked questions
Have a question about this project?
Do you store the lumber vertical or horizontal with this shelving. Can you show us a picture of it full of lumber?
Why not attach the horizontal pieces to the vertical boards closest to the wall?