


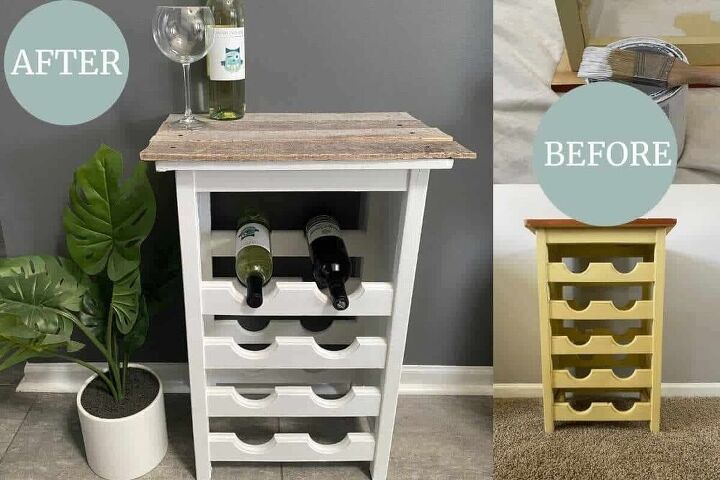
Garage Sale Wine Rack Makeover
Recently my husband and I stopped over at a friend’s house who was having a garage sale. This old beat-up wine rack caught my attention. It would be perfect for my daughter who just got her own apartment. That was it…. I saw a garage sale wine rack makeover in my future!
We asked what he wanted for it, and he said take it! You don’t have to tell me twice 🙂 I’m all about a good DIY project that is easy and cheap. I’ve had an old pallet sitting outside that I knew I would eventually use, and this was the perfect project for it!
This post may contain affiliate links, which means I’ll receive a commission if you purchase through my links, at no extra cost to you. Please read full disclosure for more information.
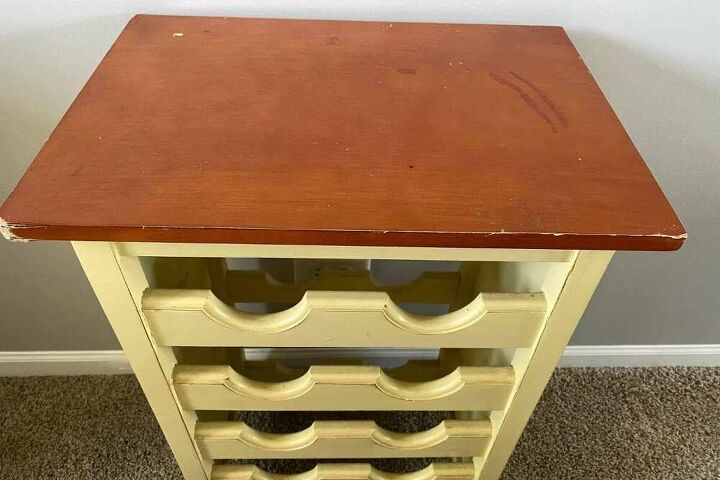
Here is what it looked like before. It was pretty beat up to say the least. But I saw a lot of potential.

Here is the top of the wine rack. I knew that I had to cover it!
Garage Sale Wine Rack Makeover
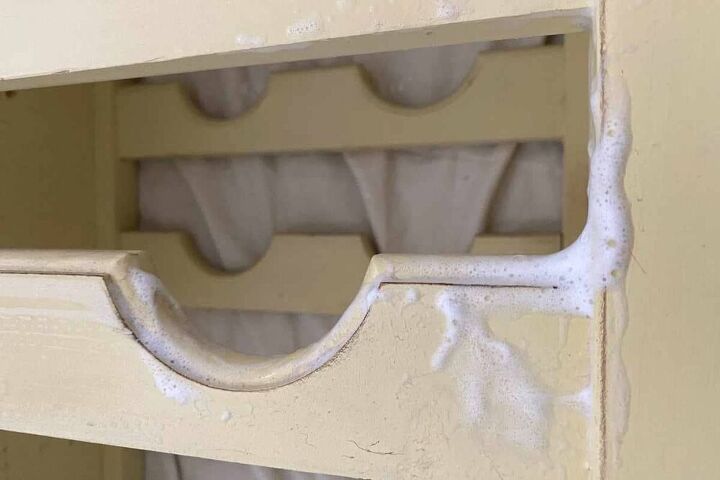
STEP 1 – CLEAN WINE RACK
The first thing I did was give the wine rack a really good cleaning. Nothing fancy just some soap and water.
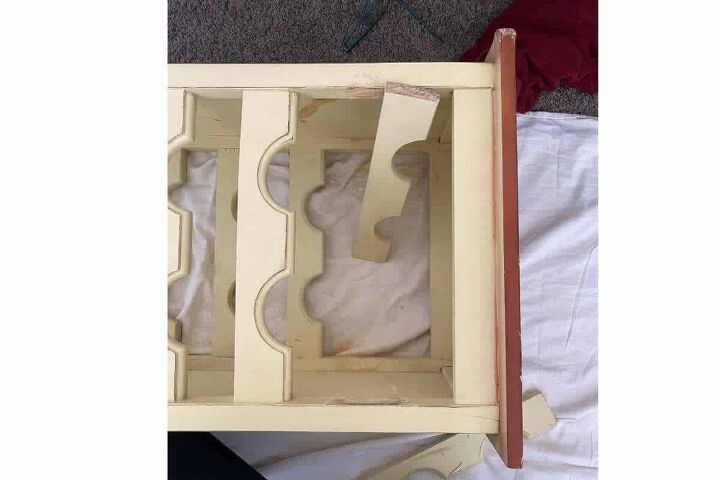
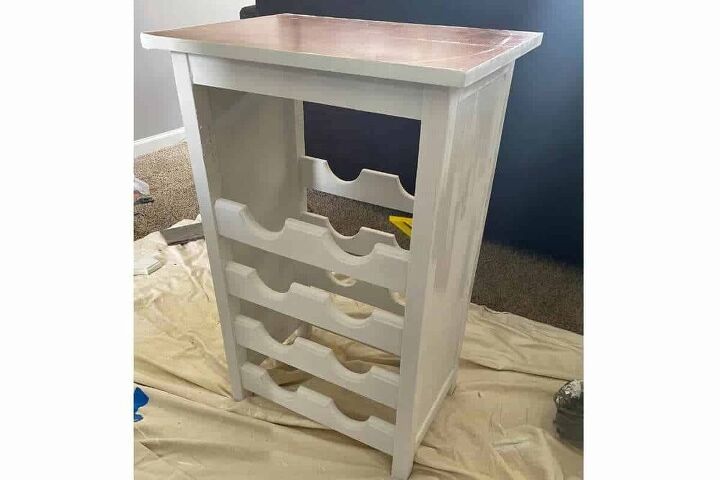
Step 2 – Remove Top Wine Rack Row
So originally, I was going to make a top that had a wrap around edge, so I decided to remove the top row. I didn’t end up going this route but it still looks good!
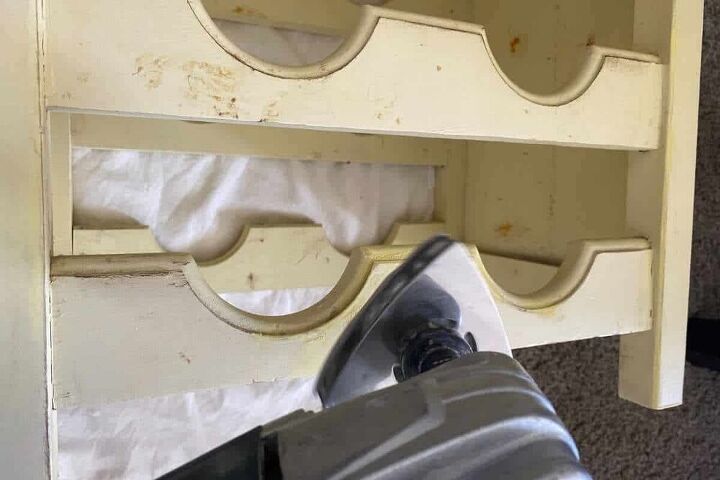
Step 3 – Sand Garage Sale Wine Rack
Time to give it a good sanding. There were some warped edges & mystery gunk on it that wouldn’t come off when cleaning. I used my oscillating tool with the sander attachment and it went very quickly.
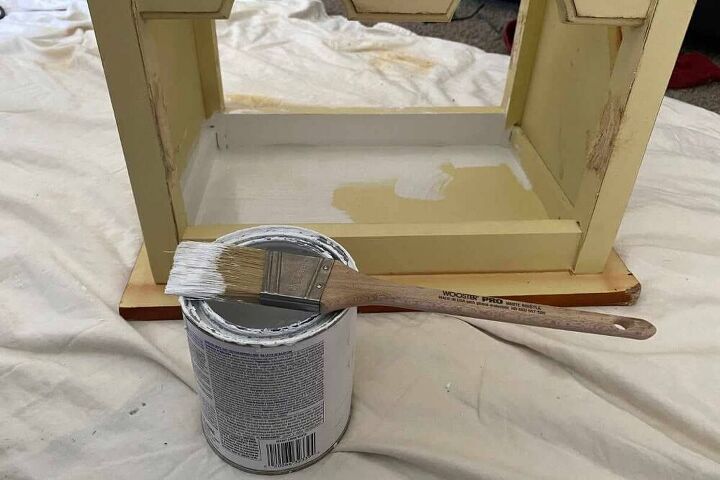
Step 4 – Paint Wine Rack
I used this white chalk paint to cover the entire base of the wine rack. I used a paintbrush for the inside and a roller for the outside. It did take two coats to cover but this stuff dries quickly so it didn’t take that long.
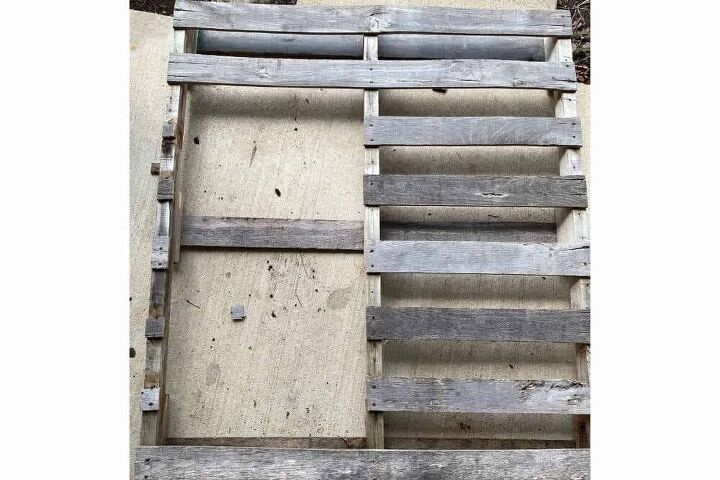
Step 5 – Cut Pallet Wood
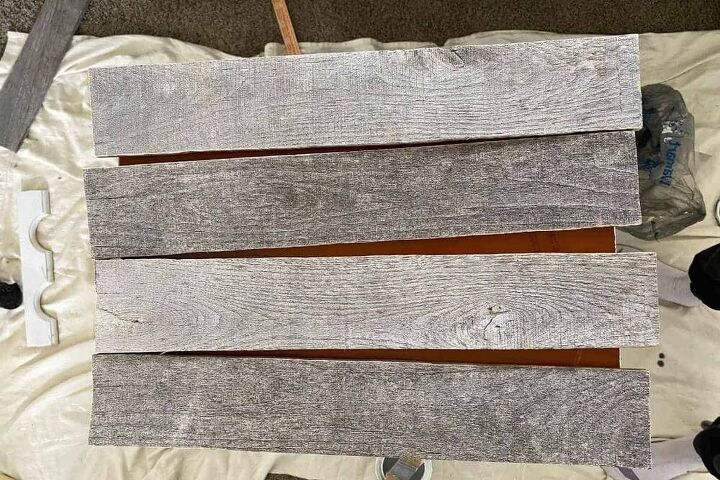
I have had this pallet for a long time just waiting for me to find something to use it for! It’s been outside so it had a beautiful weathered gray hue to it. I grabbed my jigsaw and cut out my pieces.
After setting the pieces on top of the wine rack, I did need to sand them and go back and trim the edges a bit. I didn’t want perfection to I didn’t line up the edges of the pallet wood perfect.
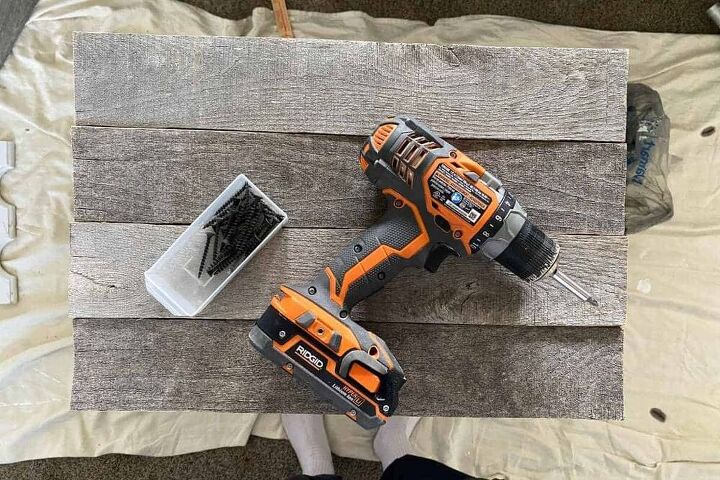
Step 6 – Screw pallet boards to top of wine rack
I just used some old drywall screws I had laying around to attach the pallet wood to the top. Worked just fine.
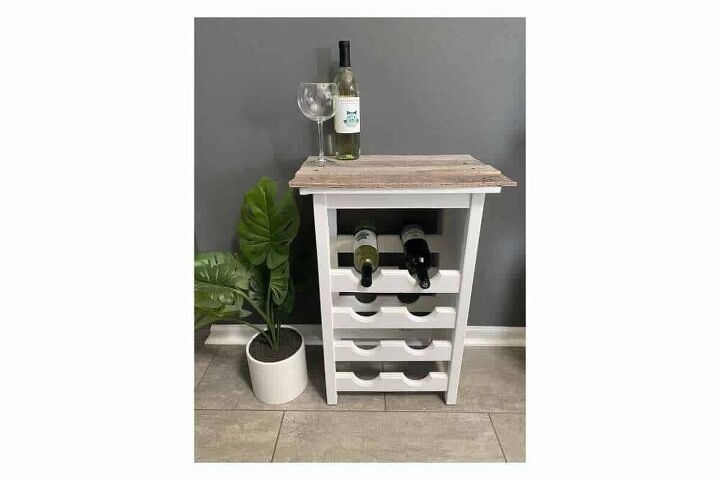
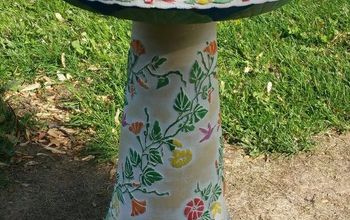
Here we have it! What do you think of this garage sale wine rack makeover? My daughter loves how it turned out and I’m sure it will look great in her new place.
Make sure to keep an eye out next time you hit a garage sale – you never know what you’ll find! Check out more of our decorating on a budget tips for ways to save money while making your house look gorgeous.
Looking for more DIY Projects you can do around the house? Check out our list of 101+ DIY Projects For The Home

Comments
Join the conversation
-
Good save. Looks great.
-
Love it!


Frequently asked questions
Have a question about this project?