


Easy DIY Book Hammock: Kids Book Storage
Build This Easy Kids Book Storage Unit With Only 2 Pieces Of Wood
This project is sponsored by WORKPRO® Tools
Is there anything sweeter than your little one cuddled up in your lap with a book?
The answer is no, absolutely not!
Storytime is the only time my bat-wielding mess of a toddler will relax & let his momma hold him all snuggly.
So we have a lot of books y’all, like a lot a lot!
Naturally I had to come up with a super cute book storage idea.
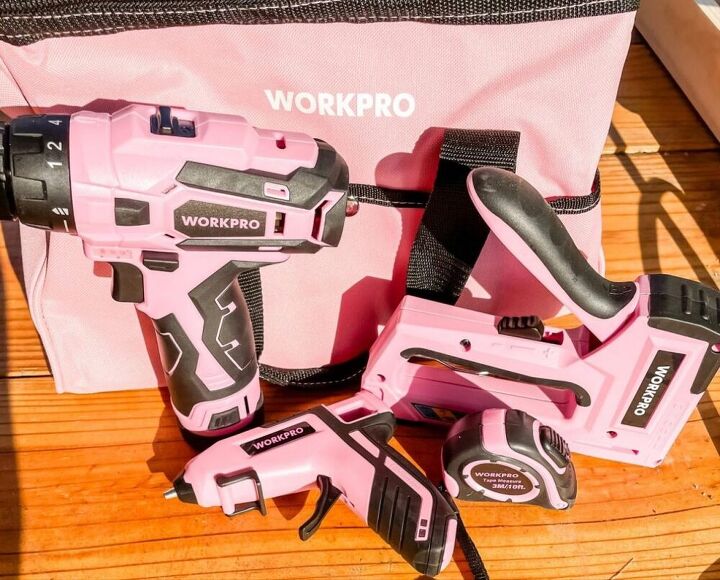
So I grabbed my pink tool bag & made this easy DIY book hammock
WORKPRO® Tools is a proud Gold Partner of National Breast Cancer Foundation, Inc.® and have pledged to donate $50,000 by September 30th, 2021. A portion of each pink tool sold goes directly to National Breast Cancer Foundation, Inc.® in their fight against breast cancer!
I am honored to use their Pink Tools for Hope line for this project!
Supplies:
- WORKPRO® Pink 61PC Home Tool Kit w/12V Cordless Drill
- WORKPRO® Pink Cordless Hot Glue Gun
- WORKPRO® Pink 6-in-1 Staple Gun
- 1 x 2 x 6
- 1 x 4 x 8
- Fabric
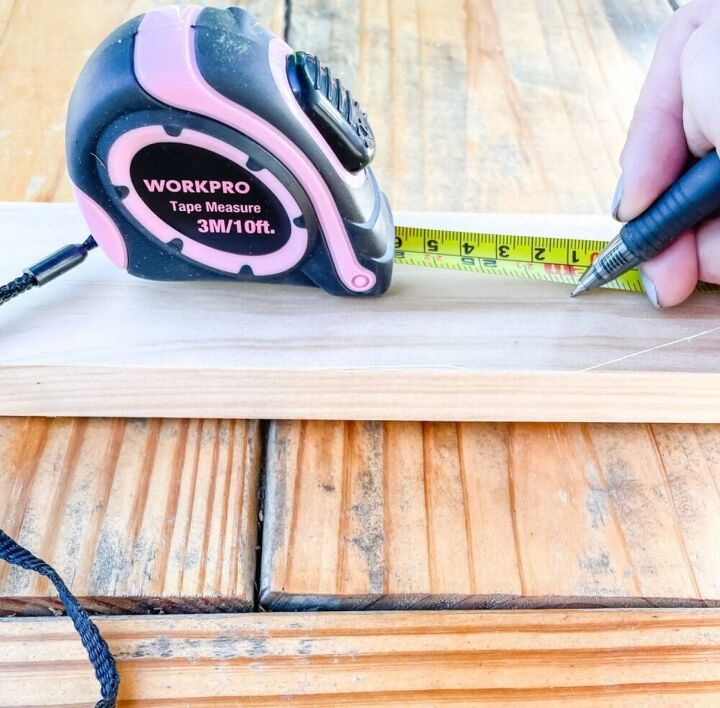
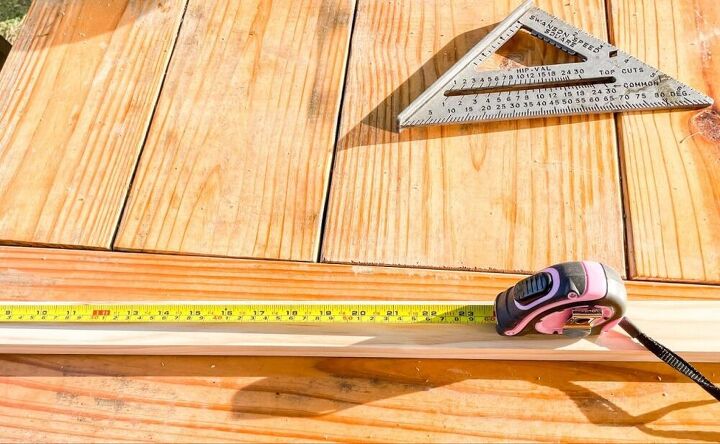
Step 1:
First measure the 1×4 boards to the height you want the hammock to be. I went with 2’ tall.
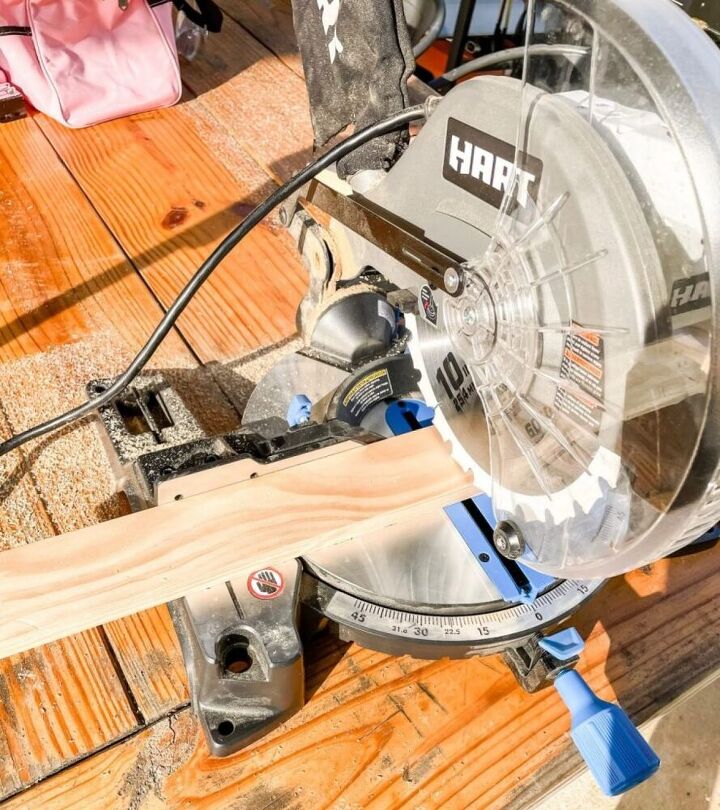
Step 2:
Next I used a miter saw to cut the boards down to 2’. Cut (4) 1×4 boards total down to size.
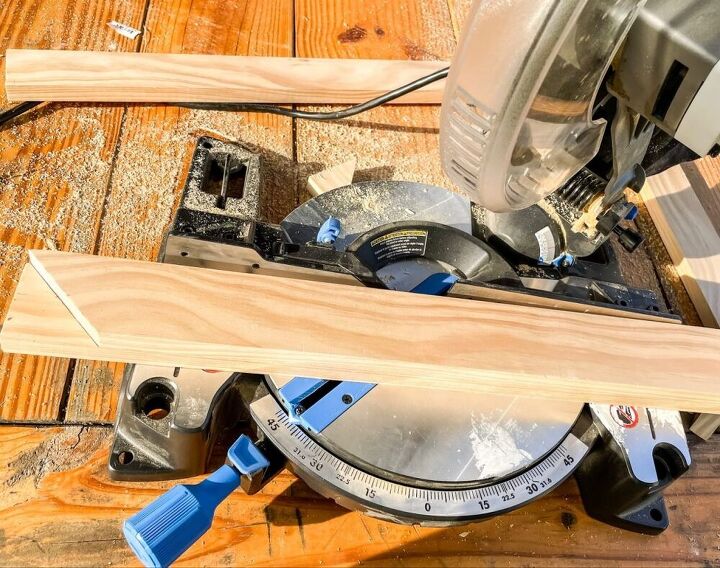
Step 3:
After you have the boards cut down to size turn the miter saw to a 38 degree angle & cut an angle on one side of the board.
TIP: Use the first angle you cut to trace the rest of the boards so you know where to start the blade & can guarantee they are all even!
Step 4:
Next, measure & mark the 1×2 board for how wide you want the book holder to be. I decided 2’ was perfect.
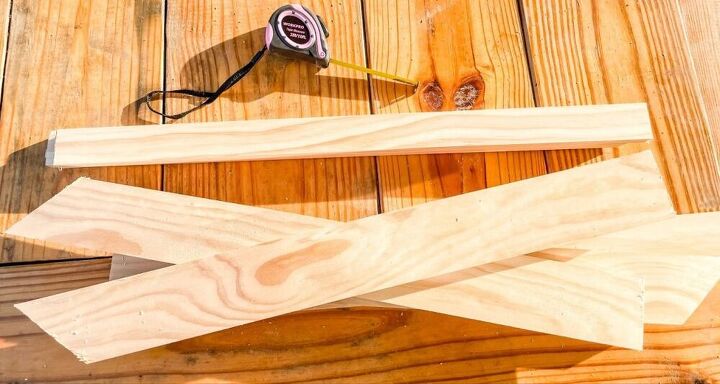
Step 5:
After you cut the 1×2 to size you should have a total of 6 boards.
(4) 1×4
(2) 1×6
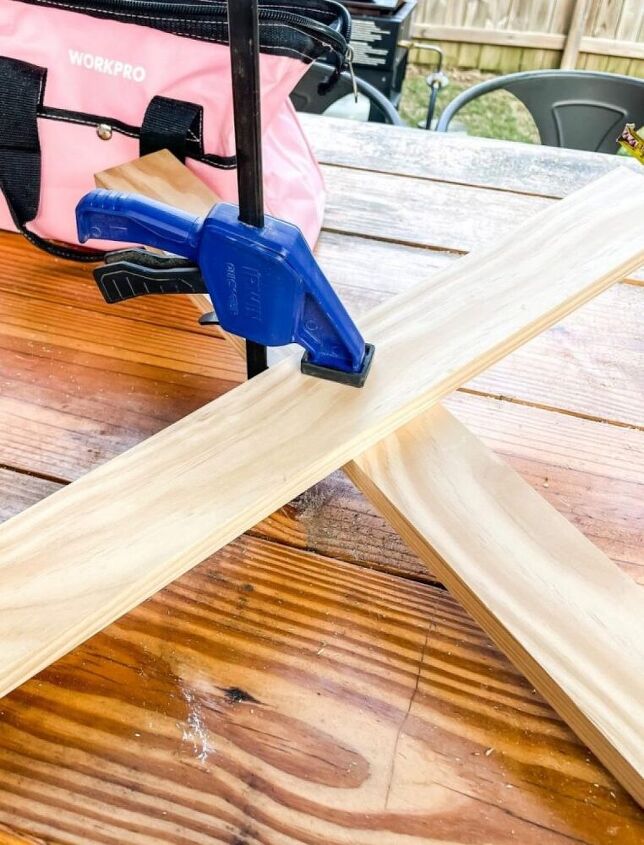
Step 6:
Now it’s time to assemble the legs. I did this the cheating way & stood both leg pieces up on the table. Once they stood evenly on the table I clamped the center down to hold the angle.
Step 7:
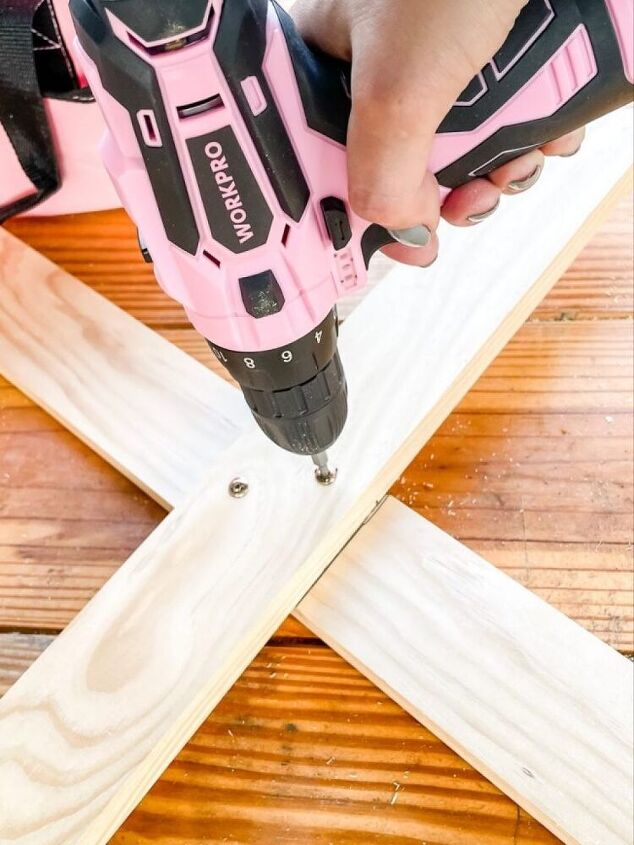
Once you have them clamped down, use 1” screws to attach them together. This pink drill had some power yall, those screws went in like butter!
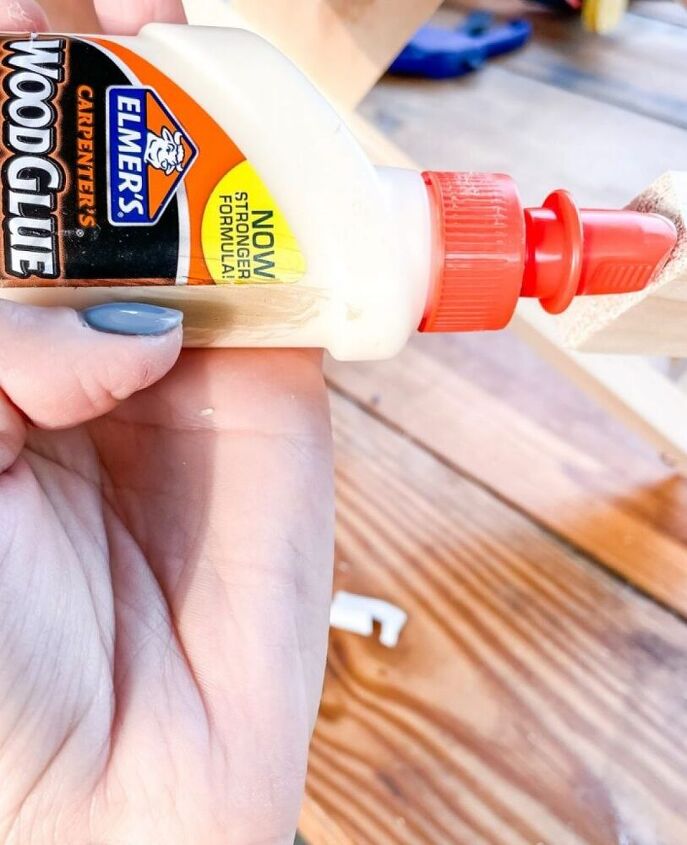
Step 8:
After one leg is built, you can start attaching your 1×2 pieces to the top of the X. I used wood glue for a little extra hold.. I did mention my two year old loves a bat so things need to be extra tough!
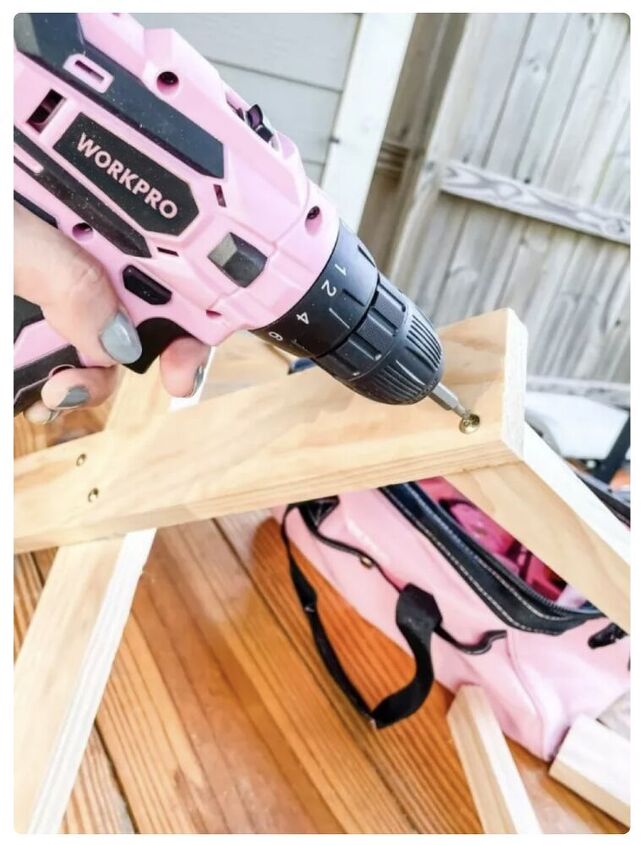
Step 9:
Then I used a screw to secure the 1×2 to the leg. I only used one screw because I was worried about the wood splitting, but the glue should be enough to keep it secure.
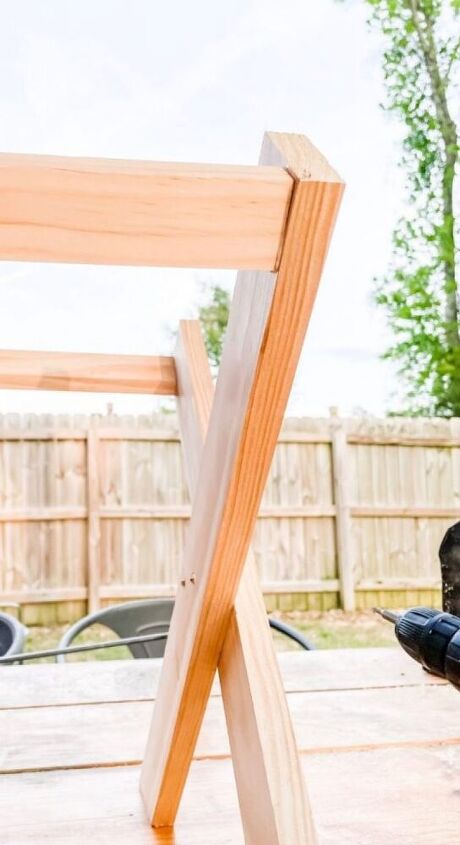
This is how it should look when you have 1 side complete. Attach the other side the same way.
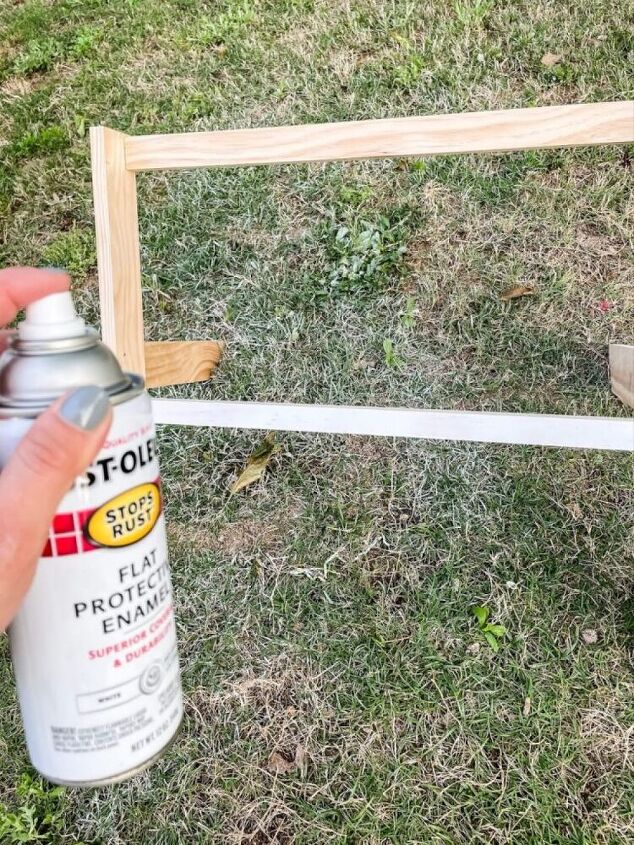
Step 10:
Now the building is done, it’s time for the finishing! I used flat white paint on my book storage unit, but feel free to get a little crazy with the colors!
Adding Fabric To The Book Hammock
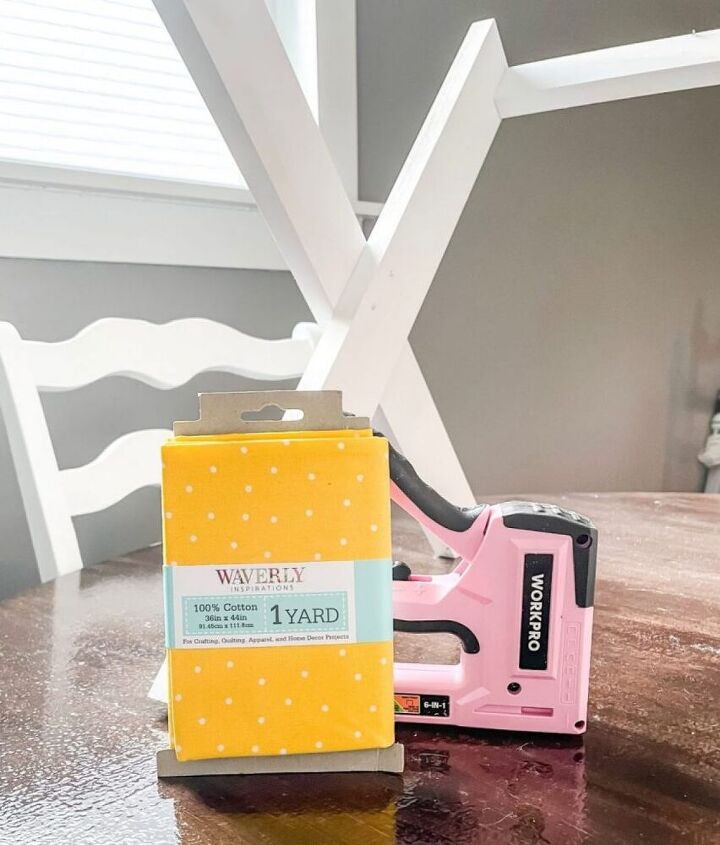
Now we can add the fabric to our book holder! I went with this fun polka dot pattern to add some color to Eli’s room.
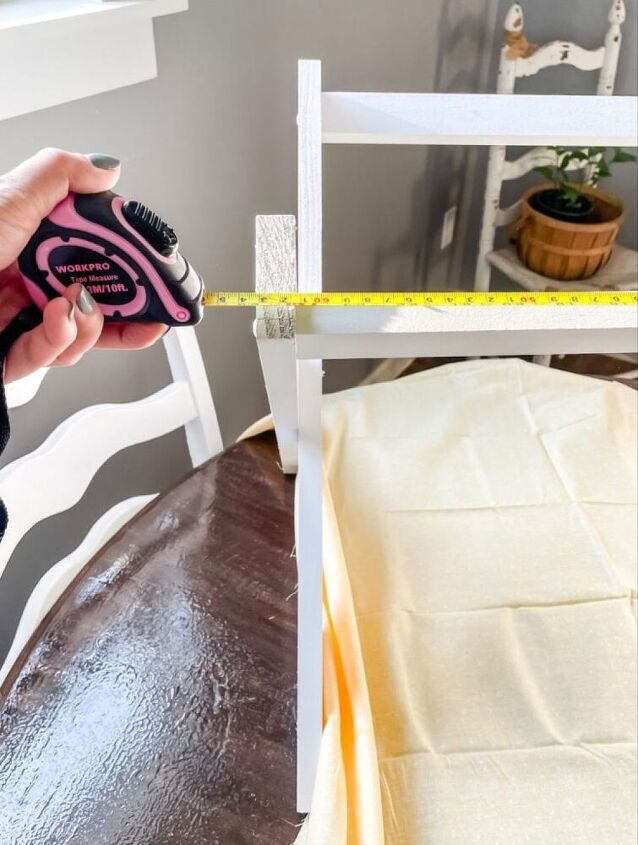
Step 1:
First, measure the width you will need the fabric to cover. It should be the length you cut the 1×2’s to, but it never hurts to double check the measurements.
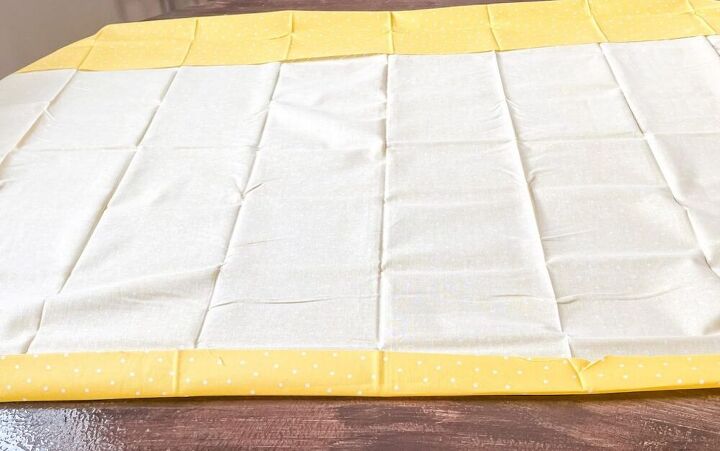
Step 2:
Once you have the width, fold the fabric into those measurements. You could also cut the fabric but this just seemed easier.
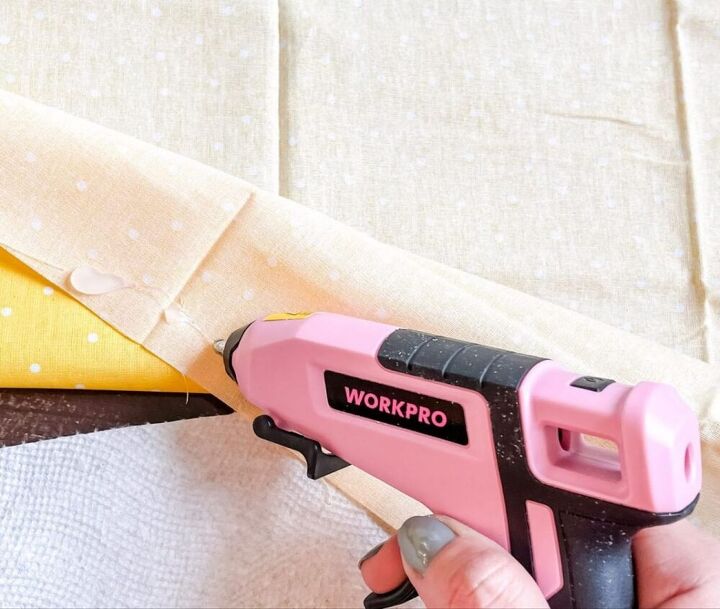
Step 3:
Then, I added a line of hot glue to the edge to keep the fold in place. This WORKPRO® hot glue gun is so easy to use. Since it's cordless, it moves around so, so easily.
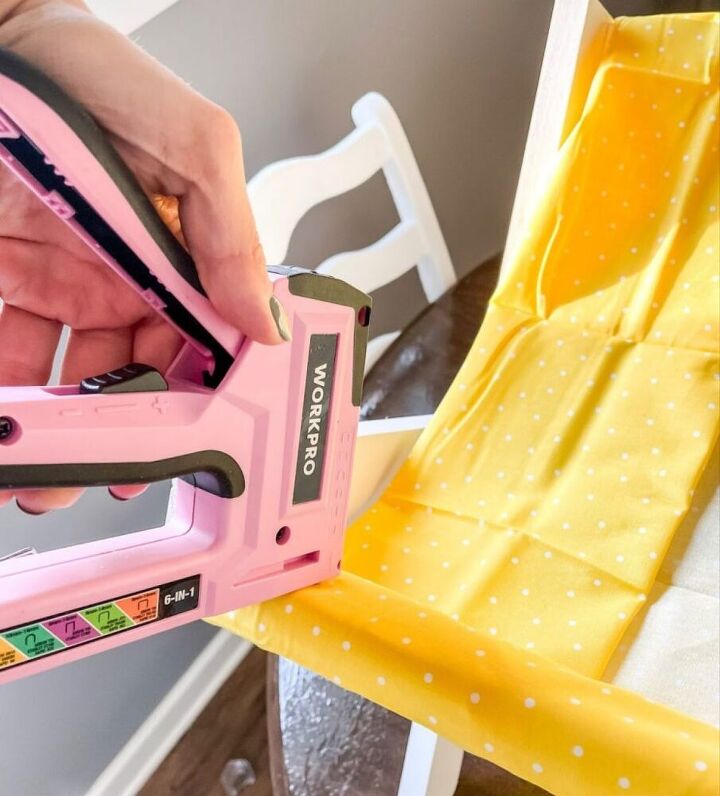
Step 4:
To attach the fabric I used the staple gun. Simply fold it over one side of the 1×2 & secure it with staples. I particularly like using the WORKPRO® staple gun, it's really versatile and accepts a bunch of different types of fasteners.
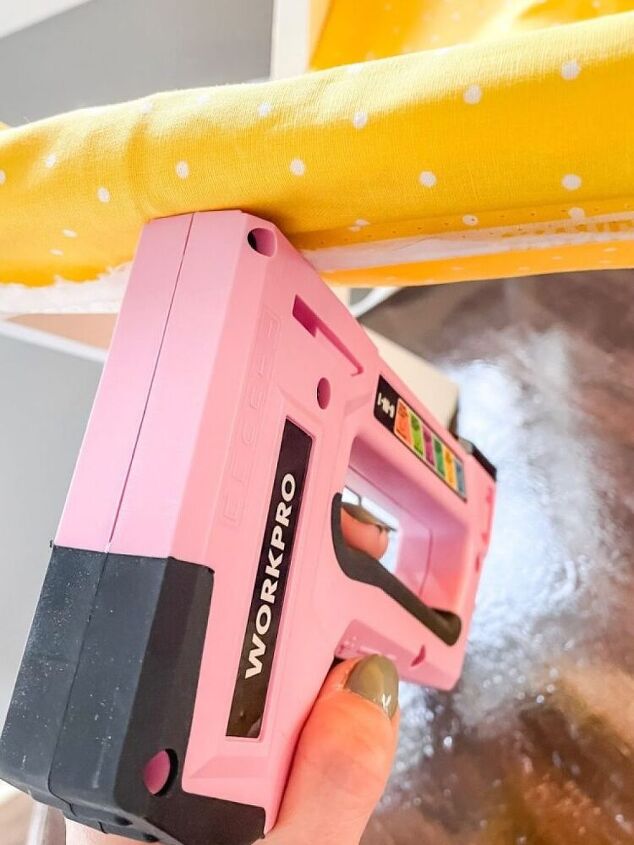
Step 5:
I overlapped the fabric so that the pattern would also be on the top side of the hammock, but that’s just a preference. Secure the other side with more staples.

That’s it yall! The WORKPRO® Tools made it a breeze to assemble this sweet book storage, they are all made with great quality. So pretty in pink and packing some real power!
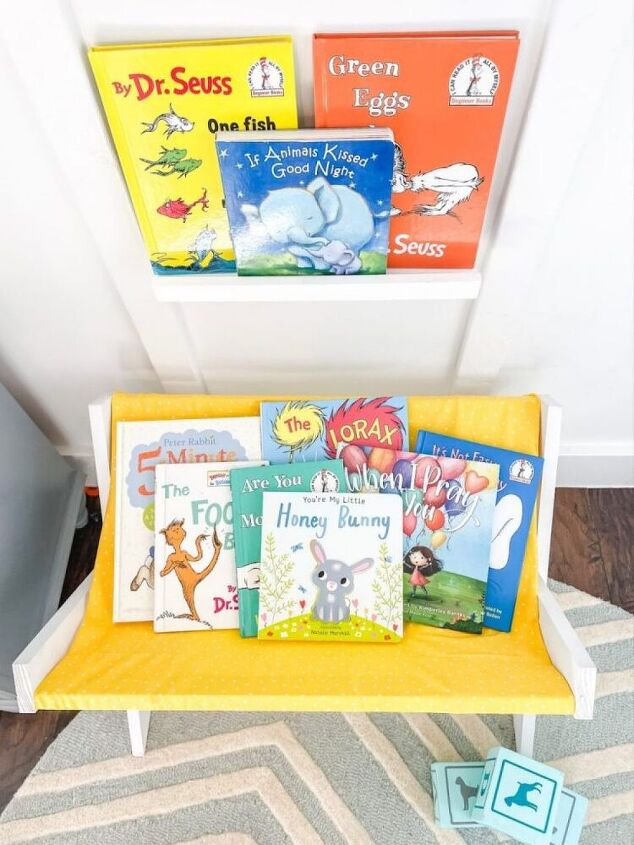
I absolutely love how it came out & the pattern adds a fun pop of color to his nursery!
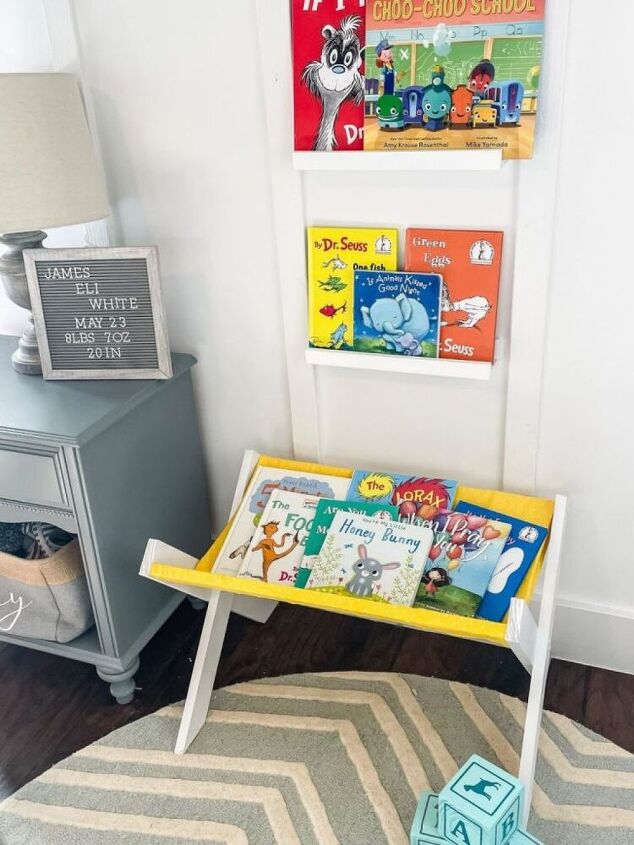
Eli is obsessed with putting books in & out of his new book rack so I would call this DIY project a huge success & dubbing Eli the official book manager!

The next question is what project will my pink WORKPRO® Tool Bag & I get into next! Plus check out more book storage ideas here!
Resources for this project:
See all materials


Frequently asked questions
Have a question about this project?