


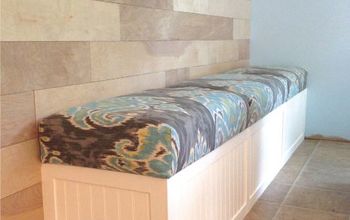
How to Upholster a Storage Bench That’ll Make You Smile
Today we’re talking how to upholster a storage bench.
Why bother, you ask?
Well, plain storage benches usually have lifeless neutral fabric with zero personality. When said boring fabric gets gross from life with kids, I start looking at it, knowing it could be better.
I’ll show you how to break down a storage bench. Then I’ll help you find some awesome fabric to recover it with. Finishing up, I’ll show you step by step how to upholster a storage bench.
This is a great weekend project, and it’s going to make such a huge difference in your decor. You’ll be amazed at how the bench you never noticed before suddenly becomes a focal point in your room.
Grab your staple remover and let’s do this.
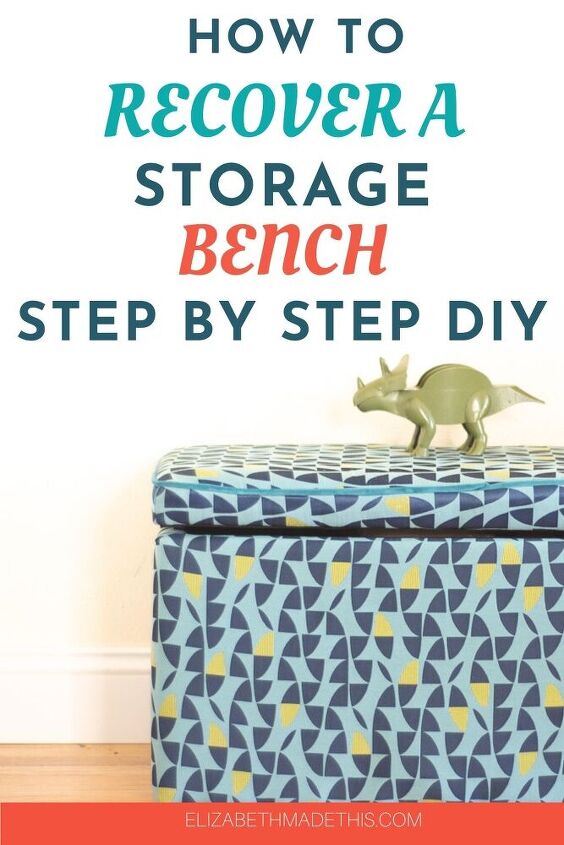
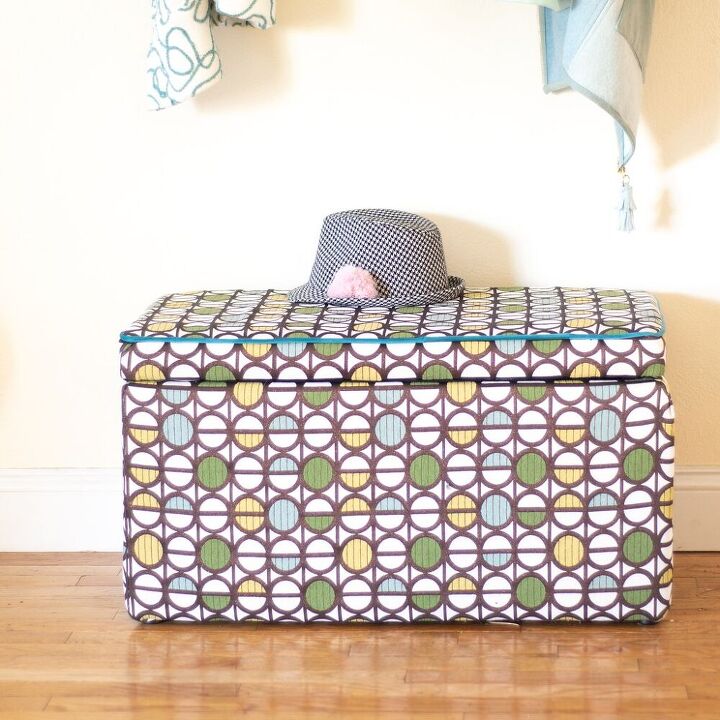
Table of Contents
Storage bench reupholstery supplies
- Old storage bench
- 2 yards heavy upholstery fabric
- 5/32″ piping (optional)
- 100/16 universal needle
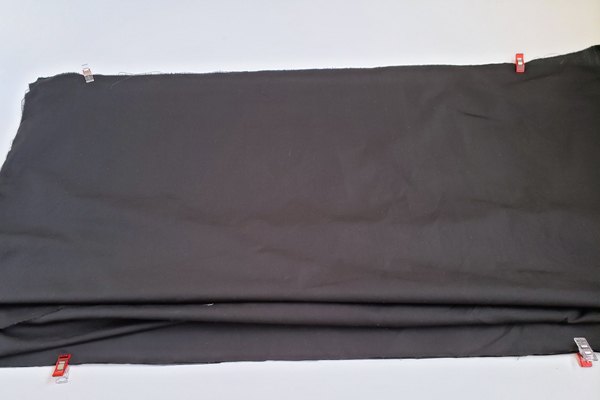
- 1 twin black flat sheet
- tailor’s chalk
- ruler
- staple gun ( ok, better, awesome)
- 3/8″ crown upholstery staples
- upholstery staple remover
- Philips screwdriver
- awl
- measuring tape
- 1/2 yard contrast upholstery fabric (optional for piping)
- wonder clips
- sewing pins
- dust cover fabric (if the old stuff is in bad shape)
- fabric scissors (love my Kai 7230s here).
What kind of storage bench is good to reupholster?
Whatever you have. As long as it has a plain top without tufting (buttons), this will work. We got ours at WalMart several years ago.
How to upholster a storage bench step by step tutorial
How to break down your old bench
First up, we need to get down to the inner guts of your storage bench before you can recover it.
Use your screwdriver to take off the feet.
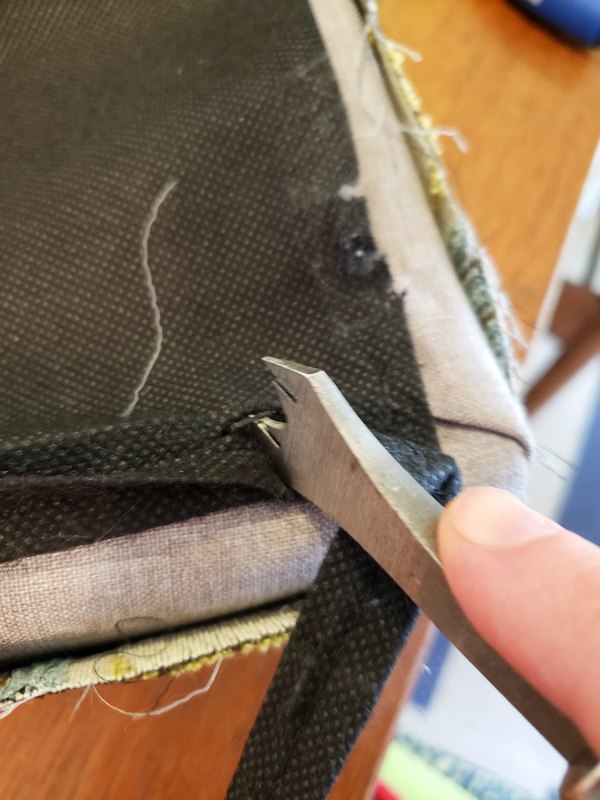
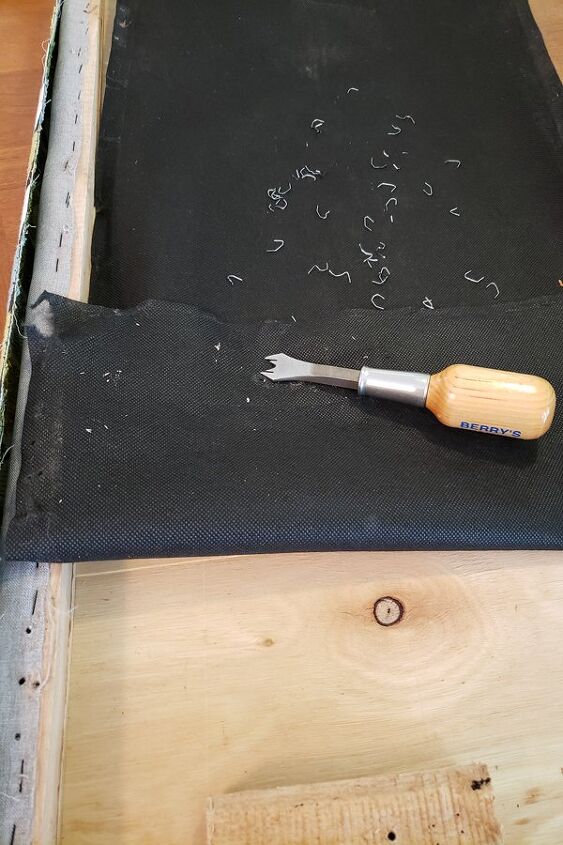
After that use your staple remover to take off the dust cover on the bottom and the inside of the lid. If the dust cover fabric is in good shape, set it aside for later. You can get dust cover fabric here if yours is falling apart.
Also unscrew the hinges, the lid mechanism. On my lid there were a couple staples holding the fabric covering the lid mechanism. If yours is like that, remove those staples too.
Keep all of your screws in a cup for later use.
How to measure your bench
- First, with your tape measure, measure the top of the box. Add 1″ to the length and width.
- Measure around the side of the lid on the front + one side: Add 2″ to the height and 1″ to the length.
- On the box, measure the front + one side. Add 1″ to the width and 2″ to the height.
- Measure the inside of the box on the front + one side: Add 1″ to the width, 1″ to the height
- Measure the inside bottom of the box: add 1″ to the width and 1″ to the length.
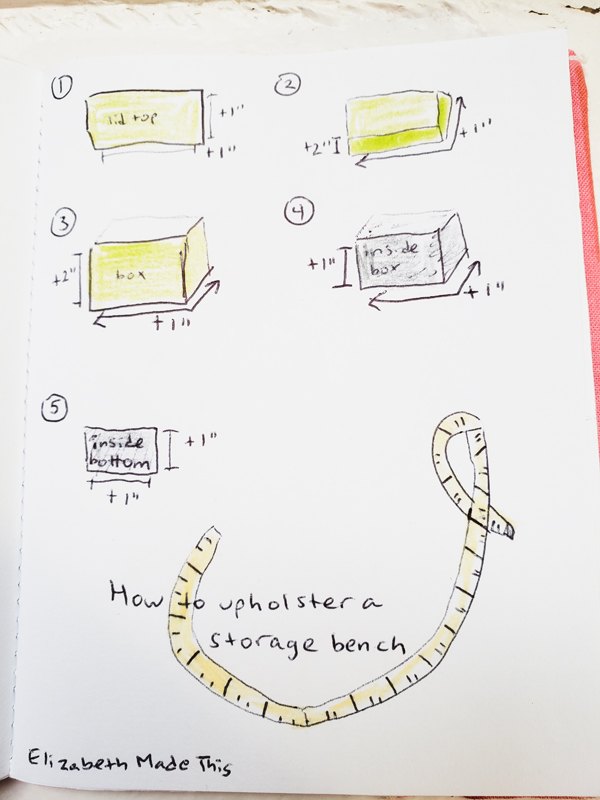
Write all your measurements down on a piece of paper, making sure to add the extra dimensions in each step.
Cutting your fabric
For this step, mark your fabric with chalk and a ruler with the dimensions you just measured out in the last step.
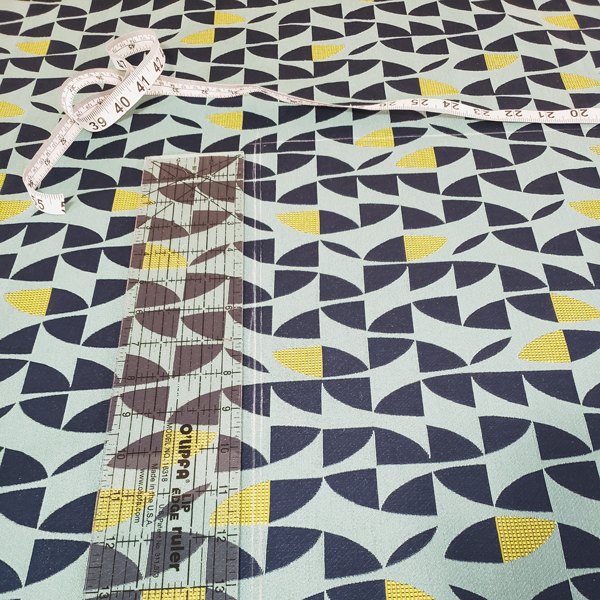
Cut the following:
Lid top (step 1)cut 1 from upholstery fabricLid sides (step 2)cut 2 from upholstery fabricBox Front + side (step 3)cut 2 from upholstery fabricBox inside front + side (step 4)cut 2 from black sheetBox inside bottom (step 5)cut 1 from black sheet
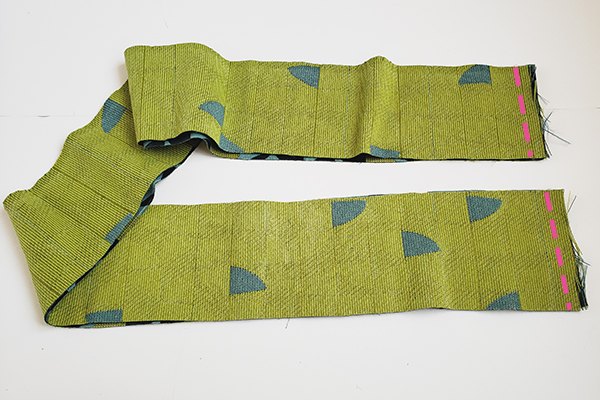
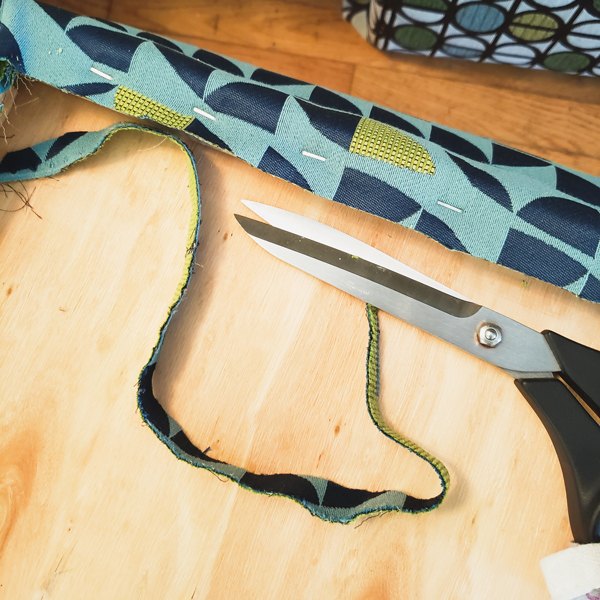
Optional but awesome: adding piping
I’m not going to show you here how to do piping on the lid as I’ve done here.
You can absolutely skip this and still have an amazing newly DIY upholstered bench with storage. And frankly I don’t want to confuse you especially if this is your first upholstery project.
On the other hand, if you’re up for the challenge and want to add in that extra spice of piping to this situation, follow the steps for adding piping from How to Make Chair Cushions.
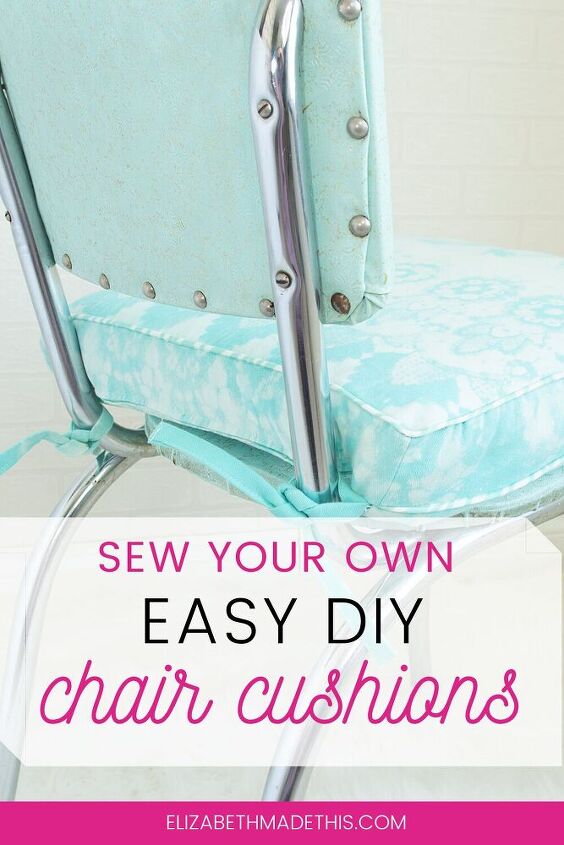
How to sew your own DIY chair cushions
Chair, meet portable cushion you can sew yourself. Add piping for extra jazz.
Sewing the cover for your DIY upholstered bench
Sewing the lid pieces
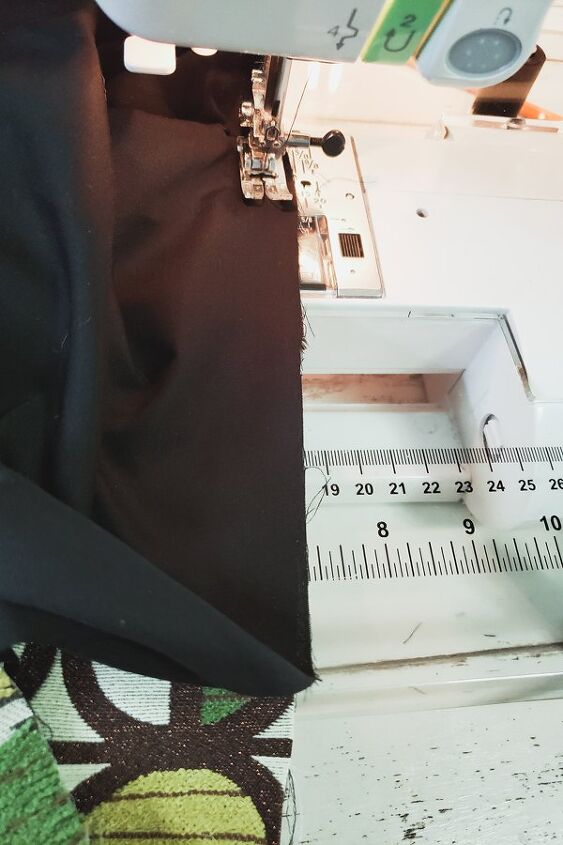
Place the lid sides right sides together and sew the short seams with a 1/2″ seam allowance. Press open the seams.
Match the sides to the top right sides together at the corners. Sew the top to the sides with a 1/2″ seam allowance. Press open the seams.
Sewing the box sides
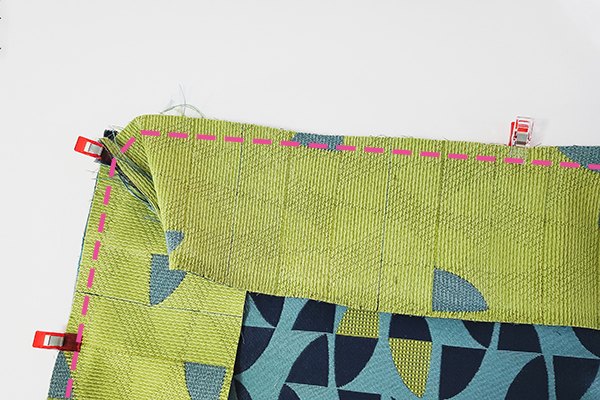
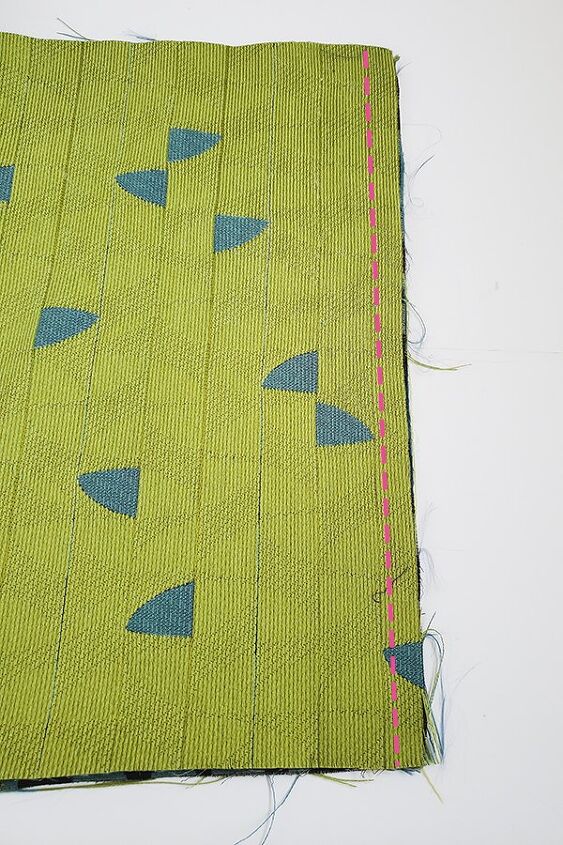
Place the box side pieces right sides together. Sew the short sides together with a 1/2″ seam allowance.
Pop the box cover onto the box at this point, keeping the cover inside out. Pinch and pin the corners on the inside so that it sits flat. Use one pin in each corner to hold each tiny dart.
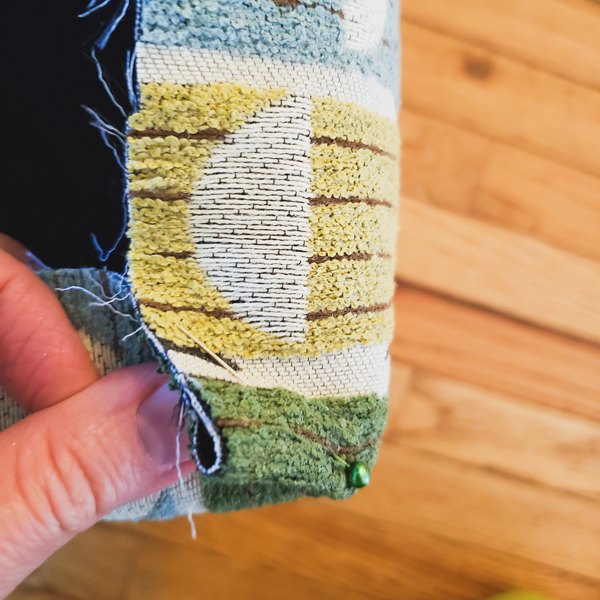

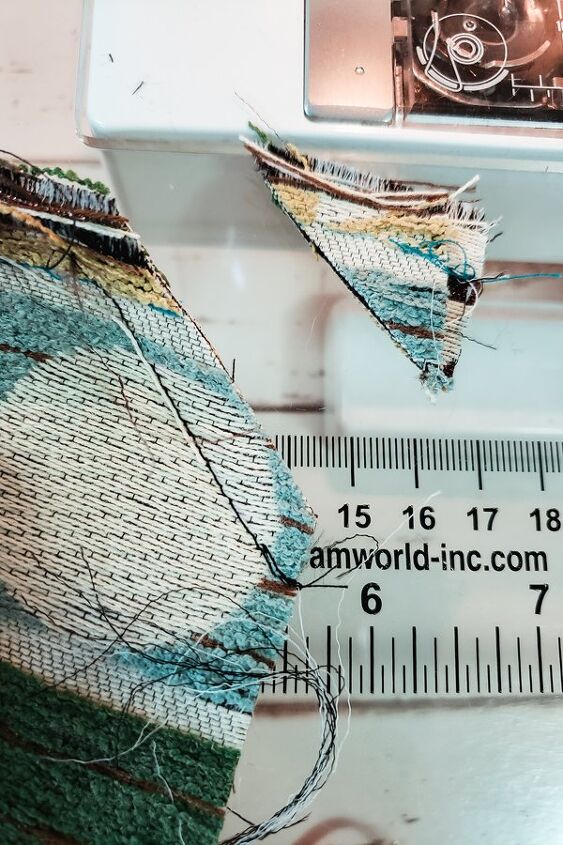
Sew right along your pin line in each corner to create a dart. Repeat for the other 3 corners. Trim off the extra fabric so there’s about a generous 1/4″ past your dart sewing line. Press open the seams.
Sew the lining
You can skip this step if you’d like, but this really will make for a much nicer inside finish. Shoot, you’re going through the effort, why not add a lining too?!
Match the box inside pieces right sides together and sew the short sides with a 1/2″ seam allowance. Pin the side assembly to the inside bottom piece, right sides together, pinning at the corners.
Sew the bottom to the sides with a 1/2″ seam allowance all the way around the bottom piece. Press open your seams.
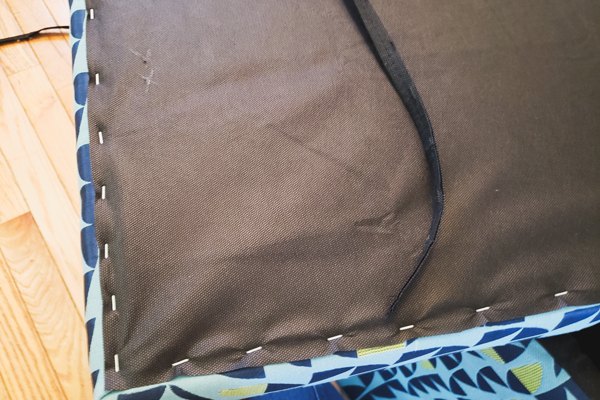
Sewing the lining to the outer box cover
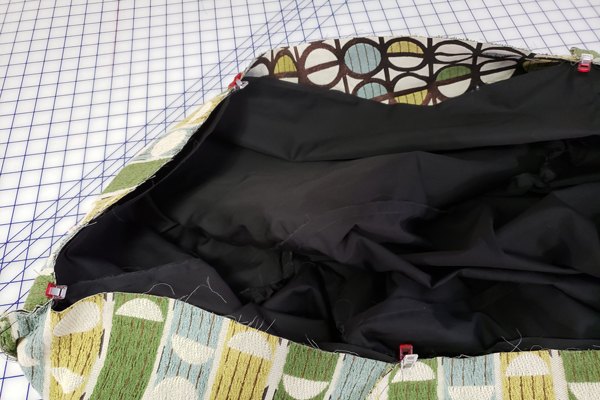
From here, match the sides of the outer box cover to the sides of the lining at the top right sides together. Sew all the way around with a 1/2″ seam allowance. Turn the cover right side out.
Time to staple this!
Stapling the cover to your storage bench
What staple gun should you use?
This is a personal choice. I started with a hand powered stapler, I moved up to an electric staple gun. These days, we’re using a pneumatic staple gun. A pneumatic gun isn’t that much more expensive than a hand powered stapler and much much easier to use. The one thing you’ll have to keep in mind is that you’ll need to hook up your staple gun to an air compressor, so that is another expense unless you have one.
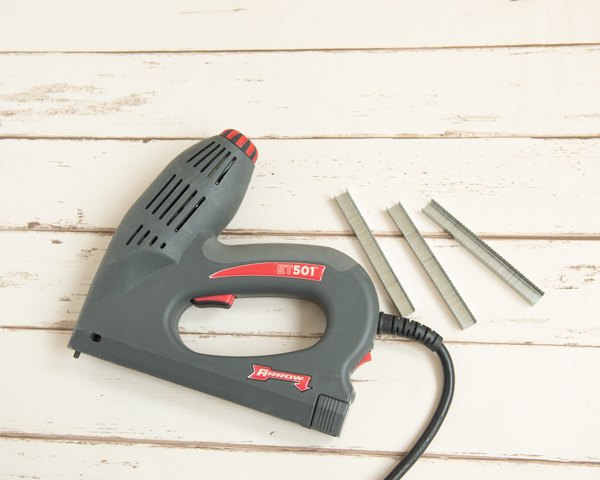
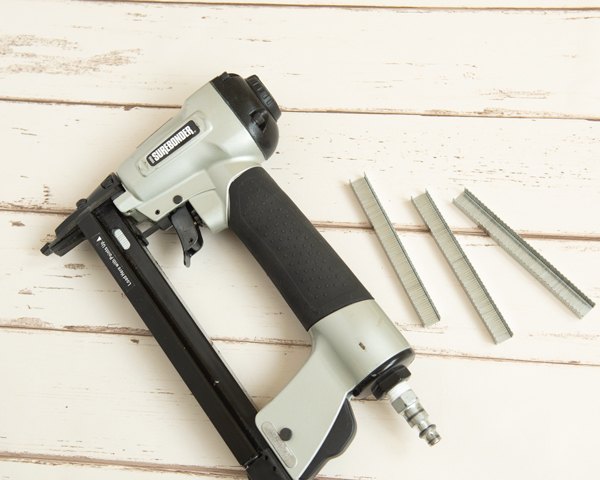
You can read more about the different types of staplers in 9 essential tools you need for amazing DIY upholstery.
How to upholster a storage bench: Stapling the box
First, pop the lining inside the storage bench and fold the outer cover around the box.
Flip the piece so you’re looking at the bottom of the bench.
Wrap the extra fabric to the bottom and stretch it so that it lays taut. Load up your stapler with the crown staples. Start stapling. Staple every inch or so, always keeping the fabric taut.
At the corners, stretch and fold the fabric so that you don’t see any pleats on the cover from the right side.
Add several staples in the corner.
Continue adding staples this way all the way around the bottom. Trim away any extra fabric about 1/2″ past your stapling line.
Finish the bottom by stapling the dust cover back in place. Fold in the raw edges of the dust cover fabric if necessary. Staple all the way around the bottom of the dust cover.
Stapling the lid
For the lid, pop the lid cover over the lid. Pull the extra fabric around to the backside of the lid, keeping the fabric taut.
Staple the cover in place, just like you did for the box.
Staple the dust cover for the lid just like you did with the box, folding under the raw edges of the dust cover.
You’ll notice on mine that there’s a trim. This is a special trim that can cover over the staples. I was able to reuse this from the original dust cover. Basically there’s a little flap that you lift up, staple, then fold back over to cover the staples. If you have this kind of trim, it’s nice but totally not necessary.
Finishing off this DIY bench reupholstery
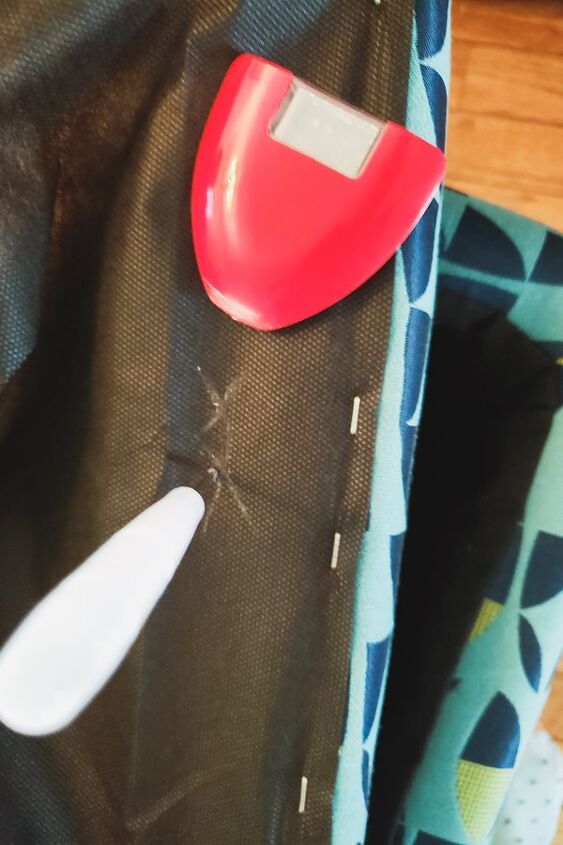
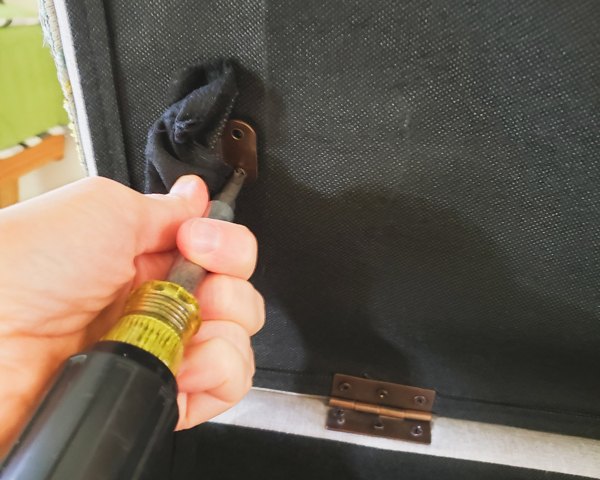
Feel with your hands and locate the screw holes for the lid mechanism. Poke through the holes with an awl, then mark each hole with an X with your chalk.
Mark where the hinges need to be as well.
Reassemble the hinges, lid mechanism, and the feet, adding the screws back to where they should go.
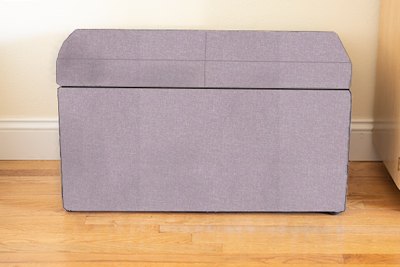
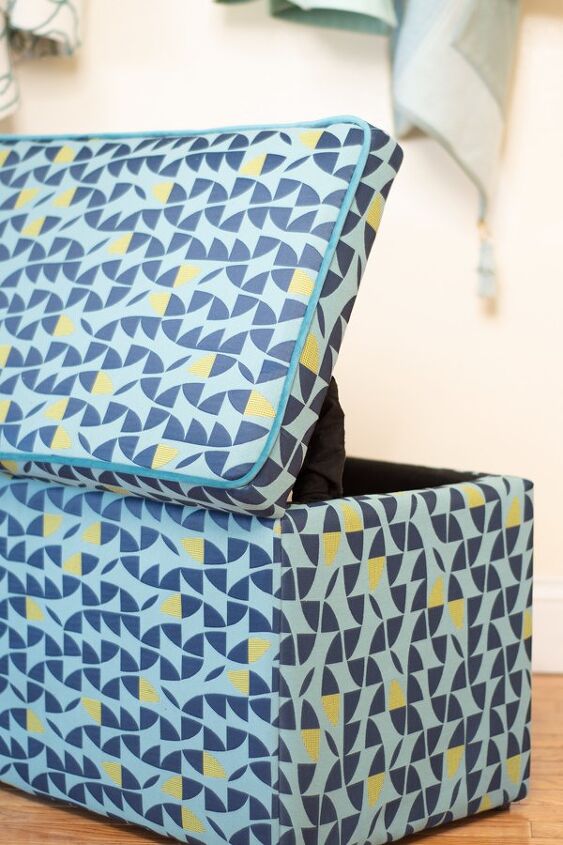
And that’s how to upholster a storage bench. Enjoy your new custom bench in its old home!

Elizabeth Farr is the writer behind the Elizabeth Made This blog where she shares helpful sewing tips, step by step sewing tutorials and videos to help you explore your creativity through sewing. She has written sewing Eguides and patterns, been a featured teacher at Rebecca Page’s Sewing Summit and Jennifer Maker’s Holiday Maker Fest and her work has appeared in Seamwork and Altered Couture magazines. She also created a line of refashioned garments for SEWN Denver. When her sewing machine isn’t humming, she’s playing and teaching violin, and hanging around a good strategic board game with her husband and 4 kids.
elizabethmadethis.com


Frequently asked questions
Have a question about this project?
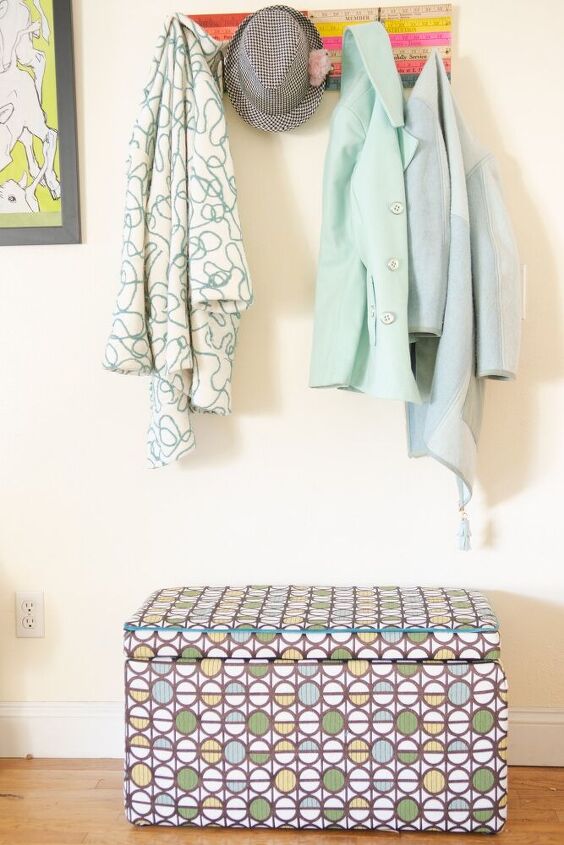
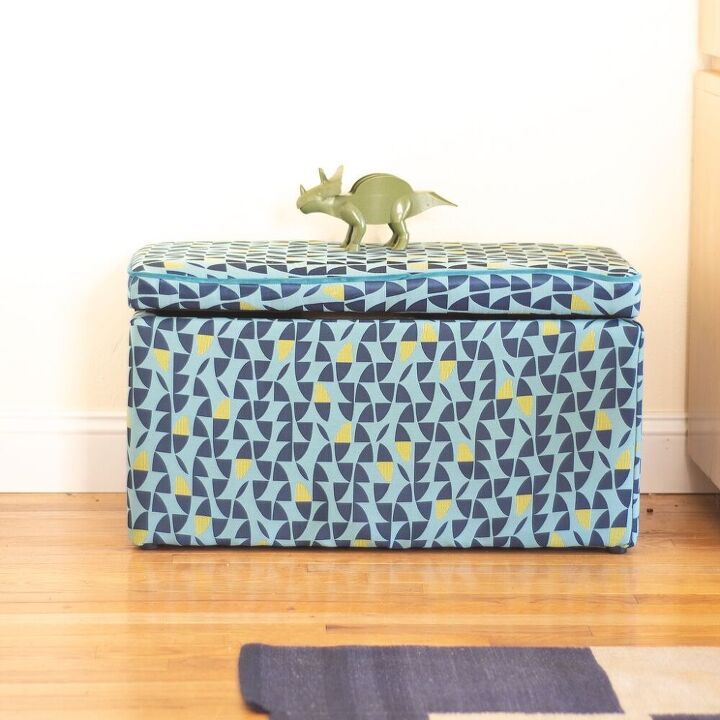
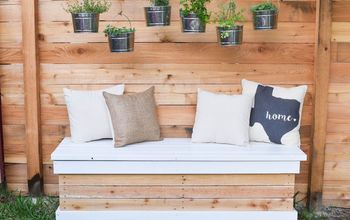
Wait......Did you make 2 different storage benches? The pictures are not consistent. The fabric is totally different! What's up with that????