


DIY Outdoor Storage Bench (with Hidden Storage Containers!)
8 Materials
$60
3 Days
Easy
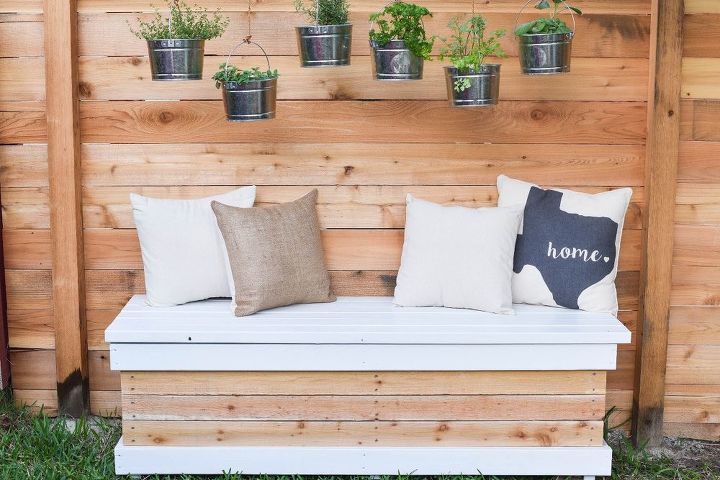
Build an outdoor storage bench with a twist – the hidden storage can hold two rubber totes! This backyard storage box is ideal for storing pool toys, kid’s outdoor toys, gardening tools, patio cushions, and more.
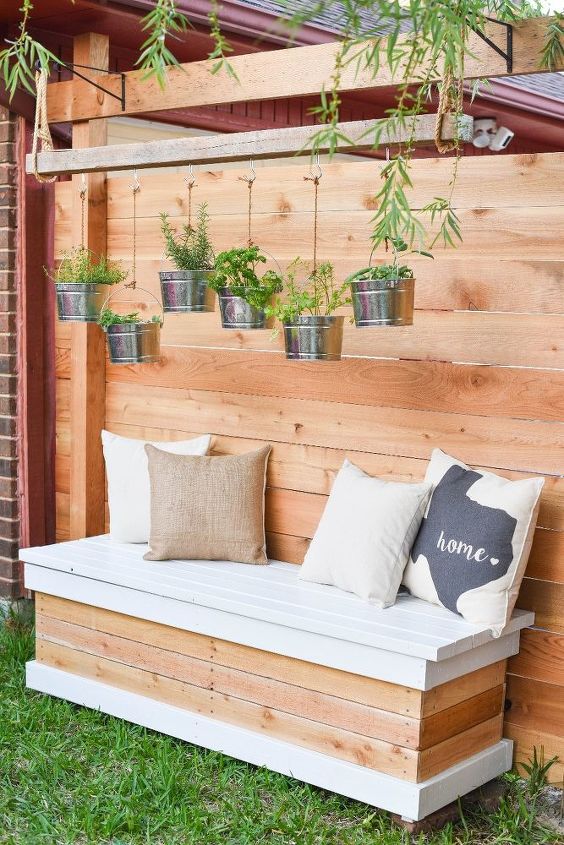
I’m excited to share this DIY Outdoor Storage Bench. It’s both purposeful and beautiful. Having a storage bench that can withstand the weather is nice, but one that can hold a couple of sturdy totes and add style to our backyard? That’s functional!
Here’s a video that shows the whole build – I’ve tried to fill in a few details below.
{
"id": "4854952",
"alt": "",
"title": "",
"video_link": "https://www.youtube.com/embed/grjeRZdvJ8I",
"youtube_video_id": "grjeRZdvJ8I"
}
{
"width": 634,
"height": 357,
"showRelated": true
}
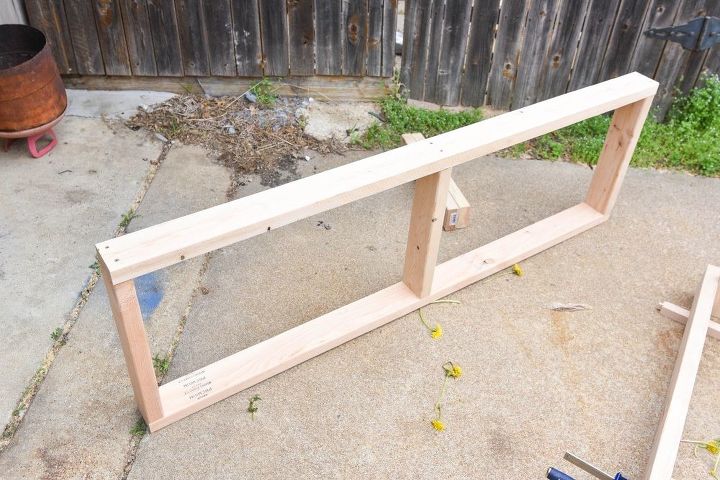
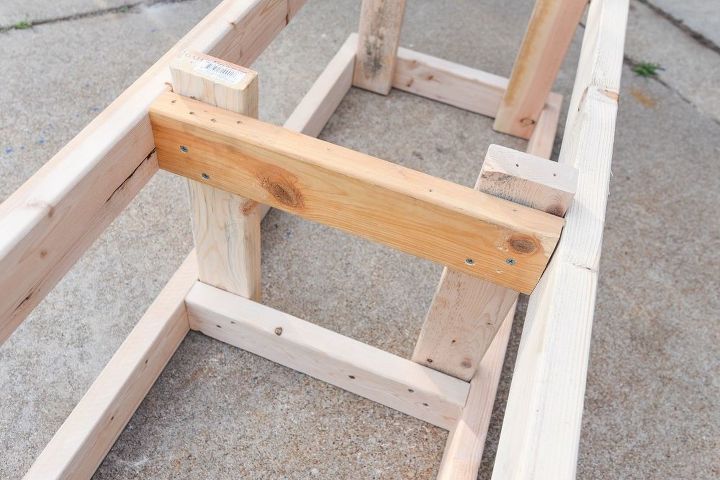
I began by building the frame of my storage bench. Using 2×4″ boards, I attached (2) 63 inch boards to (3) 17 inch boards.
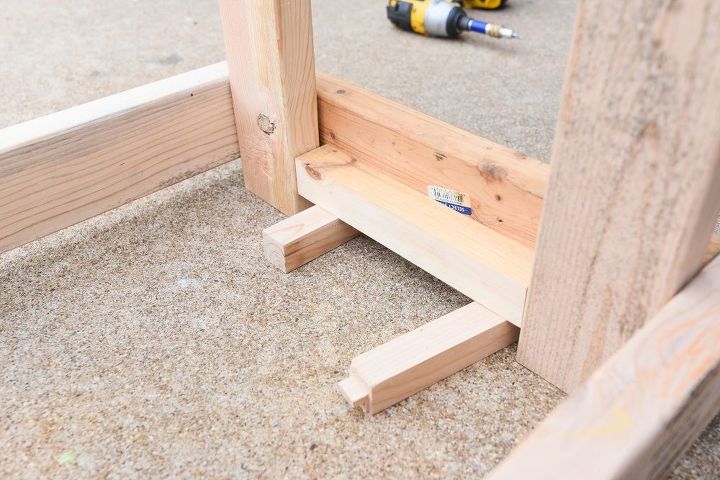
Then I added the 18.5″ legs to the frame. I wanted the box to sit up off the ground, so I laid down 1″ scrap wood spacers under the frame before placing the legs in to screw them on.
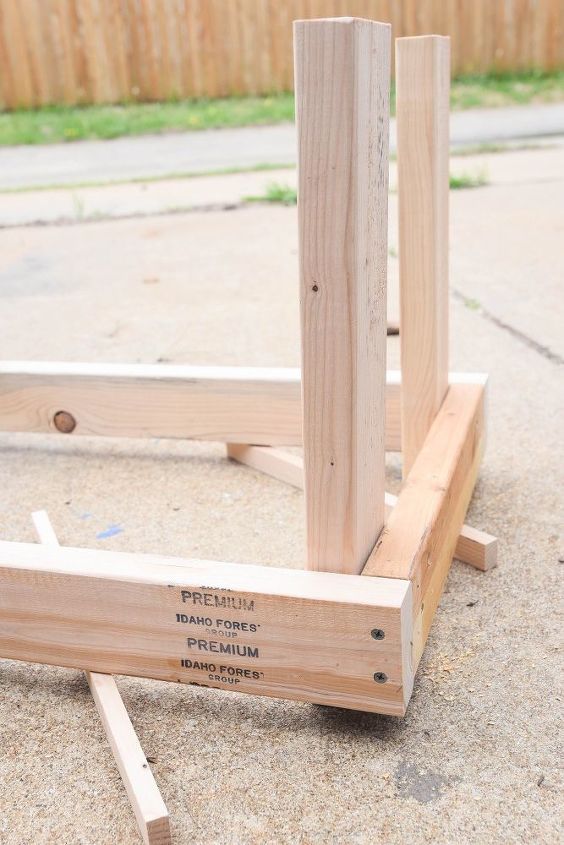
Then I flipped this piece upside down and screwed it to the top of the frame.
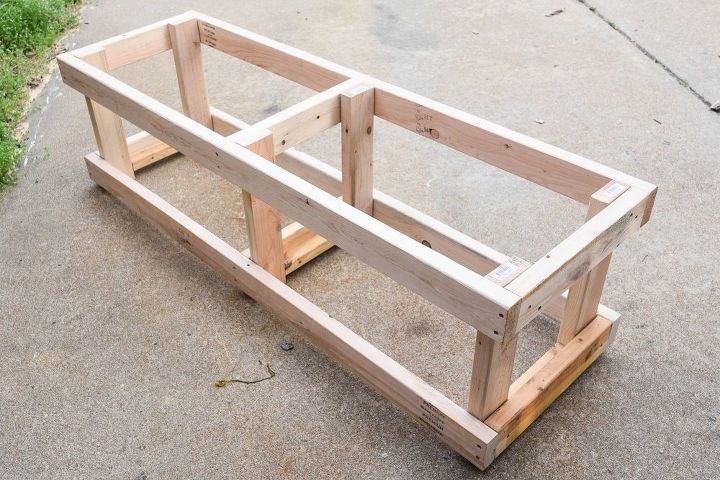
Finally I ripped down a 2×4″ board to 1.5″ x 1.5″ and attached them to the bottom of the frame.
Here's the completed frame:
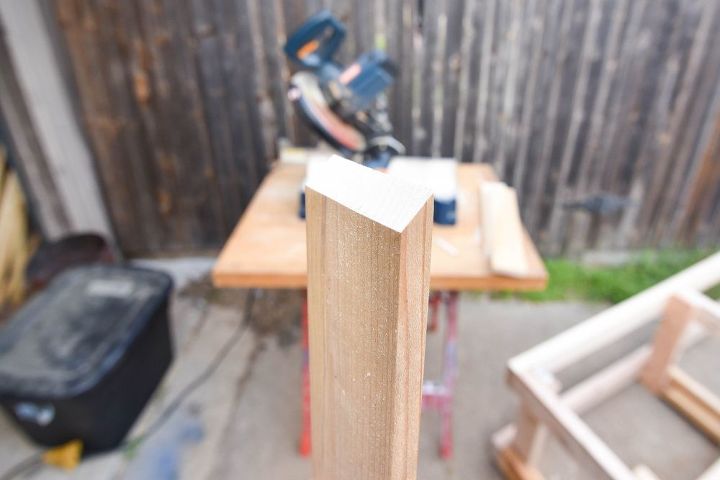
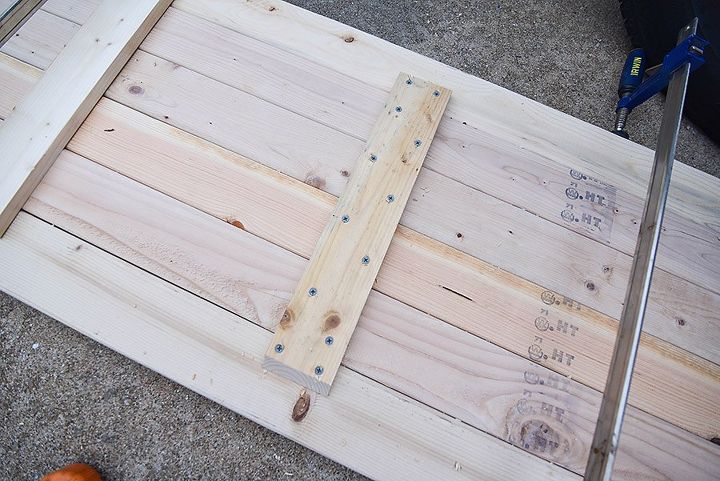
Next, I made the lid for the storage bench by laying the (6) 65″ – 2×4″ boards down and adding three supporting cross boards. When I tested the cross support beams, I realized that it was going to be a tight fit, so I cut a 45 degree angle on each end of the 17″ support boards.
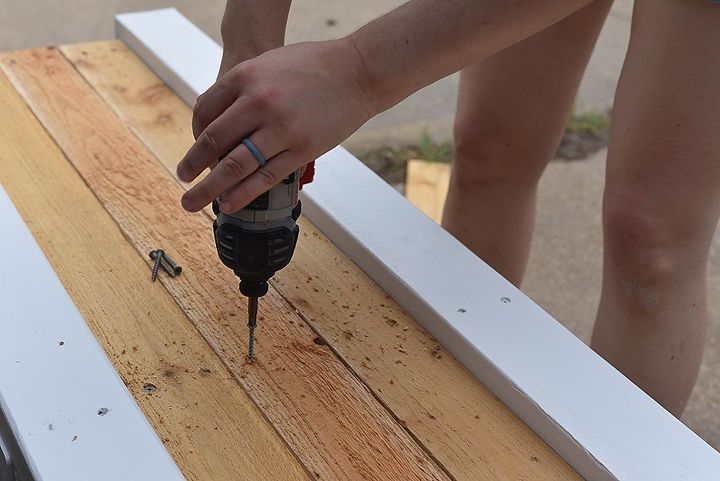
I attached these boards to the 65″ boards to make the lid. The two end boards were 4″ in from the ends of the lid and the center support was slightly off-center to accommodate for the center beams of the box. Using a square, I secured two screws into the end boards. Then I added two screws in each board, alternating them for extra strength.
I painted the frame and the lid white. This was partially because I thought it would look nice, but mostly to protect the wood from the elements. That’s why it’s important to choose an exterior paint.
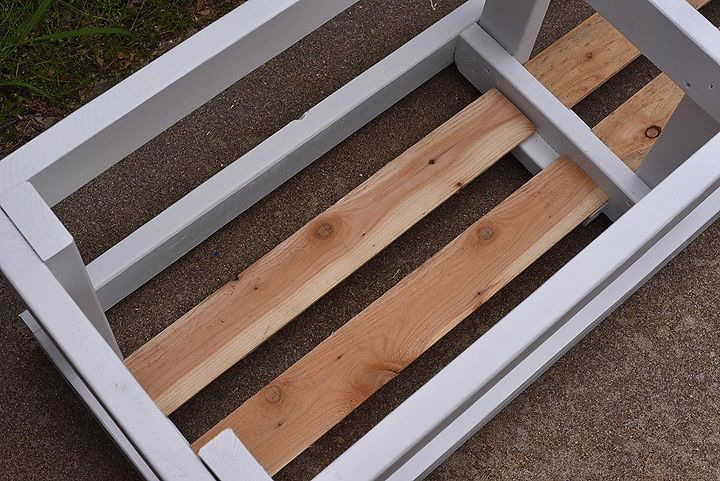
Then I added some 1×4″ cedar planks to the bottom of the storage box to form the floor. Because I have the sturdy totes, I’m not relying on the floor of the box to keep out critters. They really just needed to keep the totes up off the ground.
I added cedar planks to the outside of the frame to create the box.
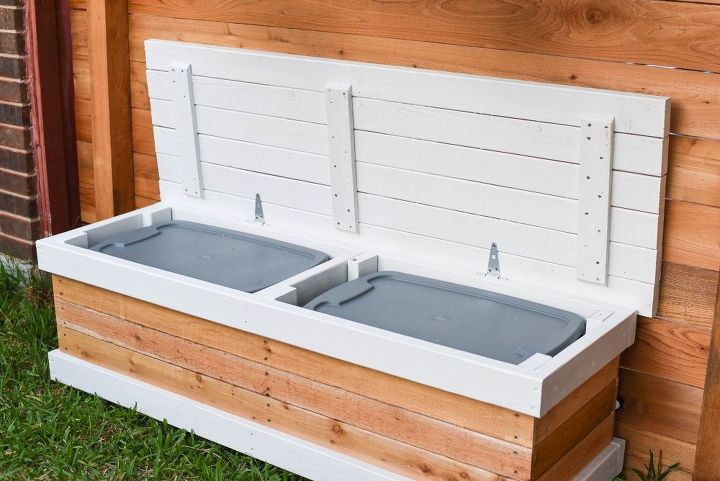
We bought these t-strap gate hinges that had the countersinking on the wrong side, but we made it work by using a router to cut a grove in the back of the box to fit the hinge.
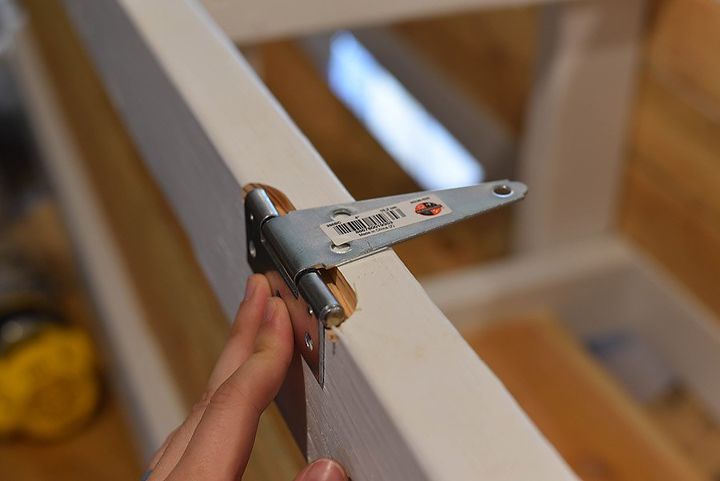
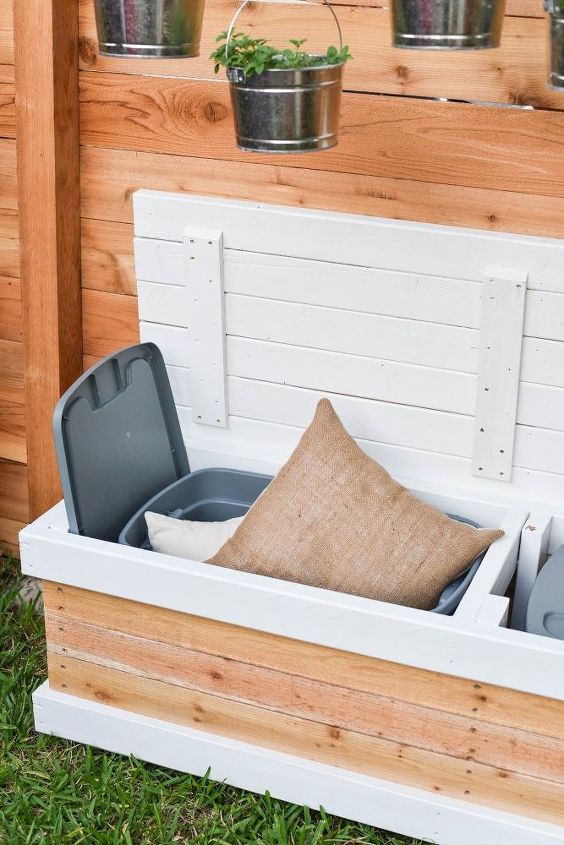
Then, I attached the hinges to the lid and to the back of the box. Finally, I tucked the rubber tubs into the storage bench and it was complete!
What do you think?
Resources for this project:
See all materials


Any price and availability information displayed on [relevant Amazon Site(s), as applicable] at the time of purchase will apply to the purchase of this product.
Hometalk may collect a small share of sales from the links on this page.More info

Want more details about this and other DIY projects? Check out my blog post!
Comments
Join the conversation
2 of 89 comments
-
This would be wonderful for an indoor window seat in a bedroom for storage. Definitely going to do this. Thank you.
-
Great idea. Never enough storage. Inside or outside. As pool owner this would be great for towels as bins used. Also pool toys and pool heads for cleaning. Thanks for sharing


Frequently asked questions
Have a question about this project?
I love it but why didn't you do a whole floor for it. Little Animals can get in it
How many 2x4 boards total did you use?
Do you have a plan for me please thank you