


Dollar Store Charging Plate Wreath

I'll guess you've all been seeing the pizza pans that are being created into these beautiful round signs, right? Well this is a spin off from that, except I'll be using a charger plate which are round, cheap and lightweight too so I thought they would make a great substitute!
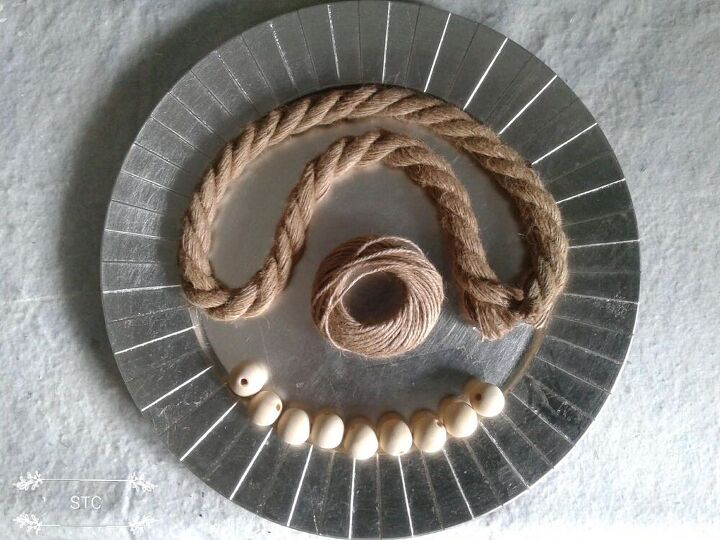
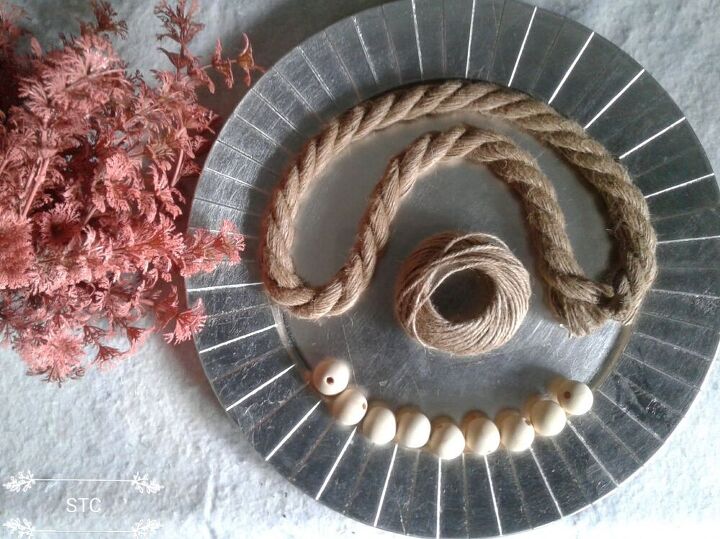
I have a pretty silver plate, large nautical rope scrap and some wooden beads along with small diameter jute string. No plan here yet but I've noticed the pizza pan projects often transition the pan height difference with a rope accent along that inside edge.
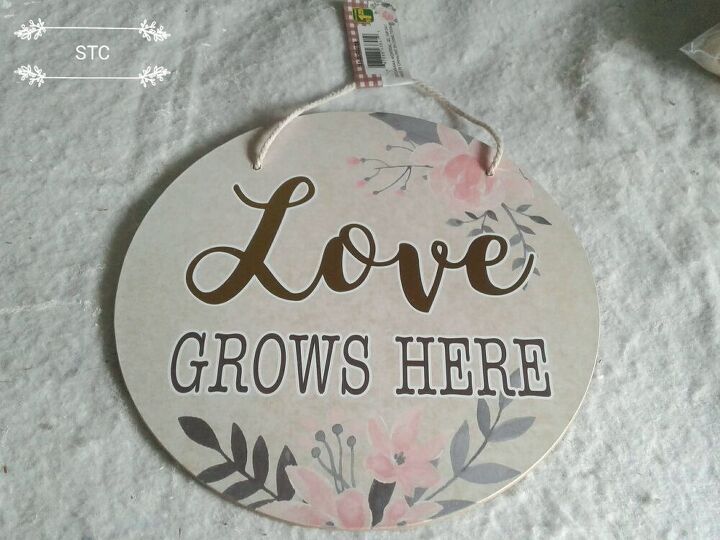
This is a cardboard plaque from the dollar store which I'll use as my center message...I don't own a cricut to make lettering so I always look for ways to go around that! Now you'll see that the sign has accents of pink?
Haha, another way I go around have limited access to things....I spray painted some plastic greenery to add in pops of pink! Shhh...that's a little secret I'd like to keep just between us.
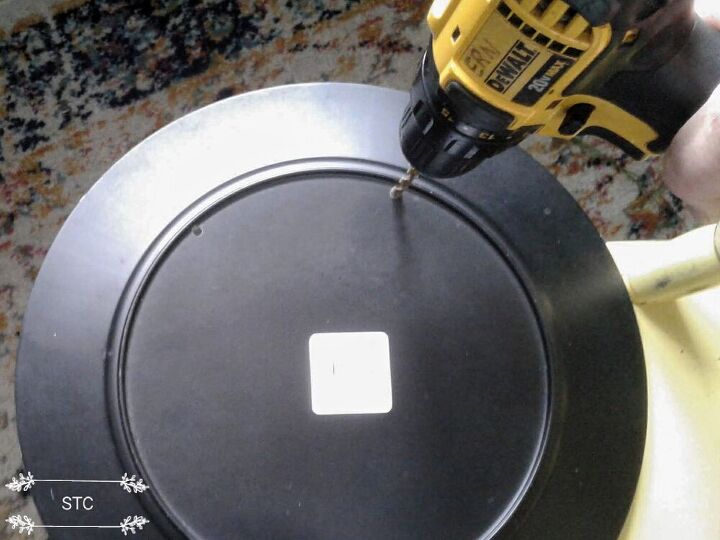
Here's another secret...I've got loose lips today I'll tell ya!!! I make mistakes...lots of them and when you are making things on the fly...you will, trust me! So I propped my plate on the edge of a chair and drilled my two holes all confident and macho using my husband's drill!
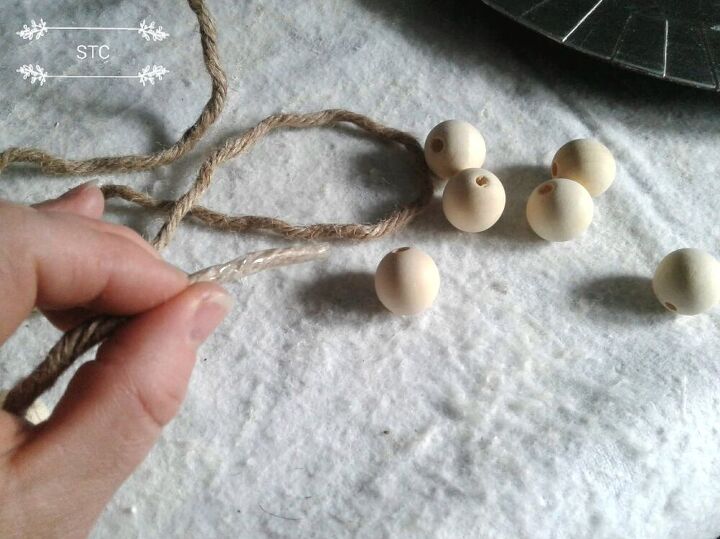
Then I move on to the other part of stringing the wooden beads onto the jute string in a pattern of add one, tie a knot, add another, tie a knot and so on.
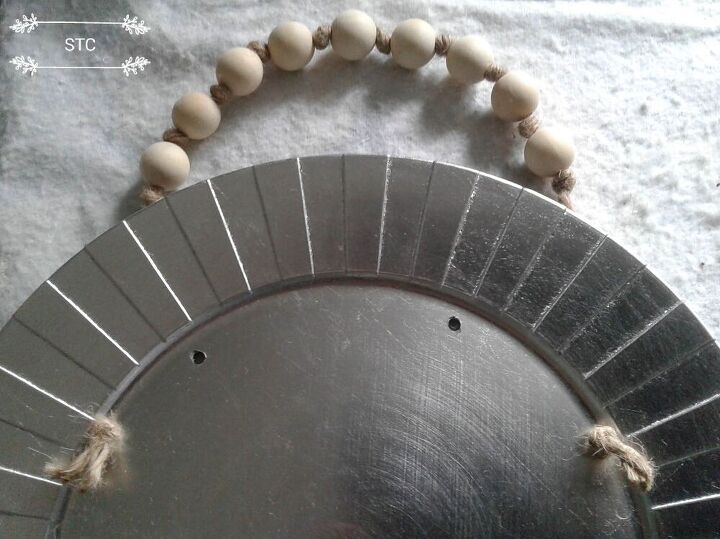
See my boo-boo? Yep, the two first holes were daaaannnmppp! No good because when I hung it the plate was flipping out at me!! I couldn't have that so I adjusted where the holes would work better. No worries I'll conceal the holes with the nautical rope, maybe that's another reason why it's used on the pizza pans to hide the boo-boo's?
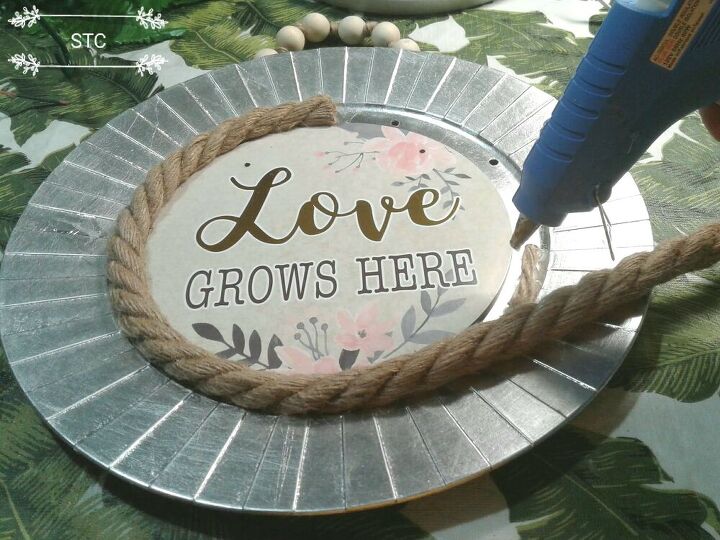
Here we go, momma got it all under control, glue gun to the rescue to secure on my sign and the rope edging.

I know, I know I don't have alllllll of the holes covered up yet! These were what the sign originally had drilled to hang it from but I removed that string and no longer needed it. So what's a crafter to do now in order to cover it up?
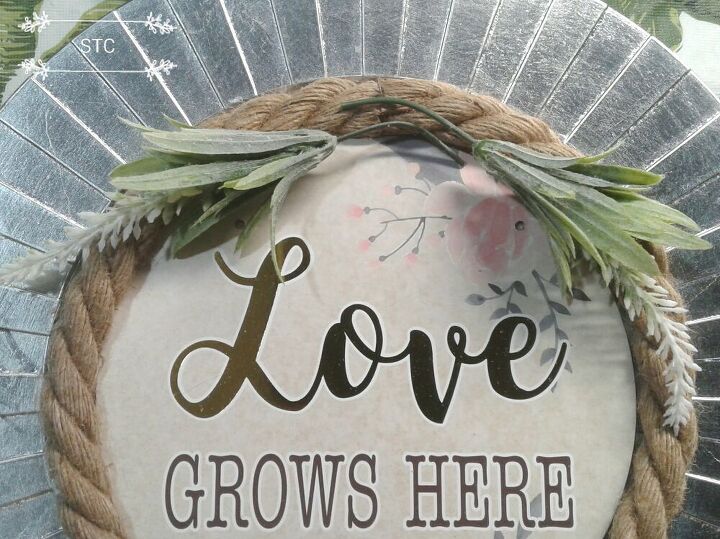
Flowers, flowers always make things prettier so I made a small swag with a few stems of faux flowers that I had. I get excited as I near the finish line so I apologize, I don't have more of the process in making the floral accent. Snip stems shorter but leave them long enough to overlap each other as you see above and continue this with other florals as it's layered. I use floral wire to secure but a long twist tie would be a great substitute!
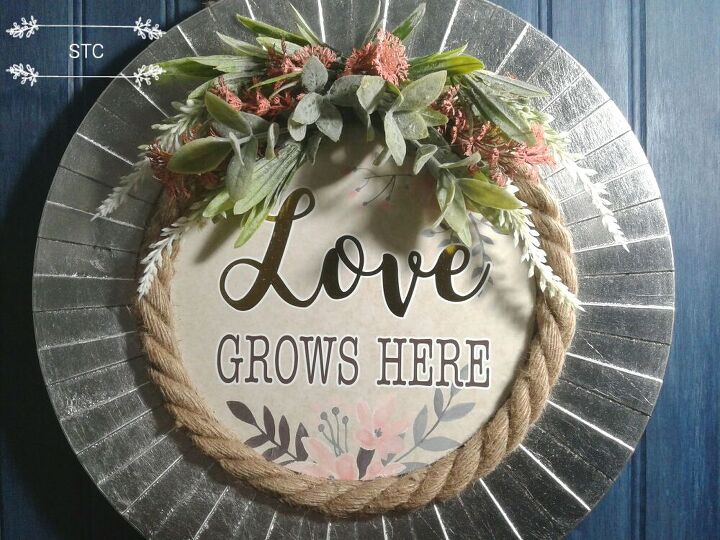
It gets hot glued to the rope so that will also secure the swag in place. There that's it, holes are concealed and it's looking pretty in pink!
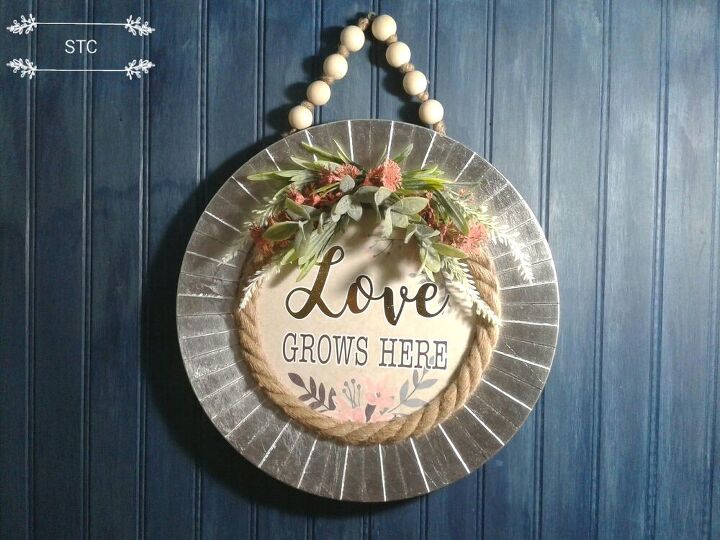
They say the biggest room there is is the room for improvement , well I own such a room but at least now I had the idea and I knew it could work! I always prop my projects up and give them one last inspection to see if there's too much or not enough of something, somehow your eyes see it different hanging then when it's laid flat being made!
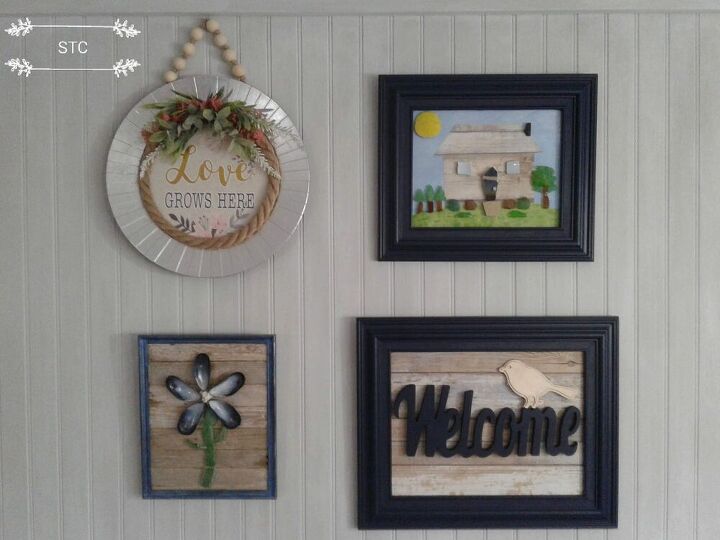
I have been making items for a gallery wall to decorate my Mom's entry, it's a split entry so there's lots of bare wall to accent!! This sign will become a part of that display as well.
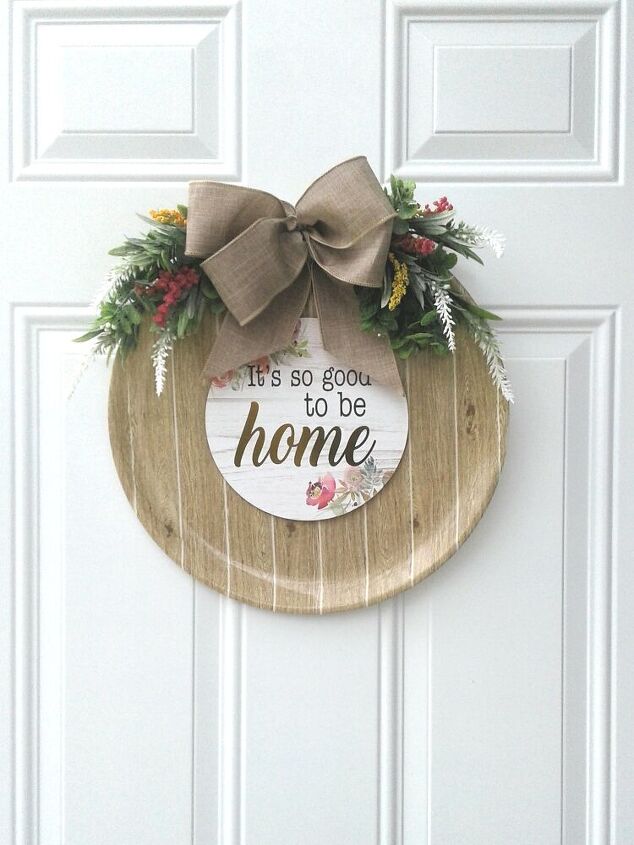
On another visit to the the dollar store I found these plastic serving trays, a little larger than the charger plate but I still gave it a whirl! This time I used the string as it was originally bought on the cardboard sign to hang it from. I just removed the strings, centered the sign on my tray and marked where the holes would need to be drilled into it. Drill, feed the string through both sign and platter and knots at the front on each end to prevent them from slipping back out. No worries the bow concealed the knots.
Did I mention I bought several of these trays? Haha, you already knew the correct answer to that I'm sure! Well ya know what that means? You are going to have to check back and see what I concocted up for them now too! Please do so...I'm sure I'll have something different! In the meantime stay healthy and happy as you craft, thanks so much for stopping by!
Resources for this project:
See all materials


Comments
Join the conversation
-
This turned out so pretty! Thank you for sharing your bloopers. 😃
-
I love dollar tree projects that look more high end, looks great!


Frequently asked questions
Have a question about this project?