


Plaster Lath Rustic American Flag
If you've ever renovated an old house you'll know exactly what these rustic little pieces of wood are. They're plaster lath, it's what the old plaster walls were built upon and usually when a house is renovated they are one of the first things to be sent to the trash pile.
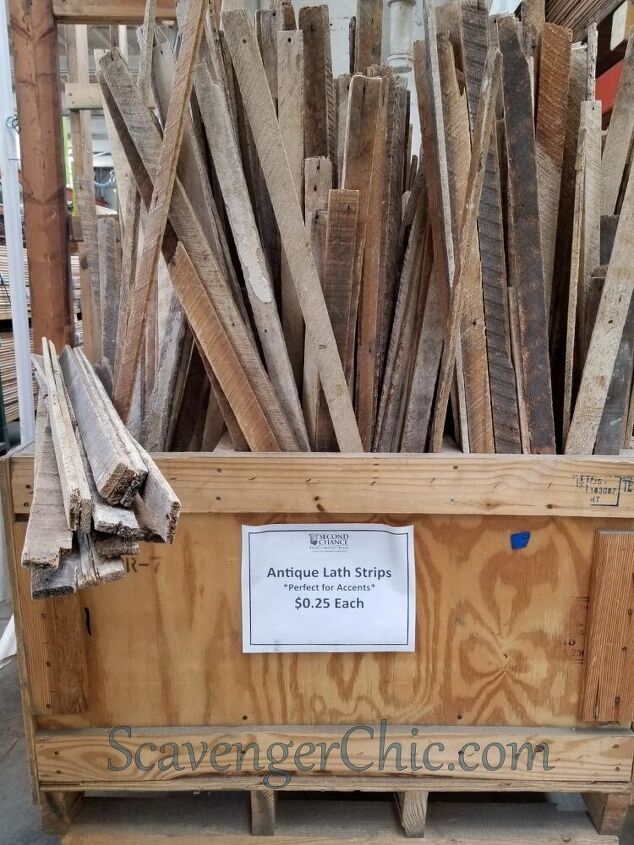
I haven't had the pleasure of finding these behind any of my walls so I was super excited to find them at my local architectural salvage store, Second Chance in Baltimore. This was the first time I've actually found them for sale. They’re just like mini pallet wood strips. They are chocked full of character (and more than a few splinters) and just waiting for a project. At only 25 cents each I grabbed a bunch!
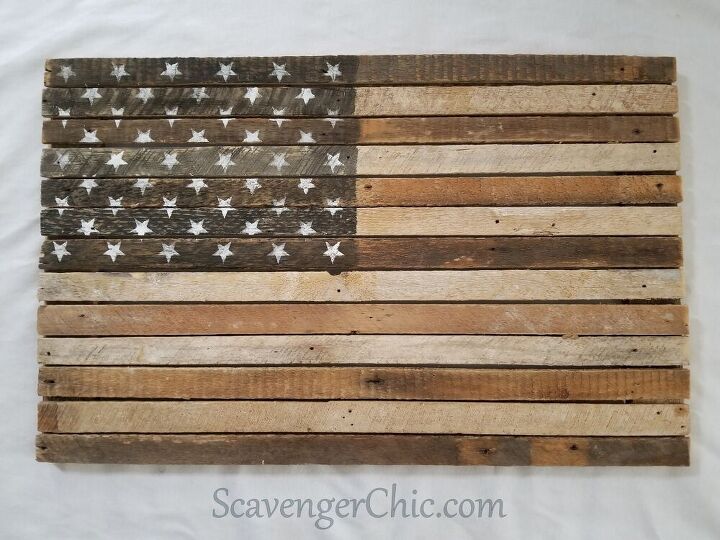
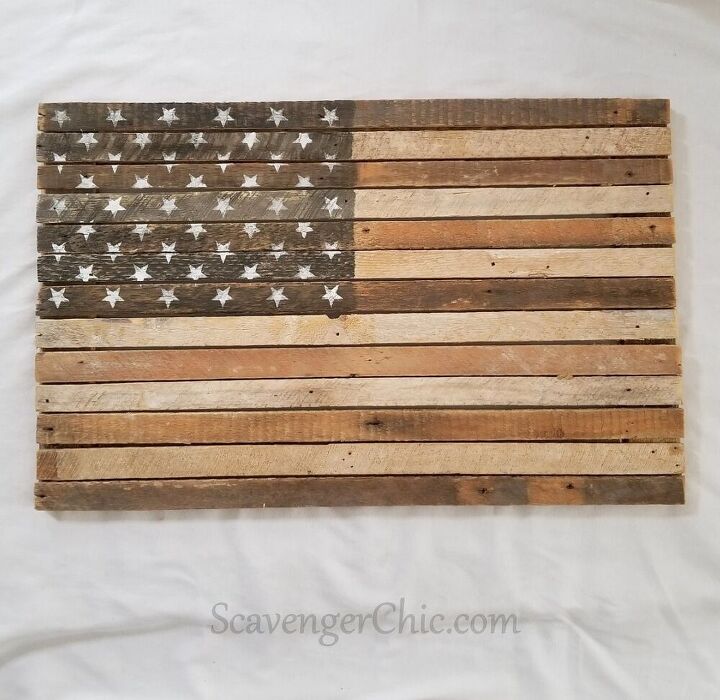
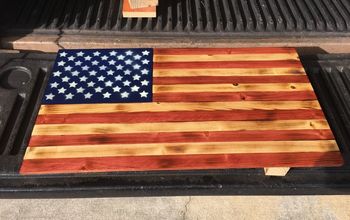
With very little effort I converted 13 of those lath strips into a rustic plaster lath American flag in all neutral tones.
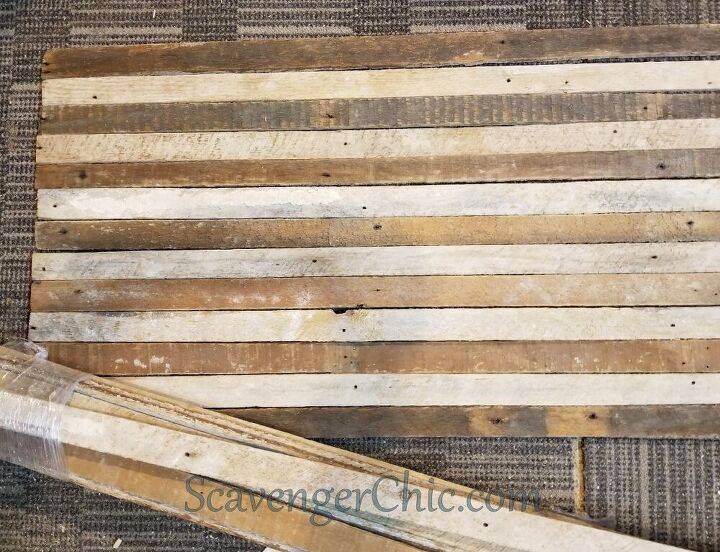
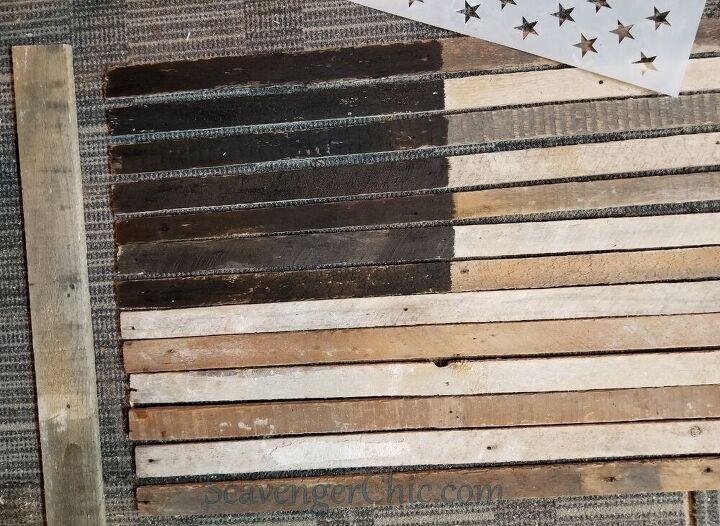
Start with 13 of the plaster lath strips. Cut each to 35″. The light and dark are the natural pigmentation of the lath. The whiter side would have been the side with the plaster and the darker side, the back side. That's right...these are not painted in any way.
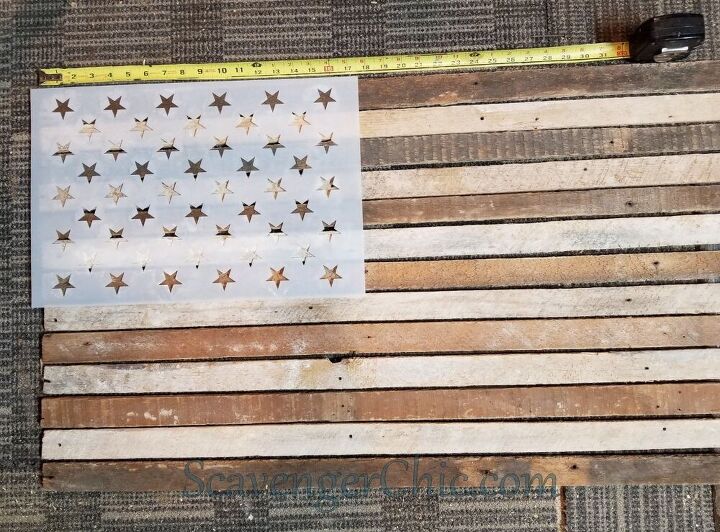
I had the star stencil from the last American flag I made from shutter slats. Plaster lath is only slightly narrower than the shutter slats. If I left a slight gap between the strips I could use the same star stencil. This is the 18×12 inch 50 star stencil from Stencil Revolution which will make a plaster lath flag about 35″ x 22″.
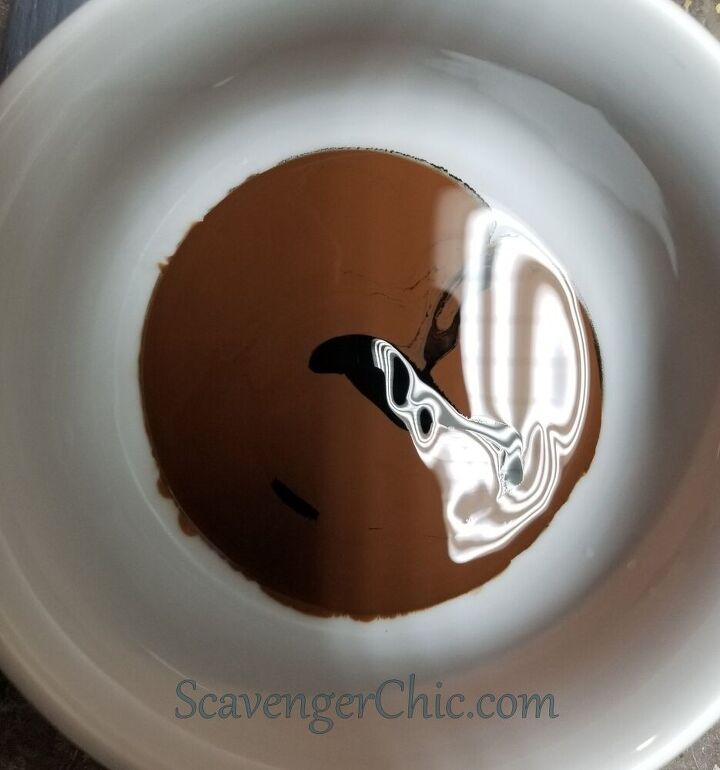
Make an acrylic paint mixture of 1/3 brown, 1/3 black. and 1/3 water. Mix well.
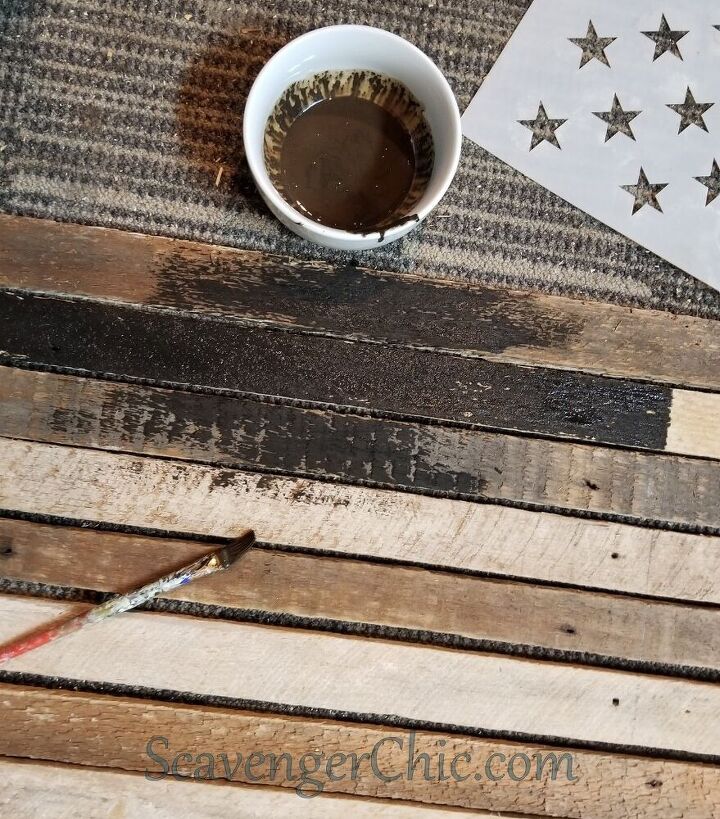
Mark off the upper left corner of the flag 11×17″. Use this black brown mixture as a replacement for the field of blue on this neutral toned American flag. The dry plaster lath will just soak up the paint.
Allow the black brown background to dry.
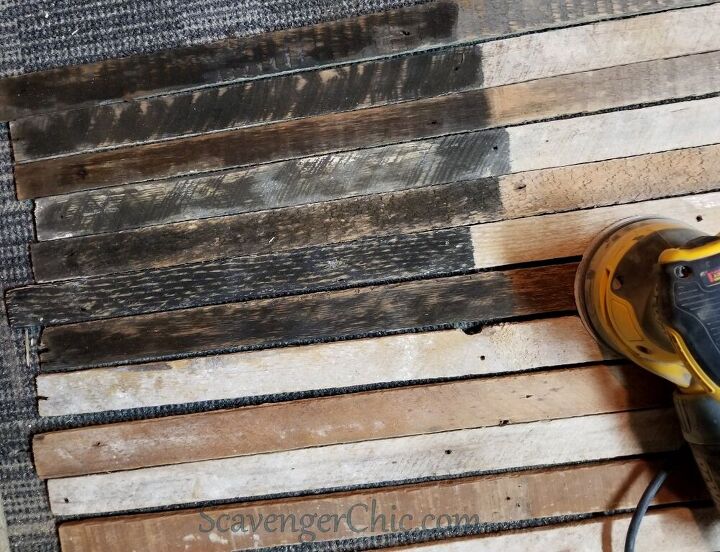
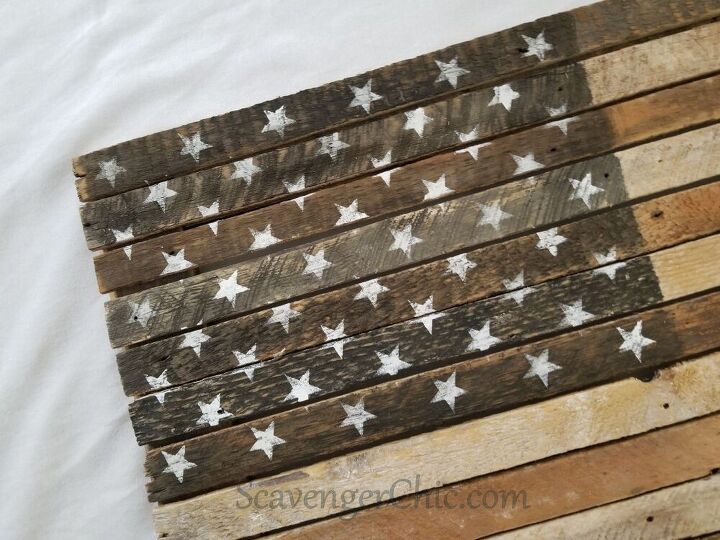
Once dry, sand the black/ brown to reveal some of the natural wood. The sanding will also smooth out the rough lath and soften the background color.

Turn your plaster lath strips over making sure to keep them in order. Use pallet wood or other scrap wood as cross pieces to attach the plaster lath to. I’m using my BOSTITCH Crown Stapler just because the staples (inset) were the perfect length to go thru the pallet wood but not all the way thru the lath, about 1″. You could also consider using wood glue, builders adhesive, or small nails.
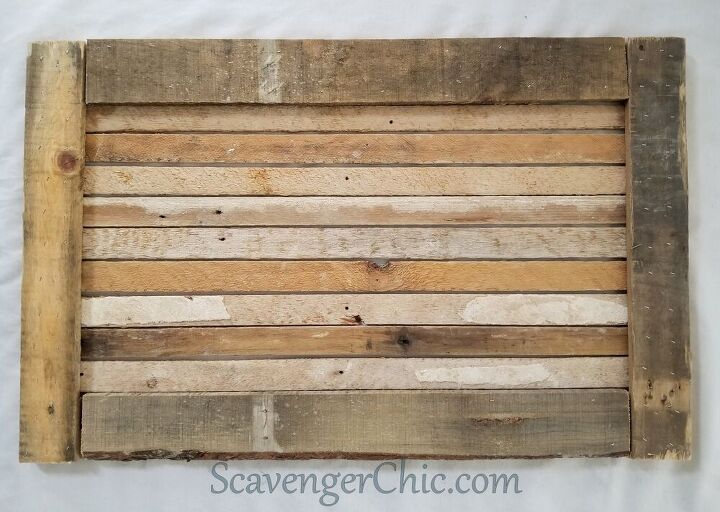
I also added additional pallet wood strips at the top and the bottom of the flag which do nothing more than finish off the edge. The side pieces are the key to holding the lath together.
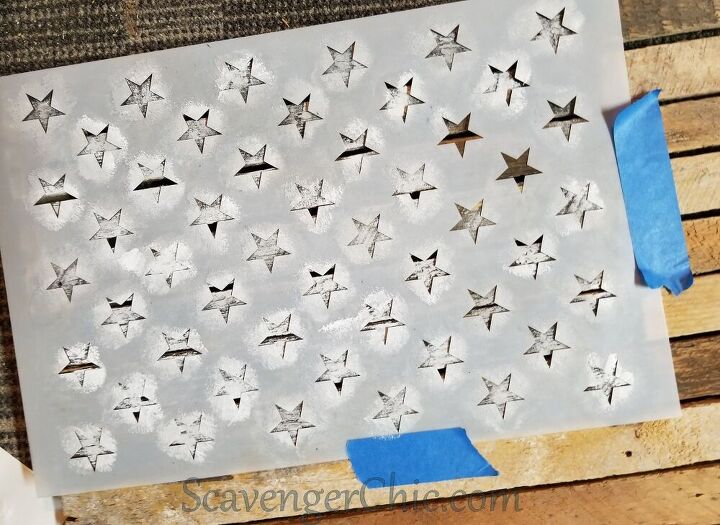
Back to the front, tape the star stencil in place and use a stencil brush and white paint to lightly stencil the stars onto the flag.
Attach hanging hardware and you are all ready for display.
I did find a flag very similar to mine from Home Depot. Currently out of stock but it sells for $113. Mine was probably around $4, since I already had the stencil. Now I know you’ll be on the lookout for the very underappreciated plaster lath. Stay inspired.
Make sure you visit me at ScavengerChic.com for many more upcycled and recycled projects.

Comments
Join the conversation
-
Love your flag. I love all things patriotic. God bless America. Thanks for sharing. Have a good day.
-
Absolutely LOVE this! What a fabulous idea! Great job!


Frequently asked questions
Have a question about this project?