


A Flower Pot With Sweater

by
Ronja Lotte
8 Materials
1-2 Hour
Easy
An apartment without plants is unimaginable for me but even as a child I realized early that I dont have the green thumb. Amazingly, there are many plants that enjoy first drying up regularly followed by having their own small lakes in the pot in which they can swim until the roots rot away. Despite my bad habit, it grows and prospers in my apartment and as a result (and because there are so many pretty cheap pots to buy at flea markets) I have a pretty impressive collection of flower pots.
But since I only have limited storage space, I reckoned that my solution could possibly be not to buy new pots but instead to sew covers for my pots out of sweaters that I can change any time depending on the colors of the plant, season and interior design.
But since I only have limited storage space, I reckoned that my solution could possibly be not to buy new pots but instead to sew covers for my pots out of sweaters that I can change any time depending on the colors of the plant, season and interior design.

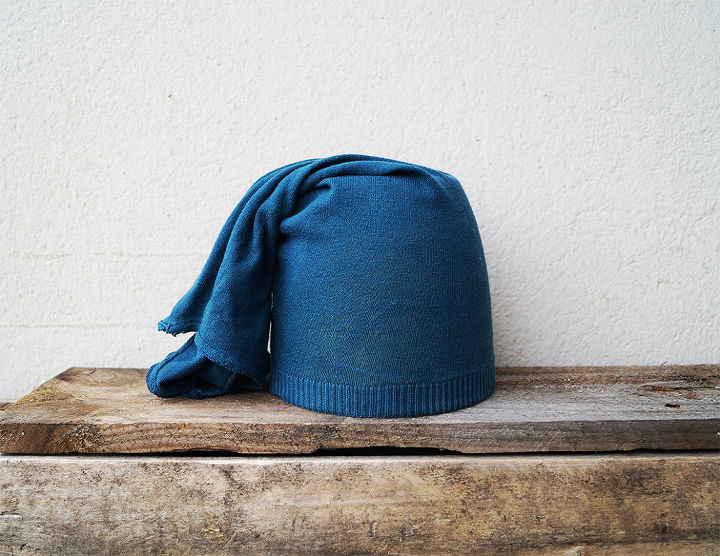
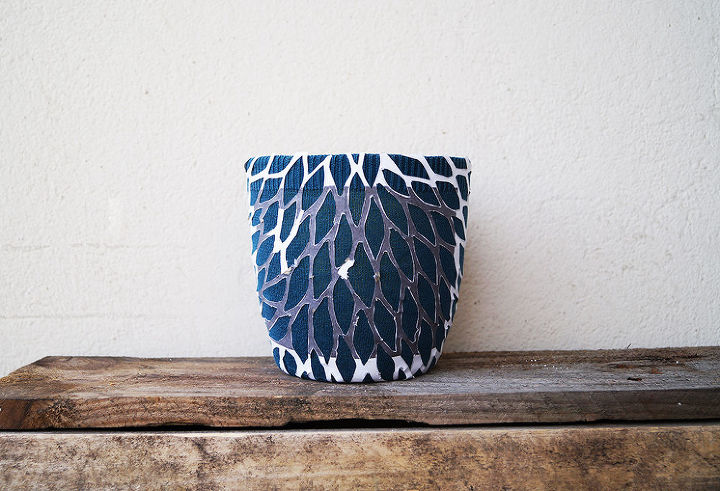
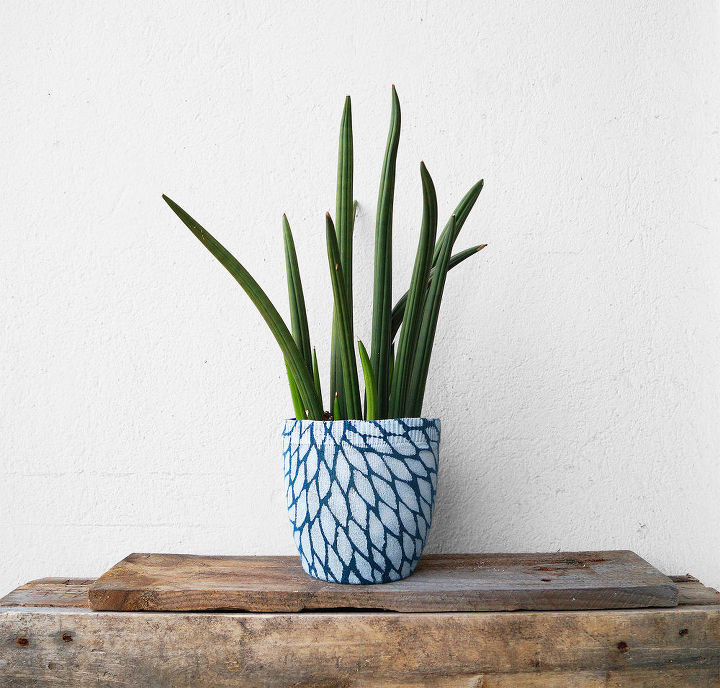
Finished flower pot cover.
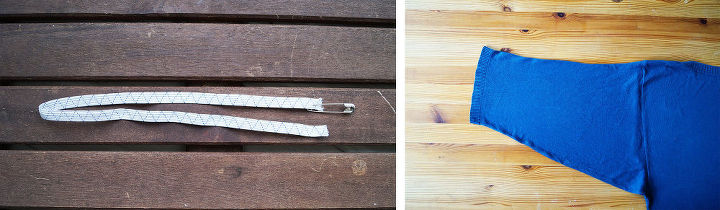
Materials and tools you need: An elastic band, a safety pin, the sleeve of a sweater...
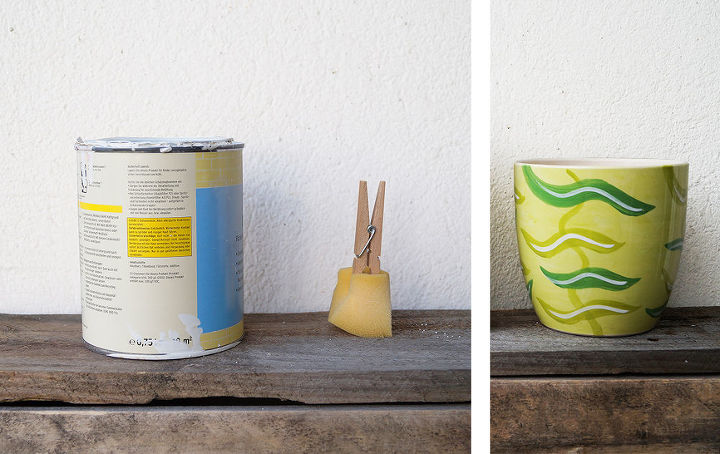
...Paint (fabric paint or varnish), a piece of foam, a clothespin, a flower pot ...
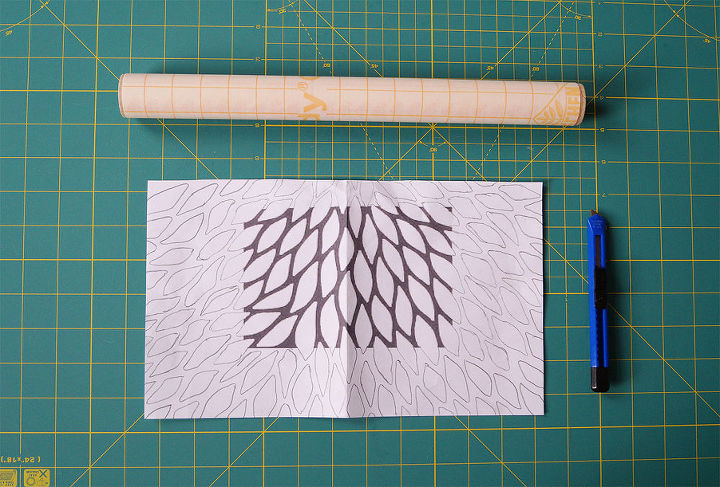
...a template or a printed motif, a sharp knife and an adhering medium to make a new template.
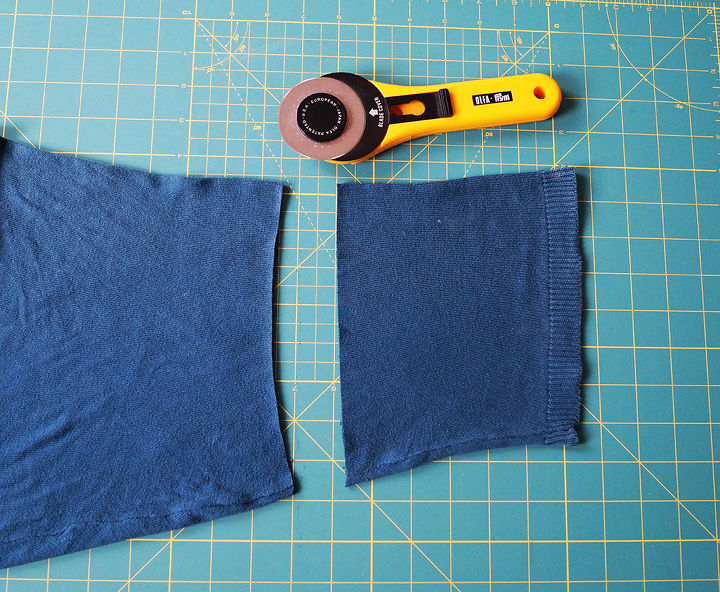
First, you must cut off one sleeve of a sweater.
Put the sleeve over your pot, so you can precisely determine the needed length. Now cut off the excess fabric but remember to leave about 1,6 inch for a draw cord.
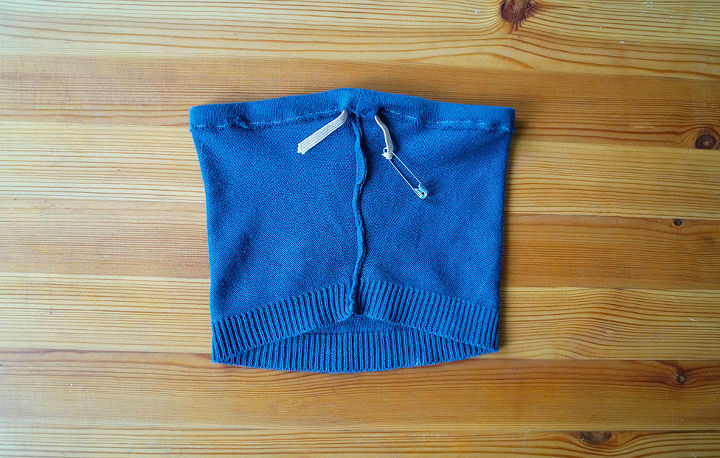
Sew the down side of the sleeve to a draw cord (leave an opening) and use the safety pin to pull the elastic band through the draw cord. Now you need to pull the band to gather the fabric until you are satisfied and then you can sew the two ends of the elastic band together and cut off the excess elastic.
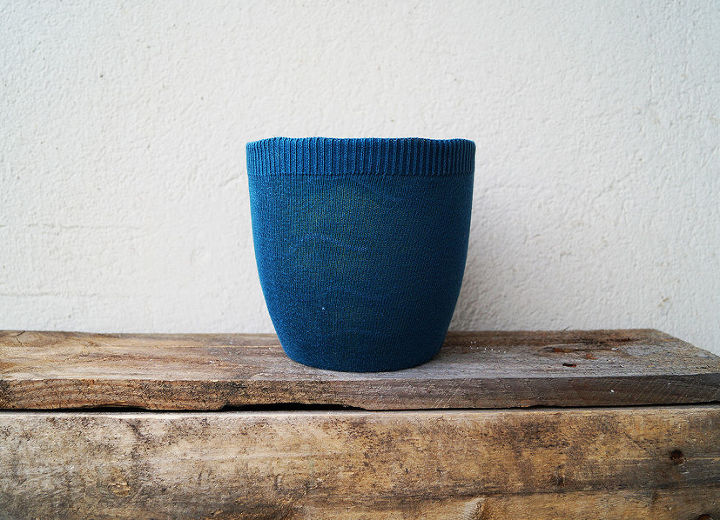
Your flower pot cover is done when you have closed the opening of the draw cord. Everyone who wants to paint their cover like me has to keep on reading.
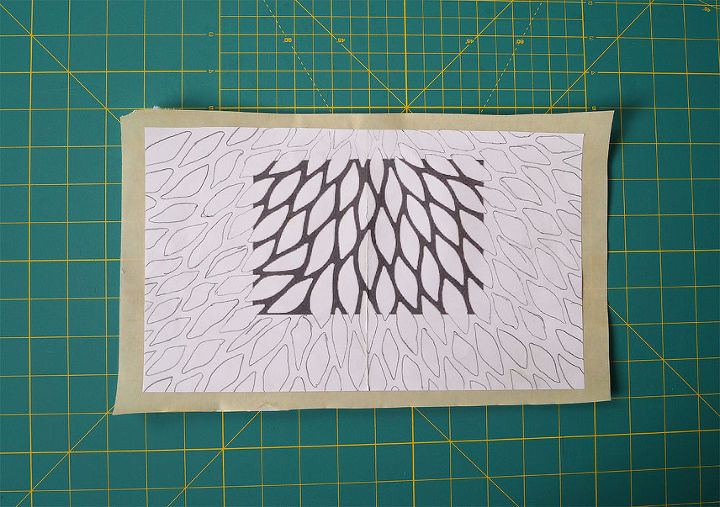
For my template I used a Japanese leaf pattern, from which I unfortunately only had a small photo and so I had to draw the rest of the pattern myself. To make my stencils self-adhesive, I use a foil that is adherent on both sides but does not stick and can be easily removed again. Hereby you first have to press the paper gently to one side of the foil...
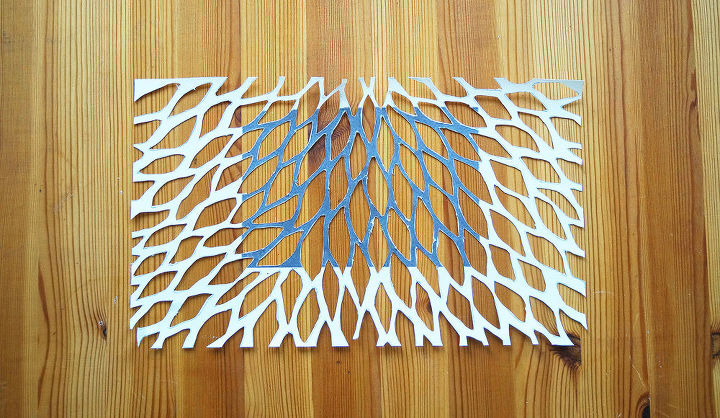
...and then cut out everything that does not belong to the template.
Next, I peeled off the protective cover from the back of the foil and gently pressed my template onto the flower pot cover.

With the clothespin and the foam I made a disposable brush for dappling and colored the whole fabric cover white. Normally I would not use varnish for fabric because it makes the fabric very stiff but in this case the stiffness is quite beneficial.
Immediately after painting, the template must be removed to prevent it from sticking and your flower pot cover is done. If you like to see more of my projects just visit my blog :-)
Want more details about this and other DIY projects? Check out my blog post!
Comments
Join the conversation
2 of 59 comments
-
That is just too darn cute for words! Great job!
-
Yes I think I might use a print or paint a letter or something from my rock ideas. Or simply solid color sleeve with a little hot glue to shape! I love reusing old cloths. I did make a pup bed with a sweater and wrapped sleeps for top.


Frequently asked questions
Have a question about this project?
Is the drawstring for the bottom of the cover?
Why not use a printed or striped sweater?
Most important question is what is the name of that plant you can't kill.