


DIY Faux Brick Exposed Chimney

by
Deb Foglia
2 Materials
$30
4 Hours
Easy
How I added character to my Master Bedroom by creating a Brick Exposed Chimney with brick paneling that I bought at
The first step to creating the chimney, is to build a frame to apply the paneling to. We used 2x2 boards horizontally to desired width, and 7ft 2x2 for length. The chimney should go all the way from floor to ceiling. After finding beams place about four 2x2's horizontaly on wall (lining up evenly). Next, place the 7ft boards on-top of horizontal pieces, creating a 4 inch gap from wall. Placing wood on top of the horizontal wood will give the bump out appearance for the brick "chimney" effect. Following this step place the already cut brick panels around frame. Placing front piece and two side pieces with liquid nails and finishing nails. Once the very easy building process is complete, it's time to create the "white chippy" facade. Paint over entire brick surface with a combination of acrylic red, orange, gold, and brown paint. Place onto sponge and dab to brick, brightening up the red surface. The current brick is wayyy to dark so I felt this step was time consuming but necessary. Then add a combination of white latex paint and Plaster of Paris to the grout lines using your number one tool....your finger! Apply white paint in a random pattern to the brick with a sponge, don't go too overboard with this step (I may have lol). Once this is complete you need to use either a wood filler or spackle to give the brick texture. This too should be random and slightly sloppy, making it seem very natural. Lastly, sand in areas that you desire to correct mistakes or where too much white is showing. This project is so perfect adding the right amount of character to our room. We are currently building a fireplace around the brick, but it would also be perfect just as is. If we had not already committed to the idea of building a fireplace and placing it on our largest wall....we may have just left the brick chimney alone. Please come check out more details about this piece at my blog home and follow along as we continue to add to this project and others to create a very 1980's room to a charming french cottage/yet slightly modern escape.
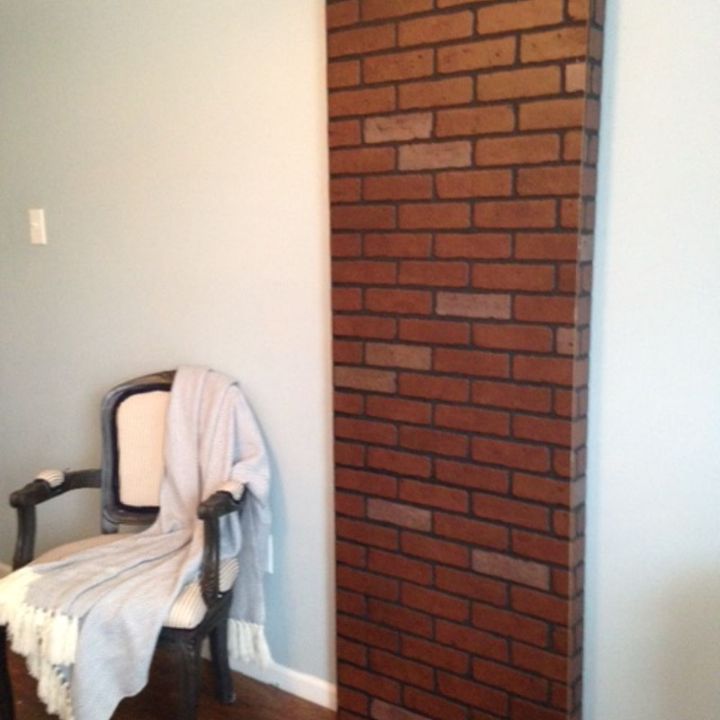
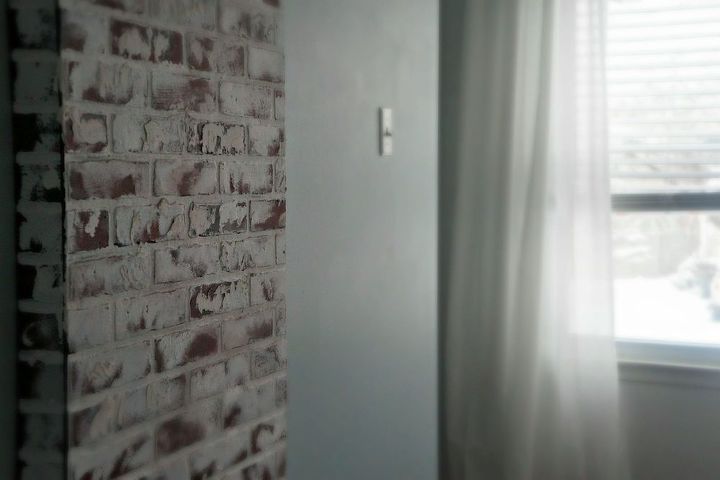
Above is a camera shot of the Brick panels are in place before any painting was added.
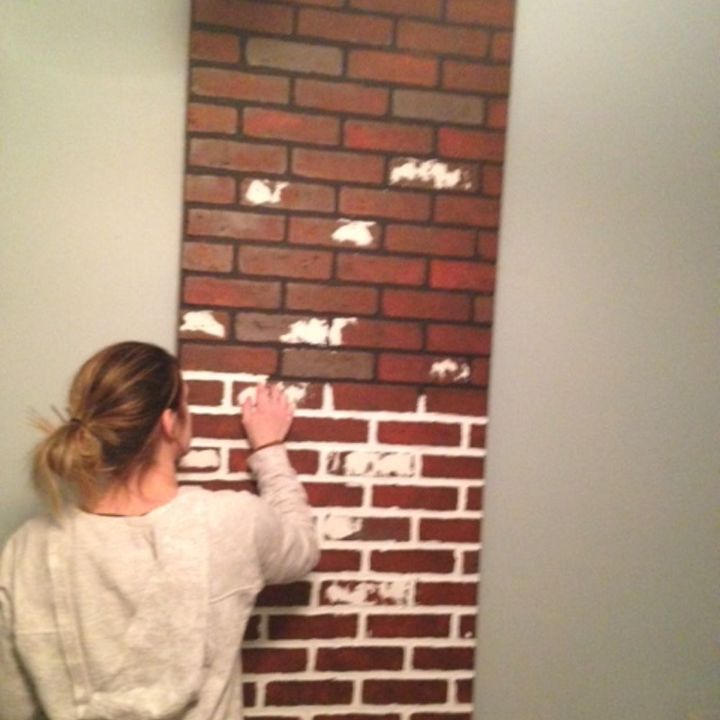
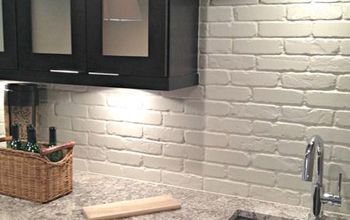
Adding grout lines with white paint and plaster.
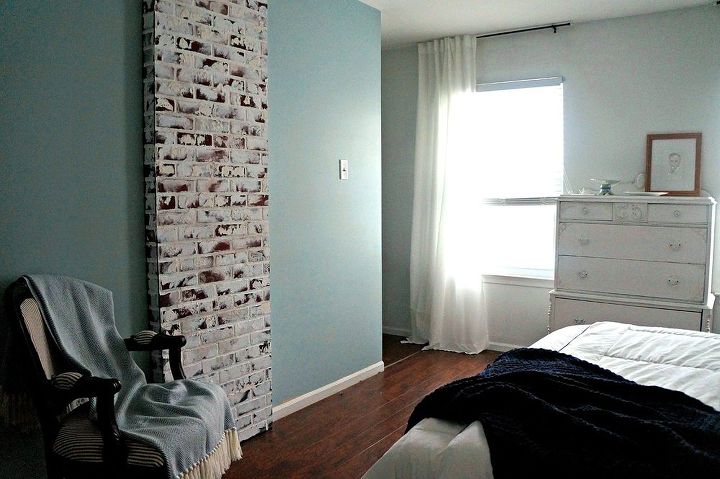
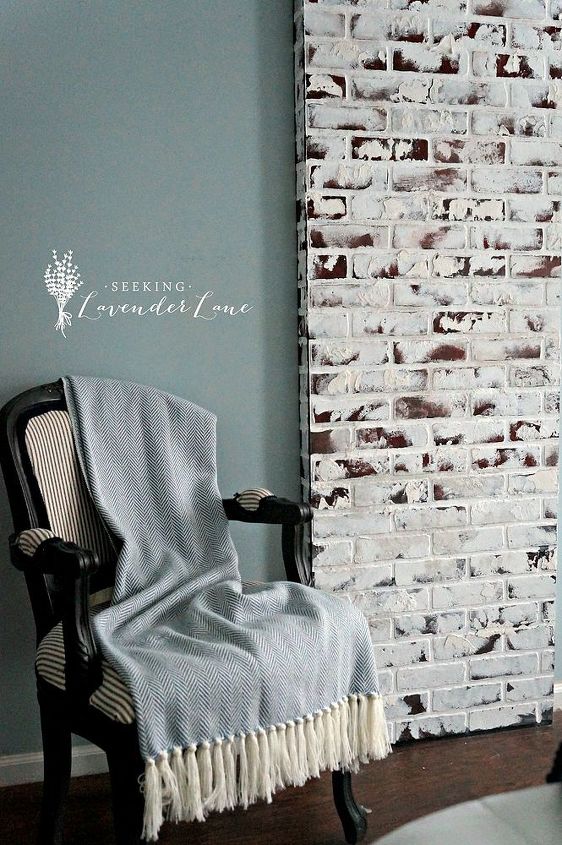
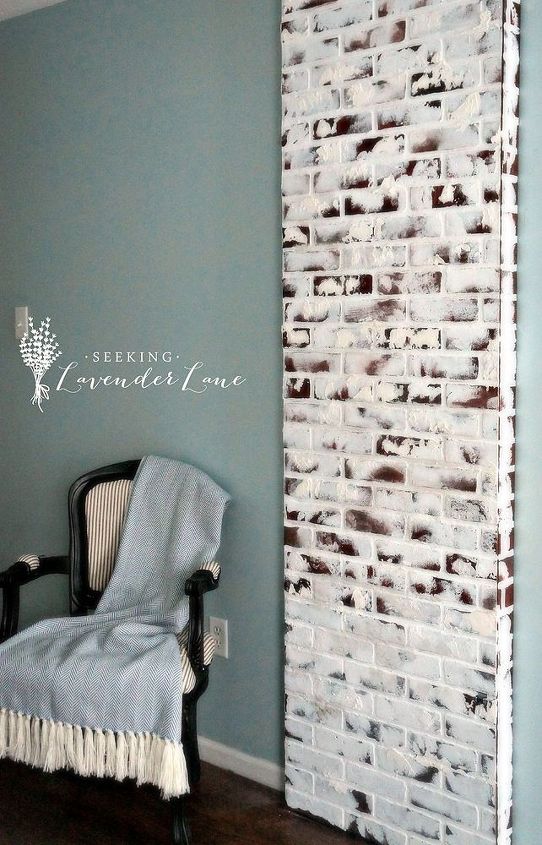
After complete!
If you Love this project, you should visit and see what we did next with it!
Want more details about this and other DIY projects? Check out my blog post!
Comments
Join the conversation
2 of 94 comments
-
I did something similar to resemble a real chimney on the wall behind a fake fireplace front.....even a Real Estate Assessor thought it was real
-
Wish you had included pictures of the support system of wood. Otherwise, nice post!


Frequently asked questions
Have a question about this project?
How did you do the paneling around the corner? Butt the ends or lap one over? Thank you.