


How To Trim Your Return Air Filter in a 8 Easy Steps.

by
Holly Prim
$30.00
2 Hours
Easy
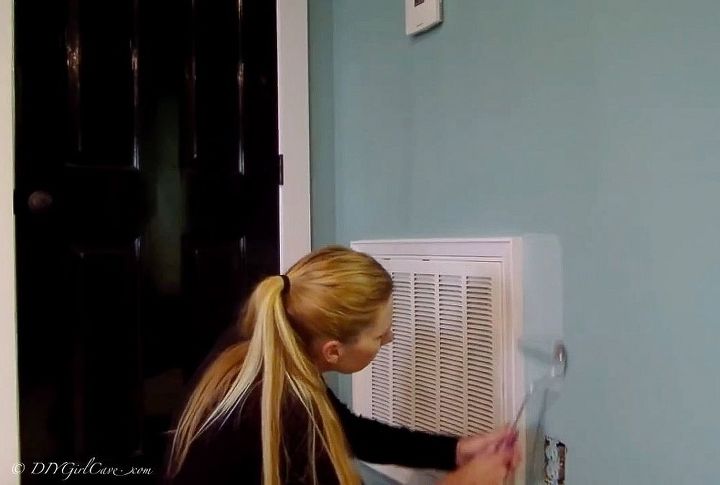
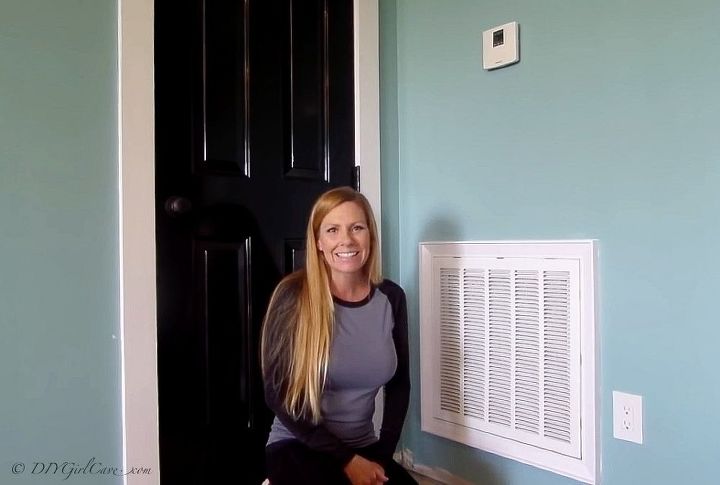
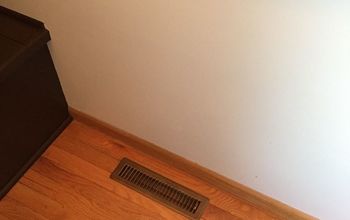
Spring has sprung and I needed to clean the air return in the basement. So I decided to make it less of an eye sore with this quick project!
With only a few tools and materials this took a few hours from start to finish.
I love using this "chameleon-like" molding, I've used it for dozens of projects so with so many scraps laying around I'm using it again. I purchased my Drip Cap Molding from a local overstock warehouse for $2.00 per 8' stick. But it is more like $1.00 per linear ft in most big box stores.
Step 1 Measure and mark trim:
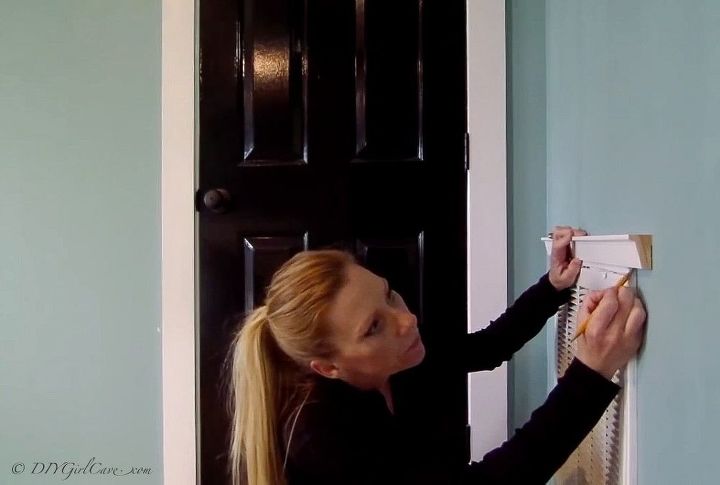
I marked the trim on each end where my outside angle cut will start, also adding a cheat mark as a reminder which way the angle will go.
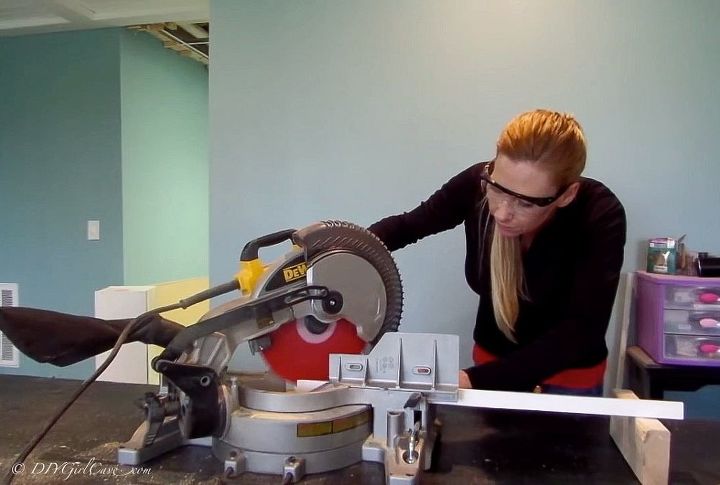
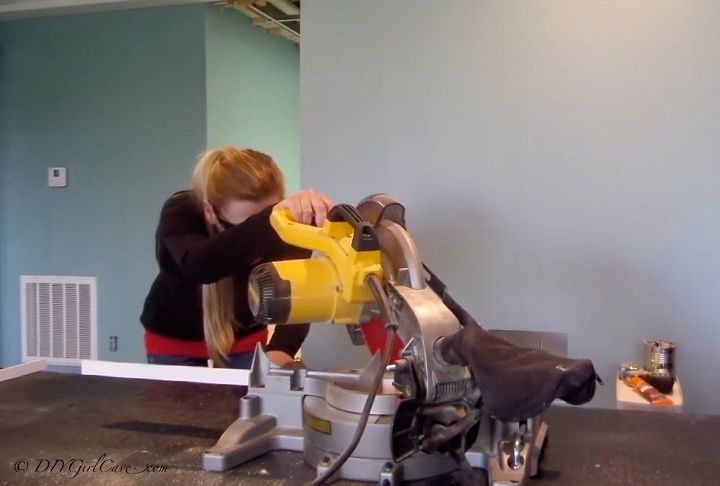
Turn the saw to the opposing 45 degree angle to cut other end of trim
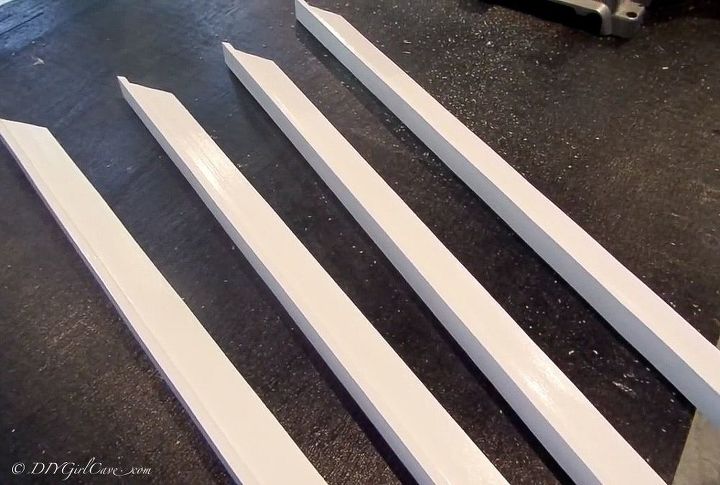
Step 3: Paint
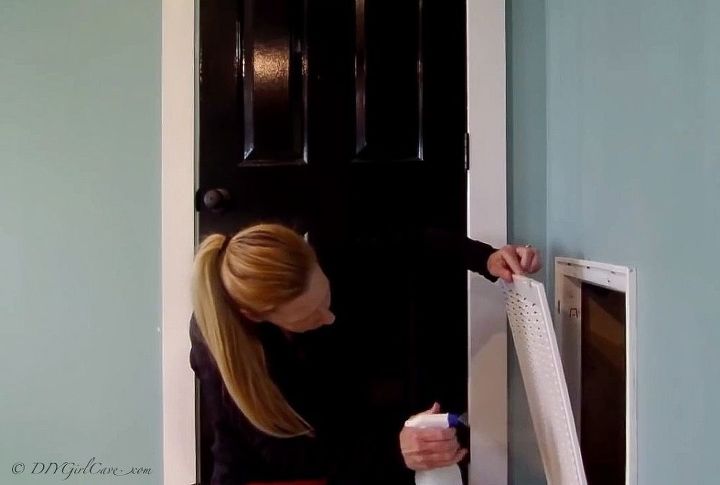
Step 4: Clean and change filter
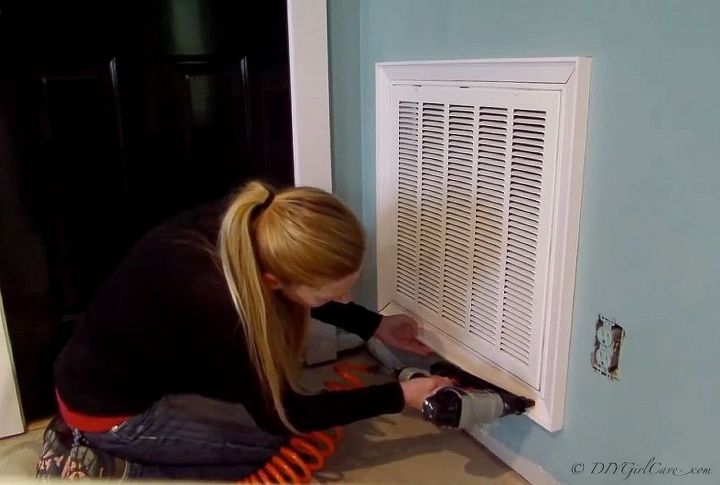
Step 5: Attach trim to the wall
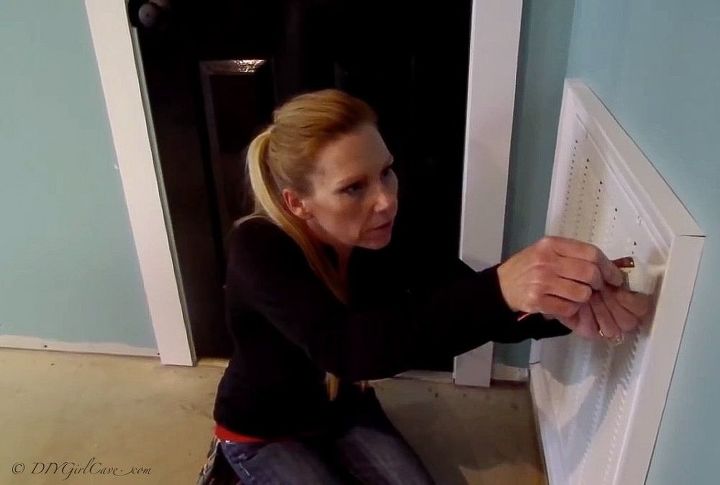
Step 6: Fill nail holes with your favorite wood filler.
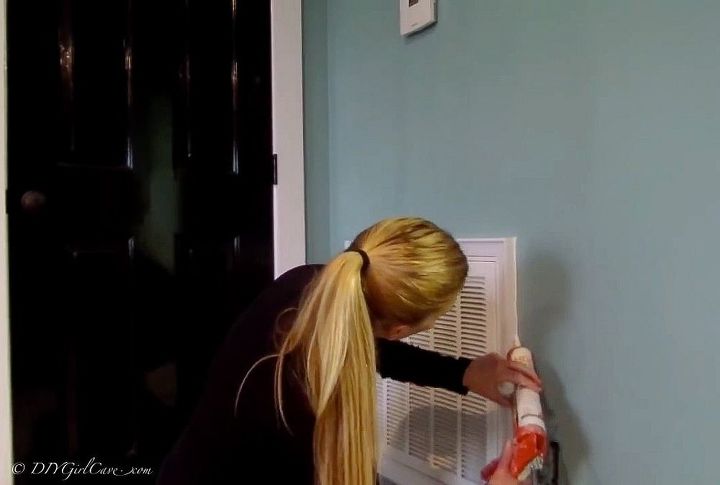
Step 7: Caulk
Step 8: Touch up surrounding paint
Originally, this project was shared on my YouTube channel, I've added the link for convenience.
{
"id": "3314285",
"alt": "",
"title": "",
"video_link": "https://www.youtube.com/embed/lk2QibuUFTg",
"youtube_video_id": "lk2QibuUFTg"
}
{
"width": 634,
"height": 357,
"showRelated": true
}
Want more details about this and other DIY projects? Check out my blog post!


Frequently asked questions
Have a question about this project?