


Wayfair Inspired Driftwood Tree Diy
Ever since August, I've been on the hunt for driftwood ,and while I've gotten a few pieces of genuine, smoothed by the tides, washed up on the shore pieces of wood. Most of my wood was mostly, aged by the rain, near a body of water, sticks that the bark has fallen off. So, I call this a driftwood tree because "Aged by the rain, near a body of water, sticks the bark has fallen off tree" would have been too long.
My point is, even if you don't have genuine driftwood, you can still make this tree.
My point is, even if you don't have genuine driftwood, you can still make this tree.
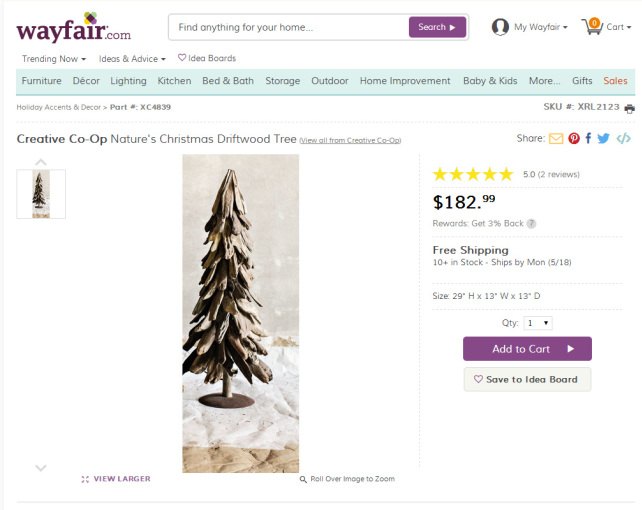
I love driftwood trees and over the past few months I've spotted a few in gift shops and online, like this one from Wayfair, but the cost has always been a little prohibitive. My first thought is, I could make that...how hard could that be? And that is why my hunt for driftwood all started.
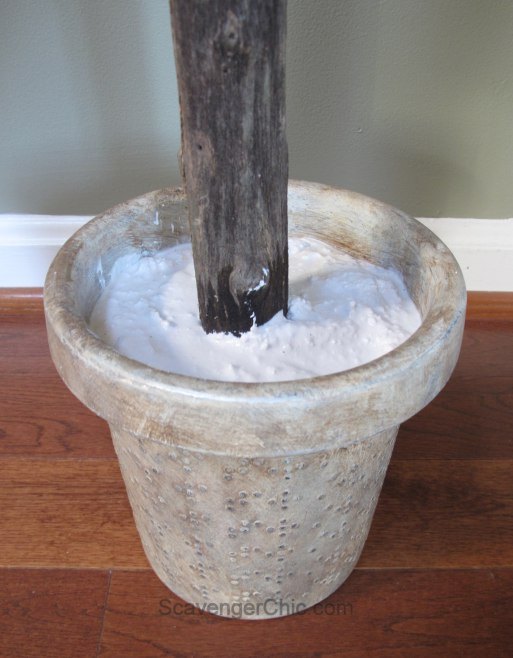
Start with a pot painted the finish of your choice. Find a nice straight stick to use as the trunk of your tree, slightly shorter than the desired height of your finished tree allowing for the part of the tree in the flower pot.
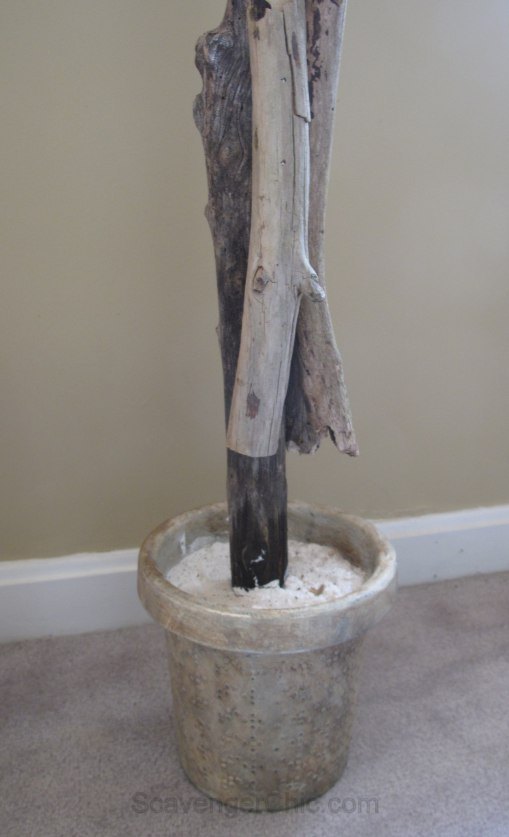
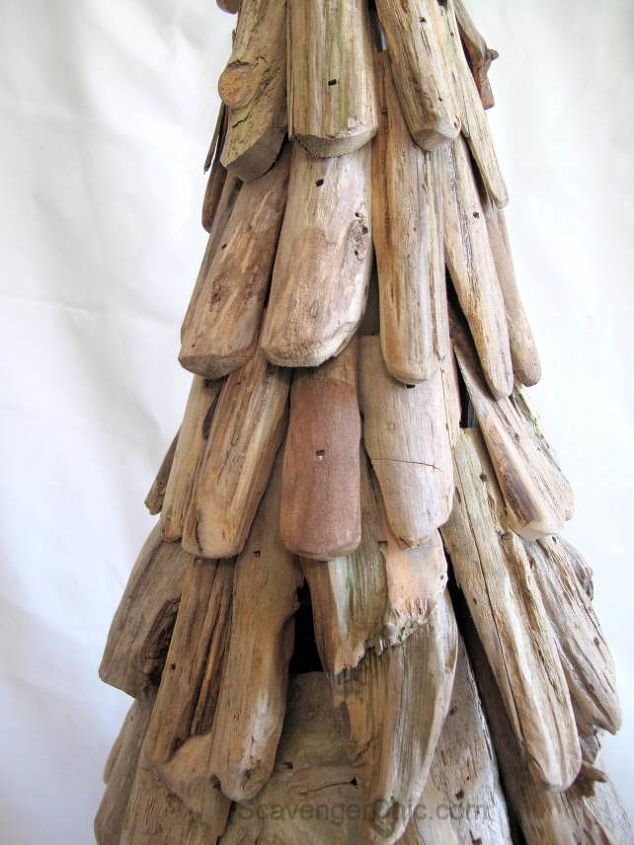
To my tree trunk, I applied a bunch of sticks to just give the tree a cone shaped inner form. These were nailed on, though hot glue would also work.
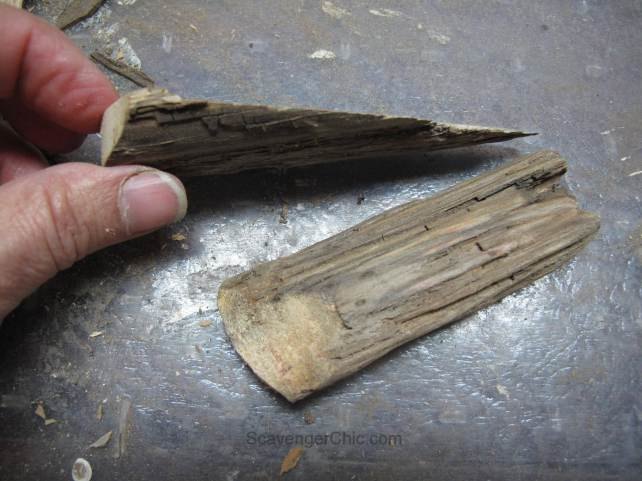
Once I had my cone shape, starting at the bottom, applied rows of driftwood. When I first started I used the natural rounded edge of each piece of wood but ended up rounding the edges with a tabletop jigsaw then sanding. The first rows mainly used wood that was split in half.
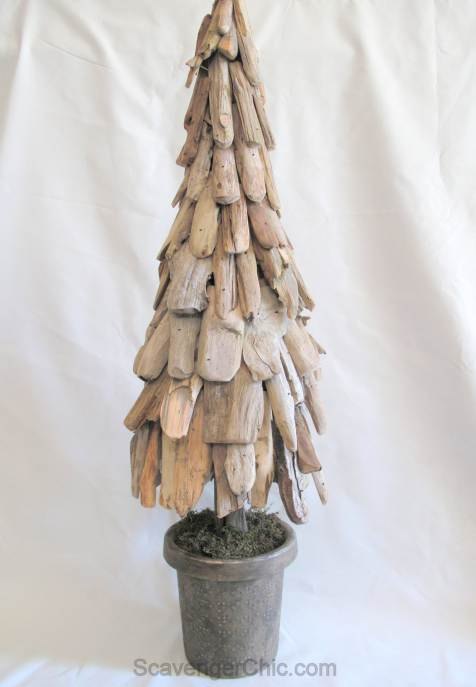
So while none of the steps were particularly hard, it was a little labor intensive. Now I know why they charge $183. I still wouldn't pay that, and it is so much more fun to say, I saved $183.

Want more details about this and other DIY projects? Check out my blog post!
Comments
Join the conversation
2 comments
-
This is so cool!
-
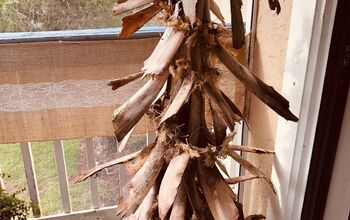
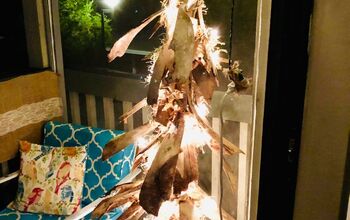
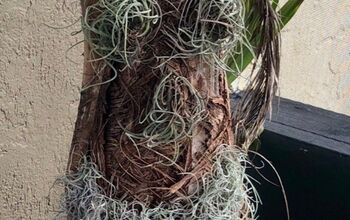
I loved this tree also and decided to try it, but I used palm boots instead. It was definitely a challenge but I was happy with the end result. I love using natural (FREE) materials and creativity!


Frequently asked questions
Have a question about this project?