


Railroad Spike Coat Rack - Easy Diy
When my brother-in-law visited last week he brought me a fantastic present...a couple of pieces of old wood that he had pulled out of a house he was renovating. What was most interesting was that this was a 24. It wasn't just any 24, it was a 24 that actually measured 2 inches by 4 inches. If you work with wood, you know that a 24 really only measures 1 1/2 x 3 1/2.
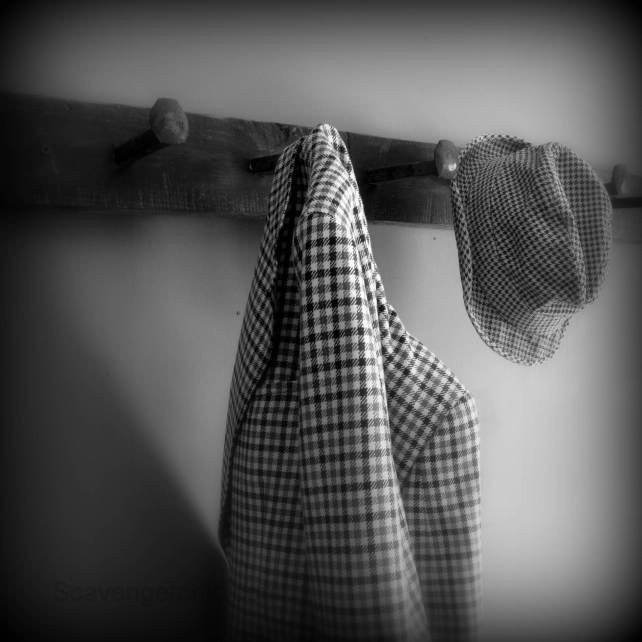
Well, I immediately knew what I was going to do with one of the pieces...a coat rack made from some old railroad spikes I've had sitting around the house for years.
Well, I immediately knew what I was going to do with one of the pieces...a coat rack made from some old railroad spikes I've had sitting around the house for years.
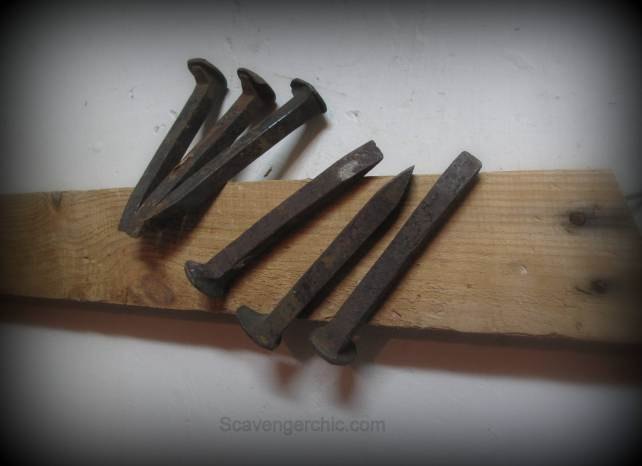
The railroad spikes must have been sitting on my bookshelves for at least 15 years gathering dust. Now was the time to put them to good use. If you don't have railroad spikes just sitting on your bookshelf ebay sells them for about $1 a piece or cheaper.
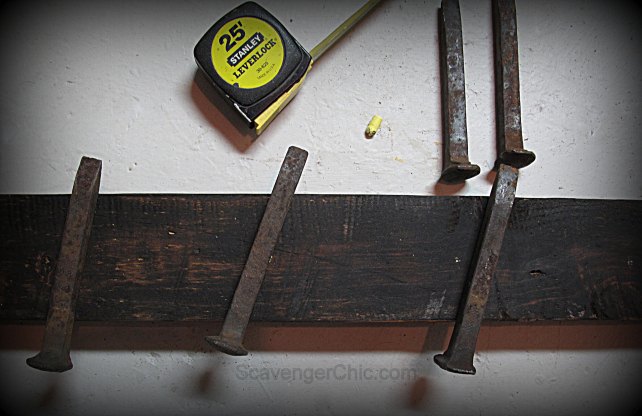
First thing I had to do was square off the ends of the 24 and get rid of the old bent nails.
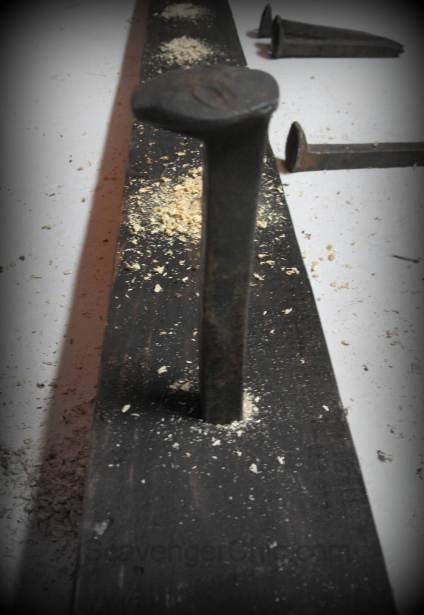
Holes were drilled where I had marked , about an inch deep using a 5/8 drill bit. After that, it was just a matter of pounding the railroad spike in until it was secure.
Need more pictures and more upcycling projects, I hope you get a chance to stop on by.

Want more details about this and other DIY projects? Check out my blog post!
Comments
Join the conversation
2 of 3 comments
-
Love it!
-
I love this idea. I have everything to do this project and had wondered what I could do with the RR spikes I have. Thanks for the idea.


Frequently asked questions
Have a question about this project?