


Bar Top Replacement With a 1950's Red Formica Table Top.

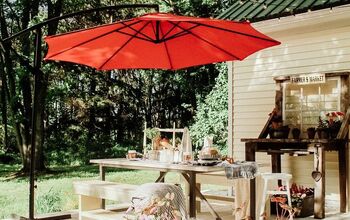
I have a homemade bar that I made out of extra cabinet bases and an old laminate counter top. There was no overhang on the top so it wasn't comfortable to sit at. I replaced the old top with a mid century Formica table top that gives me a 10.5" overhang to put your legs under.

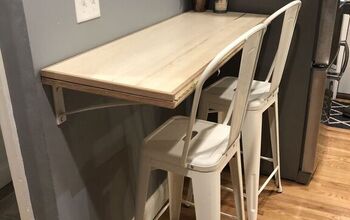
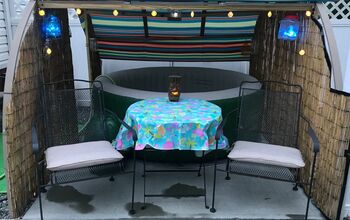
New/old bar top.
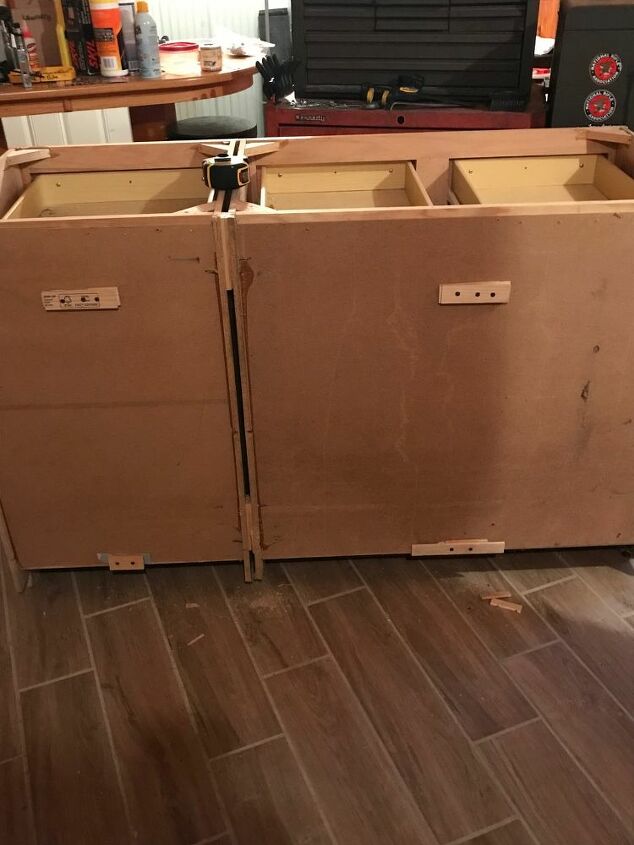
Original cabinet bases ready for back panel. Bases were screwed together using 2.5" cabinet screws and shimmed for squareness.
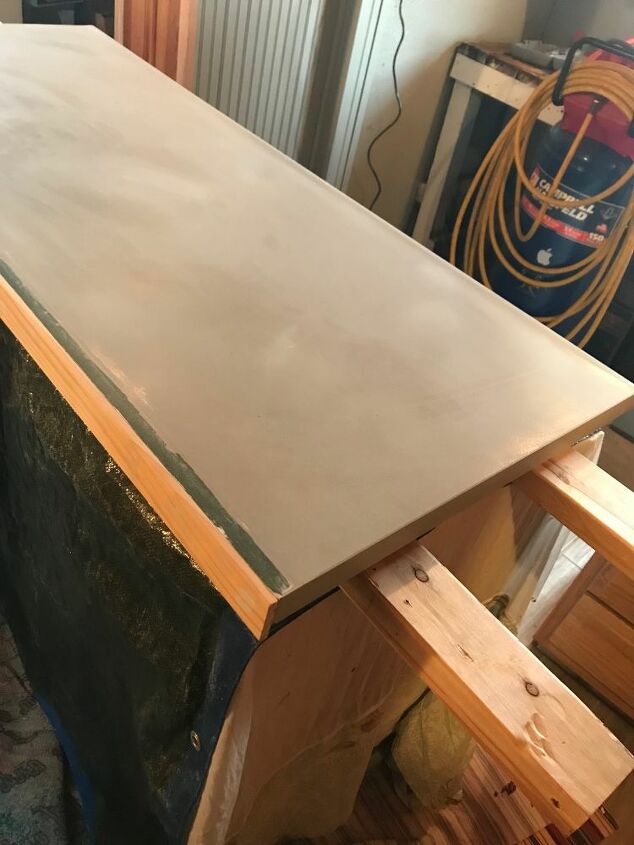
Original laminate counter top used for the first bar top. The top was sanded, primed, painted with a good latex red paint, sanded, painted a second and third time, and then cleared with a water based urethane, sanded, cleared again, sanded, cleared, you get the idea.
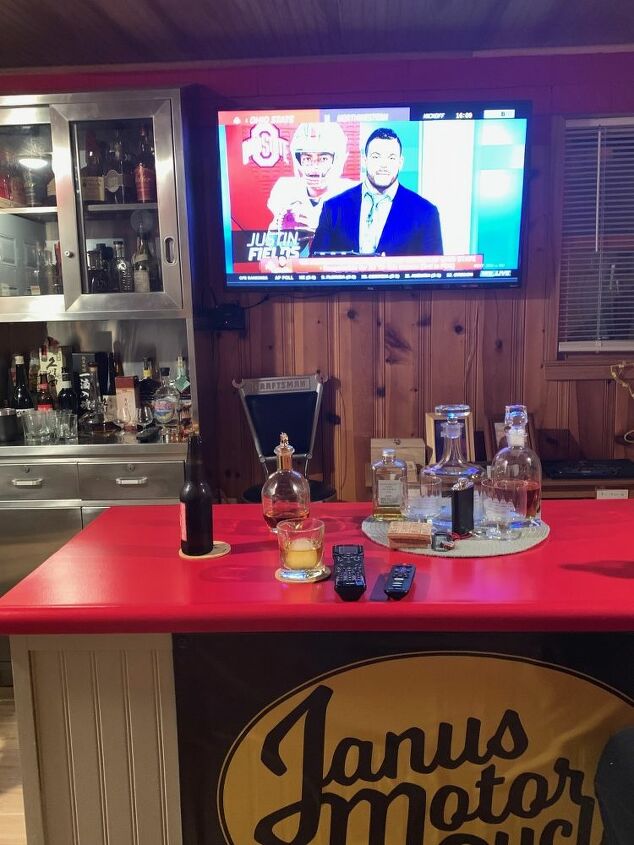
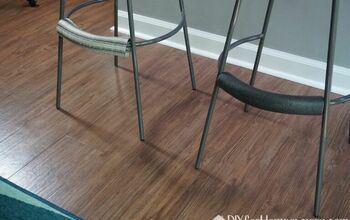
The old finished product. The bar top was nice, but not very comfortable to sit at with no overhang for your legs to go under.
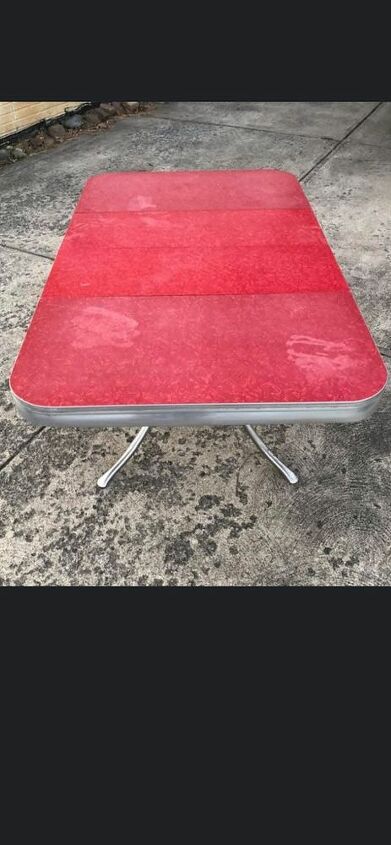
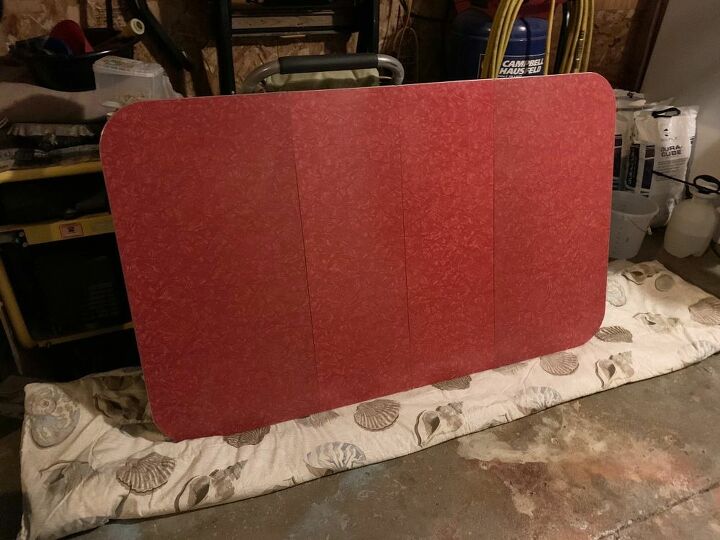
I purchased this table from an online social media selling site. As you can see the top needed some TLC. It had four rather large white spots that drew your eyes directly to them. It was also pretty dirty, all of the lines in the trim were caked with 70 years of dirt from being used.
Same top after cleaning and sprucing up. Is it perfect? No it isn't, but it's also 60 or 70 years old. I deep cleaned the surface and the trim that goes around the edge of the table with soap and water and then a good de-greaser. When dealing with the large white spots, everything that I read told me to just put new laminate down over the old. I did not want to do that. I ended up sanding the surface with 400 grit sandpaper several times, wiping it off completely between sandings. I then used automotive paste wax on it, about three coats if I remember correctly. Each coat brought a better finish and the white spots were less prominent. Eventually the spots were to a point that you really had to look hard and know where they were just to faintly see them.
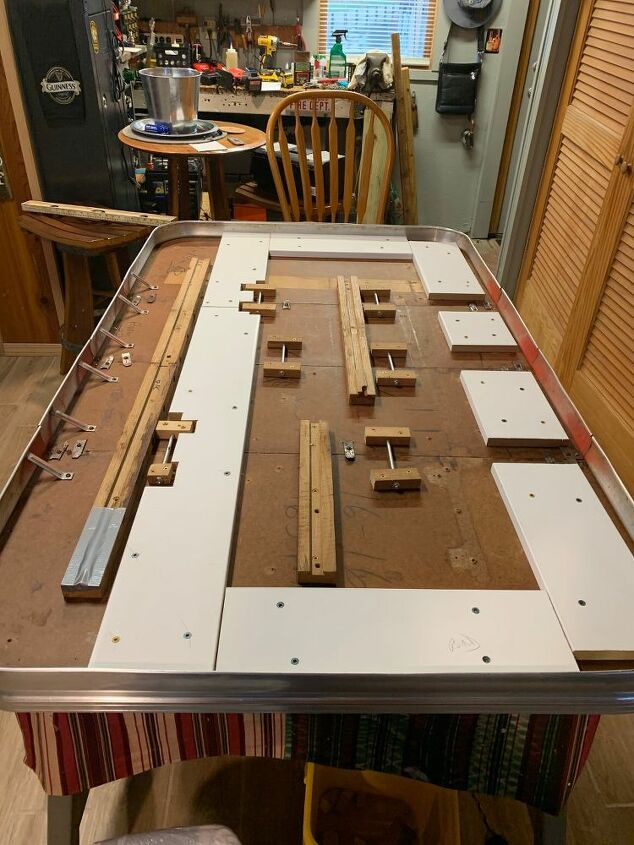
The top upside down on saw horses after removing the legs. There was no locking mechanism on the table to hold the ends and the two leafs together. I made six draws out of some scrap hickory that was 5/8" thick and some 6" long 1/4" bolts and nuts. I cut the hickory to about 3" long and drilled a 1/4" hole horizontally through them. Two pieces with a bolt through them across the seams were screwed down to the table top using 1 1/4" wood screws. The table top is 7/8" thick, the hickory is 5/8" thick so I wouldn't use any screws longer than 1 1/4". Once they are mounted, you can draw the nuts on the bolts tight against the wood mounts and draw the seams together rather tightly. I also took the oak slides from the table mounts that let the table slide to open up for the leafs and mounted them on their side horizontally as well. They happen to be 5/8" thick also so I could use the same 1 1/4" screws. I mounted these across the seams once the draws were tightened for additional support. I then took some scrap MDF boards that are 5/8" thick as well and mimicked the outline of the base cabinet walls where this top would sit. They were also fastened with 1 1/4" screws. Once the top is flipped over and placed on the base cabinets, I used 2" screws to mount it from below through the corner mounting braces found on almost any cabinet. A total of eight screws through the corner braces, the MDF board, and the top itself is what anchors the top down onto the bar.
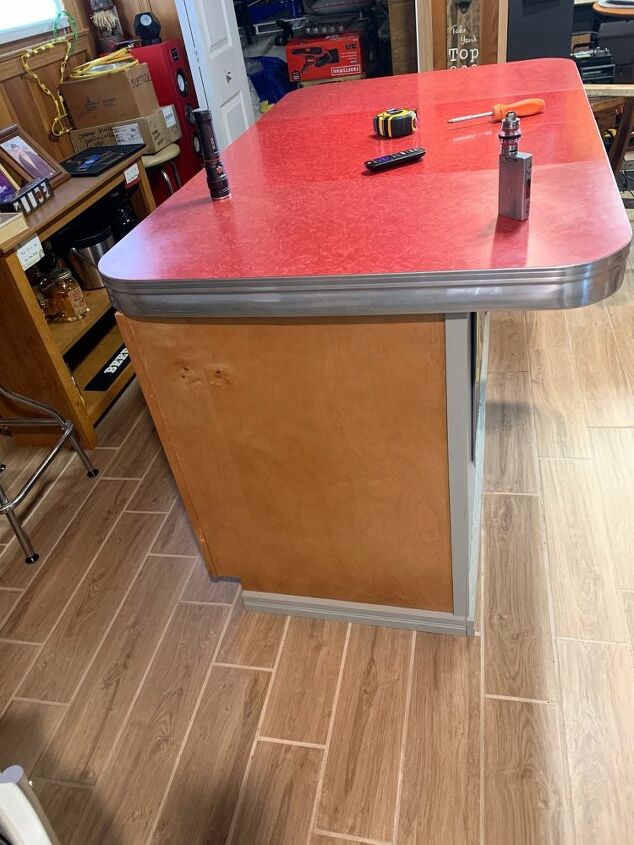
A view of the final placement of the top.
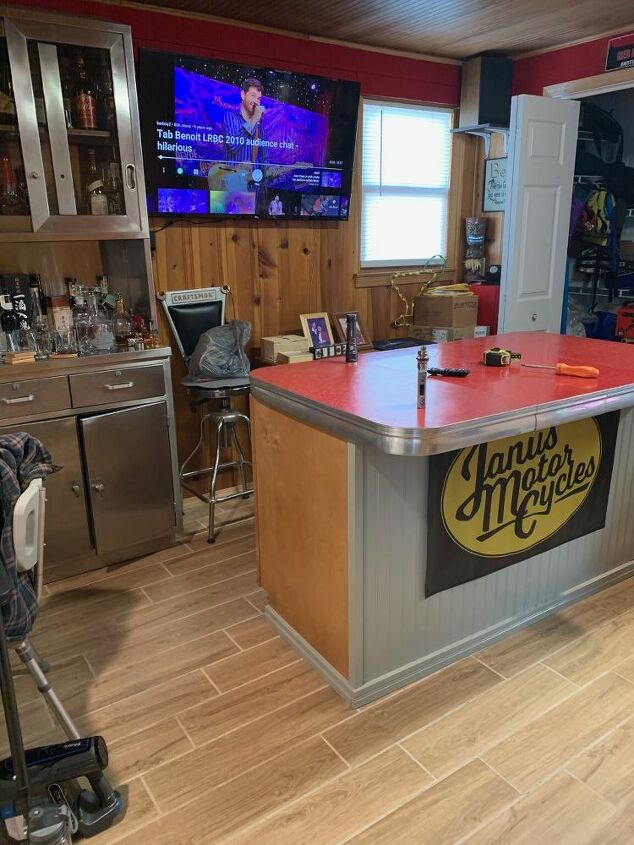
Another view.

I mounted the legs from the table to the bottom of the old bar top just because I had them here and then gave it to a friend of mine.
Comments
Join the conversation
-
I just brought my Mom and Dad's table like this home and hubby is going to make a island just like this. It is the table that I grew up with and I am 66 yrs old. I can't wait to add it to my kitchen so we can add more conversations and memories around it!
-
Trip down memory lane for me- thanks! we had, when I was a kid - back when we were in the mid-century!- a red Formica with metal banding table just like this one, and our first Spanish phrase we learned was 'la mesa roja', the red table, as our Dad, a banana man, began teaching us the language he was using in his travels in Central & South America.


Frequently asked questions
Have a question about this project?