


DIY Painted Faux Floorboards

I’m in love with white painted floor boards and I would love nothing more than to have them throughout our home! However, living in a new build makes this a little more challenging. Our smallest bedroom is changing again soon so I figured now would be the best time to give it a new floor and it would be the best place to experiment!

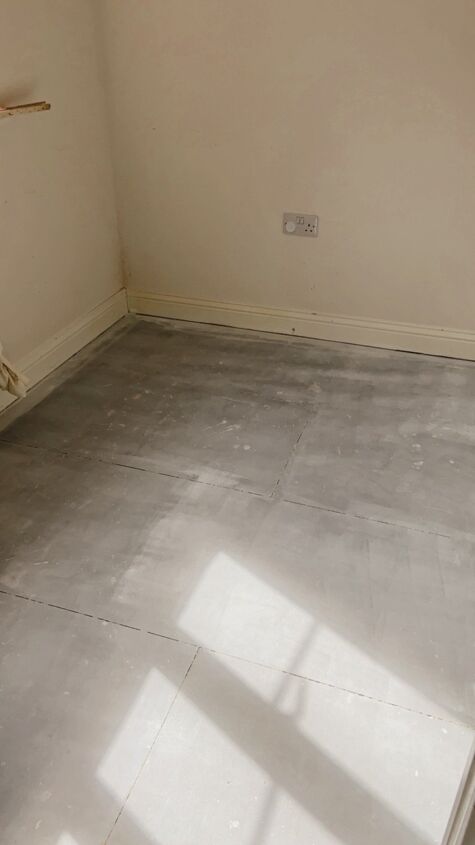
This is the before. Our carpet isn’t that old and was fitted before we moved in. We had carpet moths two years ago and this room was one of the worst affected. That whole experience has put me off carpet for life and I also felt like this space would look so much better with a hard floor!
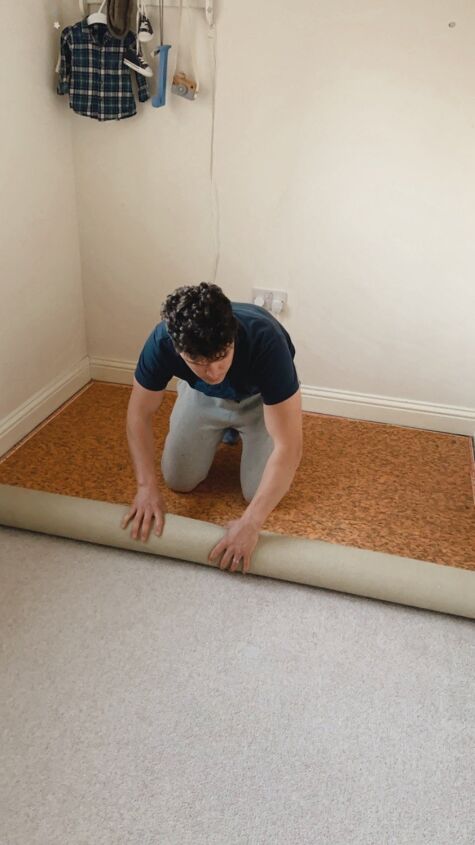
Once I made the decision to go for it and take the risk, thankfully ripping up the old carpet was easy.
To remove the underlay there were staples to remove which came out easily.
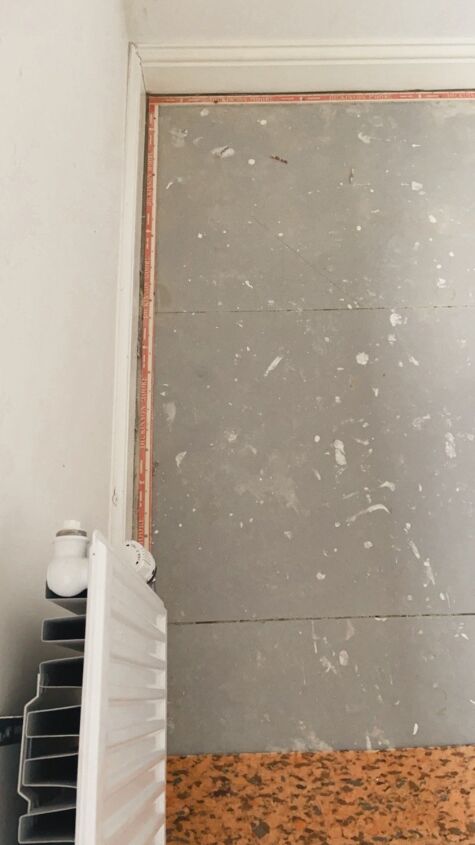
This is the subfloor once the carpet was removed.
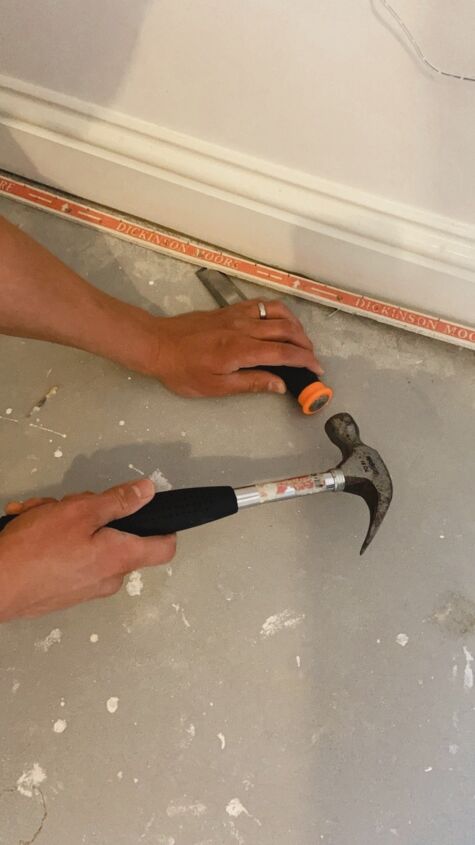
Next we had to remove the carpet grippers from the edge of the room. These also came up easily with a hammer and a chisel and we didn’t need a special tool to do this.
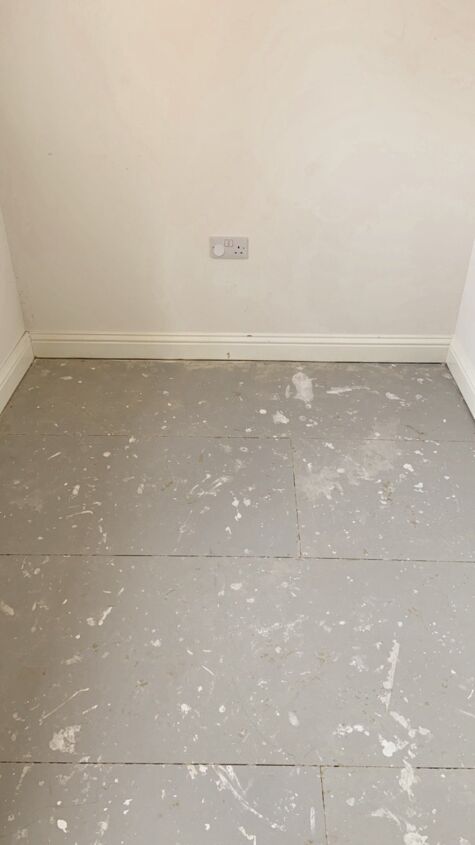
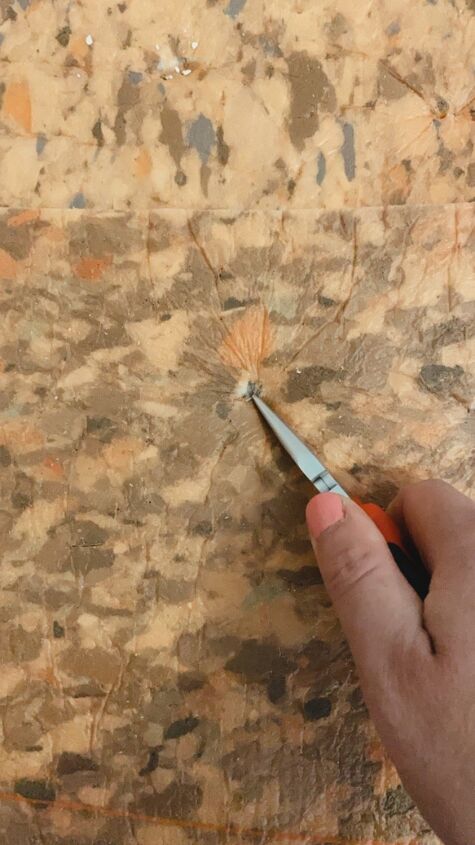
You can see the mess the decorators left on the floor and I needed to remove some of the paint splashes which were raised from the surface.
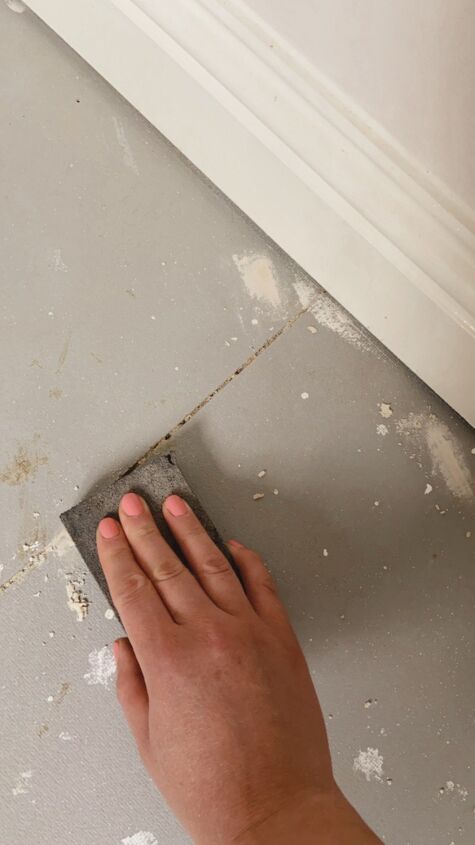
I used a hand sander and sanding pad to make sure the floor was perfectly smooth before painting.
The subfloor had some kind of coating on it so and was quite a rough texture so I decided I didn’t really need to prime and skipped this step. In hindsight I may have not done this as I think it resulted in needing more coats of paint.
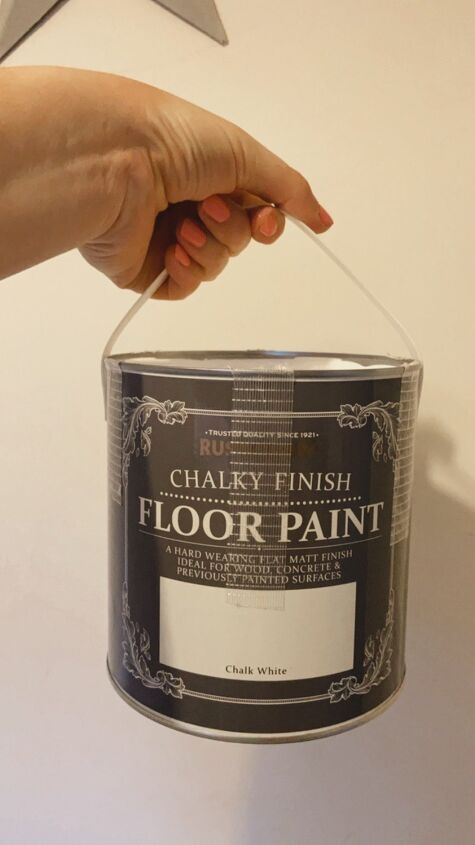
After reading many blogs and reviews I finally found a floor paint that was in my budget and that I thought would be reliable to use. There is a greater choice of products in the US and I was limited in the UK and could not just take recommendations that others had used.
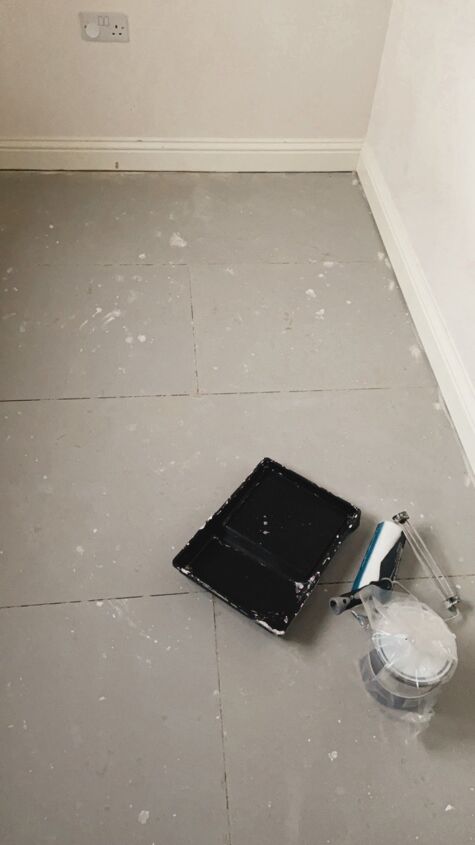
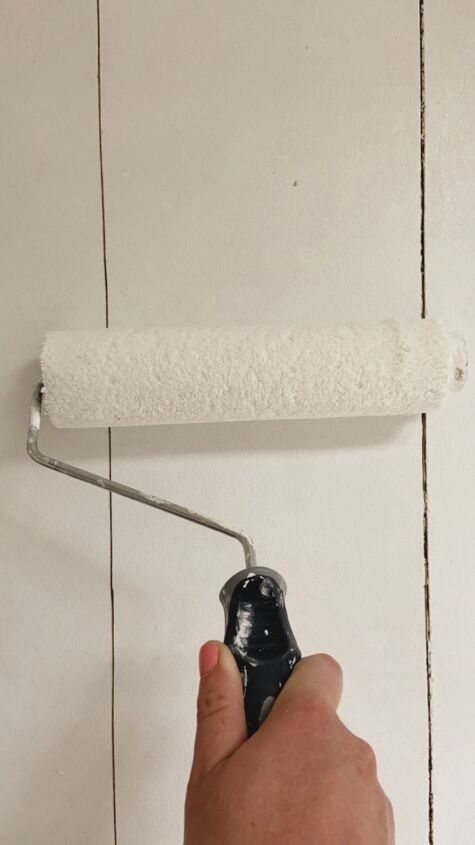
I painted the edges of the room first with a medium brush and then applied the first coat with a roller.

This was after two or three coats.
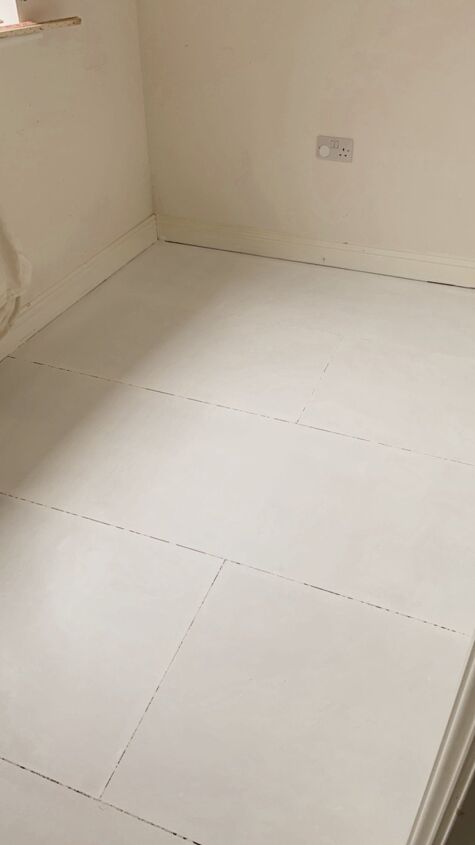
I ended up applying 5 coats which is more than I hoped but the paint went far and was fast to apply with a roller. I didn’t fill the joins from the boards as I had originally intended to because I decided to take an extra step to add more detail which I thought would be beneficial in the long run.

I wasn’t sure at the start if I would do this but I decided to go ahead and create floorboard lines on the floor. We measured out equal lines across the boards which worked out at approx 8 inch planks.
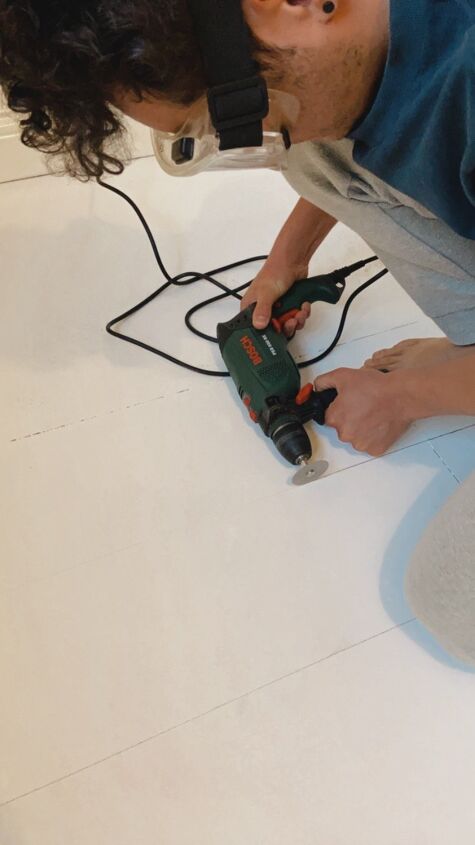
Next my husband carved the lines into the floor using a rotary drill tool. This didn’t take too long and was surprisingly easy since you don’t need to aim for perfection as I think this makes it look more authentic.
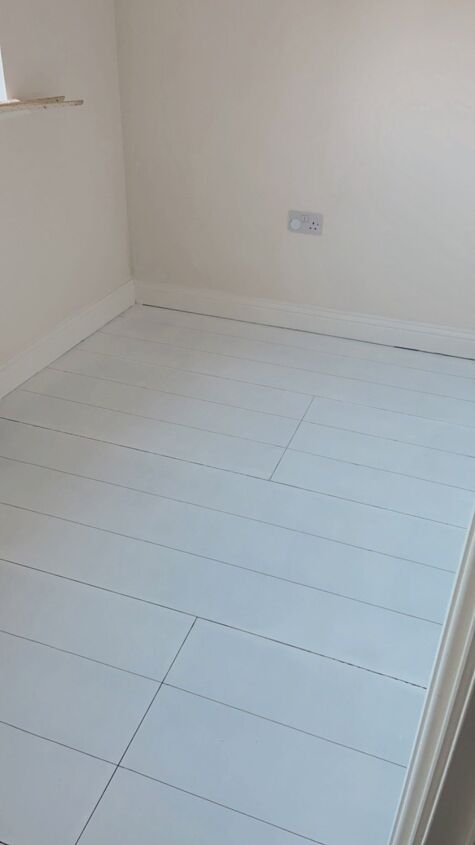
This is what the floor looked
like once the lines were carved in. I’m so happy we went with this extra step.
Finally, I applied two coats of clear satin floor varnish to seal. I wanted to make
sure this step was done thoroughly to ensure the surface is protected from damage.
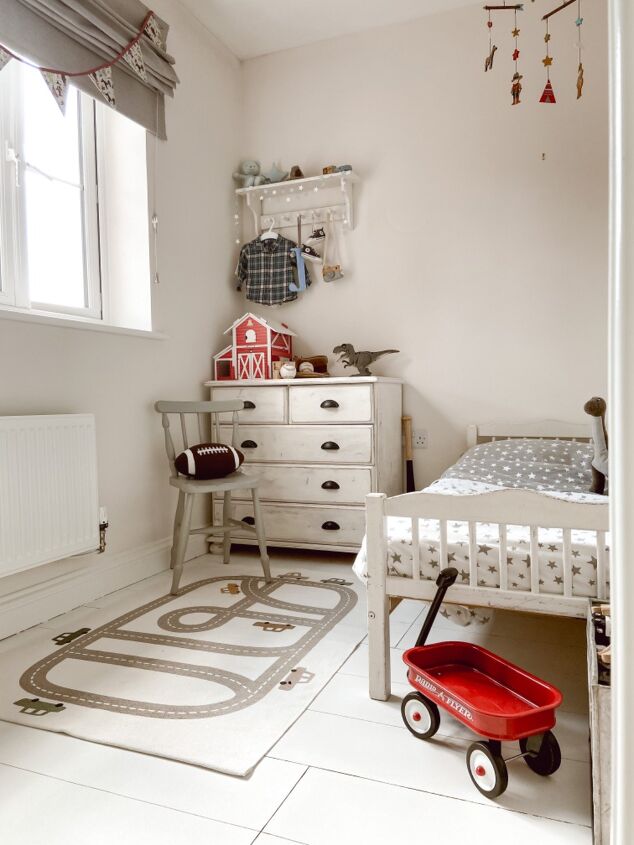
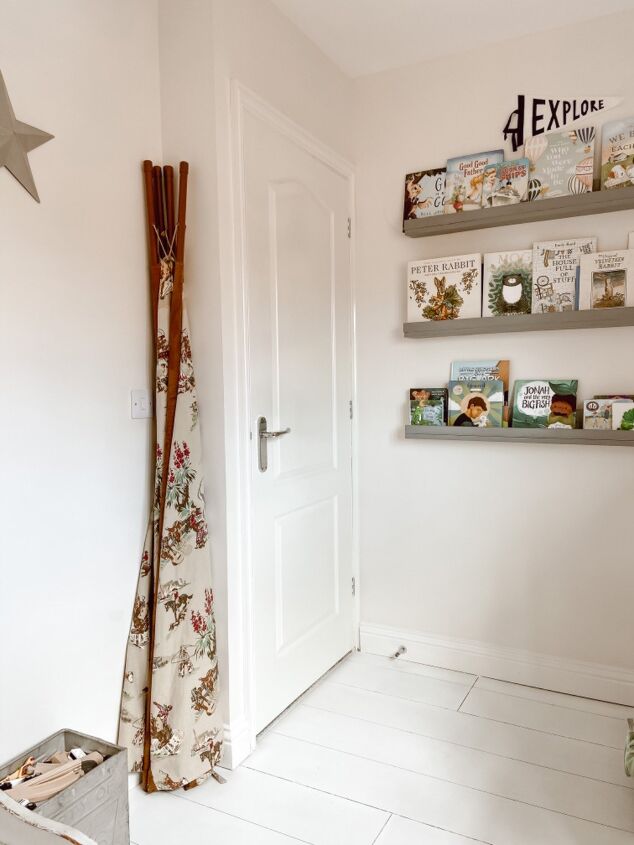
The finished room! I’m so happy I took this risk as I love the end result. I also refreshed the walls and the skirting boards with a fresh coat of paint which definitely tidied it up.
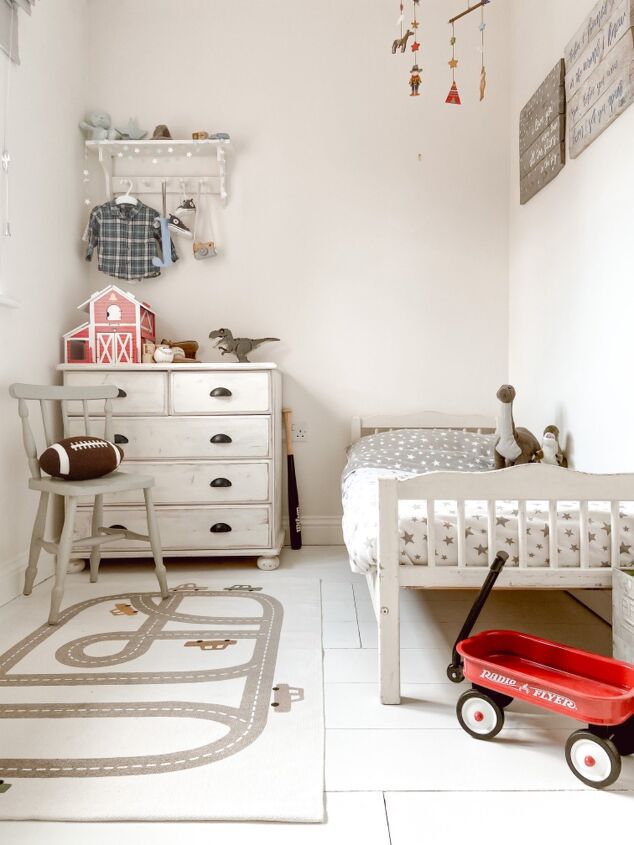
The room feels more light and airy and spacious. I felt like it would feel bigger without the carpet and it really has made a huge difference to the look of the room.
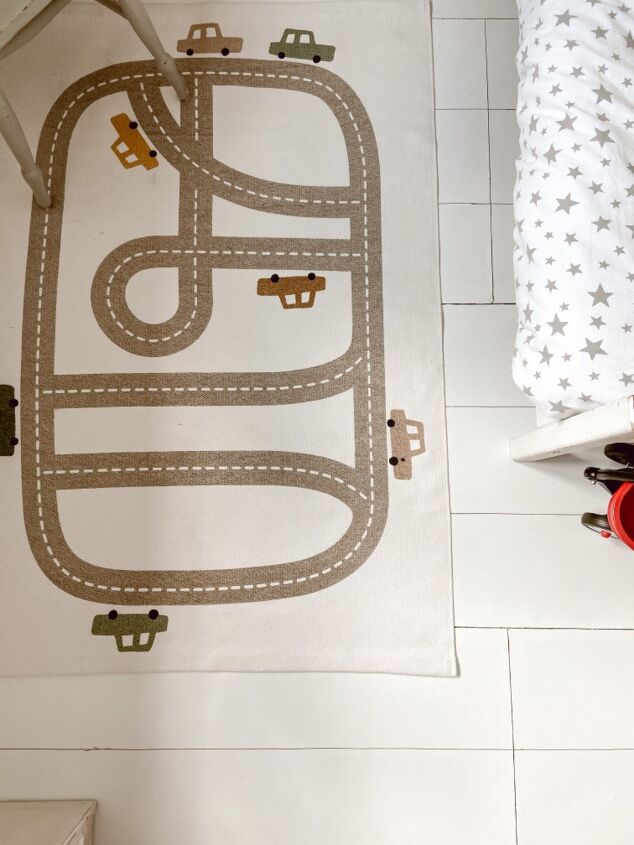
It’s so hard to photograph the floor well but in real life it really does look realistic and just like real floorboards. It isn’t overly shiny since I used the satin finish varnish and the new rug just completes the overall look.
I’m so happy with the result considering this was a budget method to fix up this room and create the look I wanted. It’s definitely a controversial method to paint the subfloor but I’ve seen many people do it which gave me the push to try it and I didn’t want to spend the money on new flooring. I also have so much leftover paint to use for the next project!
I hope this post inspires you to take the leap to do something crazy and also demonstrates that sometimes the unconventional route can work!
To see more of this and other projects follow along on Instagram!
~ Rachel ♡
Resources for this project:
See all materials


Comments
Join the conversation
-
Love the look. Great job.
-
VERY NICE! only thing is you need molding around the floor, or just caulk that crack, then it'll be perfect.


Frequently asked questions
Have a question about this project?
What material was the subfloor you painted?