


Antique Pine Blanket Chest

by | Mar 22, 2022 | DIY, Refurbishing Furniture |
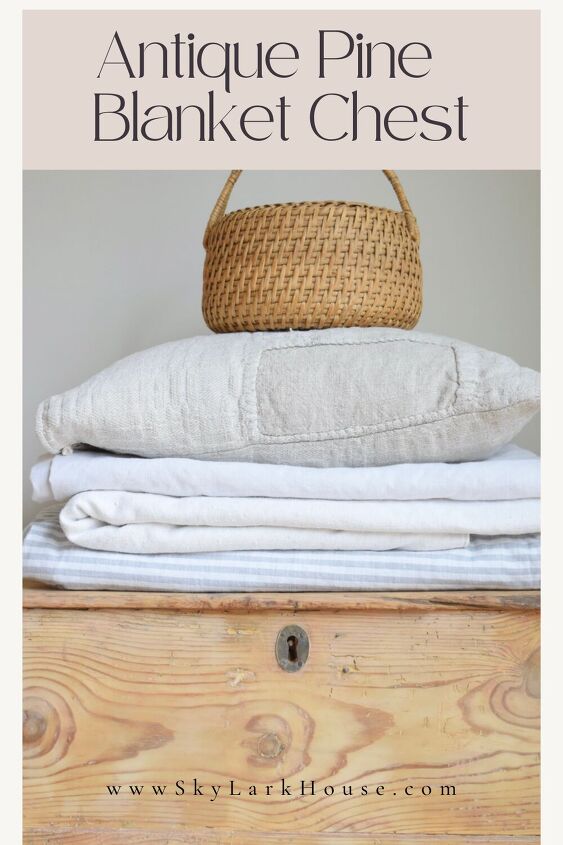
Do you want to learn how to turn a dark stained antique pine blanket chest into a piece of furniture with a beautiful raw wood finish? If so, then you are in the right place.
A quick note that this post includes affiliate links and I will receive a commission but at no additional cost to you. I am presenting you with my own opinion and honest review of the information provided. If you want to read the entire disclosure statement, please click HERE.
First, I have to share with you something. Have you noticed that the world of marshmallows has exploded with new flavors? I had NO idea. I went to the grocery store a few days ago and was bowled over at the enormous variety of marshmallows. Seriously. There were strawberry flavored/shaped marshmallows and orange marshmallows and toasted coconut marshmallow with chocolate filling! What? When did this happen? I came home with toasted vanilla marshmallows with chocolate filling. I grew up on plain ole puffy white marshmallows that you put on a stick and roasted over some coals. When did this tremendous evolution in marshmallows take place?
More importantly – please share – what is your favorite “flavor”?
Anyway, I was in the store to buy some oven cleaner that I wanted to try out on an antique blanket chest that I was refinishing. Spoiler alert – the over cleaner method did NOT work for this project. However, in the process of buying the oven cleaner, I got an education about the vast array of marshmallows now available.
So let’s get to the process used for giving this antique pine blanket chest a makeover.
My Mom actually had this blanket chest at her home and was going to donate it. I asked her if I could please have it and give it a new life because I thought it had hidden potential. My Mom said “Sure, go for it”. Thanks Mom!
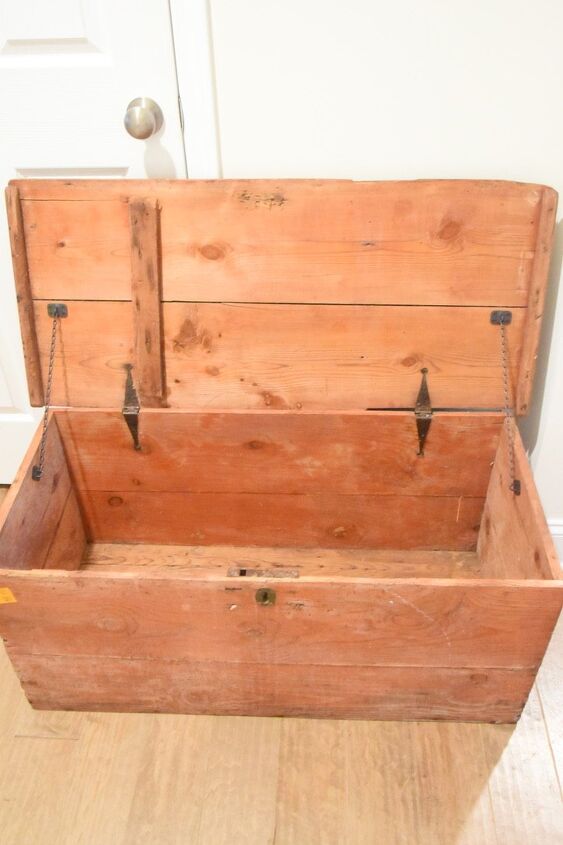
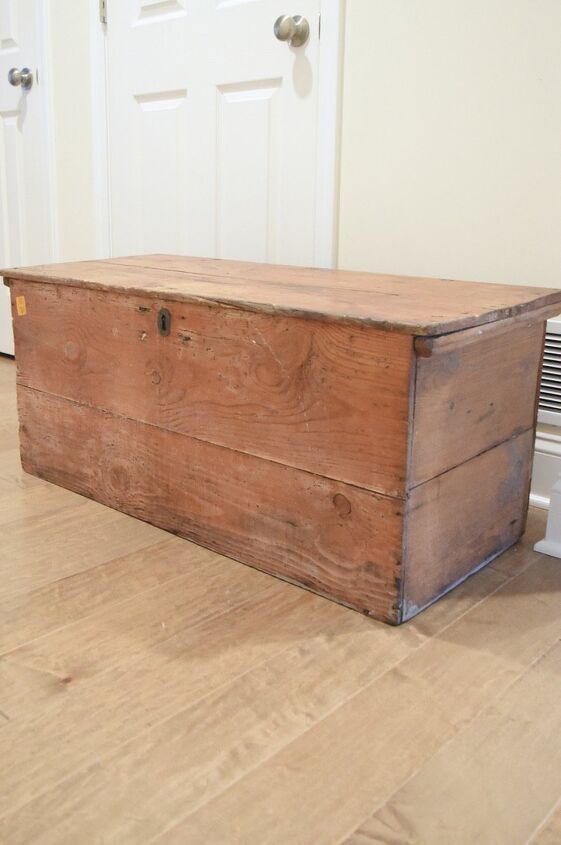
Upon closer inspection, I could see that pine blanket chest was clearly very old. The hardware was old and the planks of wood were also old. One clue to the age of the chest is the width of the boards used on the sides and top. The biggest challenge with this piece – is that someone, some where along the line, stained it a rusty red color. It was not a flattering color.
Side note – I have no idea why but I really don’t like the colors red or orange in furniture. I feel the need to save any piece of furniture with a red-ish or orange-ish stain. For further proof, you can read my post about this Antique Pine Dresser.
Currently, one of the more popular methods of stripping wood is to use oven cleaner. A multitude of people on social media are using this product to strip wood furniture. It has become fairly popular. So, I decided to give it a go. A quick note – the oven cleaner method will not work if your pieces is sealed with a poly finish. This chest was not sealed with a clear coat and so I thought it would be a perfect candidate.
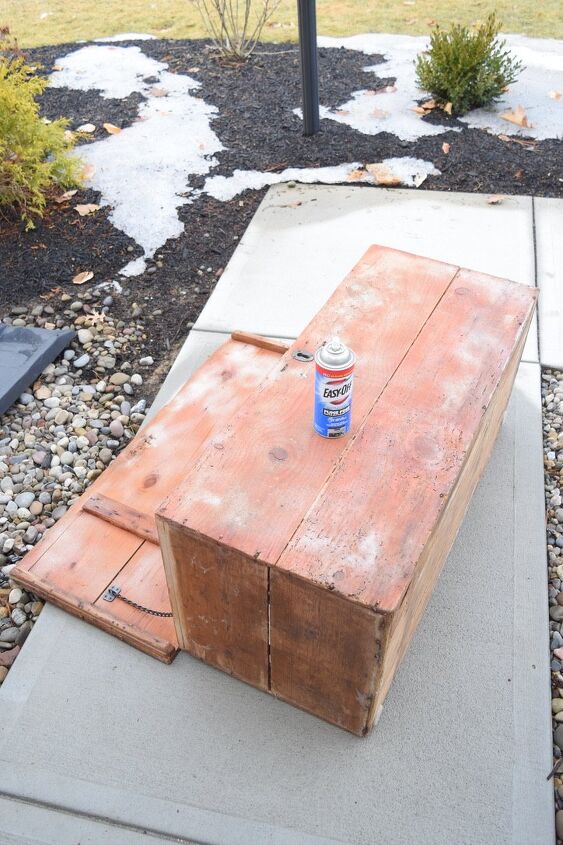
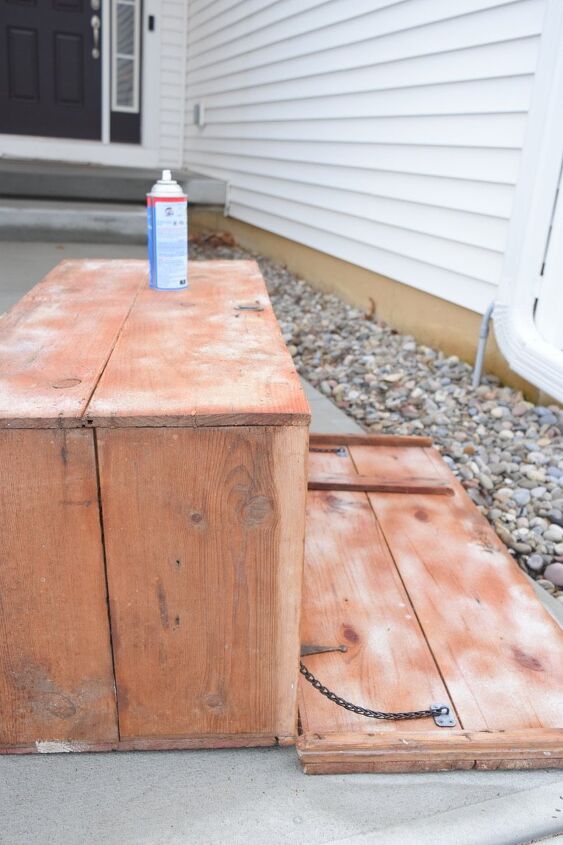
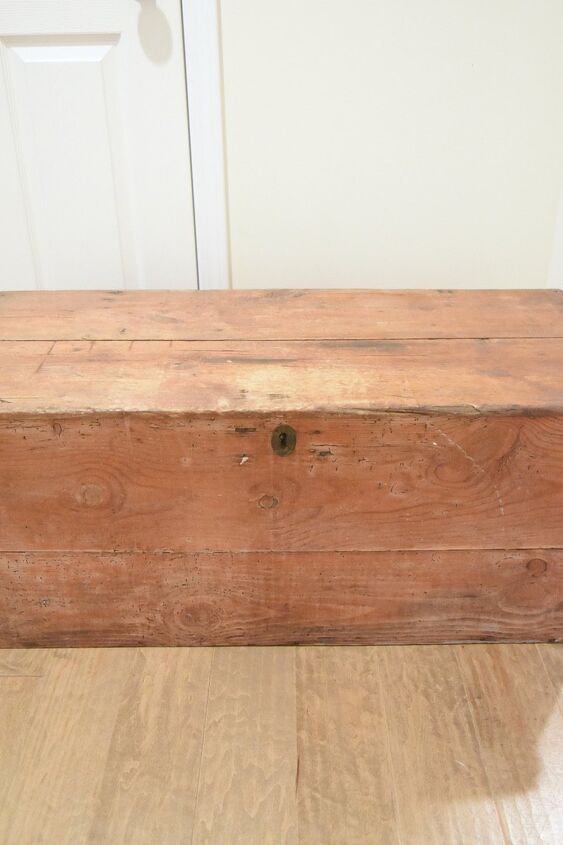
I decided to test the oven cleaner on the front section and lid of the chest. Here is what happened – while it did remove some of the existing red stain it left behind a very stubborn pink stain on the wood. Also, in order to successfully use this method of stripping wood, you need to have access to water via a hose and sprayer to rinse off the residue. As you can see in the photo above, we still have snow on the ground. Our water to the outside faucets are still shut off. I tried unsuccessfully to remove the stain residue with a bucket of water and scrub brush.
My take away -using oven cleaner to strip the wood was a challenge to use in a cold climate and it created more problems than solutions. Another take away – you need to use a lot of oven cleaner. If I kept going with this method, I would have likely used 3-4 cans.
Now I had to wait for the wood to dry before I could move forward.
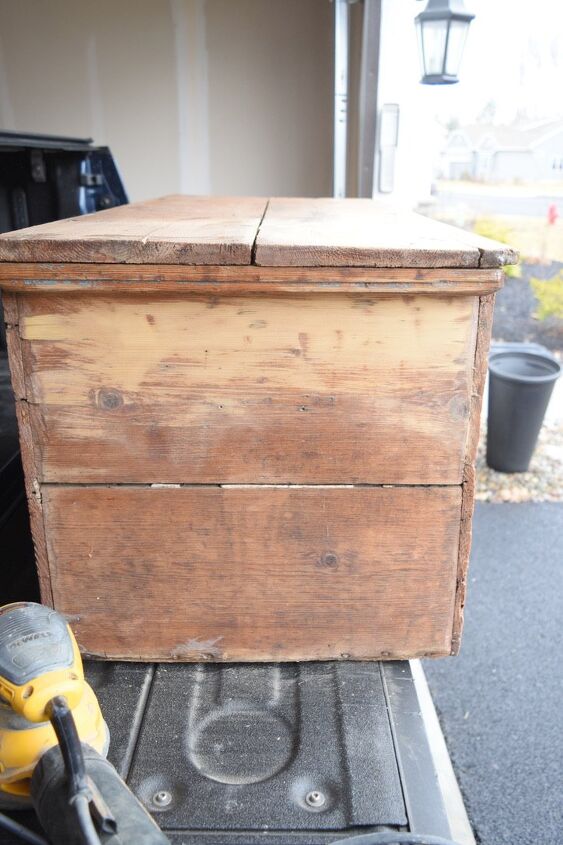
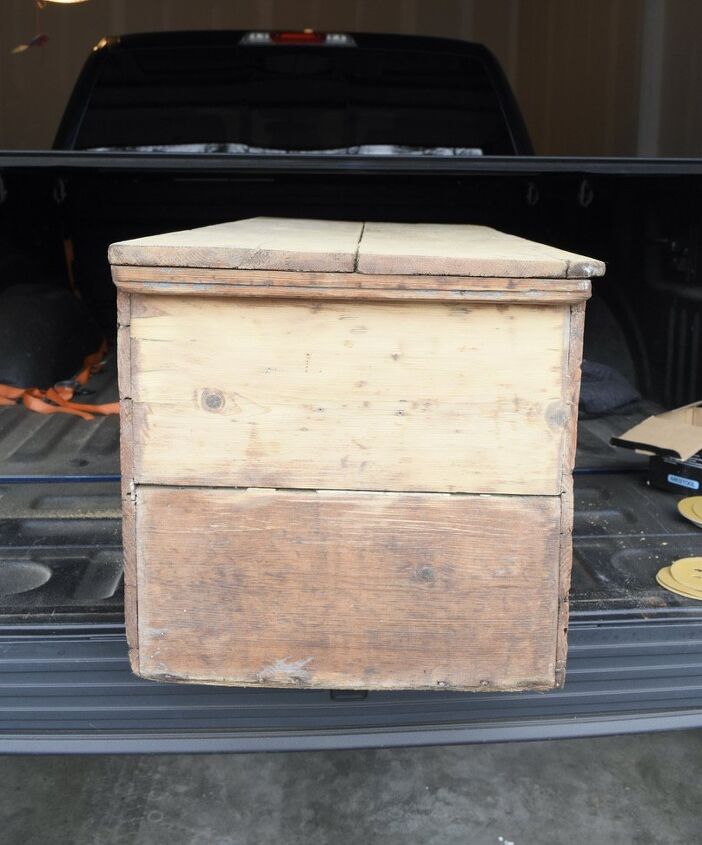
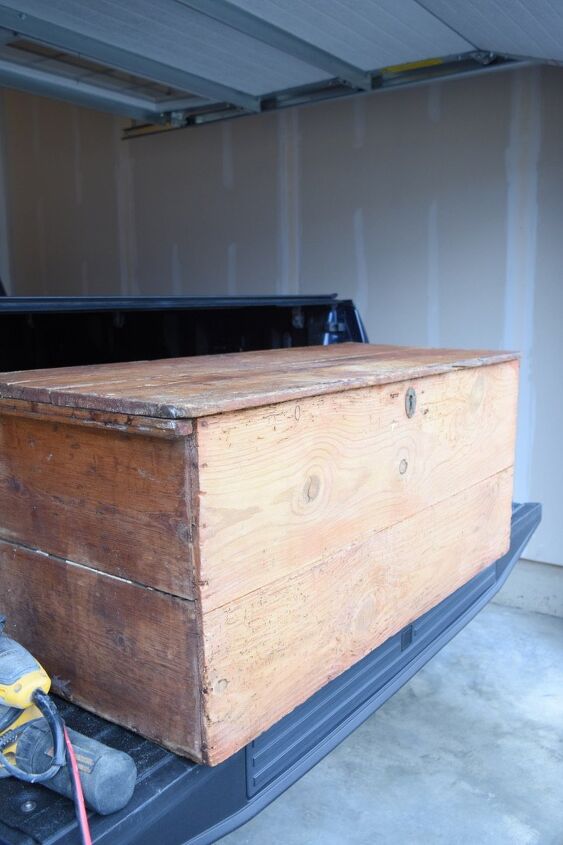
After a couple of days, the wood was completely dry. I put the pine chest on the back of the pick up truck so that I had a work surface that was waist high and decided to start sanding.
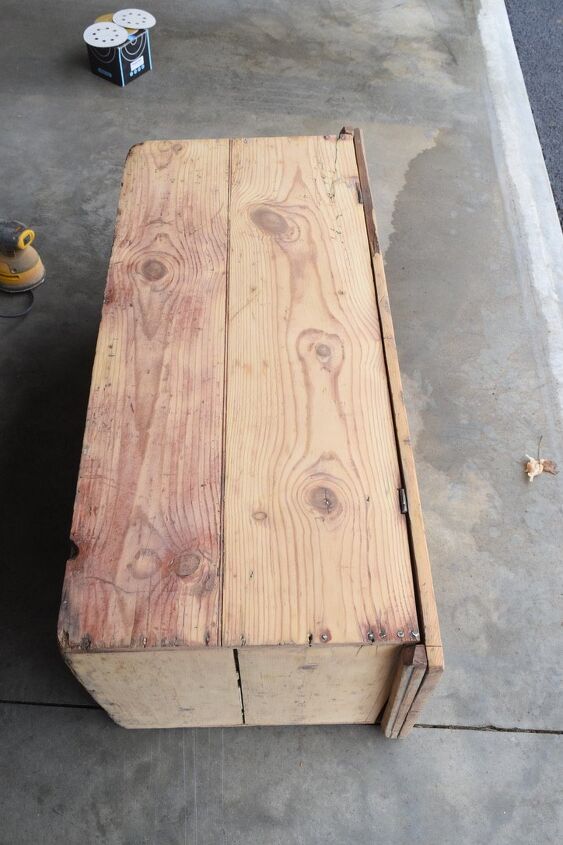
I started with using 150 grit sand paper and probably went though about 20 sanding discs. (Maybe more . . .) If you look closely, you can see some beautiful raw pine peeking through the red stain. I could see that this piece had potential.
I hand sanded those areas around the hardware or where there were nail heads.
All in all it took me 2 days of sanding where I worked in 4-5 hour increments each day. I think sanding the chest would have gone faster if I had not tried to use the oven cleaner as a wood stripper since doing so created the most stubborn pink stain that did not want to be removed.
After the antique pine blanket chest was completely sanded with the 150 grit sand paper, I then went over the entire piece again using 220 grit sand paper.
I used MMS Milk Paint natural wax to seal the pine chest. As you likely know, I like their products because they are all natural and nontoxic. I have been using their products consistently for at least 5 years. You can use the code 10OFFSH, if you want to save 10% on your purchase.
Now for the end result! Are you ready? If you want to remember this project or the information in this post for the future, simply pin one of the images below to your Pinterest account.

After I applied the natural wax, Mr. SLH helped me to carry this antique pine blanket chest into the house. I think the sanding also eliminated a lot of dirt and grime that had built up over the years and generally helped to clean up the pine chest.
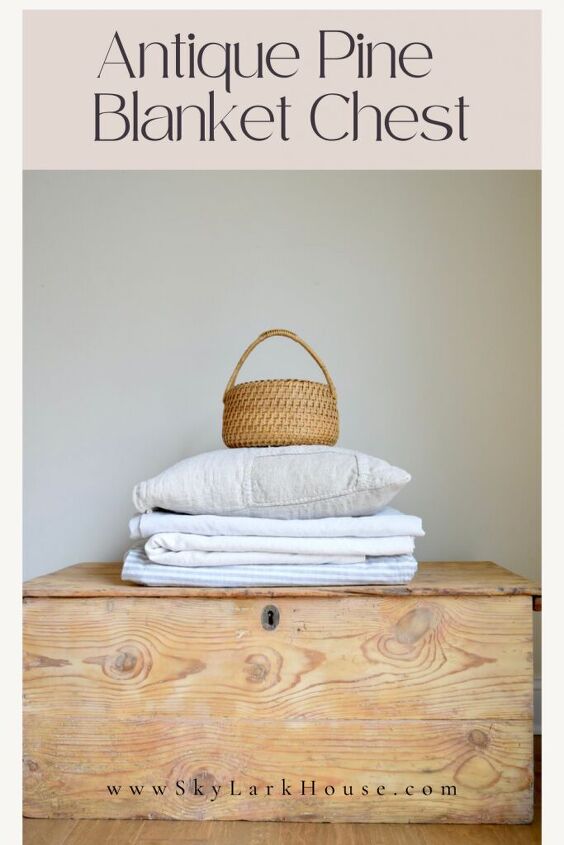
She came out pretty good – right?
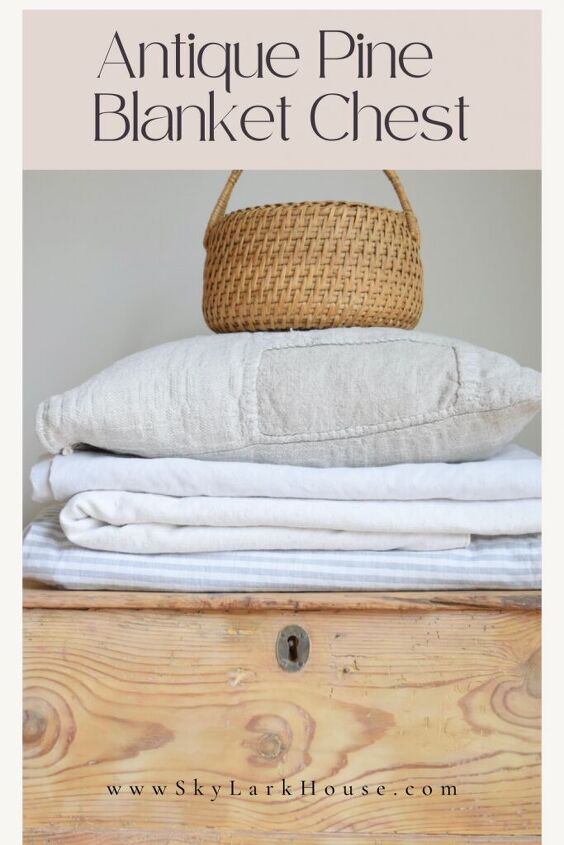
I love the character the old wood has with its dings and dents.
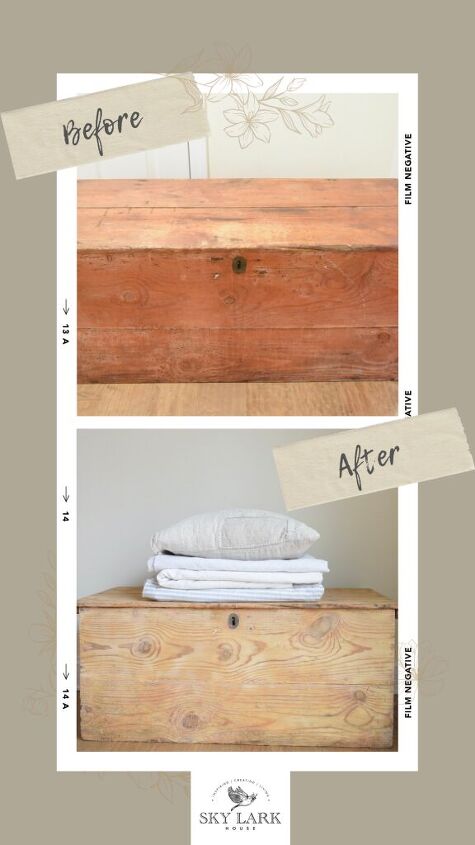
Here is a before and after for you so you can see the result. Also, it is SO nice to be able to work outside again. Granted, it was in the low 50s but that is a great improvement over the freezing temperatures we had in February.
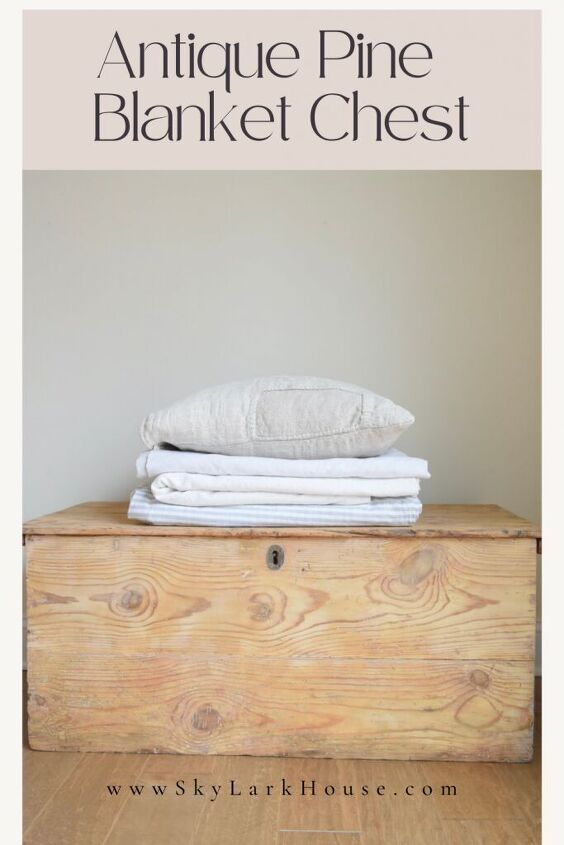
Here is one last photo.
Thank you for stopping by the blog today. It always means a lot to me that you take the time learn what’s happening in this corner of the internet. Also, now that spring has arrived, it means I can start working outside again! So, I will be resuming my process of stripping, sanding and transforming furniture. I can’t wait to share with you the process of reupholstering that vintage sofa.
Join our mailing list to receive the latest news and updates from our team.
- 5 Bucket List Items for Spring
- Antique Paper Leaf Wreath
- My Favorite Link Parties
- Antique Pine Blanket Chest
- Collecting Vintage Aprons
Comments
Join the conversation
-
Looks good. Still looks aged and antique. Oven cleaner works on stripping paint not on stain since stain absorbs into the grain.
-
Great job


Frequently asked questions
Have a question about this project?