


Damaged Rocker Refresh

Four years ago, I sold my large home and downsized to a townhouse closer to the interstate so my daily work travel would be easier. The townhouse previously owned by an older widowed gentleman who sold it "turnkey", he took what was important and left the rest, so he didn't have to schlep a bunch of stuff to his new residence. In many ways it was a win-win because most of my furniture was way too big for the new space. One of the few items I’ve kept is a white rocking chair that, is in good condition except for one rocker which may have doubled as a dog's chew toy. Despite part of one "foot" missing it became the go to seat for all who visited so, I kept it. I planned to repair it at some point although I'd never done anything like that and was working a gazillion hours a week. At least I was at the beginning... soon after my move my illness reared its ugly head with a vengeance and my Dr. told me I couldn't continue to work. It took about two years of treatments and rest to slowly begin to use my days creatively. One of my first projects was this rocker, I wasn't on Home Talk as a contributor at the time, so I didn't take too many pictures of the before.

This image is from Overstock.com. It's not identical to the chair I have but it's very close.
I recommend wearing gloves. These are what I had on hand at the time.

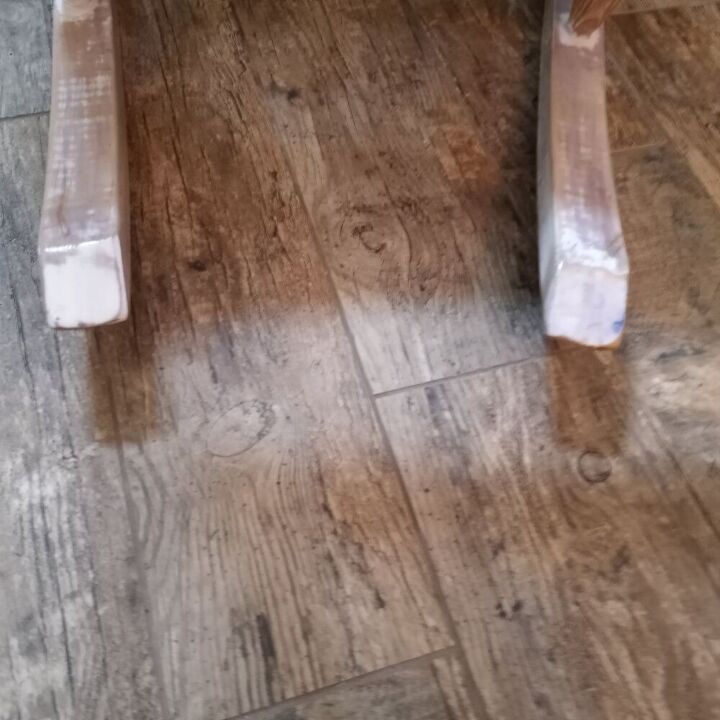
This is the wood filler used to fill the holes in the seat and mold the new "foot". I never used wood filler before but this is what Jeff had on hand so it's what I used. It worked well!
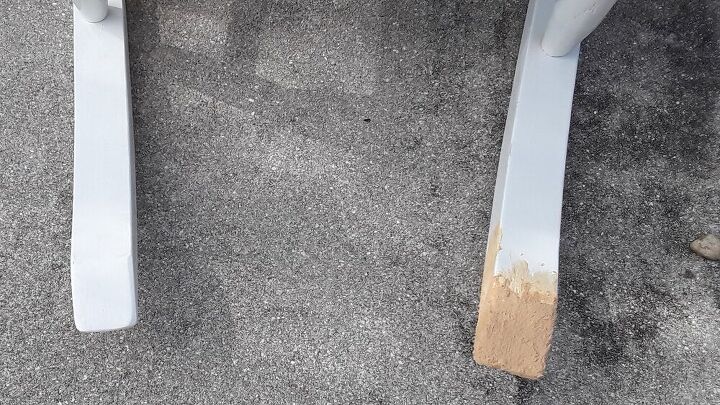
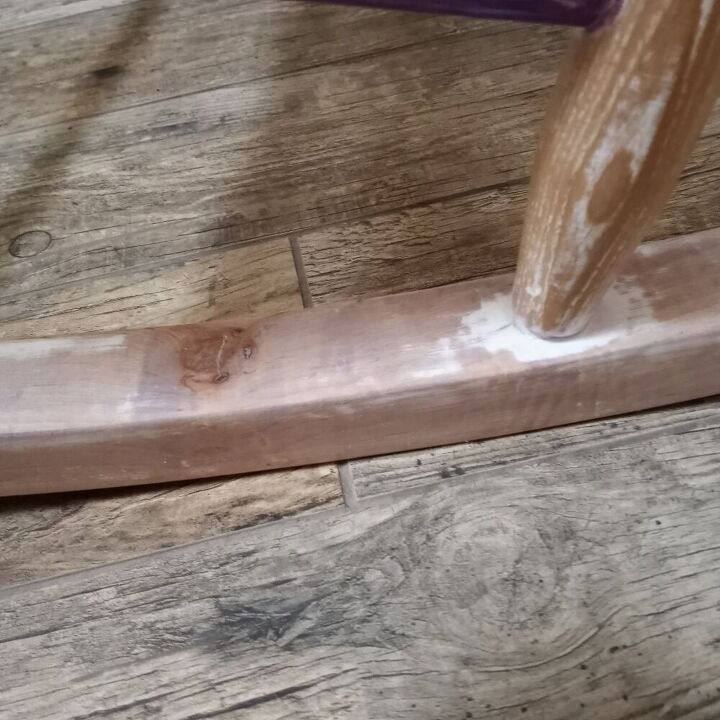
After adding wood filler and molding it to resemble the other side.
The wood filler was surprisingly easy to mold and dries very hard. Luckily I was able to mold it very close to the size/shape needed so very little sanding was needed in this area.
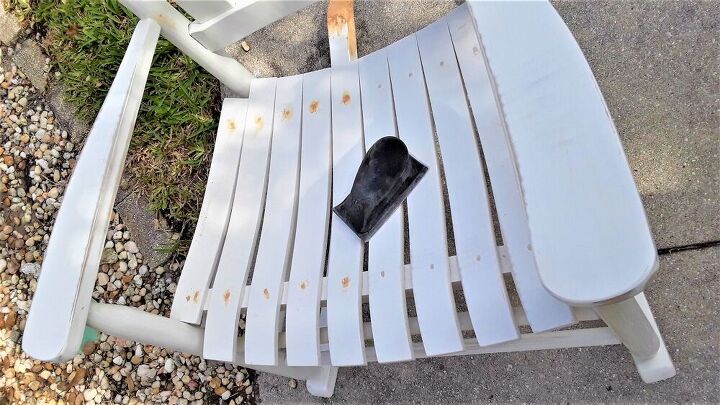
My original plan was to repair the damaged area and paint it white to match. It sounded easy in my head... then
- I realized I don't own any white paint that matches this white
- Regardless, I'd need to give the whole thing a good sand in order to paint it
I used our Black and Decker electric hand sander with 80 grit sand paper to start then moved to a fine grit paper of 200 which I had on hand.
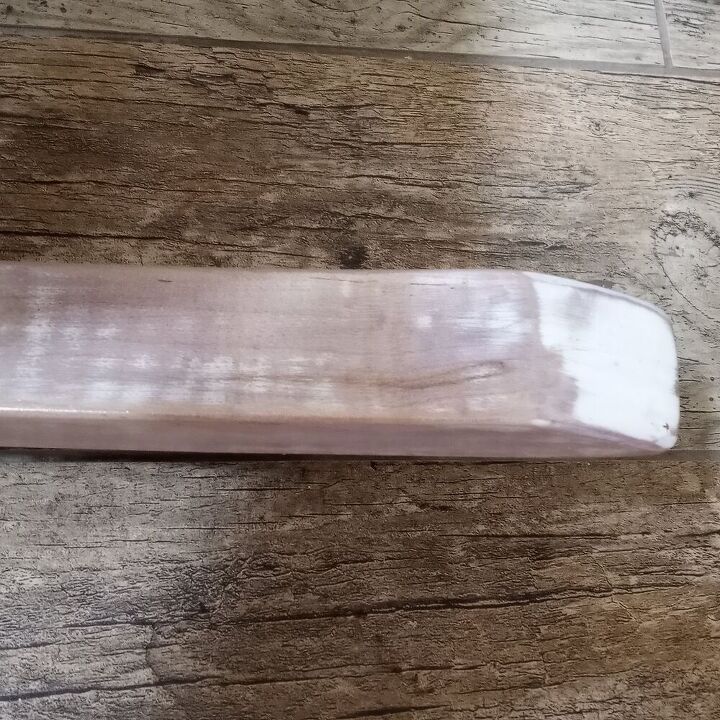
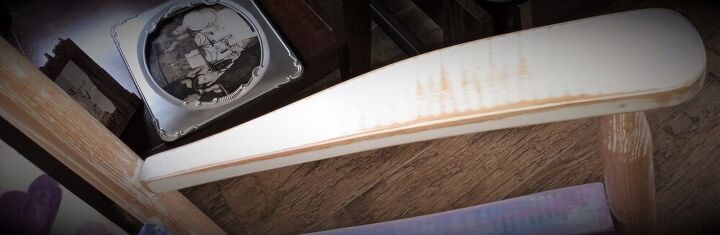
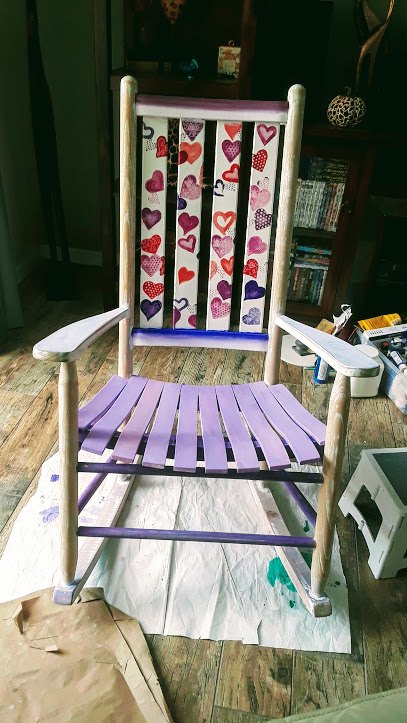
Once I saw the beautiful wood grain underneath the paint, I totally shifted gears on where I wanted to go with this project so, I sanded and sanded and sanded exposing as much of the wood grain as possible while leaving behind remnants of its original white.

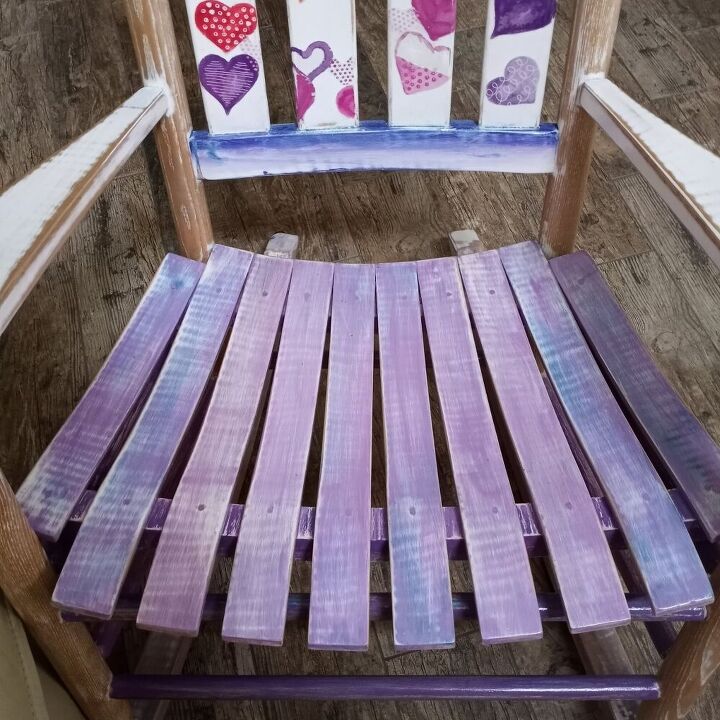
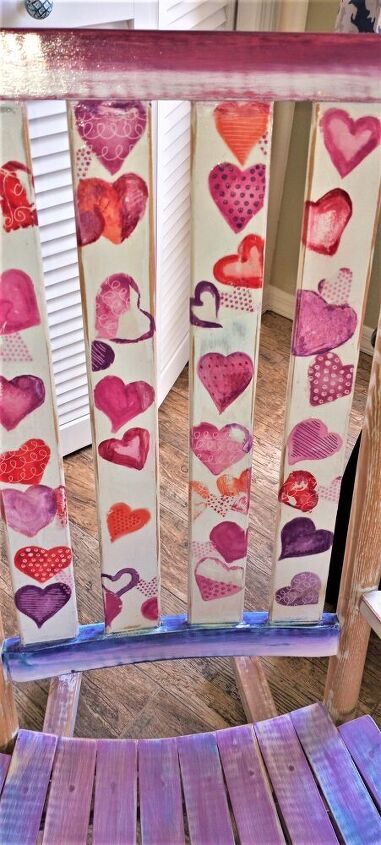
I found the wood on the seat to be much different than the rest of the chair both in texture and appearance. After much trial and error, I settled on a distressed look that incorporated hues of purple and pink. To achieve that end I used liquitex® heavy body artist acrylic paint (which I had on hand) one color at a time in layers. As one layer began to dry, I applied a layer on top in another color totaling four layers. Before everything was completely dry, I used a damp (not wet) rag and wiped off the layers in the same motion as the grain. The result is what you see here. I did the same technique on the horizontal portions of the back rest although the colors at top and bottom incorporate the colors throughout but are different from the seat.
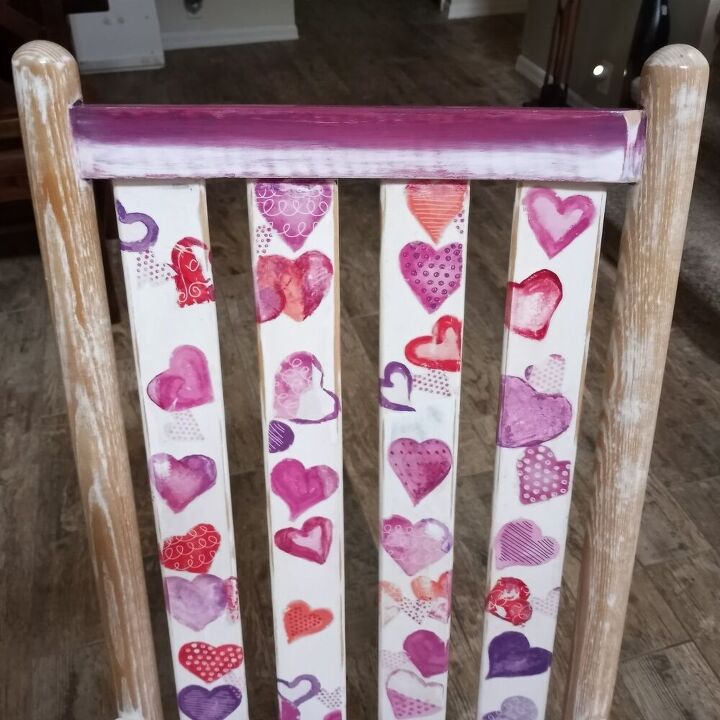
I sanded the vertical back rest front and back to give a distressed look equal to the arms and painted the horizontal pieces in a gradual fade to incorporate all other colors. My plan was to call it done but it really seemed to be missing something. Mere days later I received a surprise package from my six year old niece in California, the contents wrapped in the most beautiful heart patterned paper. Wham, light bulb went on. The colors match the chair perfectly and will forever be a reminder of my niece, “Princess Annika” (that’s what I call her, her parents are on the fence most days).
I began cutting the hearts out of the paper and planning my next steps.
In addition to being my first furniture repair, this was also my first attempt at decoupage. I began by using Mod Podge which I purchased for about $5.00. I don't know if it was user error or the nature of the product but it was VERY thick and messy. When it dried it really looked terrible. I ended up hand sanding most of it off which then damaged a fair share of the paper. Once I was done sanding and wiping back the dust I hand painted the hearts the best I could to match the original pattern. At the recommendation of my friend Ayesha I used Varathane clear poly, which I purchased at Lowes for about $17.00 what a difference that made plus very little goes a really long way!

This is the back side all finished.
I've discovered while wood filler can be stained it will never look the same as the rest of the wood. For that reason I chose to paint/distress the back portions so the wood filler wasn't obvious.
In this project I concurred many firsts so it took me a lot longer than it might for others. Additionally I only worked on it when I was well enough so what takes me months may take you days. It's not about how long it takes to finish it's about trying!
With the exception of the Mod Podge and the Varathane, I had all of the products on hand so I spent approximately $25.00 but each will serve countless purposes in the future.


Frequently asked questions
Have a question about this project?