


How to Refresh a Table With the Easiest Texture Paste Recipe
Modeling paste, also known as texture paste or texture medium, is a versatile and useful material in the world of art and crafting. It adds an embossed pattern to various surfaces, allowing you to create interesting effects on your projects.
Today, I'll be demonstrating how you can create your own DIY modeling paste to add dimension to furniture finishes.
This post was transcribed by a member of the Hometalk editorial team from the original HometalkTV episode.
Making your own texture paste at home can be a cost-effective and fun DIY project, so in this post, we will explore how to make this medium using cornstarch and glue, and then I will show you how to use it on a piece of furniture.
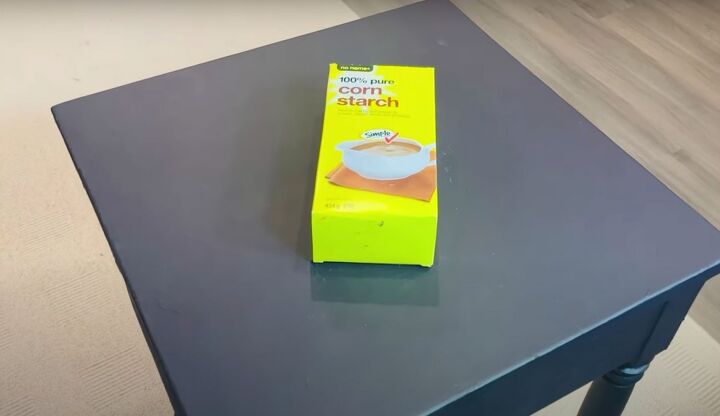
Step 1: Gather Your Materials
You will need the following materials:
- Cornstarch
- PVA glue (white glue)
- Paint (optional)
- Mixing bowl
- Spoon or spatula for stirring
- Stencil
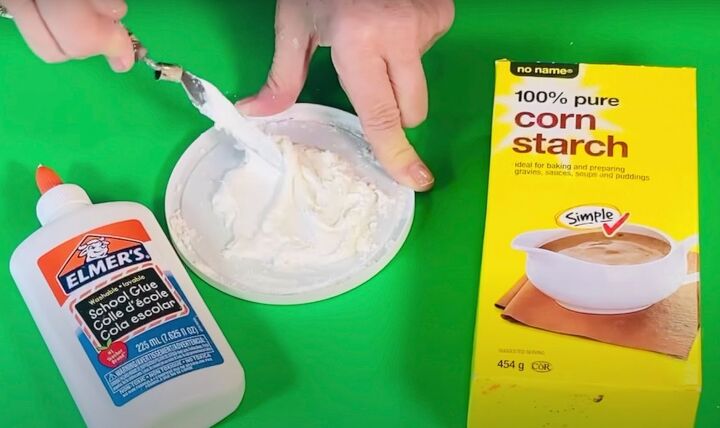
Step 2: Mix Cornstarch and Glue
In a mixing bowl, combine equal parts cornstarch and PVA glue. For example, you can start with 2 spoons of cornstarch and 2 spoons of glue. You can adjust the ratios based on your preference and the consistency you want to achieve. Stir the mixture together until it becomes stiff cornstarch clay. If it doesn't feel stiff enough, just keep adding cornstarch.
If you want to tint your texture paste, you can add a little bit of paint to the mixture. Acrylic or craft paints work well for this purpose. Add a small amount of paint to the cornstarch and glue mixture and stir until the desired color is achieved.
Step 3: Apply Texture Paste
Once your texture paste is ready, you can apply it to your desired surface. You can use a palette knife, spatula, or even your fingers to spread the paste onto your surface in a thick, even layer.
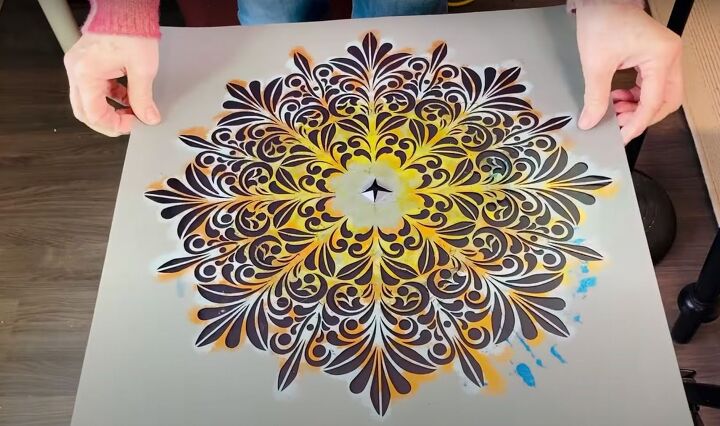
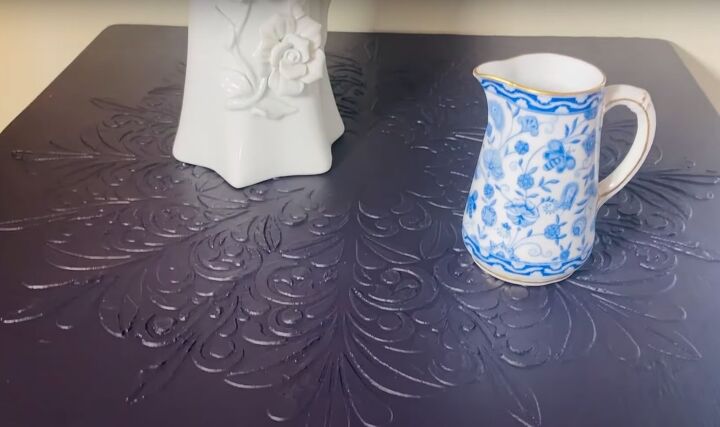
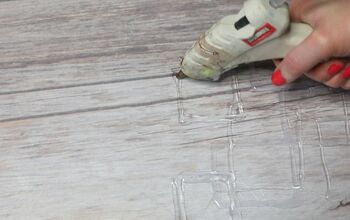
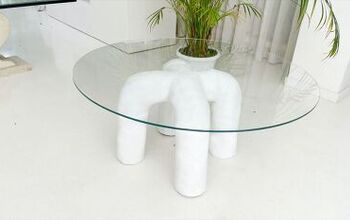
I am using my paste to refresh a coffee table, so I decided to use a lovely mandala stencil that happens to fit perfectly on my little square table.
Place the stencil on top of the table and press down gently.
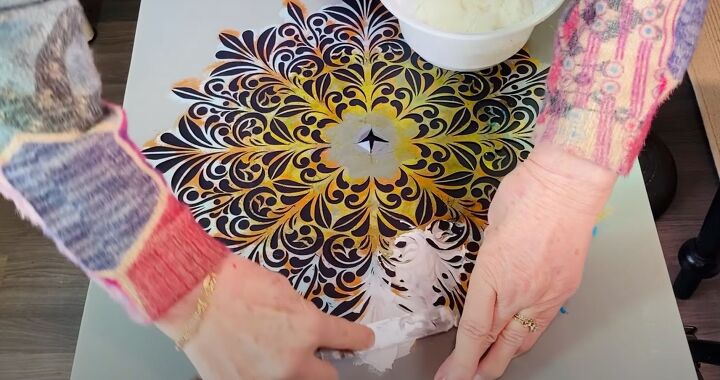
Then I very carefully applied the DIY modeling paste all over the stencil. It was quite thick, but it went on well.
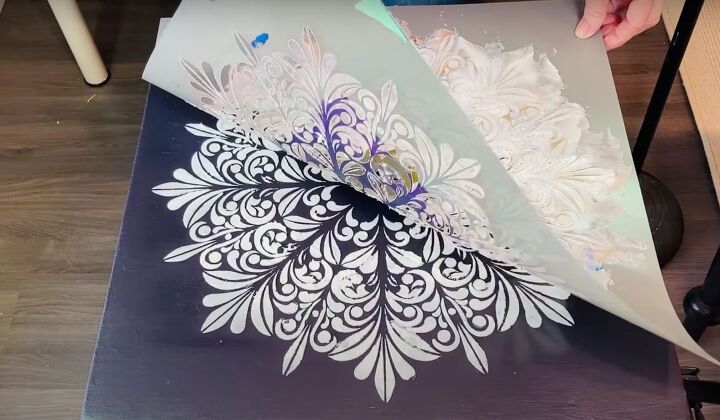
Once the entire stencil was covered I very, very carefully lifted off the stencil.
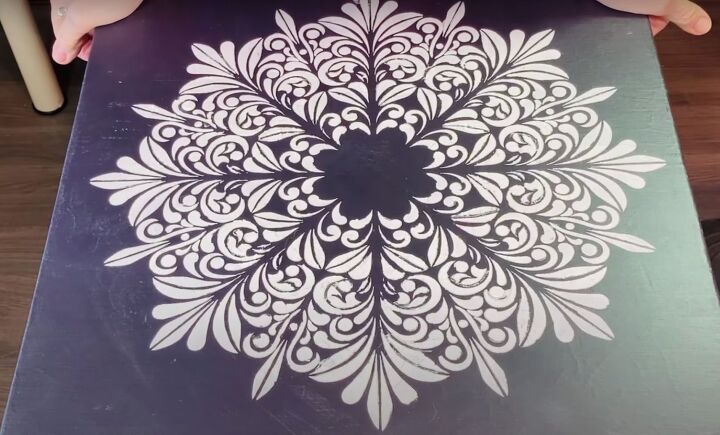
Step 4: Let it Dry
Allow the texture paste to dry completely. The drying time will depend on the thickness of the paste and the humidity in your area, but it usually takes several hours or overnight for the paste to dry and harden.
I left it to dry overnight and it was absolutely rock hard the next morning.
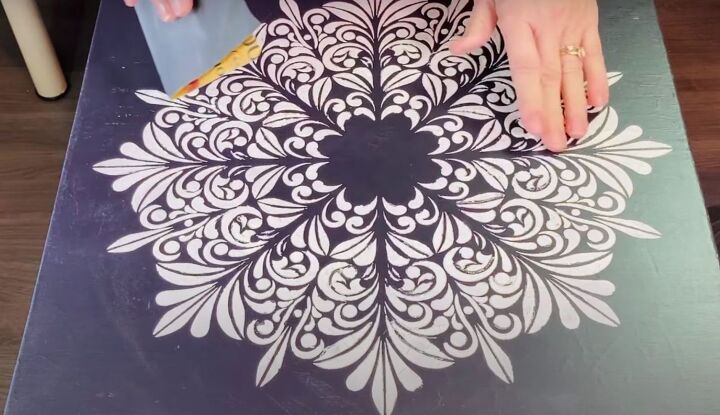
Step 5: Sand and Paint
Once the texture paste is dry, I gave it a light sand with fine-grit sandpaper to smooth out any rough spots or uneven areas.
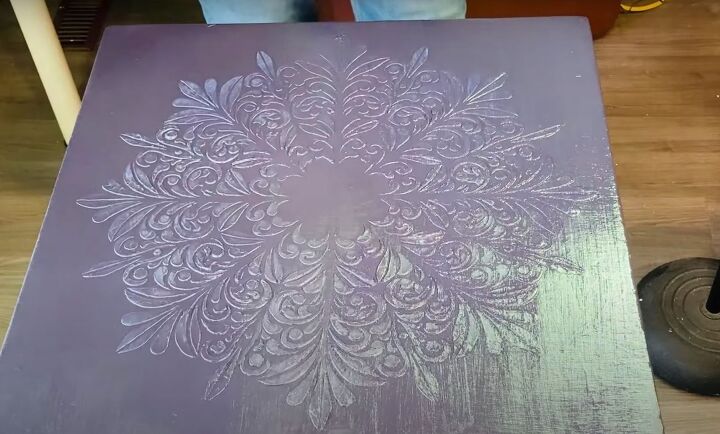
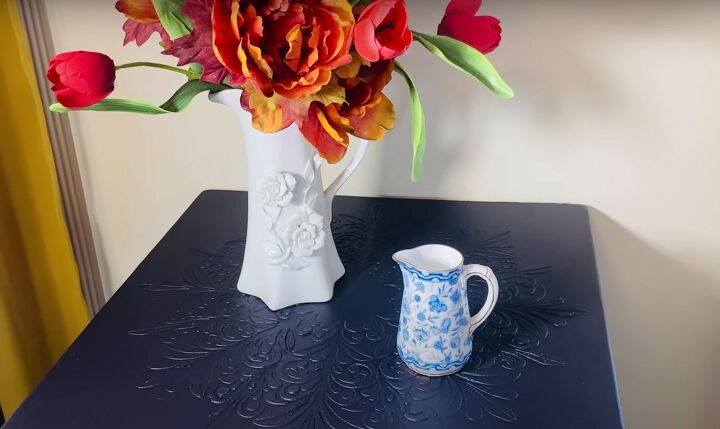
With it nice and smooth it was time to paint. I gave it one coat to start and then added a second once it was dry.
Look how subtle the beautiful design is on this table top and all that with Elmer’s glue and cornstarch. It's really amazing. I love how this table turned out.
This table will not get a lot of use and the paint I used has a top coat built in so I didn’t need to add a layer to it.
I hope you've enjoyed seeing how to make your own DIY modeling paste and that I have inspired you to have a go. Please share how you plan on using your homemade texture past in the comments below.


Comments
Join the conversation
-
Great idea! Thank you so much.
-
Thank you!


Frequently asked questions
Have a question about this project?
Could you leave it white and apply a clear coat?
This is an amazing project! Thank you for sharing.
This is awesome! Just beautiful! Thank you Julie!!