


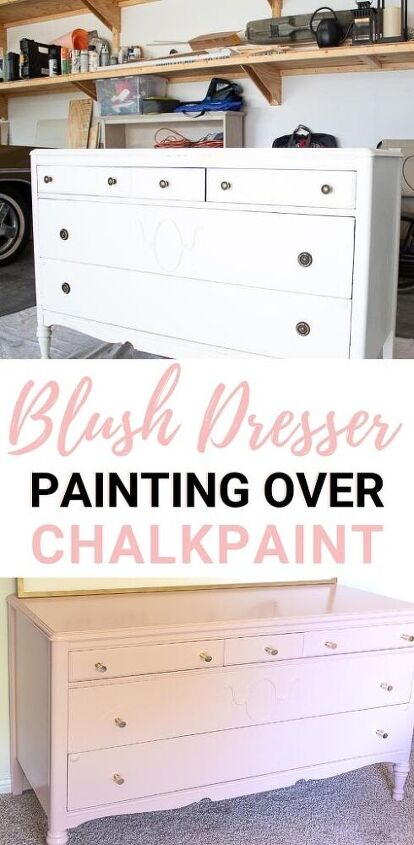
How to Paint Over Chalk Paint: Blush Pink Dresser Makeover
Painting over chalk paint doesn’t have to be hard. Read on to find out the best and easiest tips to cover this popular paint finish.
This post contains affiliate links. Please see my full disclosure policy for more details.
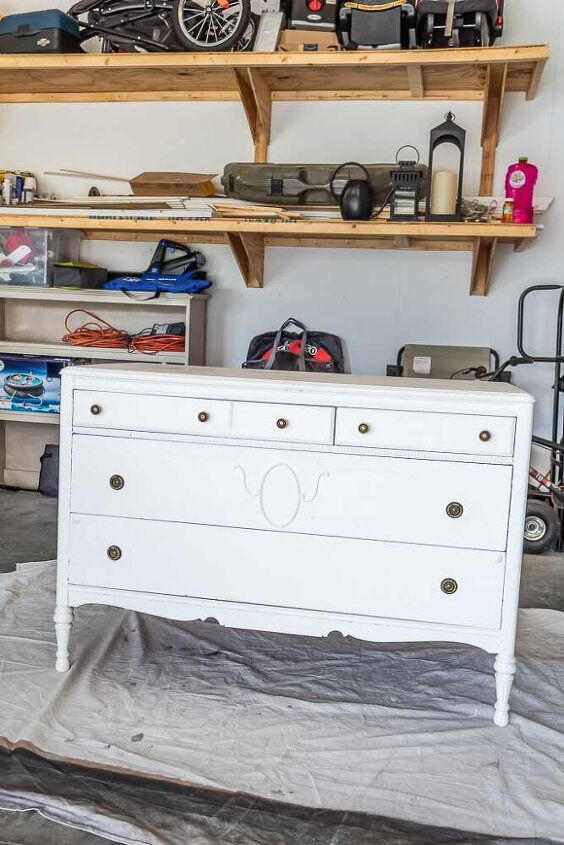
Confession, this dresser has been sitting inside my garage for 7 months!!! That’s a lot of time to take up valuable parking real estate, so my poor hubby had to deal with parking in the driveway. I know, first world problems right?
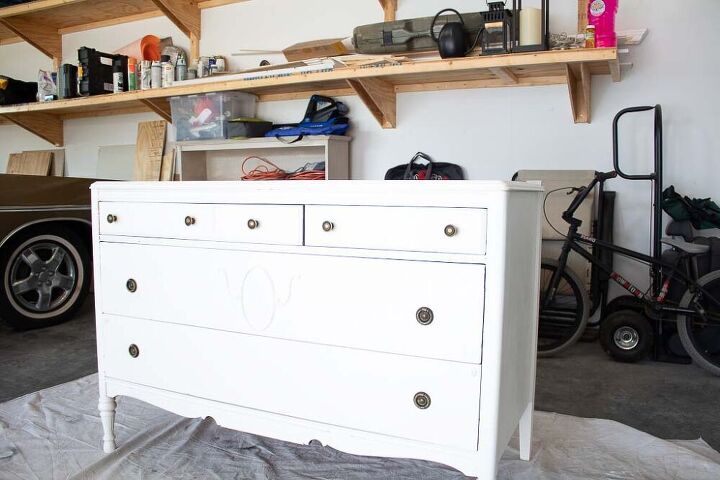
I had every intention of making over this dresser for my daughter’s room back in January, but well, one thing led to another, and I got easily distracted with building our new bathroom countertop cabinet. My husband affectionately calls my distractedness “squirreling”, I say it’s creative genius, and I like my term better. 🙂
Before we dive in to all the details of learning how to paint over chalk paint, I wanted to let you know that this post is part of my fun Thrifty Thursday Collaboration.
It’s one of my favorite days of the month where I team up with some other lovely DIY bloggers to bring you a little dose of inspiration to help you update your home on a budget! So make sure to check out the other great projects at the bottom of this post and show them some love.
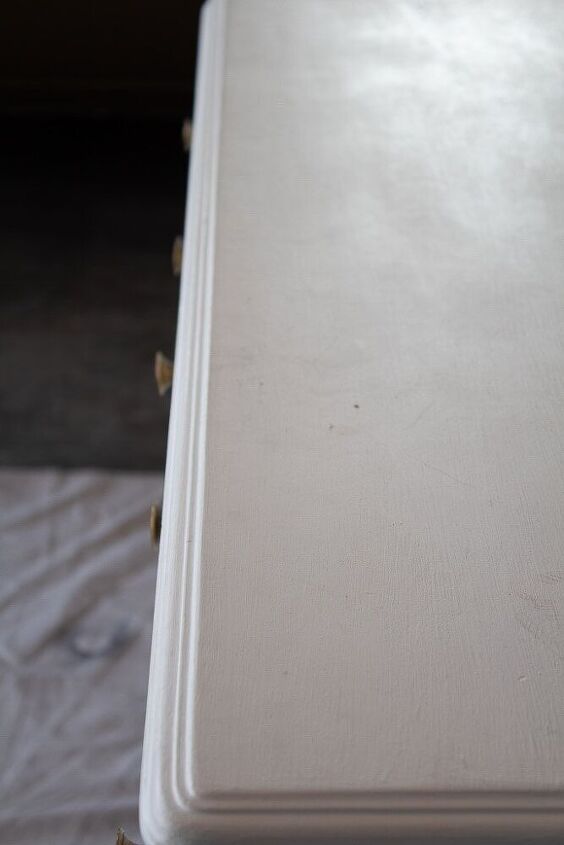
can you paint over chalk paint?
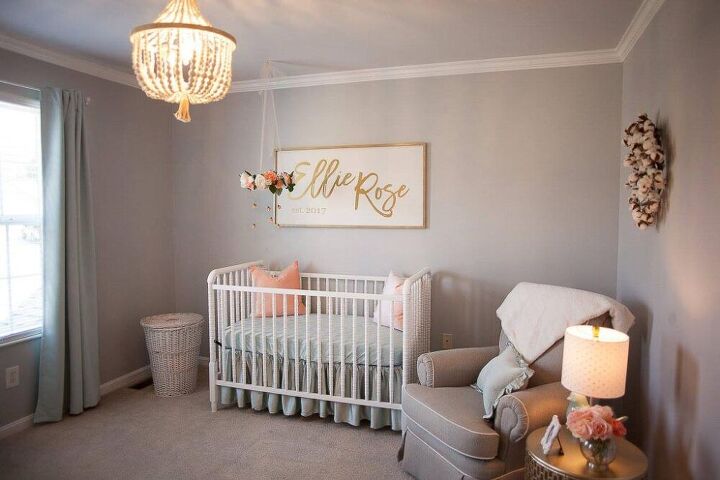
I fell in love with this gorgeous antique dresser when I designed my daughters vintage nursery a few years ago. This was also around the same time that I became obsessed with chalk paint and the versatility of it!
I mean, you can paint this stuff on anything! And no sanding required?! Whoa count me in! But I was also craving a more modern updated look for my daughter’s little girl room. Something with a sheen, a little dose of glam. So I was determined to learn how to paint over the existing chalk paint finish.
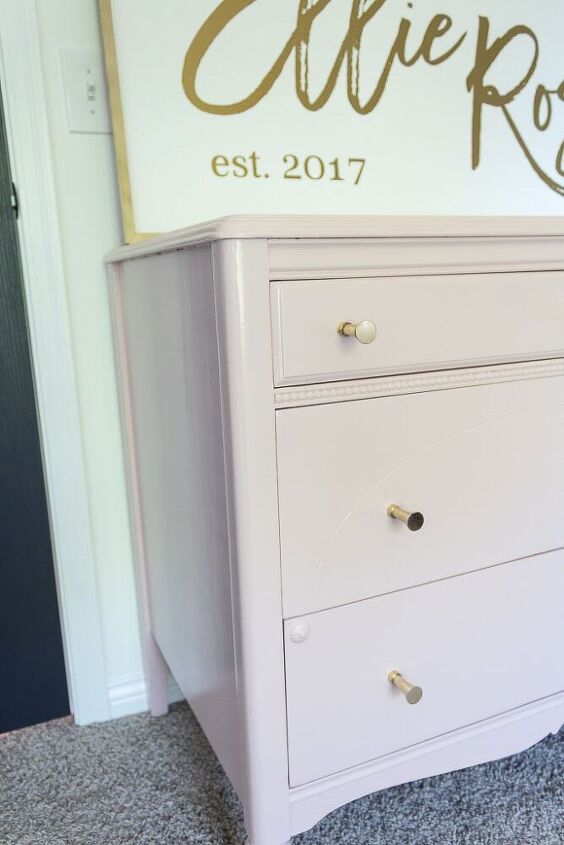
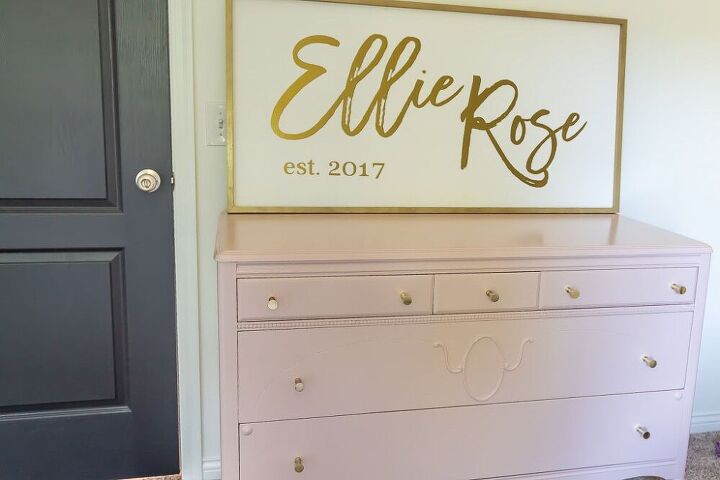
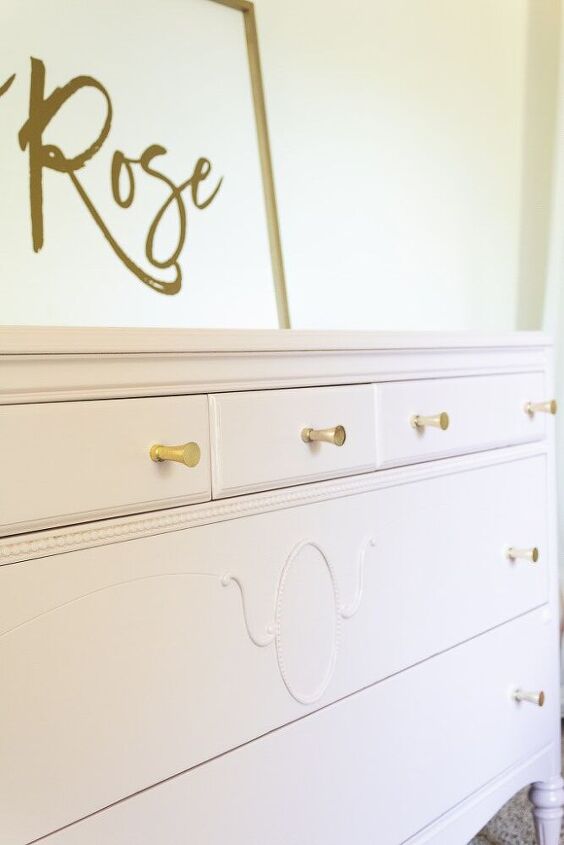
I found the perfect satin paint when I was painting our bathroom cabinets so I decided to give it a try with this dresser project. Look at this color! Isn’t it the most perfect shade of blush pink you’ve ever seen?!
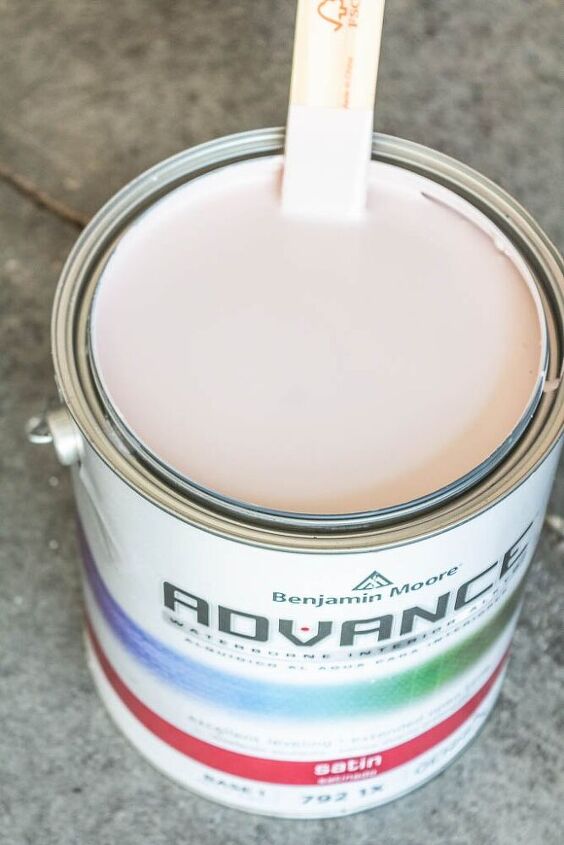
I had it color matched to one of the decorations in my daughter’s room using the Benjamin Moore Advance Paint Line.

Grab your FREE PDF guide now!
And learn 3 QUICK things you can do NOW to change how you look at your home
supplies NEEDED for painting over chalk paint
- TSP Cleaner and Sponges
- Power Sander (Trust me it goes faster with this tool)
- 120 Grit Sandpaper
- Sanding Sponges/Blocks
- Primer
- Paint of your choice
- Paint applicators (I used this spray gun, but foam rollers are a great alternative)
- *If using the spray gun I recommended, be sure to use a 211 spray tip for a fine thin paint finish
how to paint over chalk paint that has been waxed
Wax is typically used to seal chalk paint finishes and provide a soft sheen to it. So I applied it to this dresser when I originally painted it, which meant I had to learn how it remove it.
It turns out, there’s really nothing a little TSP can’t remove. It’s recommended by a lot of painters I follow so I figured it couldn’t hurt to give it a try.
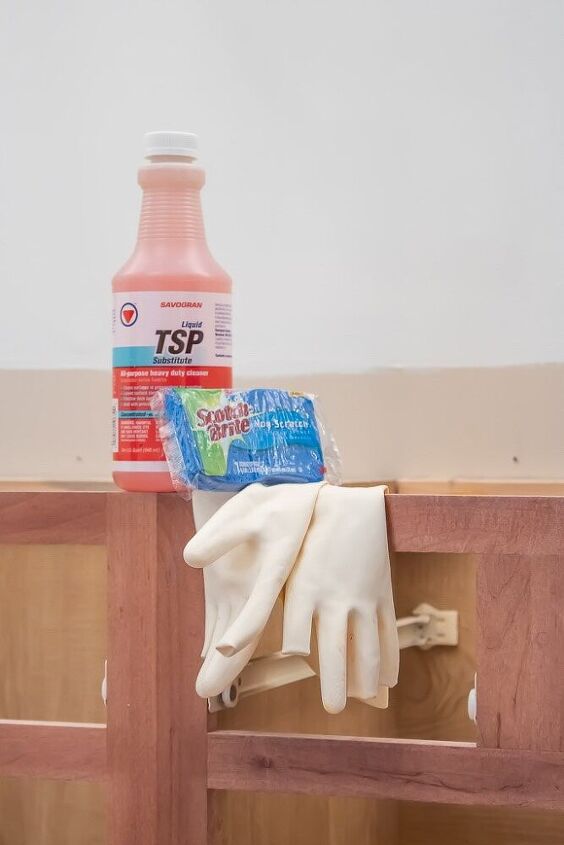
The TSP worked like magic! After mixing it with some hot water I used the scrubby side of a simple dish sponge to work it into the surface of the dresser and remove the wax finish.
I then gave everything a good rinse with warm water to remove any of the chemical residue that remained.
tips for sanding
Once everything has had a chance to dry, you’re ready to begin sanding down the existing paint finish.
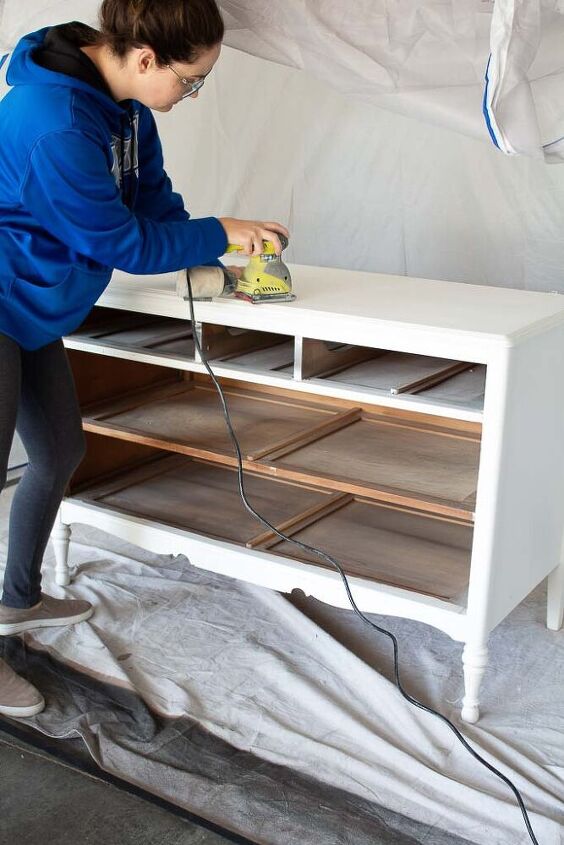
I thought sanding would be the most tedious part of this paint project, but it turned out to be fairly easy. Using a power sander cut down the time drastically and you only need to sand enough to scuff the existing chalk paint finish. No need to worry about completely removing it in order to paint over it. A good primer will ensure that your new paint finish stays put.
Once you’ve finished sanding make sure to thoroughly wipe down all surfaces to remove any dust residue. I had some fun with my husbands leaf blower and decided to blow all the dust away and then wipe it down.
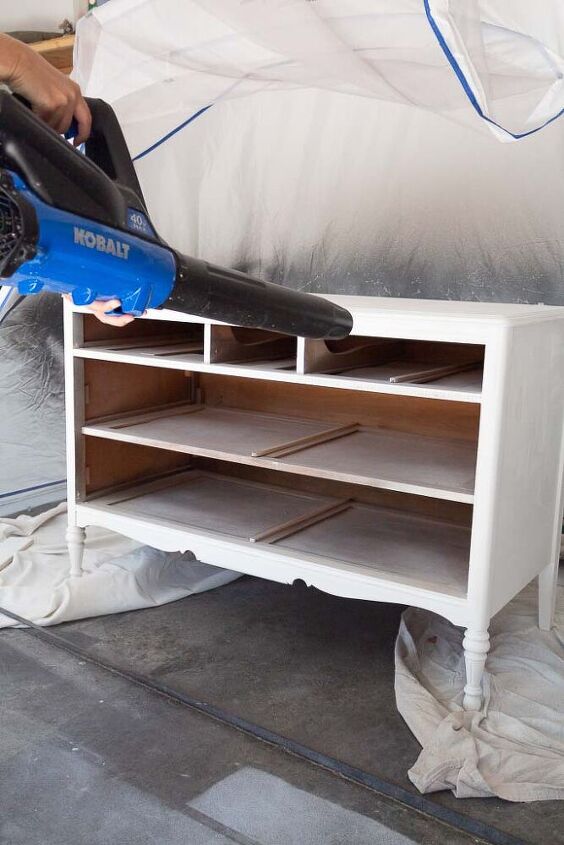
Quick, and fun!
best painting practices
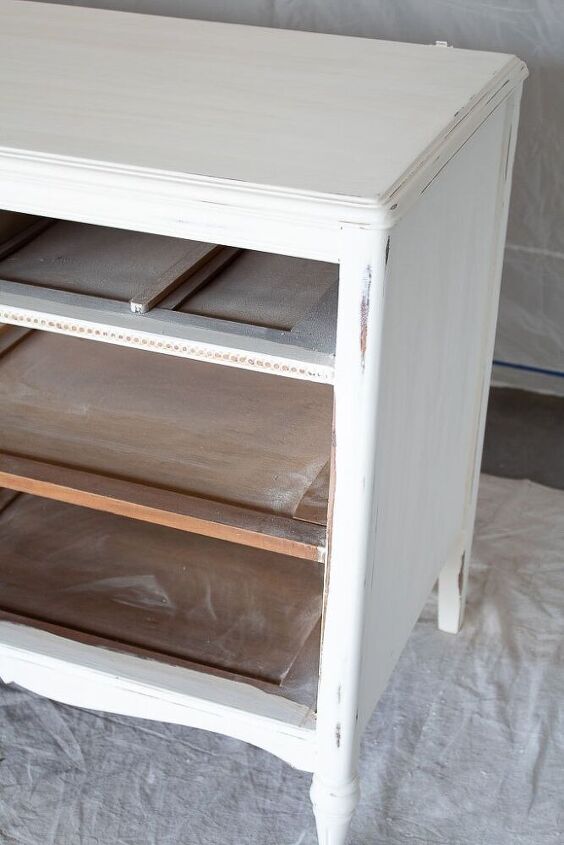
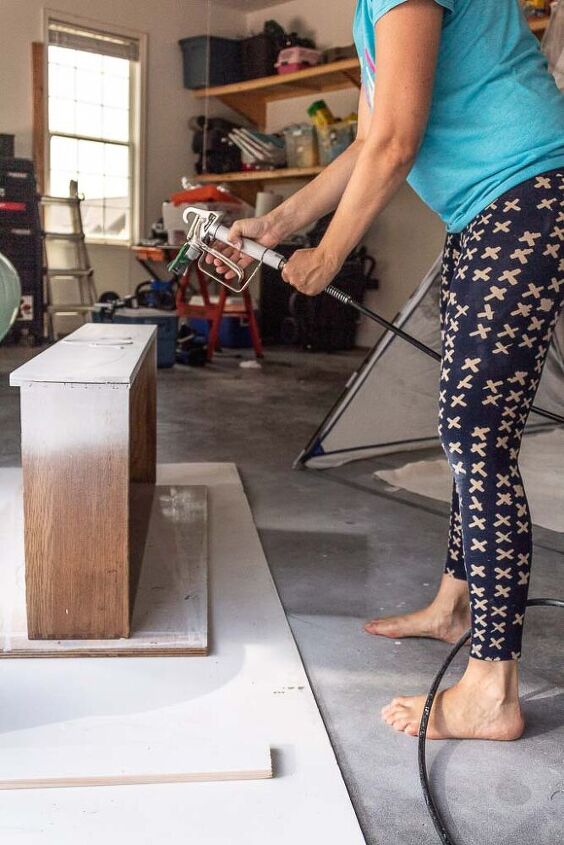
Now you’re ready to begin the best part! Start by applying a thin coat of primer to all surfaces. I used my new toy, err spray gun and it made this step go by way faster than a traditional hand painting method. But I swear by using foam rollers if you don’t have the luxury of a paint sprayer. Which by the way, is an extremely handy tool to invest in.
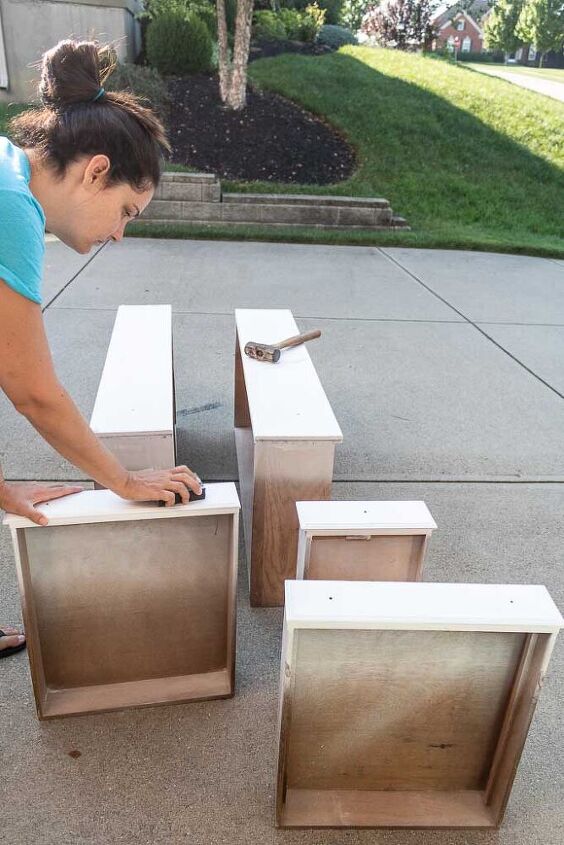
Primer dries fairly quickly, so I was able to lightly sand down the first coat a few hours later. Using a sanding block or sponge simply go over all surfaces to remove any imperfections, drips, or rough spots. You’ll be amazed at how smooth the paint finish feels after!
Unfortunately, I got a little too eager with the paint gun and applied it heavy in one area which caused some thick drips. Luckily the power sander was able to remove them.


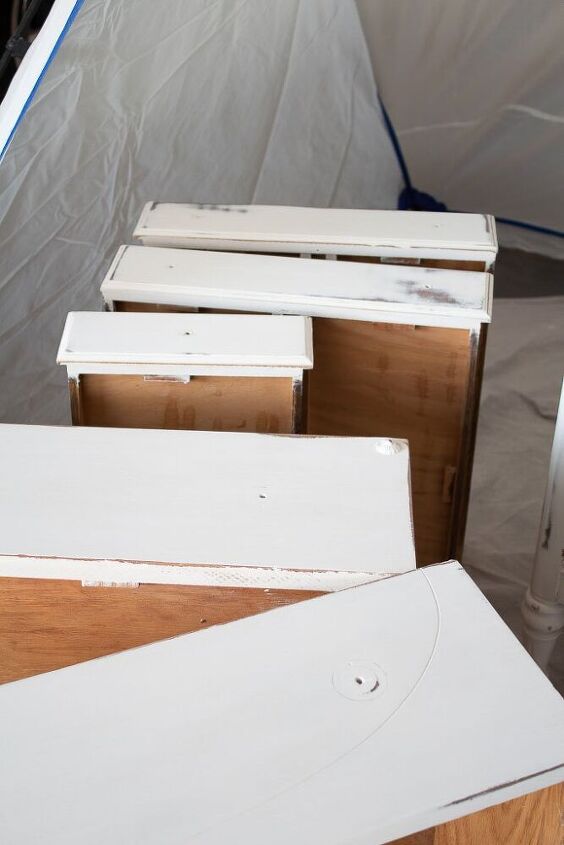
After you’ve applied a second coat of primer and allowed it to dry you;ll want to repeat the light sanding process again to prepare the surface for the finish coat of paint.
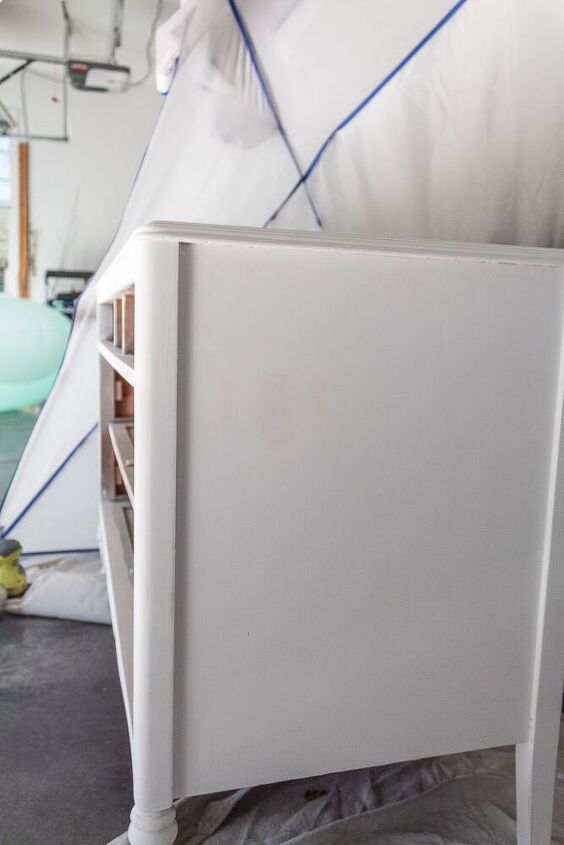
Painting the top coat of paint was a breeze since everything was nicely primed. I do recommend allowing your primer to cure and dry for at least a day before applying this final paint step though.
Painting your topcoat is essentially the same exact steps used in applying the primer. The only change I would suggest is to allow a bit more drying time in between coats. The paint I used is very thick and self leveling. Which means it has a bit more drying time, but near flawless finish!
finishing touches
Just look at that Pink! My daughter was so excited to see it and declared it was for her princess room. I don’t have to tell you that I seem to be raising a diva.
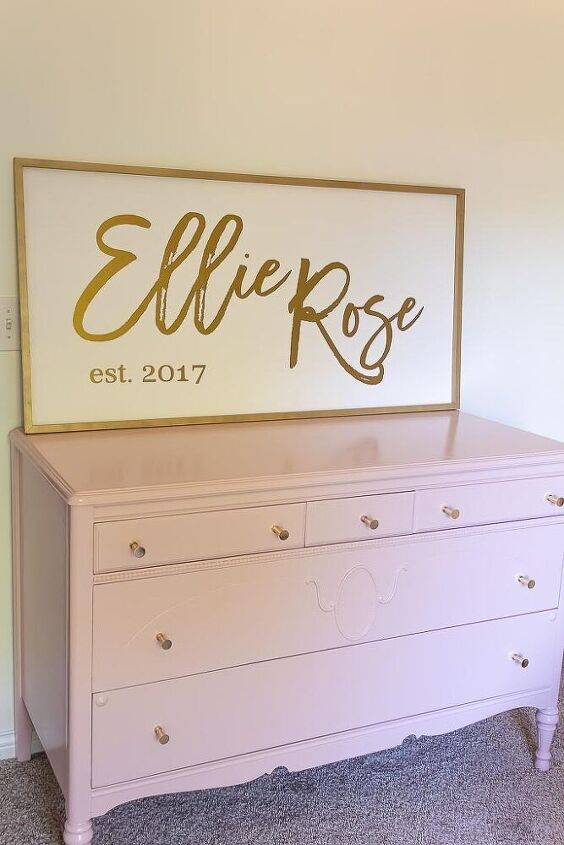
I was really excited to come across these gorgeous gold knobs for 2 reasons. One they’re the perfect touch of glam for this blush pin dresser. And 2 the old knobs were practically useless and my daughter couldn’t even grip them to open the dresser.


I’m beyond thrilled with how easy this dresser makeover turned out. And a little annoyed with myself for stalling so long to finish it.
more thrifty thursday projects!
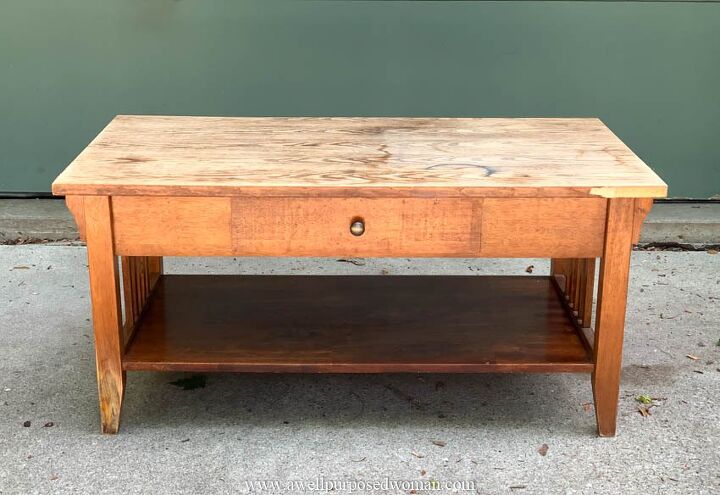
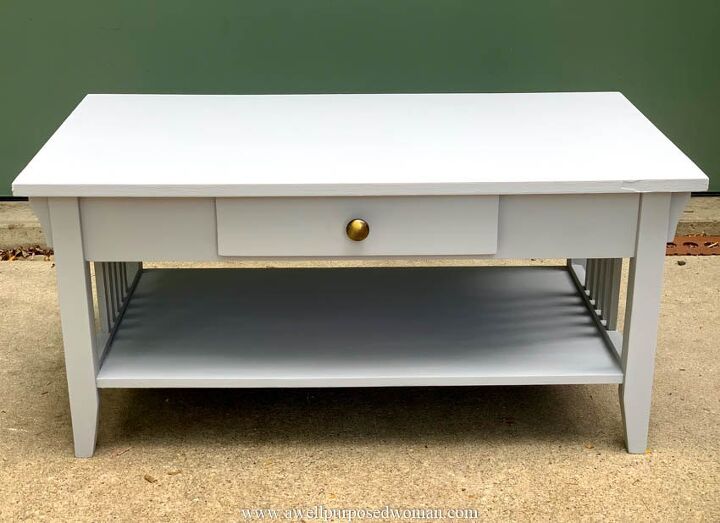

- Coffee table makeover from A Well Purposed Woman
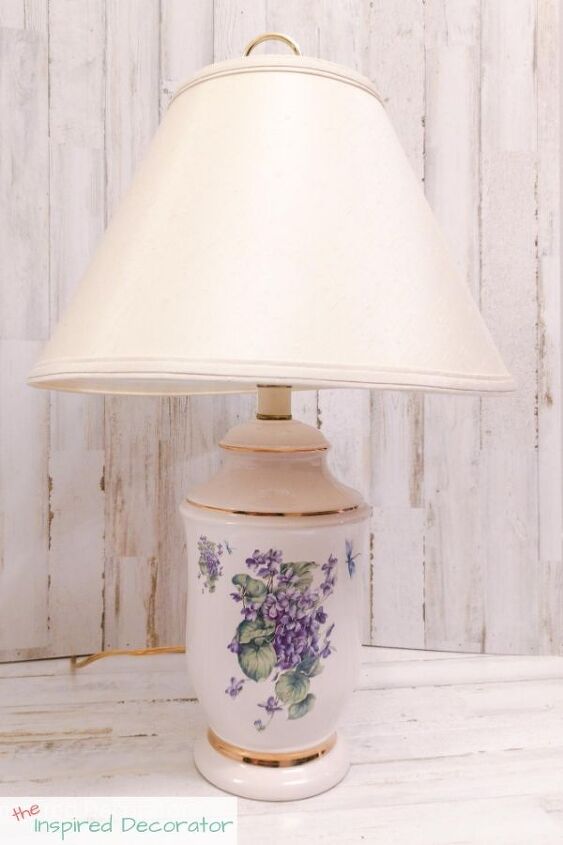
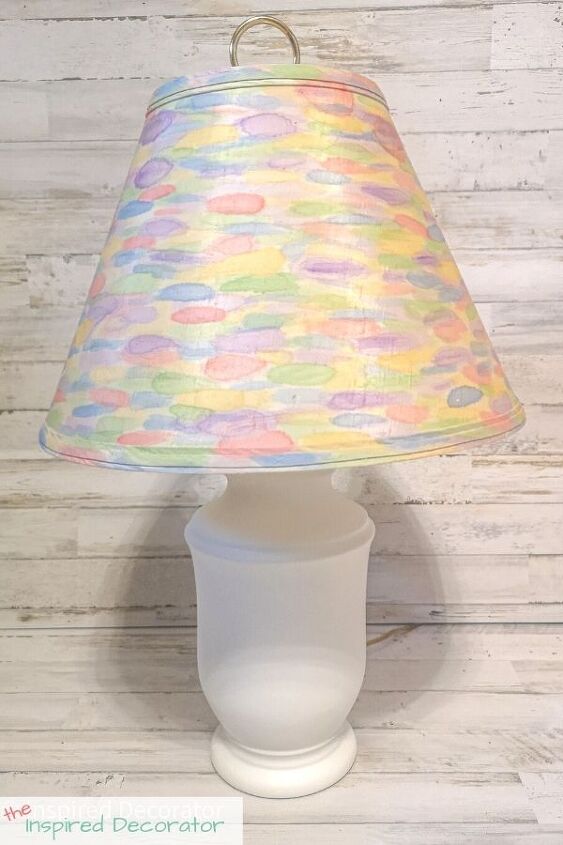
- Watercolor Lamp from The Inspired Decorator
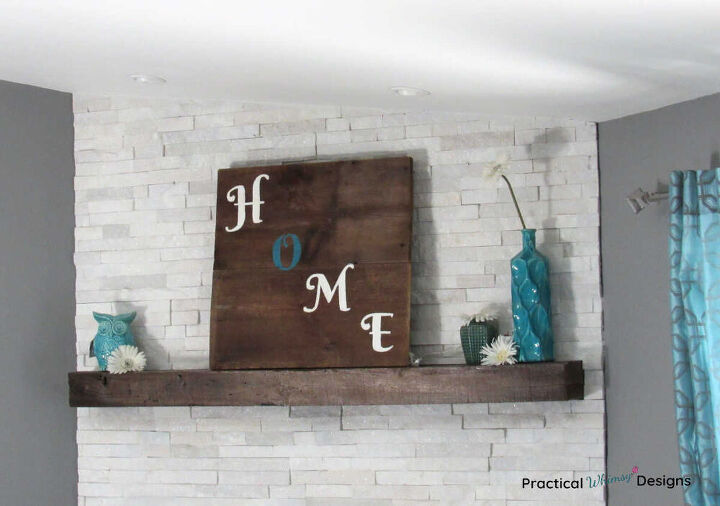
- DIY Home Sign from Practical Whimsy Design
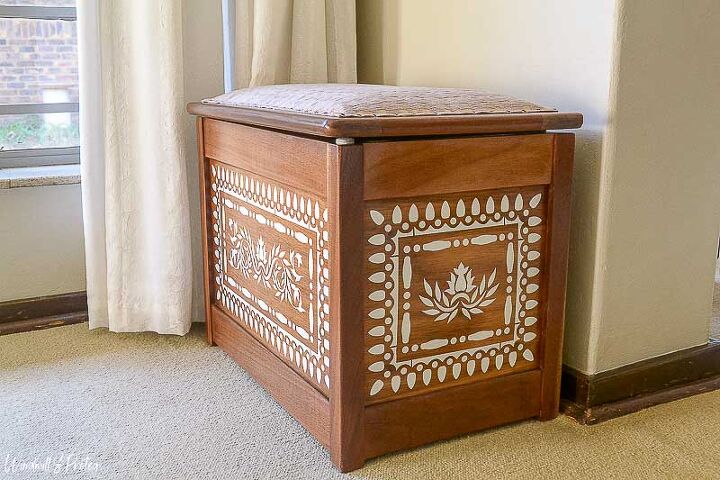
- DIY Bone Stencil Inlay from Windmill & Protea


Grab your FREE PDF guide now!
And learn 3 QUICK things you can do NOW to change how you look at your home


Frequently asked questions
Have a question about this project?
Can you please tell me the custom pink color so I can ask for it?