


How to Remove Wood Veneer Easier!!

Challenging furniture makeovers may be time consuming but can be so worthwhile and fulfilling when you can transform a dumpster ready piece into a gem. Already this dresser that I picked up on the side of the road, in the rain, had stench issues.
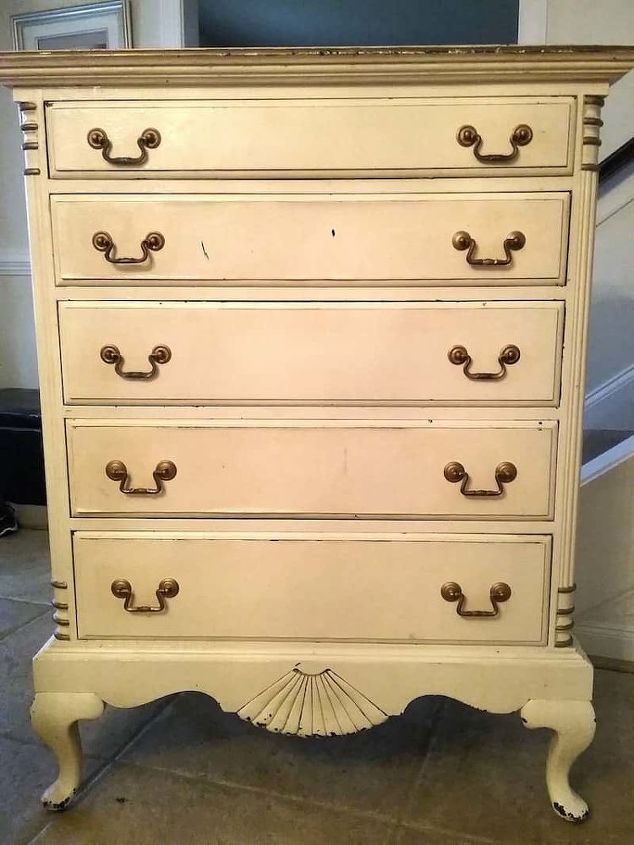
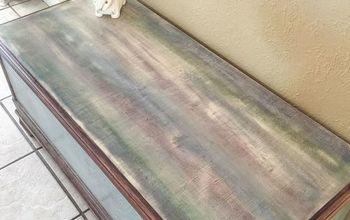
After finally getting it to the point it didn't stink(You can see that post at https://karupp-did.net/sorry-for-the-stink/) I was ready to give it some nice finishing paint! However, the drawer fronts were in really rough shape and needed a lot more work. Even though my BEFORE picture does not reveal how bad the veneer was peeling up and lifting up, it started to break off as I touched it when I got it home. With how damp it had been, the veneer had bubbled. I decided that I was going to try to take all of the veneer off by hand. Check out what happened after I tried to peel as much of the veneer off with a spackle knife. What a mess!
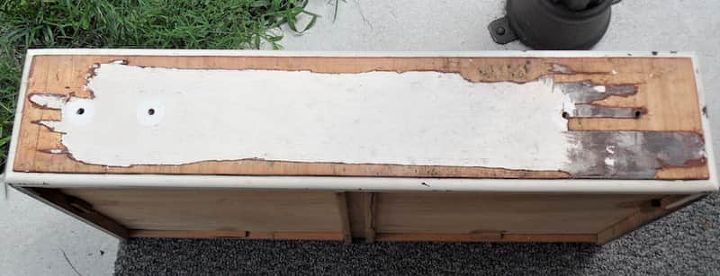
Trying to pry it up was impossible. Here is what I did next...
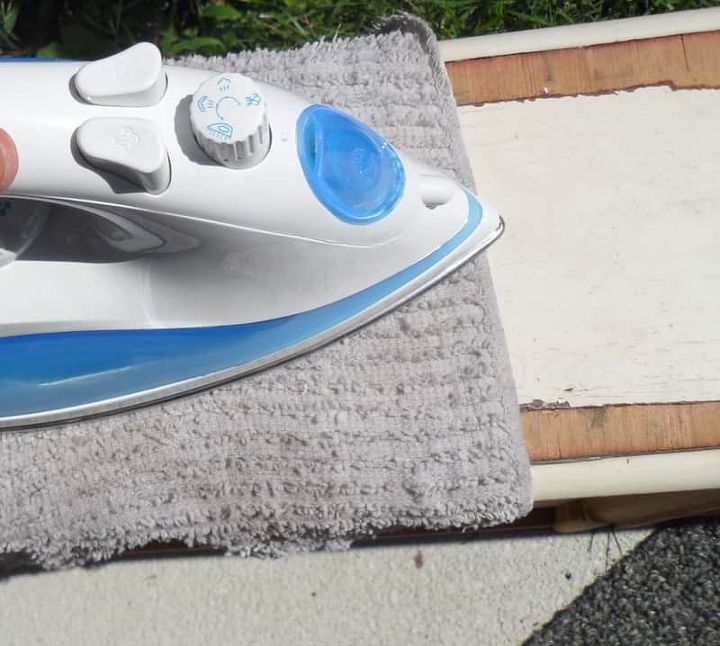
I decided to buy a cheap iron for this since I knew this was going to be a messy job and didn’t want to destroy my clothes iron. I set the iron on the wet rag and let it sit on the drawer front for 2-3 minutes at times. One layer was coming off and another plywood veneer was warping underneath. IT WAS STILL TOO HARD TO PRY UP!!!! The iron alone was not enough.
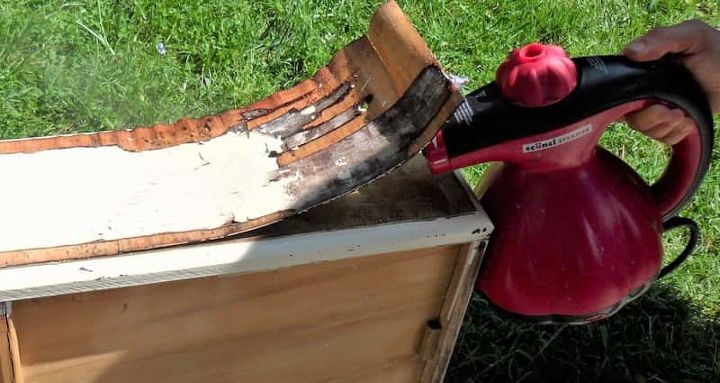
MY STEAMER! I knew that I could use the iron to get the initial veneer peel up and then I could use the steamer to steam the glue from underneath. This really started to make the job easier.
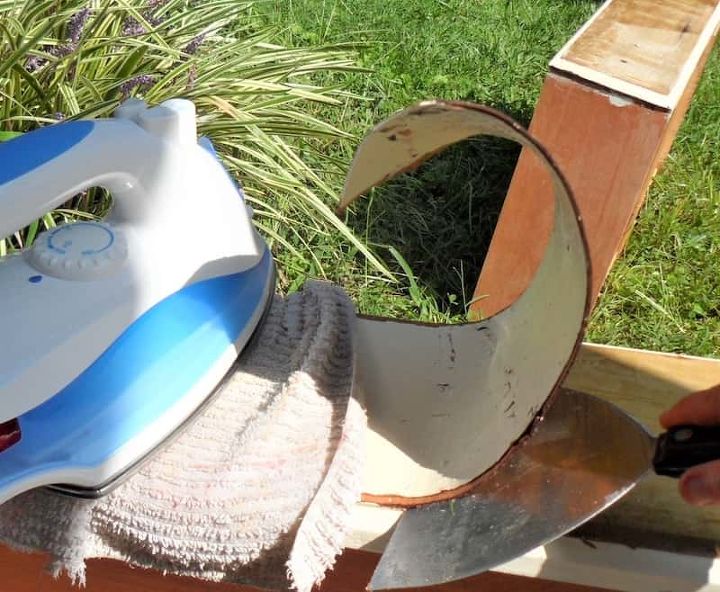
IRON, PRY, and STEAM…….repeat!!!
This did the job!!! So much faster and the combination of the iron and steam made an impossible task so much easier.
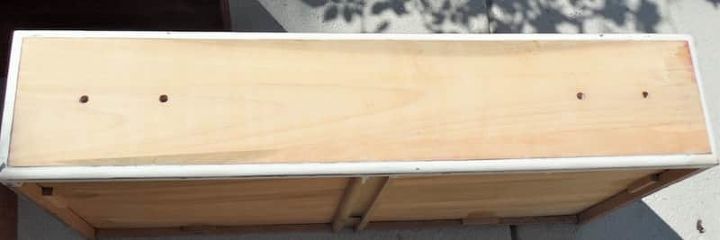
Once the veneers were all off, I sanded down the drawer fronts with our orbital sander. In areas where I had to pry up the veneer with some force, some of the wood underneath got damaged in a few small areas. The sanding wasn't enough to fix those damaged spots.
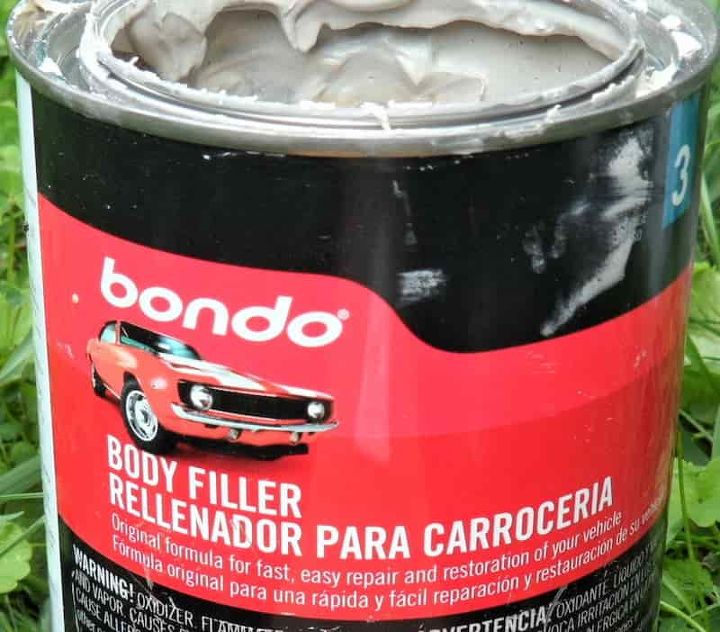
These areas needed to be filled. This is where we decided to use BONDO. Then I sanded the drawer front again.
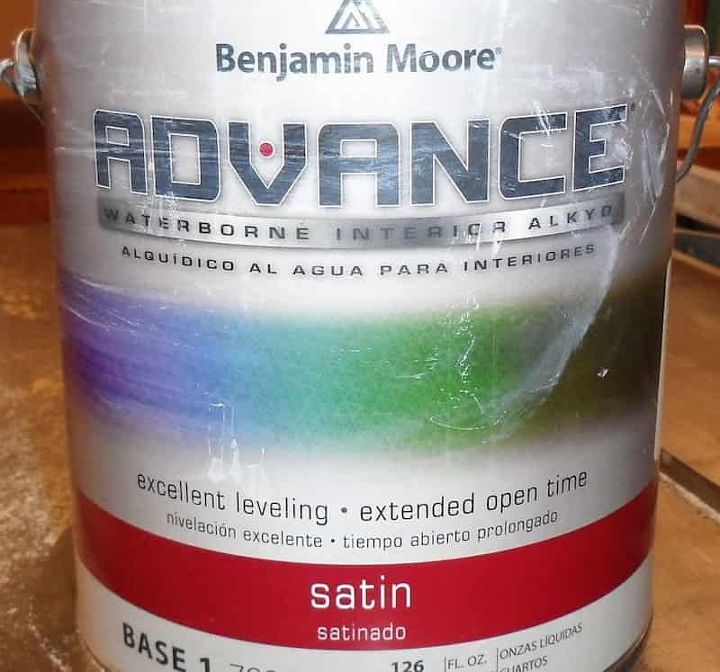
Yes, we are ready to finally add some pretty paint to this dresser. I used BENJAMIN MOORE ADVANCE. Advance is a cabinet paint but because this dresser will be in a kids room, it will get a ton of traffic which will need a heavy duty paint like this one. This color was Linen white in Satin finish! I love this paint!!!
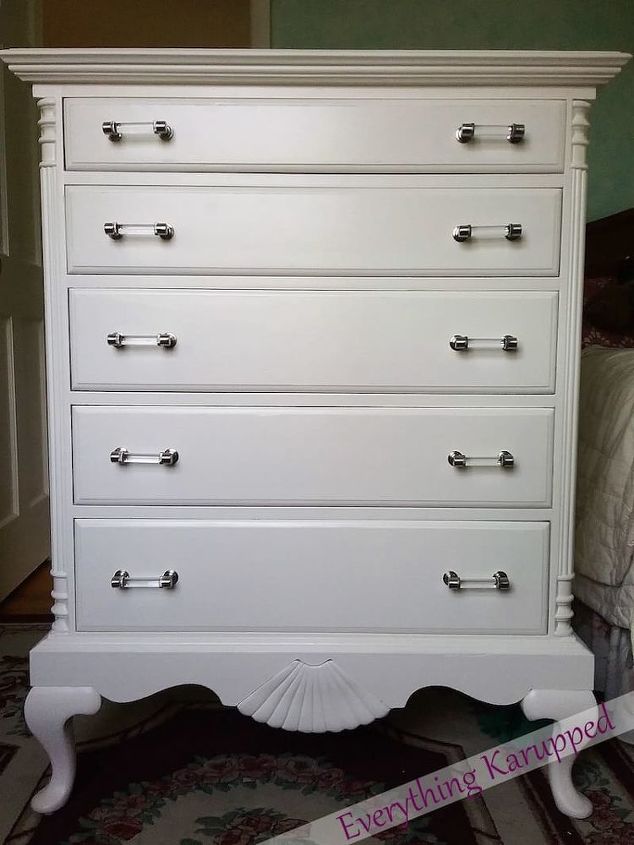
We bought some nice pulls for the drawers that really updates it. The dresser is a beauty! So happy it turned out! Please see a ton more pictures and steps at Everything Karupped.
Comments
Join the conversation
-
It turned out beautifully. I love it and the choice of color as well.
-
Thank you so much Carol. Yes, I love the color! I have used it a few times and I just love it. NOT too harsh white and not too yellowy vanilla. Its a perfect white color for this stuff. :)


Frequently asked questions
Have a question about this project?
I agree with some of the other comments, beautiful piece !! The paint finish is so smooth. I am considering a DIY cabinet redo, have you tried this paint on any cabinets yourself and what type of roller/ brush did you use?
Hi, so you didn’t replace the veneer?
Great save. What color paint did you use and the brand please. Love the color.