


I Tried the Oven Cleaner Strip Method on an Antique Table`

Have you heard of using oven cleaner as a stripper? I've been seeing projects online that have been stripped with Easy Off as well as other brands. So, I thought I'd give it a try!
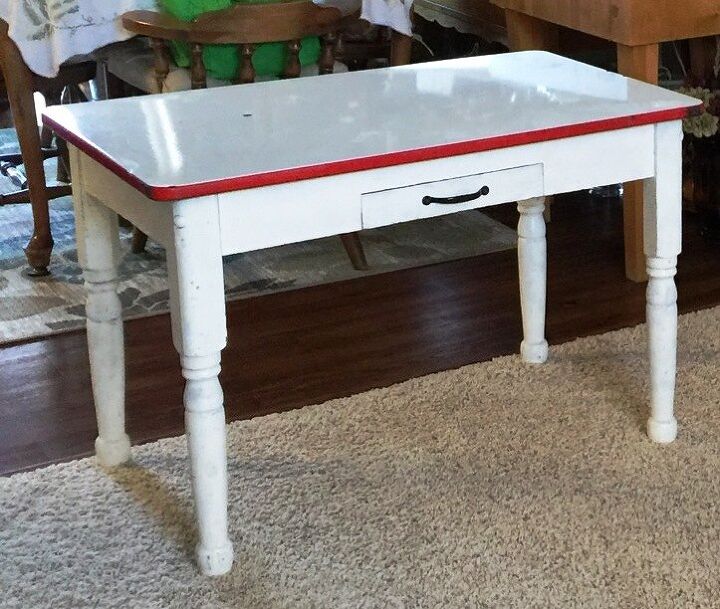
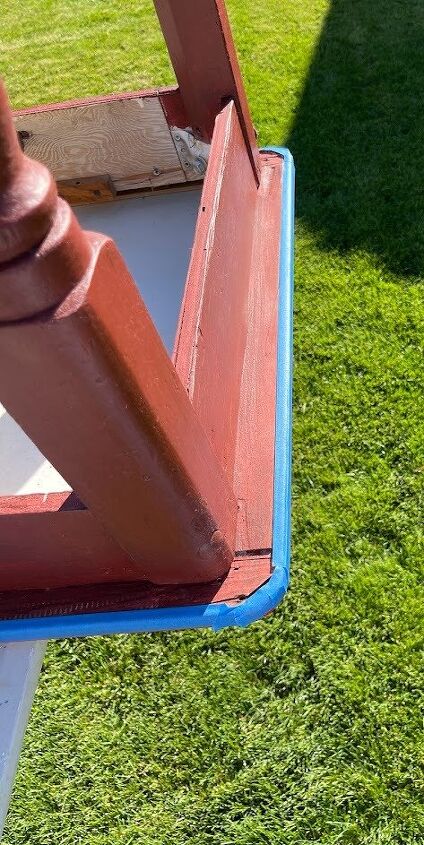
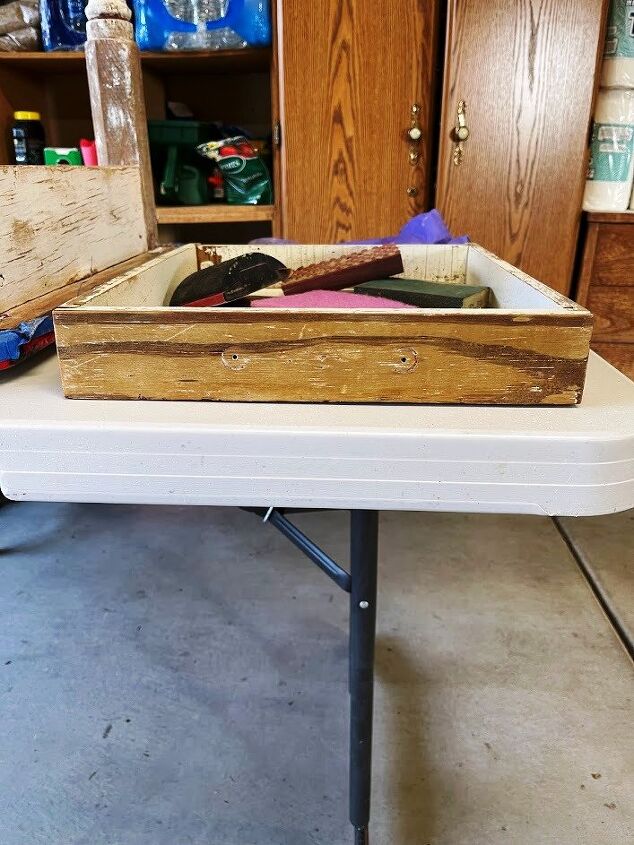
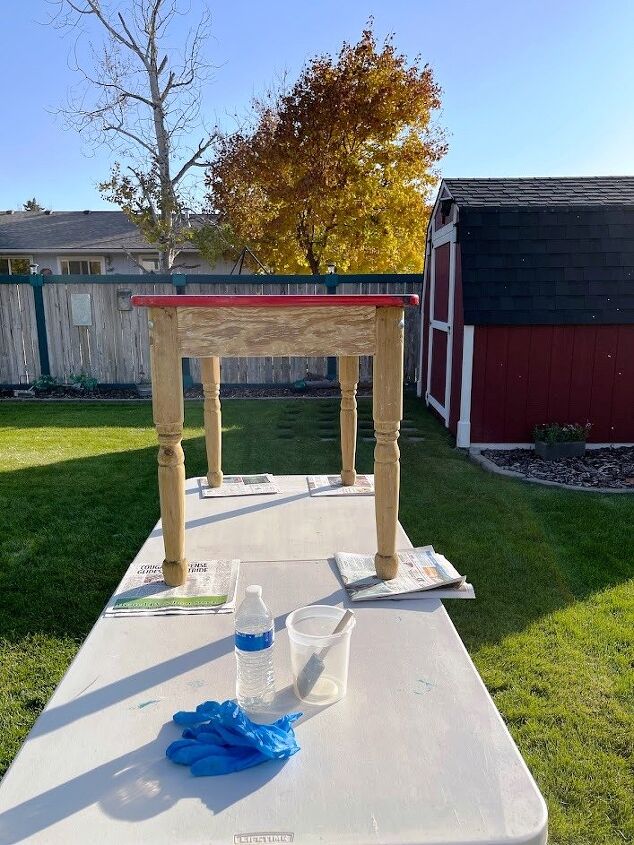
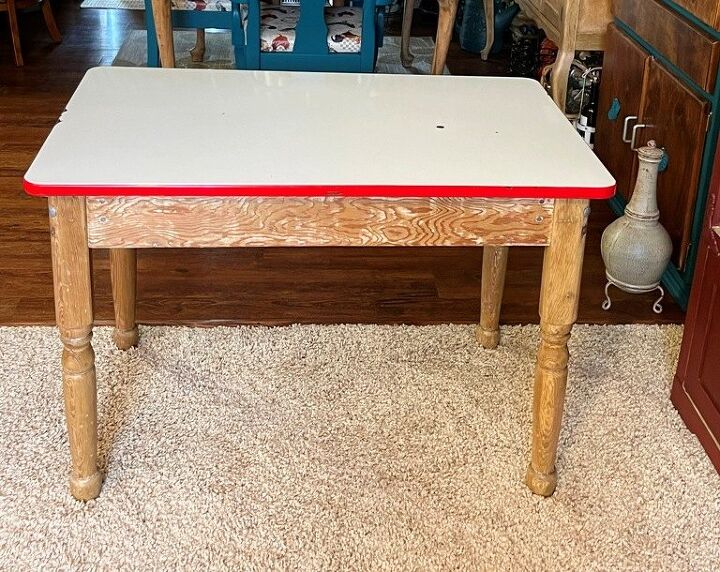
Years ago, I found a darling antique kitchen table at a local antique store. I didn't have room in the kitchen to use it as a kitchen table, but because it was SO cute & only $35, I bought it anyway. The table has a white enameled metal top with red trim around the edge. When I got the table, the legs, drawer, and skirting were painted white.
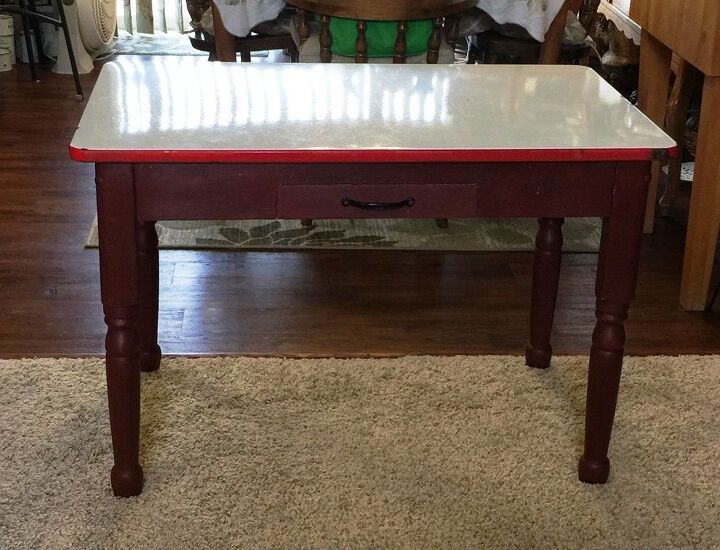
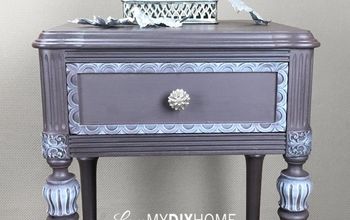
I kept it white for a long time but a few years ago decided to paint it with burgundy colored chalk paint. I had been painting other pieces of our furniture with that color and I really like how they looked. On the table, though, I thought that the burgundy clashed with the bright red edging on the table top. Ugh! While I didn't like the look, I also was not prepared to either repaint or strip it. So, the wood portion stayed that color for years.
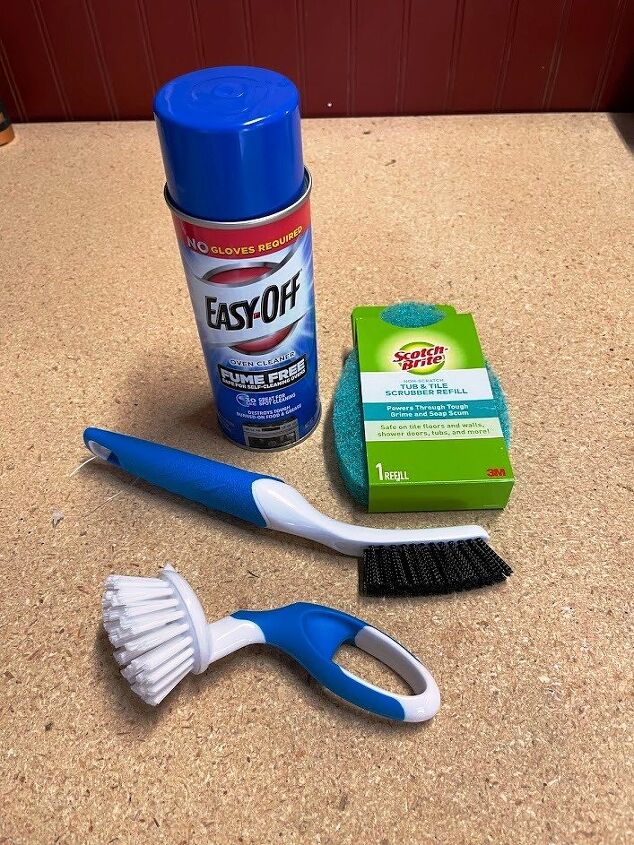
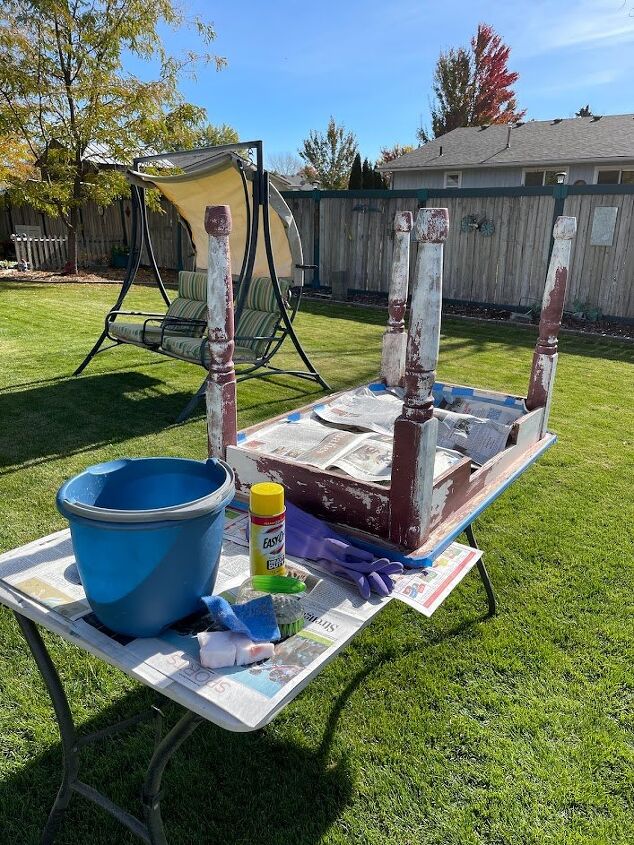
Stripping furniture is not my favorite type of project. It's messy! I've been seeing people online using oven cleaner to strip furniture. Granted, most of the time, they are using it to remove sealer & stain but I thought I'd go ahead and give it a try on the paint. The first cans of Easy Off that I bought were the heavy-duty ones in the yellow can. This is the 2nd one that I tried. I also bought some new brushes & a scrubber to use but after trying them, decided that the Scotch Brite sponge with the green scrubber attached was what worked best for me.
As I mentioned above, the burgundy paint has been on this little table for years. I have looked at it often and cringed at the color. I was so excited to finally get it removed! Since it was a small table and not near the size of the dining table or buffet, I just knew this would be a quick project.
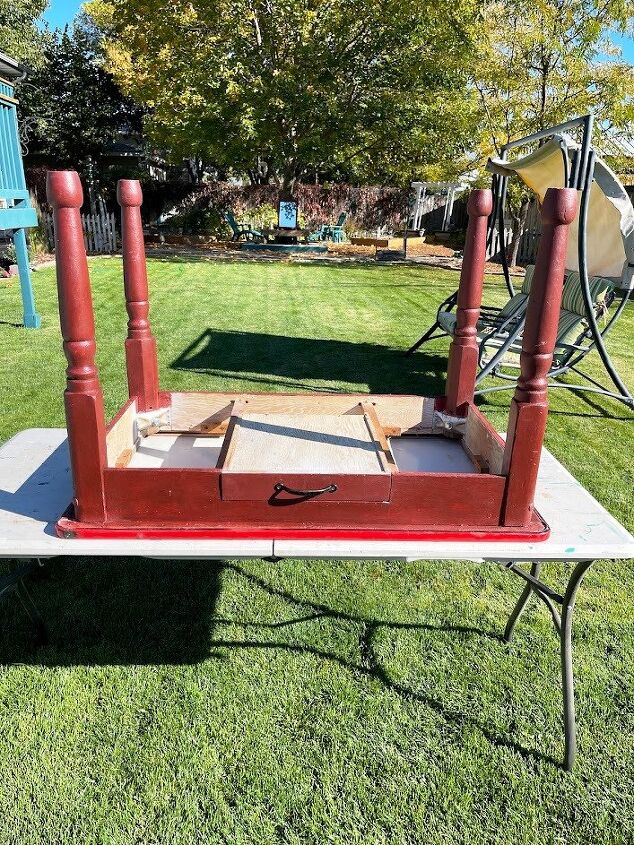
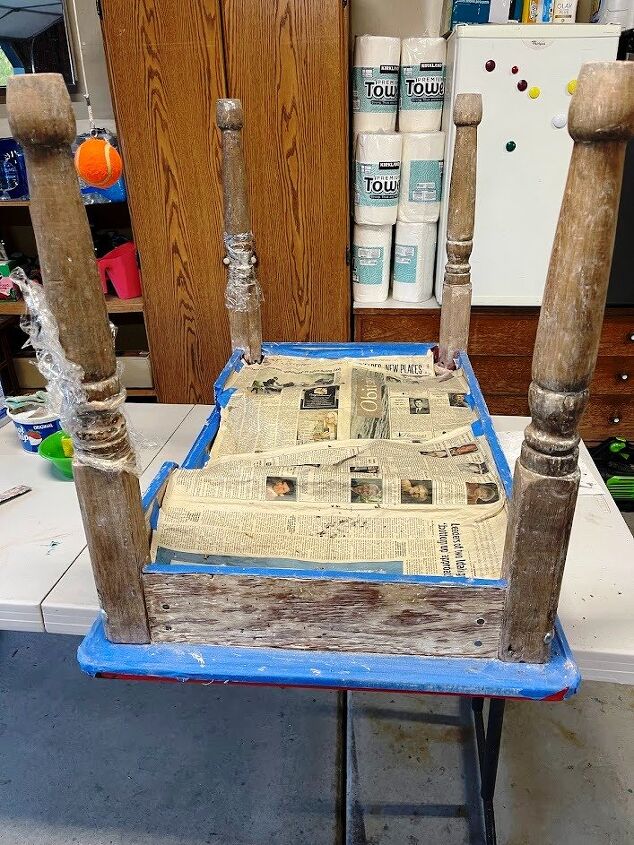
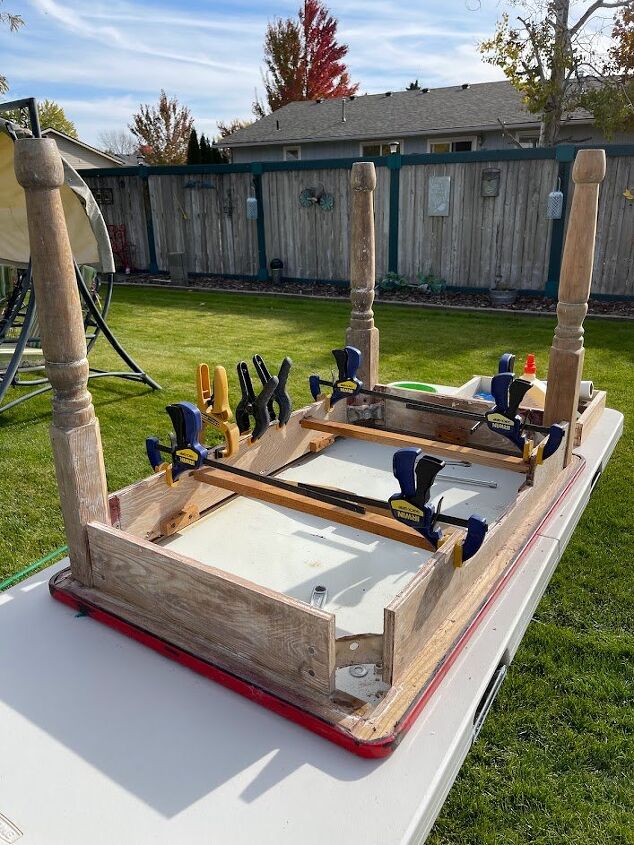
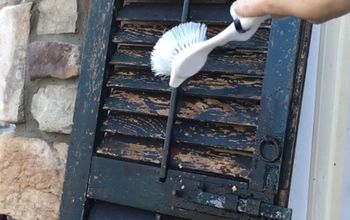
I took the table out to the backyard to begin the process of stripping the paint. I would have just sanded it if there weren't so many curves on the legs. Before starting with the oven cleaner, I thought it best to protect the underside edge of the enameled top by covering it with painters tape.
The first step after covering any places that you do not want to be stripped or damaged in using Easy Off (or any other oven cleaner) is to simply spray it onto a section of your furniture. I started with the small drawer and one side of the table.
After spraying, let the oven cleaner sit for about 20 minutes, then scrub with a small scrub brush or the scrubby side of a wet sponge. I found that the oven cleaner strip method was a bit less messy than regular stripper but I did have to rinse the sponge often.
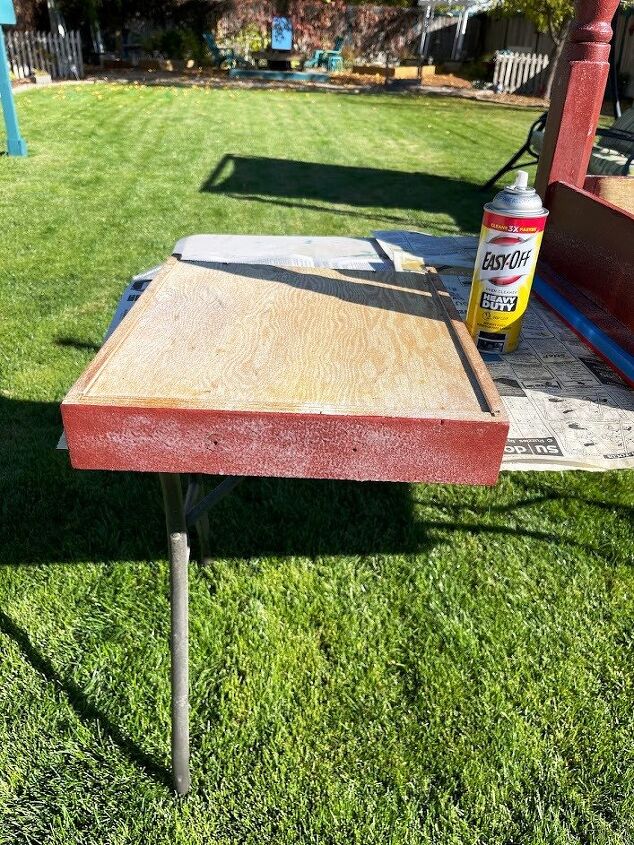
Here is the drawer after the first round of oven cleaner. If you let the oven cleaner dry, it is harder to work with so if you are working in the sunshine like I was, keep an eye on it. If it does dry on you, just spray on another coat then scrub.

Here is the table after the first round of oven cleaner.
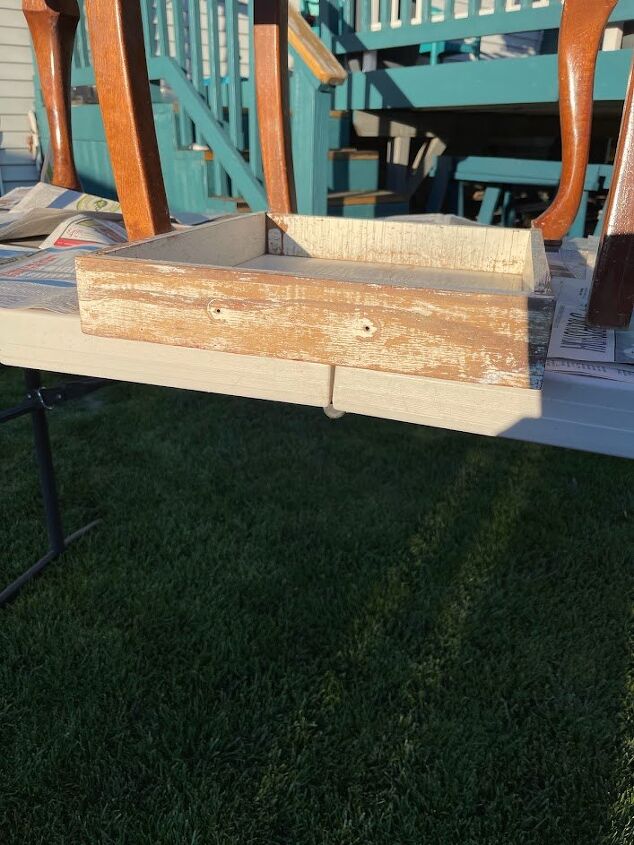
Drawer after round 2 of oven cleaner
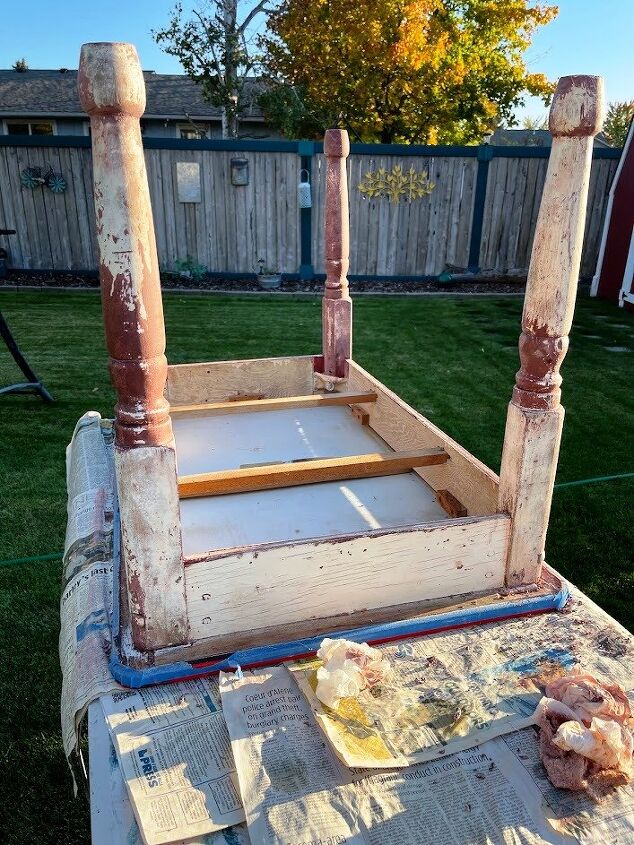
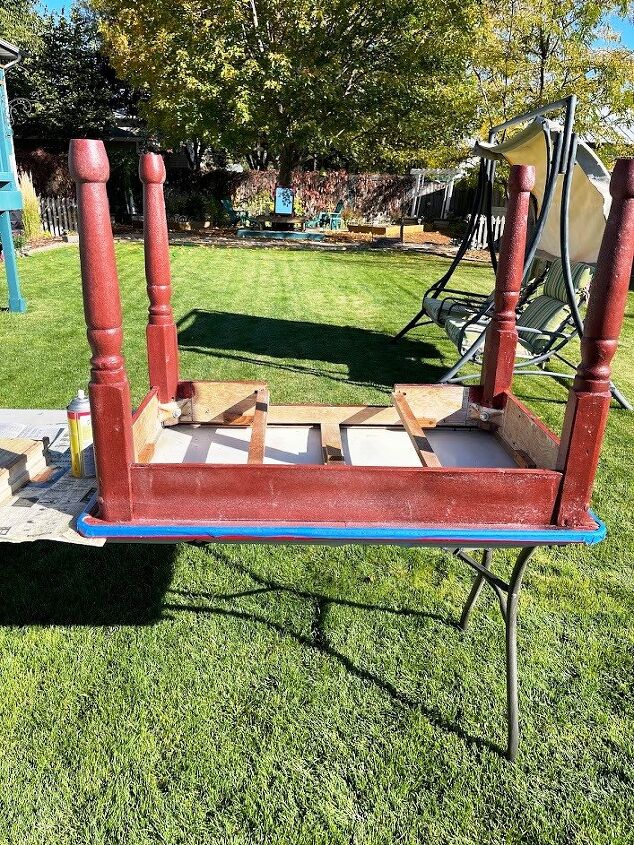
Table after round 2 of oven cleaner. The chalk paint came off easily but the white paint underneath was not coming off so easy. They must have used an oil-based enamel and it really soaked into the wood.
Before starting on the 3rd round of oven cleaner, I covered the underside of the enameled top as well as the interior wood using newspaper.
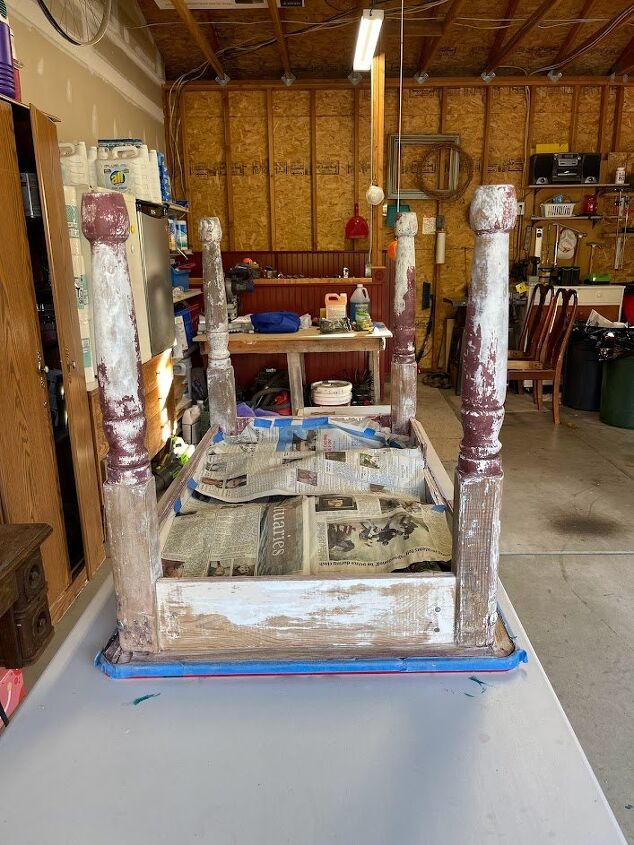
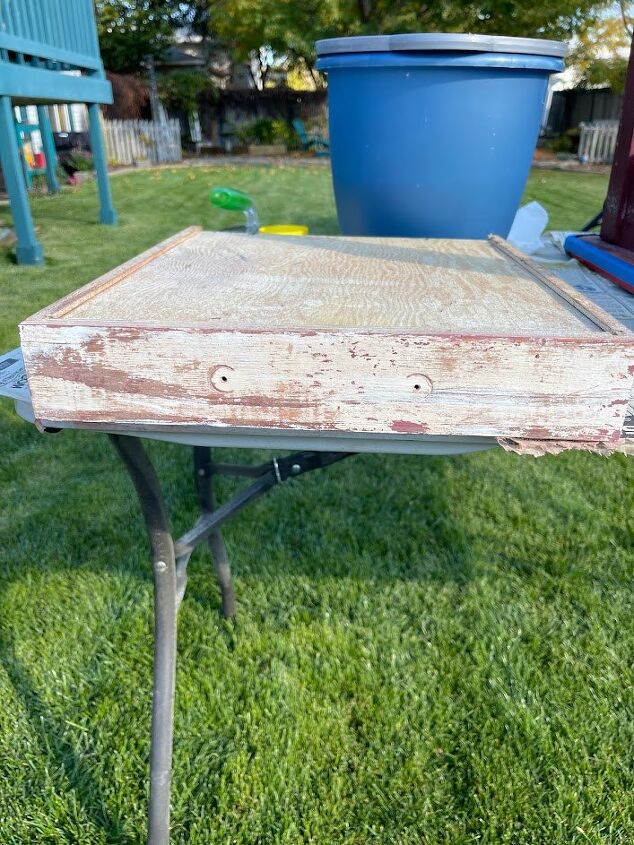
With round 3 of the oven cleaner strip method, I finally started to see wood under the white paint on the table.
The white paint on the drawer was mostly gone but it would need some sanding to remove the rest.
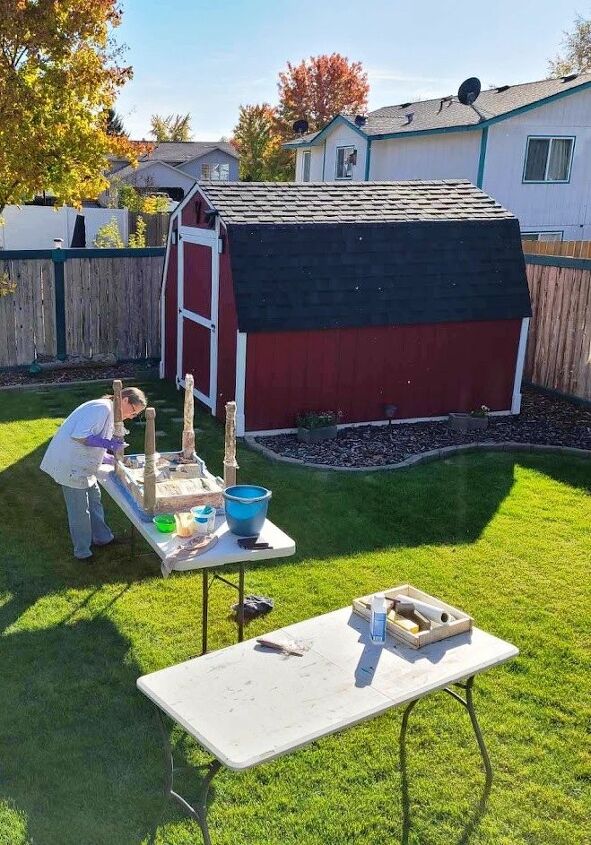
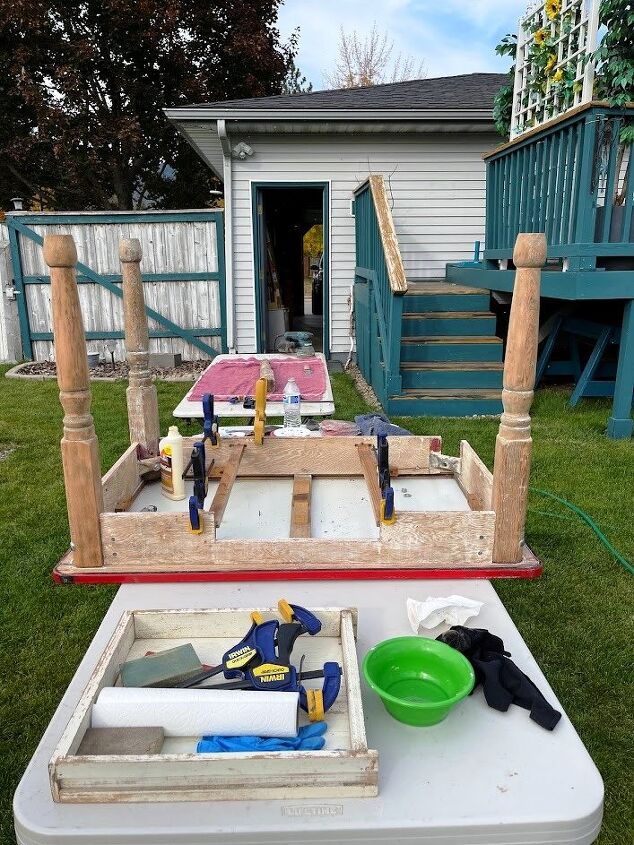
Once I could see the wood on the skirting, I could tell that it was veneer and it was beginning to show gaps between the layers of wood. I could see that using water to remove the oven cleaner, was starting to cause damage to the veneer. So, I decided to switch to CitriStrip for the rest of the stripping process. Using a paintbrush, I brushed CitriStrip on the legs and the skirting then covered them with plastic wrap. After letting the stripper work in the heat of the sun, I removed the plastic wrap a section at a time to remove the stripper.
I used steel wool dipped in mineral spirits to remove the stripper from the curvy part of the legs. I also used a 9 in 1 Painters Tool to scrape off the stubborn paint in the creases. For the flat areas, I used a putty knife. A lot of the white paint came off with two rounds of stripper but the curvy areas needed a 3rd round. Even after round 3, there was white paint that I could not get off.
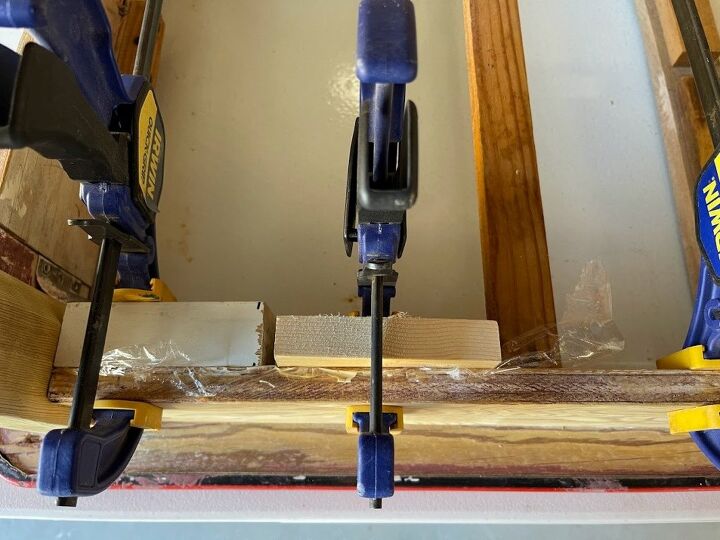
After most of the paint was removed from the wood and before starting the sanding process, I glued the loosening veneer back into place.
I used a putty knife to help the wood glue get into the holes then clamped the wood together. While the glue was drying, I started sanding the legs.
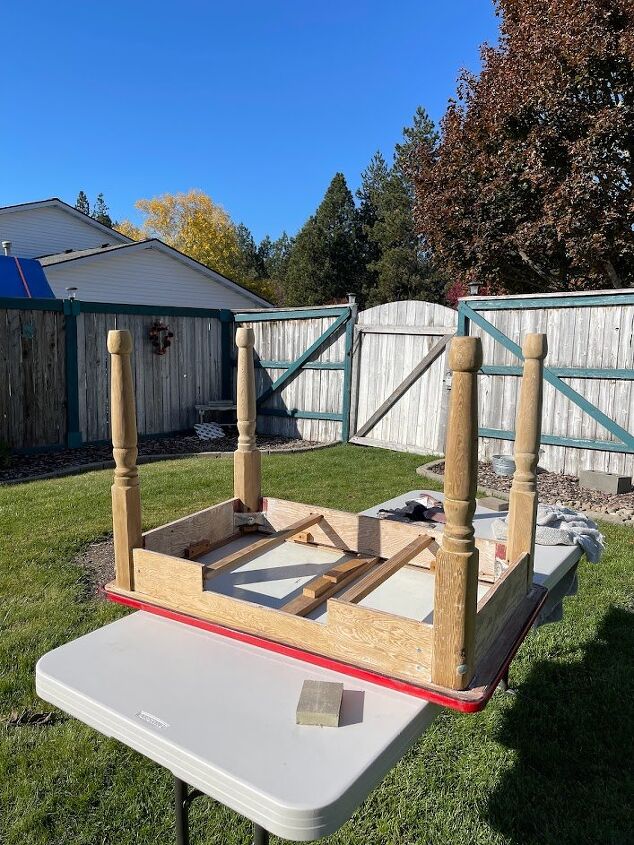
One of the legs was a little loose so I removed it. I thought it was loose because it had also been glued in place and the glue was too old to hold it tight. After loosening the bolt that held the leg in place, I discovered that it had not been glued and was only loose because the bolt needed to be tightened. Since it came off so easily, I decided to remove each leg to sand them. I used 100 grit sandpaper & my orbital sander for this step. As I finished sanding each leg, I reattached it then moved on to the next leg. When all the legs were sanded, I removed the clamps and started on the skirting. I used my orbital sander and sanding block to sand the skirting and the strip of wood on the underside of the tabletop.
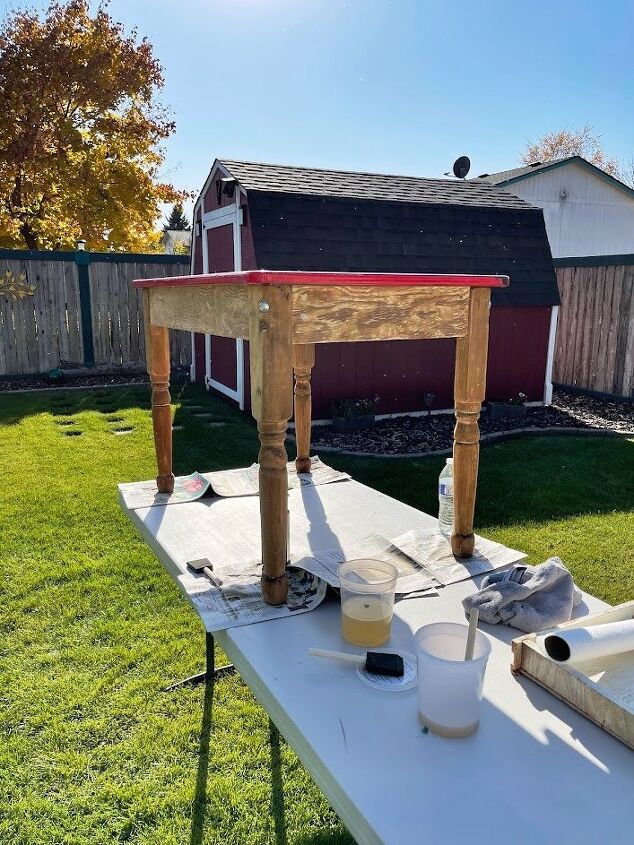
When all the sanding was completed, I wiped down the wood with a soft cloth then a tack cloth. The more I looked at the color of the wood, the more I thought it should be bleached. It was a bit 'orangy' compared to the table & buffet.
Here is the table after the bleaching process. The process of using the DIY bleaching technique is to prepare the ingredients, apply the solution, rinse wood. The link to where I found instructions is here.
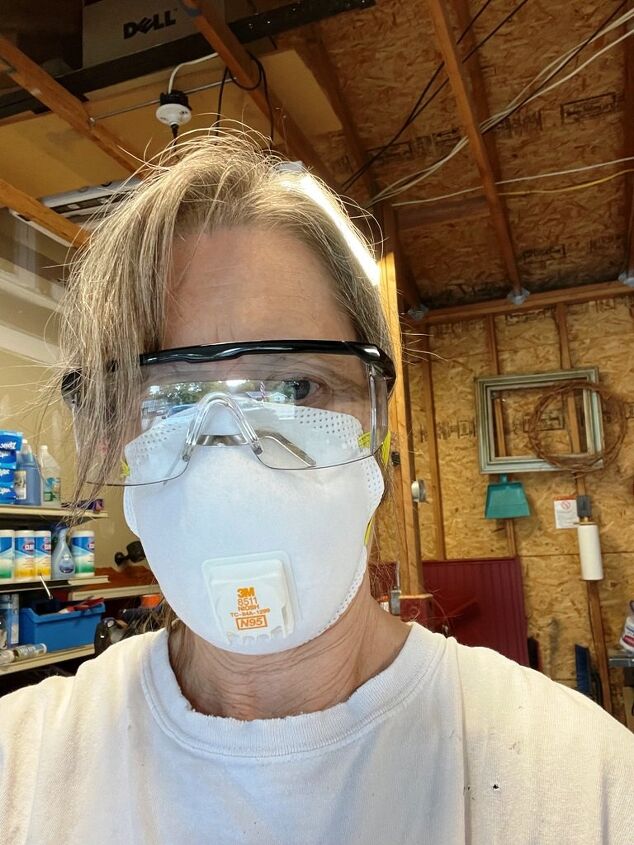
Important: When handling or working with lye, you should always wear gloves and eye protection. Also, never pour water into the lye and don’t pour a bunch of lye into the water at one time.
- Fill a plastic container with 1 qt of water. It’s important that you use plastic and not metal. And if you are doing a lot of wood, you might want to make a gallon
- I made smaller batches, using 2 cups water & 1/2 the amount of lye
- Slowly add 3 tablespoons of lye to the water, stirring the water slowly between each tablespoon
- Once the lye solution is made and ready to go, set it aside and pour the hydrogen peroxide on the red oak
- I used a foam brush to apply the hydrogen peroxide on areas that were not flat
- Spread it with a foam brush to make sure the entire surface is covered
- Using a foam brush, spread on the lye solution thoroughly over the entire surface
- Let dry completely - it's helpful if you can do this process in the sun
- After the wood has completely dried, using water, rinse the surface of the wood and wipe it dry with a towel. If you are outside, the sun will dry it.
- I used a mixture of 1/2 water & 1/2 vinegar
- Then let it completely dry again
- You can repeat steps 2 – 4 until you are happy with the color
I applied the hydrogen peroxide to a section of the piece I was bleaching, then applied the lye & water mixture while the hydrogen peroxide was still wet. Since I was working in the sun, I applied the 2 products in sections to prevent the wood from drying too quickly. It took 2 applications to remove most of the orangy color.
After the 2nd round of bleaching, I used a paintbrush to apply the mixture of vinegar & water to neutralize the bleaching process. I then used the garden hose and washed down all the wood. I dried it with a towel then left it to dry well in the sun.
As you may have guessed - and I should have known - the water loosened some of the veneer that I had already glued - ugh! So, I repeated the gluing process again. I used plastic wrap between the wood blocks & skirting to prevent the blocks from accidentally being glued in place.
I allowed the glue to dry overnight then gave all the wood a light sanding with a sanding block followed by a soft cloth and tack cloth to remove the sawdust.
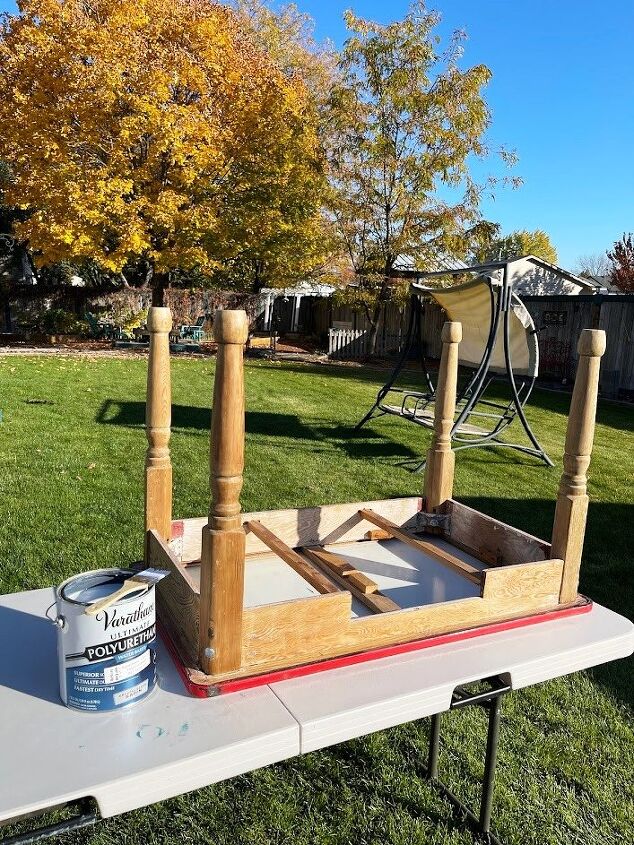
To seal the wood, I applied 2 coats of Varathayne water-based polyurethane in satin on the skirting & legs using a 1 1/2" angled paintbrush. I allowed 2 hours between coats for drying time.
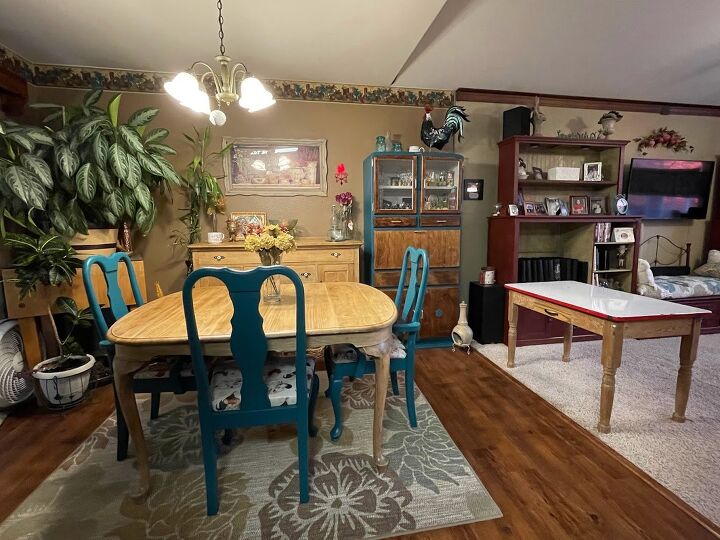
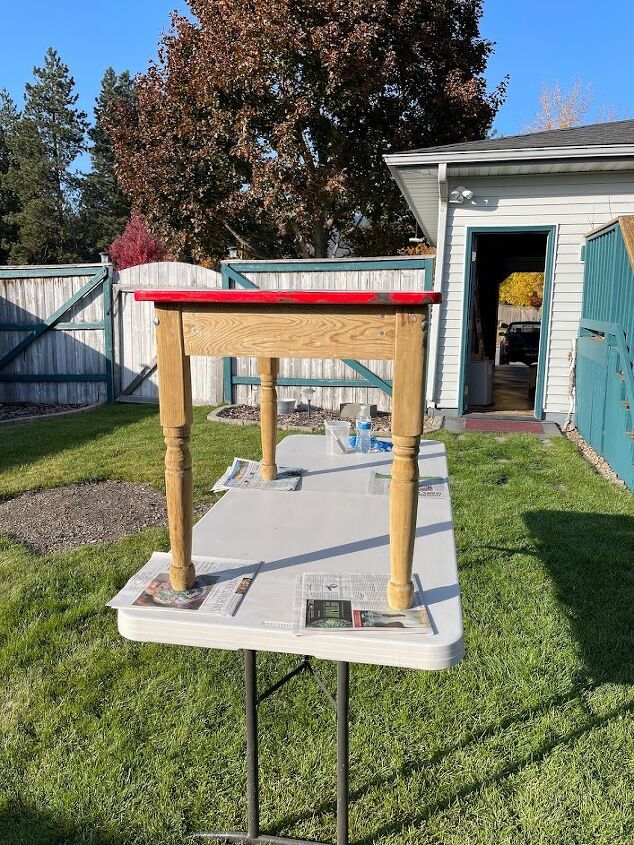
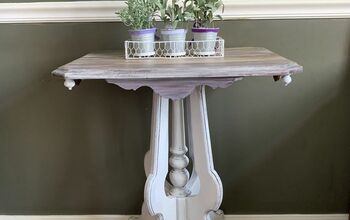
The wood on the enameled table didn't lighten as much as the dining table or buffet but it blends nicely with those and the darker wood of the Hoosier and flooring.
Instructions
- Remove finish with
- Easy Off oven cleaner
- and/or
- CitriStrip
- Remove CitriStrip with steel wool dipped in mineral spirits
- Once wood is dry, sand with100/120 grit sandpaper
- If possible, remove legs to sand
- Remove sawdust with soft cloth then tack cloth
- Bleach wood by applying
- Hydrogen Peroxide using a foam brush
- then
- Lye mixture
- Allow to dry in the sun
- Reapply bleaching solution until desired color is acheived
- Rinse wood with water or water/vinegar mix
- Allow to dry in the sun
- Once wood is thoroughly dry, sand with 220 grit
- Remove sawdust with soft cloth then tack cloth
- Apply two to three coats of water-based polyurethane to skirting & legs
- Attach tabletop to legs
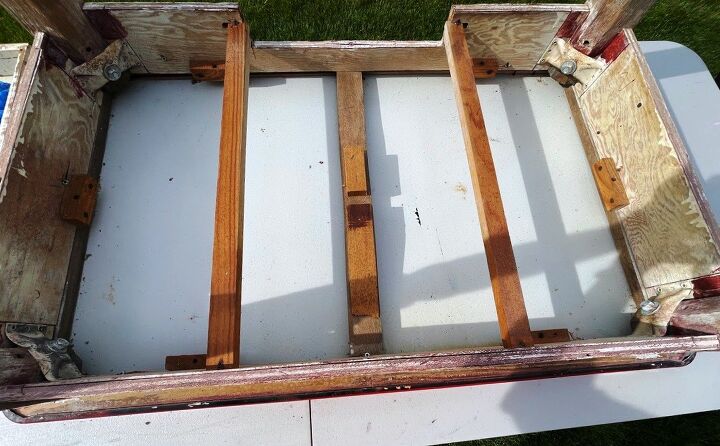
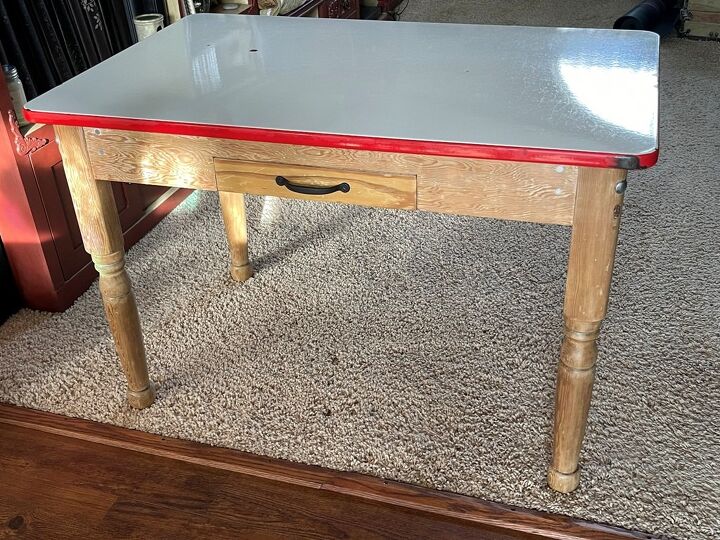
Finished back of table
When I started this refinishing project, I was certain it would be fast and easy! I had no idea that the white paint would be so stubborn to remove. But I was determined to get down to the raw wood and my persistence paid off! Just like the dining table and buffet, this table was made from different types of wood. The legs are different from both the skirting and drawer. It looks like the legs have been reattached as there is a wood putty spot below each of the bolts.
Overall, this project cost me about $20 because I had almost everything on hand already. I did buy the Easy Off & scrubbers. I also put 3 days to complete due to drying times.
Resources for this project:
See all materials


Comments
Join the conversation
-
You were right the burgundy was not a good match. I always loved those tables. You did an amazing job.
-
Been using for years. Never disappointed. But I’d like to add ANY oven cleaner works. I’ve tried them all. My fav? Cheapest I can find. Tip. Despite what can says wear a mask or face covering and gloves a must. Powerful degreaser. Didn’t one time. Lesson learned the hard way. Sometimes I even use on my oven. But not often lol


Frequently asked questions
Have a question about this project?