


DIY Window Jewelry Holder

by
Beth Eaton
6 Materials
$10
2 Hours
Medium
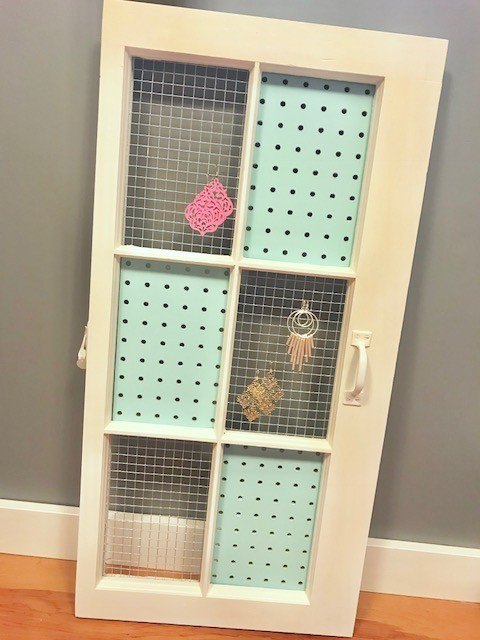
Most DIY projects take something old and turn it into something new! Decorating with windows is all the rage right now! Where once there was a limitless supply of windows, there is now a shortage of sturdy old ones that you can create into something new! If you get your hands on one, you’re going to want to make this jewelry holder! In comes the DIY Window Jewelry Holder! It’s time to transform the old and boring into something AMAZING and FUNCTIONAL!
All it takes it a little bit of time to transform it into something amazing!
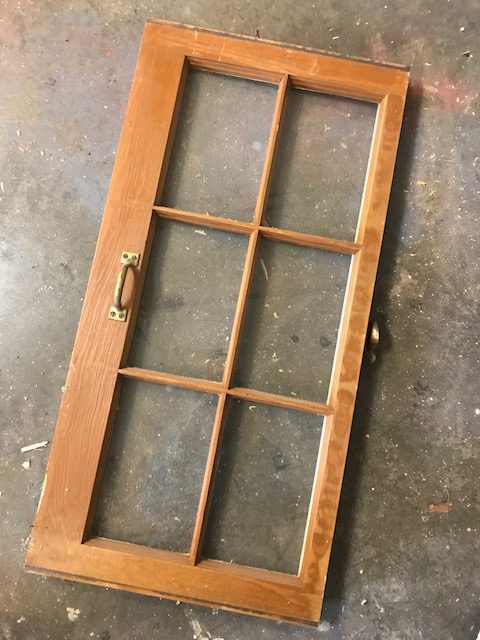
Clean up your window and paint it whatever color you like. If your window has glass panes in it, you’re going to want to knock them out for this project. Make sure you remove all the caulking and glazing pins.
Use caution when doing this! Because, you know – broken glass = sharp edges = dangerous 
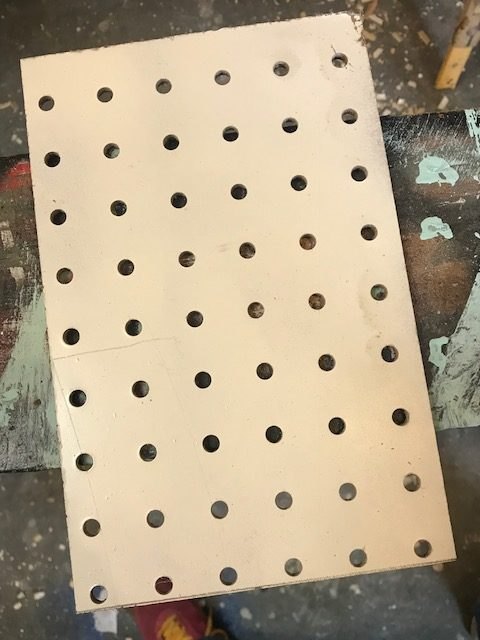
If you have some PEGBOARD laying around, you’re going to want to use a table saw and cut it to size of the window opening. I opted to do three slots in the pegboard and then three in the chicken wire. This is purely personal preference depending on your jewelry supply. The chicken wire is where you will hang most of your long earrings that don’t have studs on them. The pegboard is going to hold bracelets and necklaces.
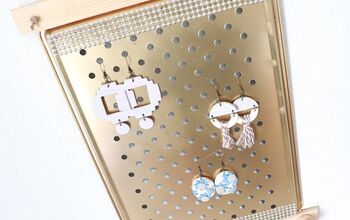
After your pieces are cut, you can paint them in any color that matches your decor. I chose THIS AQUA color, because you know -it’s STILL m y favorite color! Decoart products are one of my favorites to craft with!
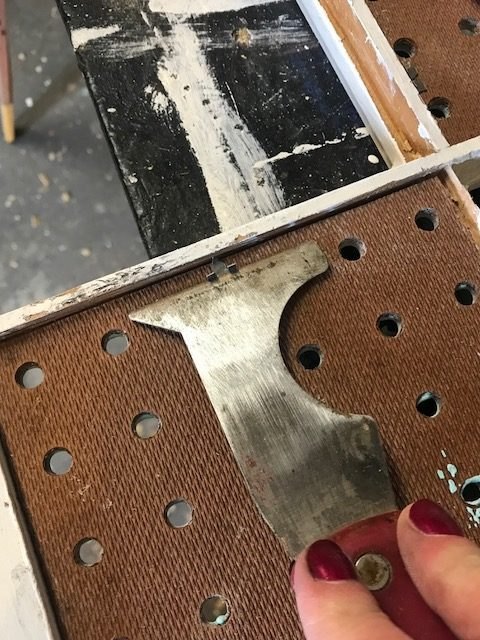
After your pieces are painted, you will attach them to the window with GLAZING PINS. These are the same type pins that hold the glass panes in. You can order them online from Amazon or get them at any hardware store.
Using a putty knife or any tool with a flat edge, push the glazing pins onto the top and back of the peg boards.
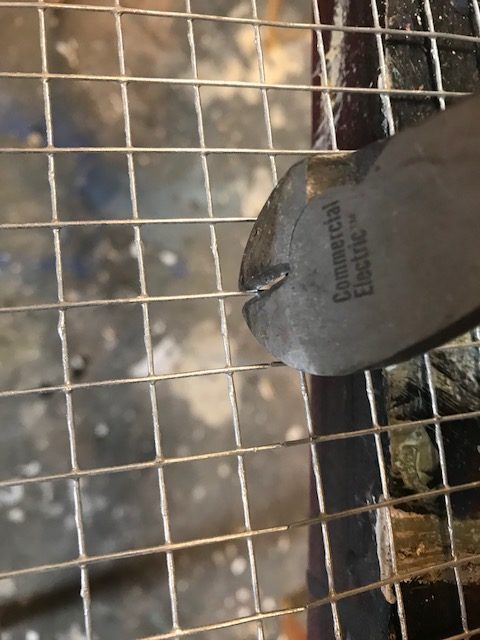
With the chicken wire, you’re going to do the same thing as the pegboard. Cutting the chicken wire can be a little cumbersome, but it’s not a hard process. Use some wire cutters and cut to size. The cut edges can be VERY sharp! You want the chicken wire to fit snugly into the window pane, so take note of that when you are measuring and cutting.

As you can see from the pic, the glazing pins will also be used to hold the chicken wire in. A couple of the chicken wire pieces I didn’t even need to use glazing pins to hold it in simple because it was a very snug fit.
Turn it over and enjoy all of the beauty of your hard work!
You can even add knobs to the bottom for added spots for necklaces! I used the hardware that was already attached tothe window but you can also remove those and replace them with something fancier or more your style.
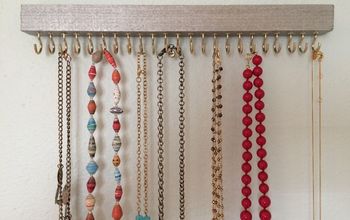
THESE hooks are what you will use in the pegboard to hand necklaces on. They usually come in white, silver or black. If you are wanting gold, you will have to spray paint them.
To hang it, you’re going to want to attach it to studs in the wall. I don’t know about you but mine can get heavy REALLY fast with all of the jewelry I own! You can drill screw directly through the window into the studs. If you do that, make sure the screws do into the window deep enough so you can putty over it and paint it the same color at the window.
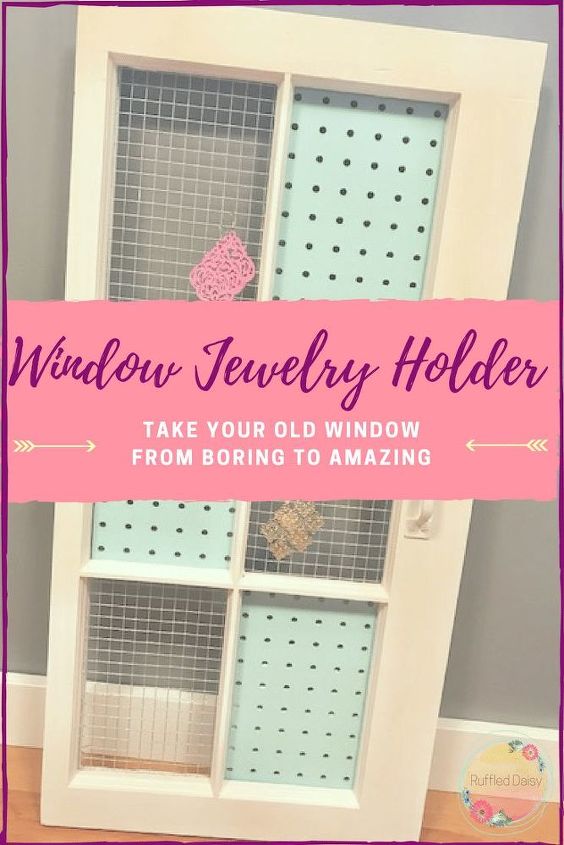
PIN the above image so you always have it on your Pinterest boards! Share it with a friend and you can work on it together or make a matching one with your bestie!
What’s on your agenda this weekend? With a little time, this piece can be done in a day. Need a shorter project that you can get done in 10 minutes? Check out how I turned CEILING MEDALLIONS into home decor art!
Want more details about this and other DIY projects? Check out my blog post!
Comments
Join the conversation
2 comments
-
All it takes it a little bit of time to transform it into something amazing!


Frequently asked questions
Have a question about this project?