Faux Barn Doors

by
Cher
(IC: homeowner)
2 Materials
$35
6 Hours
Medium
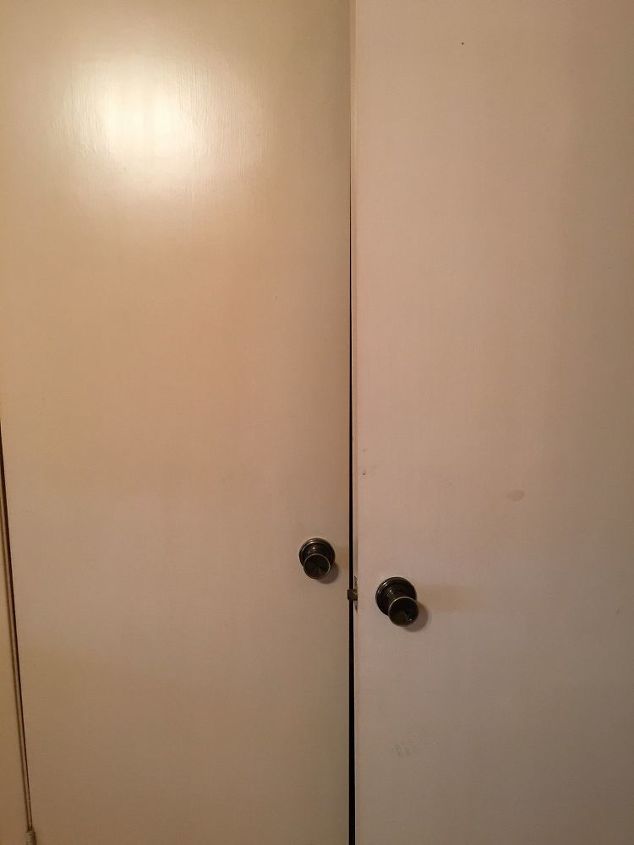
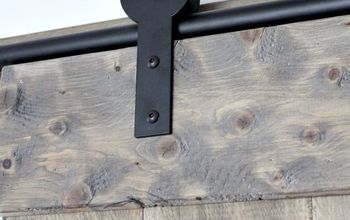
I turned my boring stock doors into the cutest faux Barn Doors. I have been wanting Barn Doors forever but they were a bit pricey for my liken. I was perusing Pinterest one night and a picture popped up with the barn door look, it was only one door but it was so stinkin’ cute. I just happened to look up and saw my side by side closet doors and bam it hit me like a ton of bricks I could do this look on my doors. I think I did a little jig in my chair, I was a happy girl. I immediately envisioned what I wanted my doors to look like. I’m couldn’t get to the Home Depot fast enough.
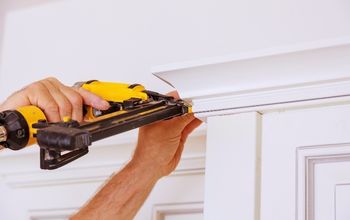
I used 6 1x4 and 4 1x2. I took my measurements and then had the cute guy at Home Depot make the cuts for me. (Home Depot will do your cuts for you for free, Free is good). The 1x2 needed a miter cut so I had to do that once I got home.
I sanded all the boards then wiped off all the dust.
Then the fun part I used a new painting technique I just learned. I used my paint as a stain with a baby wipe (who knew you could do this). This is what you do, pour about two tablespoons of paint out on a paper plate then dip your baby wipe into the paint. It doesn’t take much, once you have your paint on the baby wipe you rub it on the board. Your baby wipe will fall apart pretty quickly that’s ok just grab another one and repeat the process until you’ve completely covered your board, don’t forget the sides. The best part about this technique is it dries super fast. The paint I used was Waverly Chalk paint in Peacock.
I wanted to tone down my paint color a bit so I rubbed some stain on then wiped it off. This also helped give it a rustic aged look.
Once I was done with the staining it was time to assemble my pieces. I used wood glue to secure my pieces. Once I had my pieces in place I used clamps to keep the pieces in place while the clue dried.
My doors are magnetic so thankfully I didn’t have to deal with the doorknob. I purchased two barn like door pulls and screwed them into place.
All that was left to do was hang my doors and stand back and admire my Barn Doors. I’m not one that gets easily excited over a project but this one really got me. I’m sure it’s because I’ve been wanting these doors for so long and to finally see them hanging in my room just makes me all giddy inside.
Enjoyed the project?
Any price and availability information displayed on [relevant Amazon Site(s), as applicable] at the time of purchase will apply to the purchase of this product.
Hometalk may collect a small share of sales from the links on this page.More info
Published January 29th, 2018 2:30 AM
Comments
Join the conversation
2 of 43 comments
-
-
 Allinthefamilysingers
on Dec 26, 2022
I love them too!GOOD IDEA!
-













Frequently asked questions
Have a question about this project?
Hi there , 2 questions, first, ur project came out great, ok so question #1, u said u didnt have to deal w doorknobs and that ur doors were magnetic, but in ur original pic, the doors have knobs, and so do my doors? #2 what is a miter cut, and how did u do that cut as u say u did it at home? Thanks!!
I have louver doors in my room. I am wondering if there's any way to do this with those. I have a feeling I'm going to need solid doors for that.
I l oi ve this idea. Ate you going to make the doors look like old wood as well to or no? I was thinking the door wood lool great with dry brushed colors to match the wood trills that makes the doors look like barn doors. Please understand I'm not picking your creation. great.