


Cement Fire Bowl

3 Materials
$8
2 Days
Medium
The first time I made a cement fire bowl, it was intimidating because I've never worked with concrete/cement and it's so heavy and permanent. Since I've made my first bowl, I've had no problems using concrete in my projects!
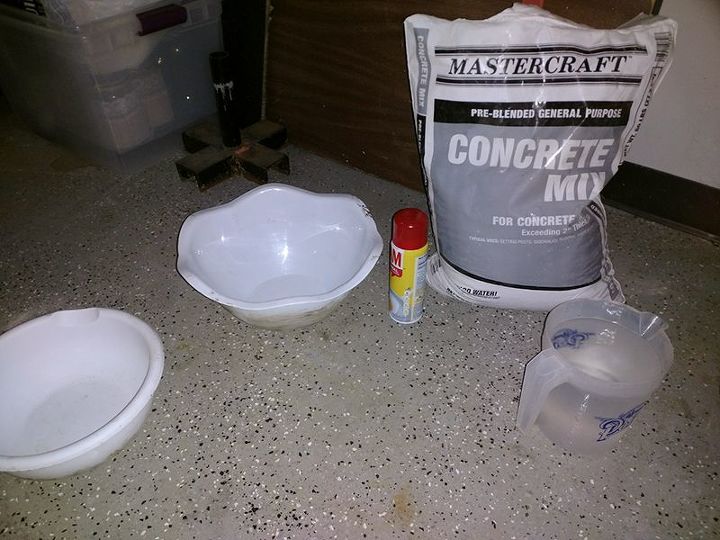
What you'll need:
- Two bowls - one slightly larger than the other
- Non-stick spray
- Concrete mix
- Water
- Stir stick
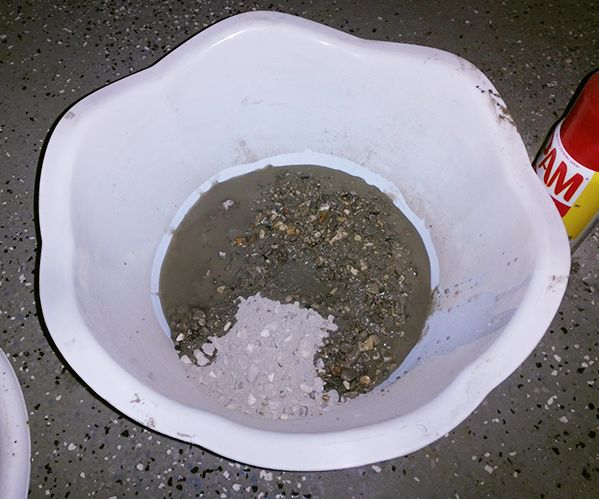
Start mixing! In the bigger bowl, start by adding the concrete mix and slowly add little amounts of water.

Stir! Once you start stirring the mixture, you'll really need to pay attention to the consistency. I prefer to have a smooth surface on cement projects so I'll keep adding water until I get a smooth consistency.

If your mixture is dry/crumbly, you're piece will be very textured. You'll see and feel all of the rocks, bumps, and cracks. When looking for a smooth surface, you'll need to make sure you add enough water to give it a liquid-look. BUT, don't go too "soupy". If it has too much water, it won't dry properly and will be a bit unstable. You want a nice, thick, and smooth consistency.
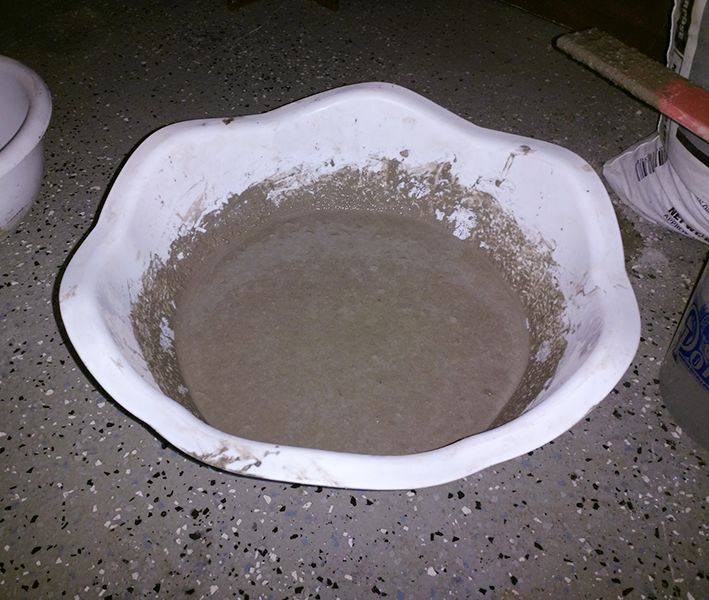
Once you get it to a thick and smooth consistency, pat around the sides of the bowl to get any air bubble out.

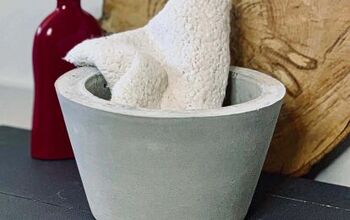
Now you can put the smaller bowl inside. Give it a little pressure, spin it into a good depth. I like to place a brick inside to keep it in place. An optional step is to spray the outside of the smaller bowl with non-stick spray. This will make it a little easier to get the bowl out once the concrete is dry.
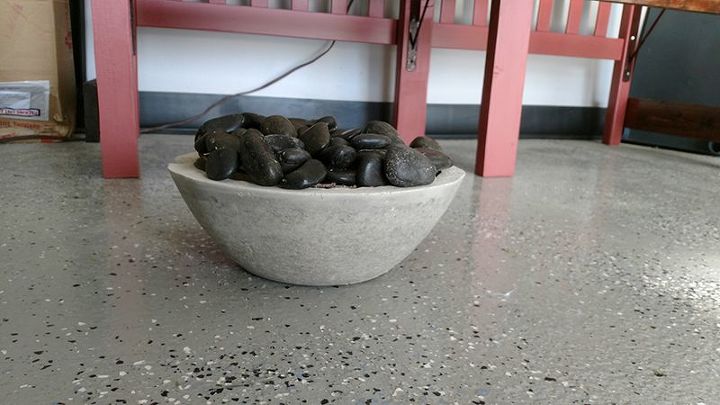
I always wait at least 48 hours before I remove the concrete from the plastic bowls. This is usually an easy step - you may just have to jiggly the bowls a little or use a thin small object (butter knife) and slide it between the concrete and plastic. But it usually comes out easily.
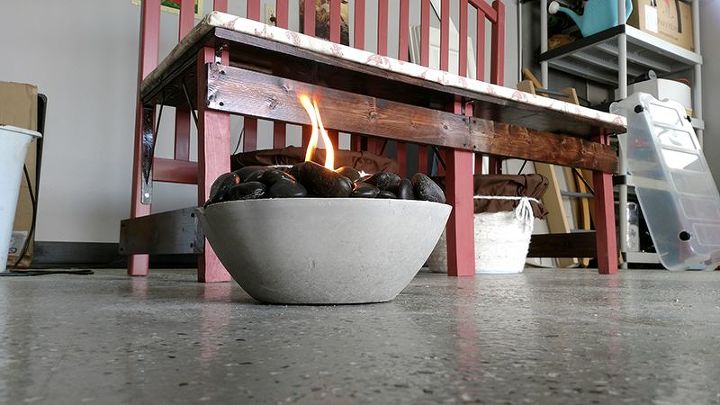
For the completed look, I just place a chafing fuel container in the bowl, cover it with some black stones, and light it up!
The chafing dish fuel can be purchased by the can, but most likely you'll need to buy a pack of 6, 12, or 24. The prices range from about $3 to $40, depending on how many and what company you buy from.


Any price and availability information displayed on [relevant Amazon Site(s), as applicable] at the time of purchase will apply to the purchase of this product.
Hometalk may collect a small share of sales from the links on this page.More info
Comments
Join the conversation
2 of 12 comments
-
Looks great Emily, love the concrete aesthetic.
-
sweet❤️


Frequently asked questions
Have a question about this project?
This is something that I wanted to do for a long time... Especially now that it is getting colder each day! I wonder though... Is it easy to kill the flame or do you have to let the entire can burns? Thanks! :)
On the description in the email about this project, it says "...this trick to staying warm." I've only used Sternos for chaffing dishes to keep food warm, and you can't really feel the heat from a foot or more away. Does the cement or do the rocks get warm to increase the level of heat enough that you could feel it from across a table on the patio? We would like to sit on our patio some evenings but it's a pain to have to put wood in the little metal fire pit thing. If one or 2 of these would keep us warm enough I'd be thrilled. Thanks
I have been planning to make some of these for gifts, but someone mentioned the rocks would have to be fireproof, so I have put the project on hold until I check this out. But I just love the firebowls! Have you heard of any of the regular river rocks exploding?