


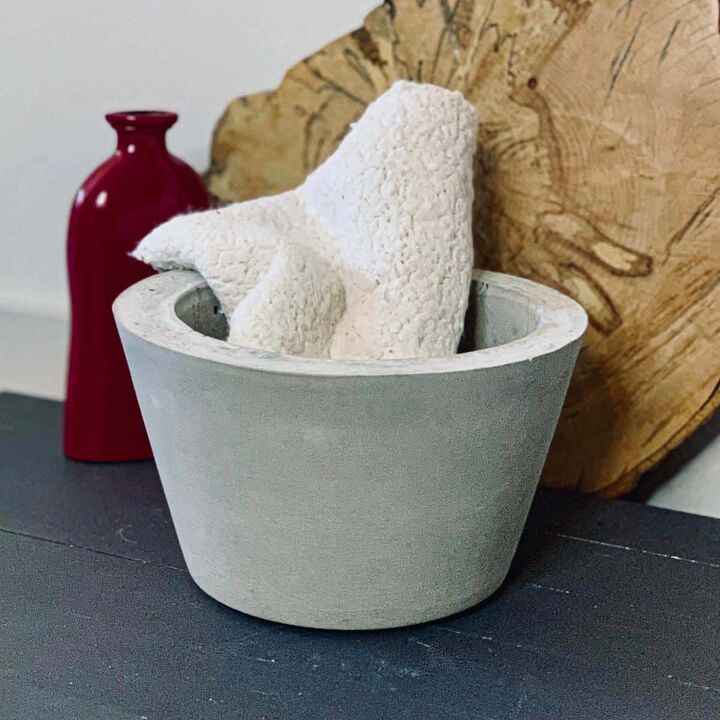
Make A Large DIY Concrete Bowl
Here’s a large DIY concrete bowl that’s both inexpensive and pretty easy to make. Any bowl –big or small, is more straightforward to make than many concrete projects.
This is mostly because you don’t need to account for extra parts or pieces like drainage holes for example, which you would need to do if you were making a planter.
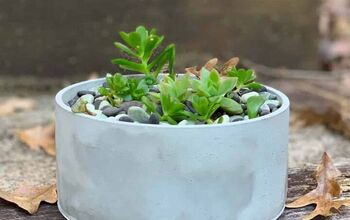
However, if you love the look of this large bowl, but you want it to be a planter instead, you can do that easily.
Just follow the portion of this making concrete planters tutorial where I show how to make a drainage hole.
The reason this awesome and really big concrete bowl is inexpensive to make is that the mold materials are cheap and easy to find.
You can find a really good selection of large plastic bowls at places like Dollar Tree and the Dollar Store. And of course, concrete and sand are inexpensive as well.
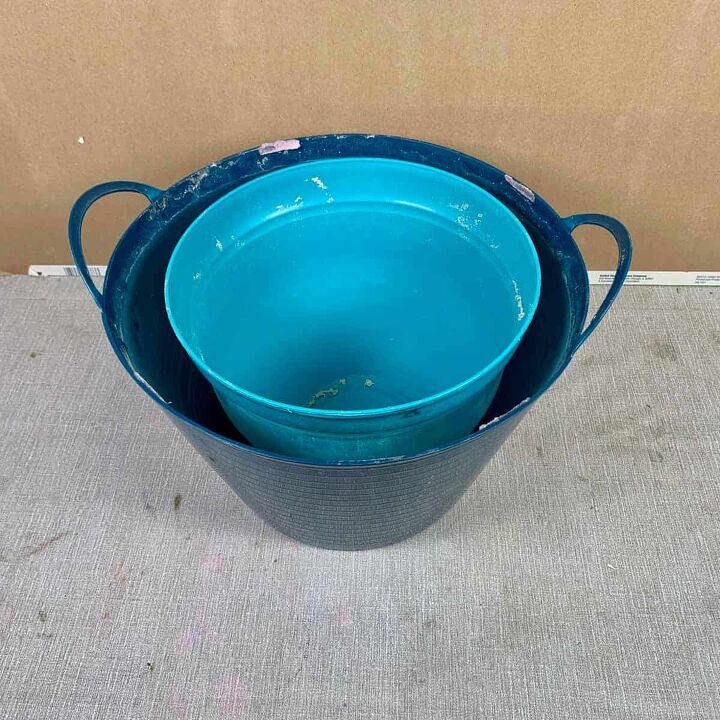
Step 1. Prepare The Molds
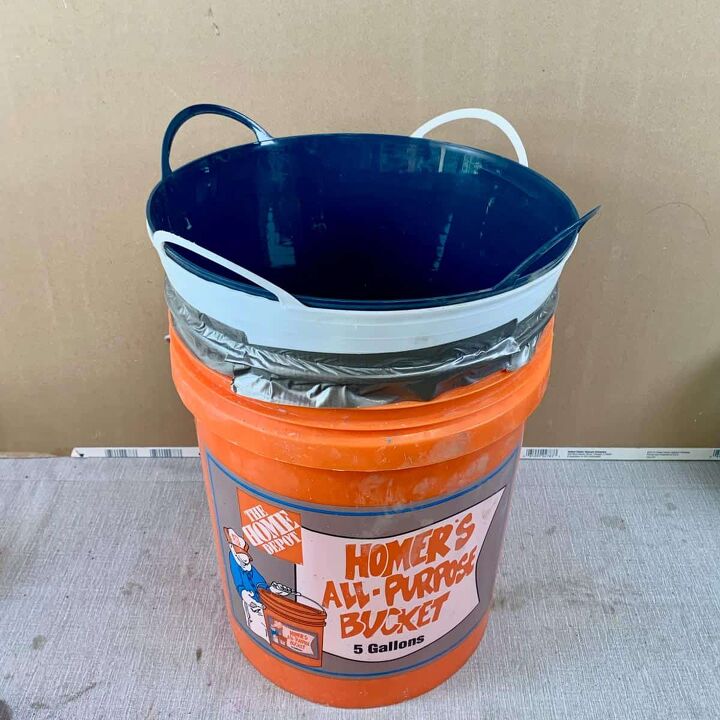
For the outer mold, I placed two bowls inside of each other because they were so flexible.
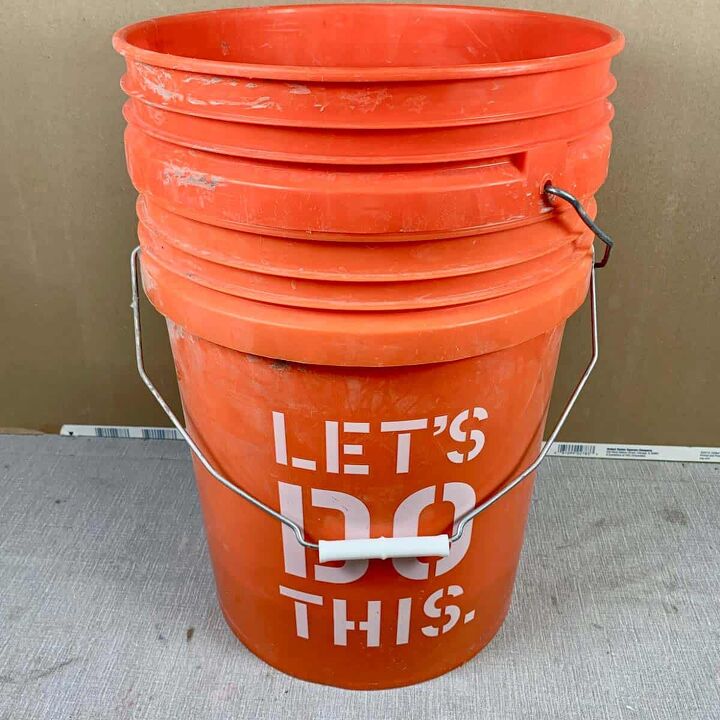
I know that heavy concrete in a flexible mold could cause it to warp, so to ensure this didn’t happen, I used a big bucket to hold the bowls to keep them staying round and not oblong.
If your bowls are a rigid plastic, then you don’t need to do this.
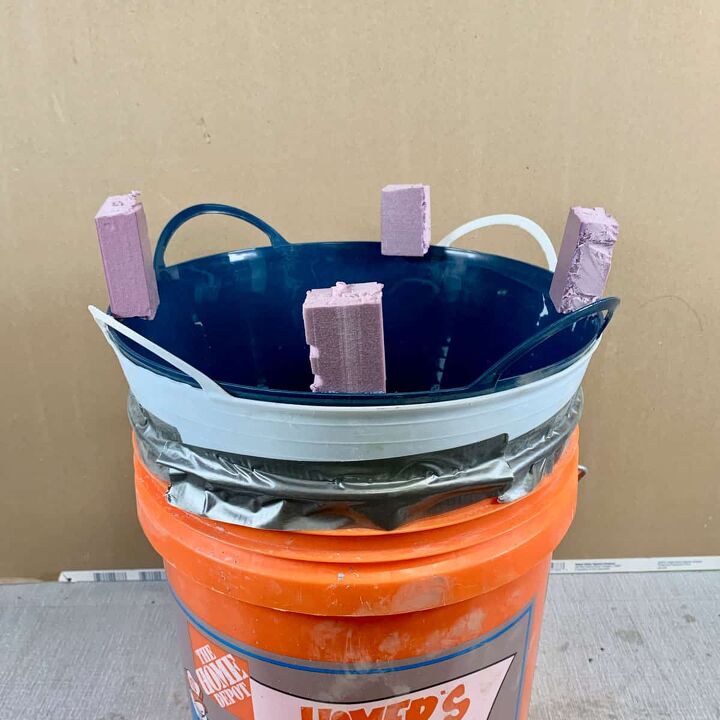
Use hot glue to adhere four pieces of foam insulation spaced equally apart around the outer mold to use as spacers.
This is a great way to keep the sides of the finished bowl nice and even all the way around.
Like I mentioned in the material notes above, if your bowl molds are very rigid, use the oil to rub onto the outside of the small bowl.
Don’t forget to apply it to o both the sides and the bottom of the bowl. You will also need to rub oil on the inside of the large bowl
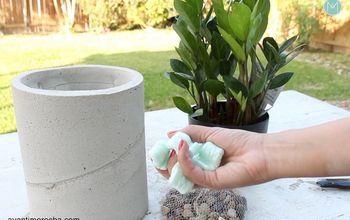
Now, fill the inner bowl with sand and then add water to make it damp. This will help with both balancing the bowl and adding more weight.
Also, you are going to need the duct tape after you cast the large bowl, so place that near the molds.
Step 2. Mix A 2:1 Ratio of Cement to Sand
**If you love making concrete projects, then check out my Pocket Guide to Concrete Mixes! I tested 6 mixes and made a handy reference chart. It's a FREE download. 😉
For this project, I chose a 2:1 cement to sand ratio because the ratio that I normally like to use (3:1) probably wouldn’t be durable enough.
The reason is that this is a large concrete bowl that has thick walls and a thick bottom. Using a higher proportion of sand will give it added durability.
You can read more about how to choose the best mix for a project here, and about the best cement to sand ratio recipe here.
First, add 10 parts cement and 5 parts sand to the mixing bowl.
Because this is a large quantity of mix, I recommend that you mix all the dry ingredients together first. Be sure to use a gloved hand.
Once the dry ingredients are mixed, separate it into two mixing bowls and add water to each, and then mix each separately.
The mixture is quite heavy and difficult to mix all at once.
Doing it this way requires less elbow grease and will help keep the mix consistent.
* With this larger batch of mix, your gloves are more likely to tear, so it’s a good idea to double up with your gloves or keep a second pair right next to you.
Step 3. Cast The Large Concrete Bowl
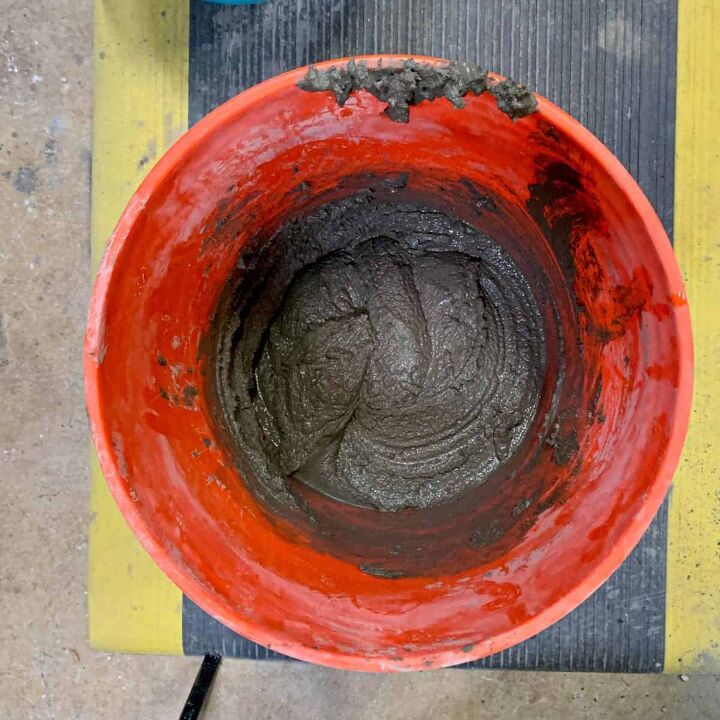
Once each cement mixture is the consistency of a wet mud pie, pour them both into the large outer bowl mold and then mix them together. The mix should fill about ⅔ of the bowl.
Now vibrate the cement mixture by tapping the bowls onto your work surface or floor to release air bubbles. I did this for a few minutes.
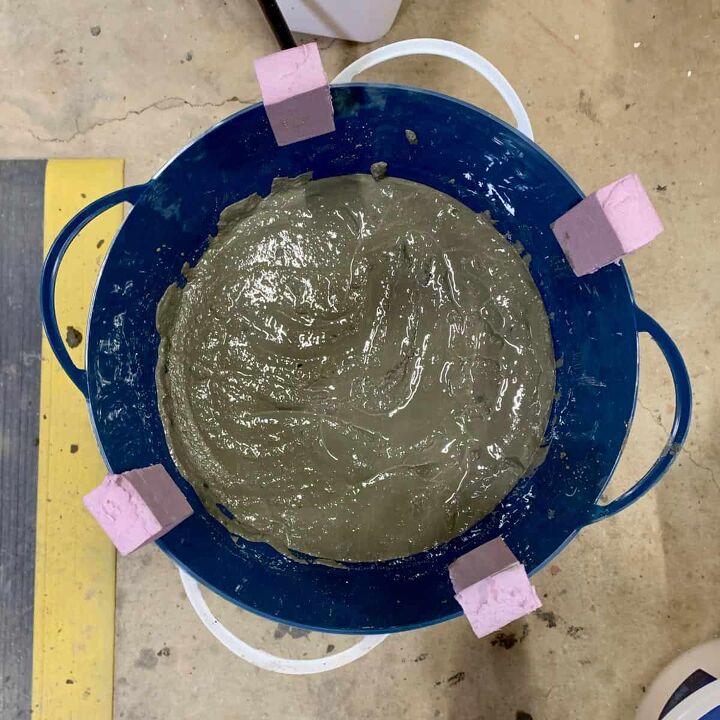
Next, place the sand-filled inner bowl inside of the larger bowl. It should be resting against the foam spacer pieces.
Then press down until it is level with the lines you marked on the larger bowl.
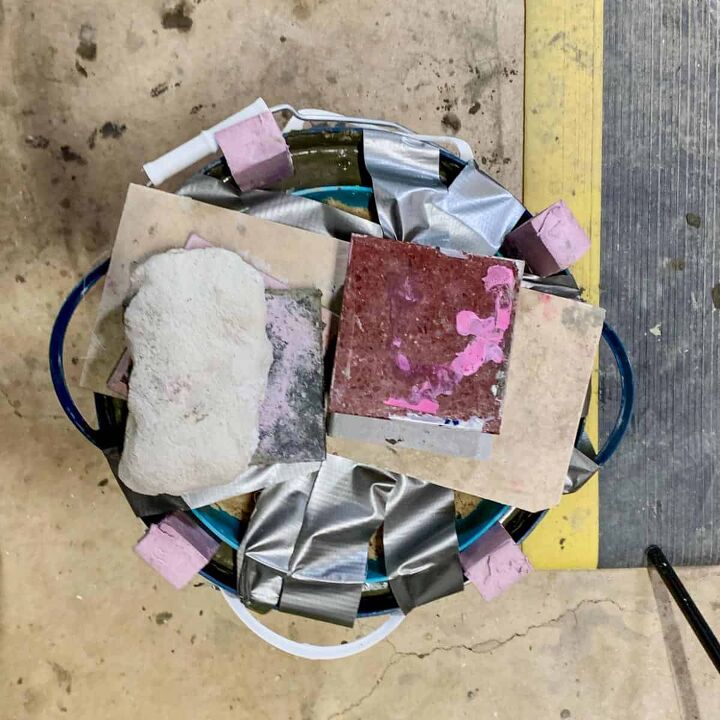
The inner bowl will likely still try to push itself up because the mix hasn’t started setting yet, so use the duct tape to tape it into place. If needed, place weights on top of that as well.
Now continue vibrating the molds, but this time, only tap the sides of the bowls (or bucket).
Don’t tap them on the floor or table top because that may cause the inner mold to push back up and out of the cement.
If you want a smooth, modern look, then be sure to vibrate these until you see the bubbles stop rising to the surface, or at least slow.
If you don’t, it will result in small pinholes, and possibly larger ones, called pockmarks.
Alternatively, an electric sander without the sandpaper can be used against the sides, or even a rubber mallet to help with tapping.
Since my outer mold was so flexible, I only tapped the rigid bucket to vibrate this, and not the soft sides of the mold.
The reason I avoided the soft sides is that I would be pushing the mold away from the concrete and it would allow air to get in which would cause discoloration on the cured piece.
Let the concrete cure for at least 24 hours before demolding. The official cure time is 24 hours for this, but since the sides are so thick, I find it is sometimes better to wait a little longer, to be safe.
Also, remember, dry times increase as the concrete gets thicker, so it will take a couple of days still to dry after you demold.
This means it will be a darker color until it’s completely dry. I ended up letting mine cure for 36 hours.
If you are working in hot, dry weather, you may want to use plastic wrap to cover your piece, to keep the moisture in.
This will help prevent cracking from the concrete contracting too quickly.
Hint: Use a paper towel to wipe out the remaining concrete mixture so you can reuse the mixing bowl again next time.
Step 4. Demold The DIY Concrete Bowl
Once the large concrete bowl has cured, remove it from the mold.
Demolding this took surprisingly little effort due to how flexible both the inner and outer molds were.
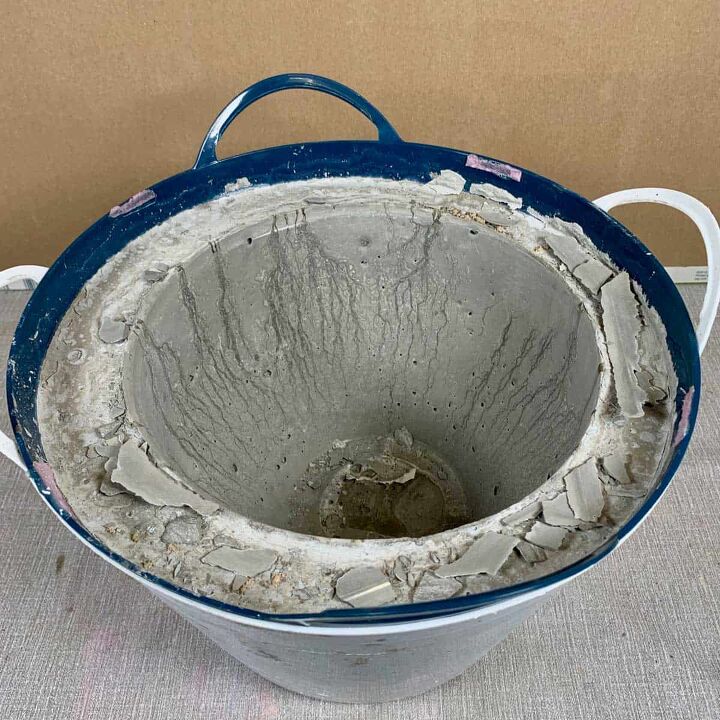
First, remove the weighted pieces and the tape that was used to hold the inner mold in place.
Now remove the inner mold by prying it away from the concrete sides and then pulling it out.
If it’s giving you trouble, use a heat gun to shrink the plastic. That should make it come right out.
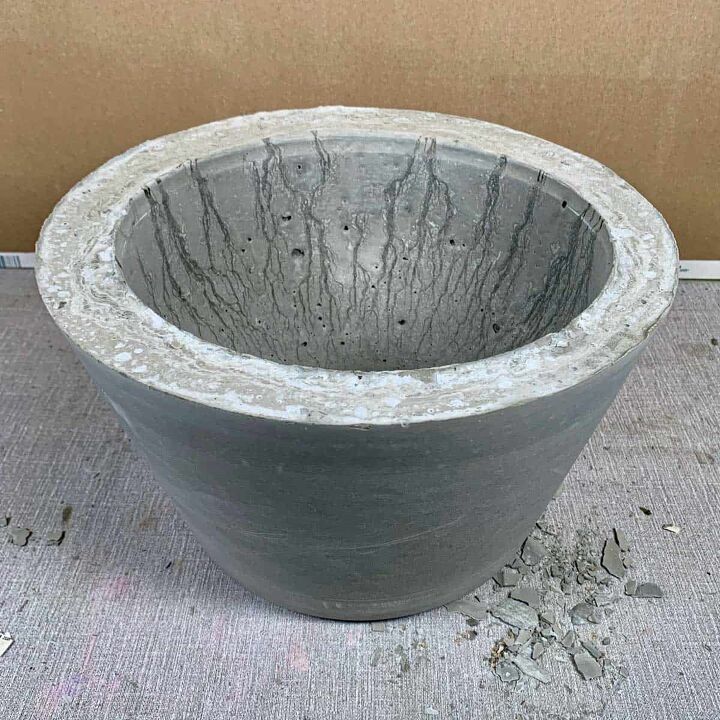
Once the inside mold is removed, carefully flip the bowl over and lift off the outer mold. Again, if it gives you trouble, use the heat gun. Mine lifted off immediately.
Step 5. Clean Up The Edges
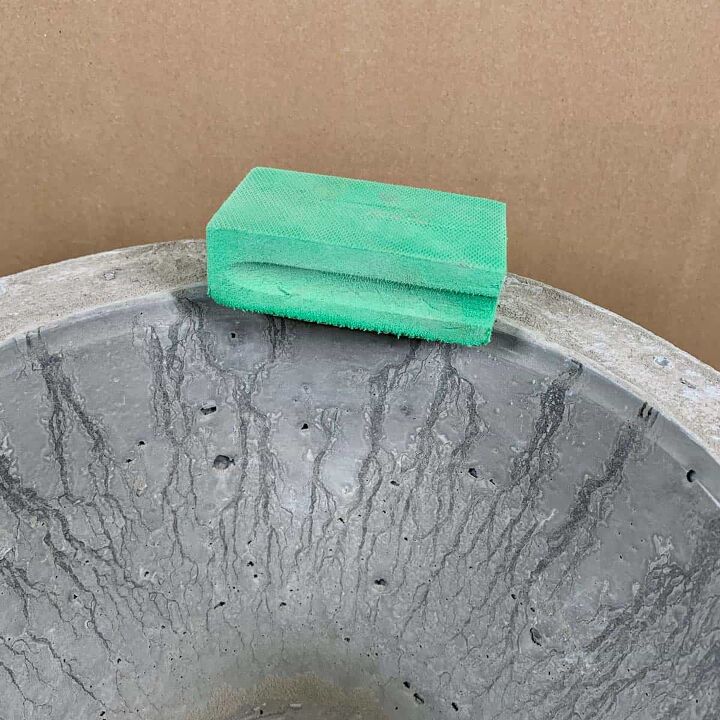
The top edge of the concrete bowl is probably a bit rough, so go ahead and sand it. I sanded both the flat edge and the sharper corners of the edges.
For the flat edge, use a #60 grit diamond sanding sponge or a sanding block with #60 grit sandpaper. For the corners, use grit sandpaper without the sanding block.
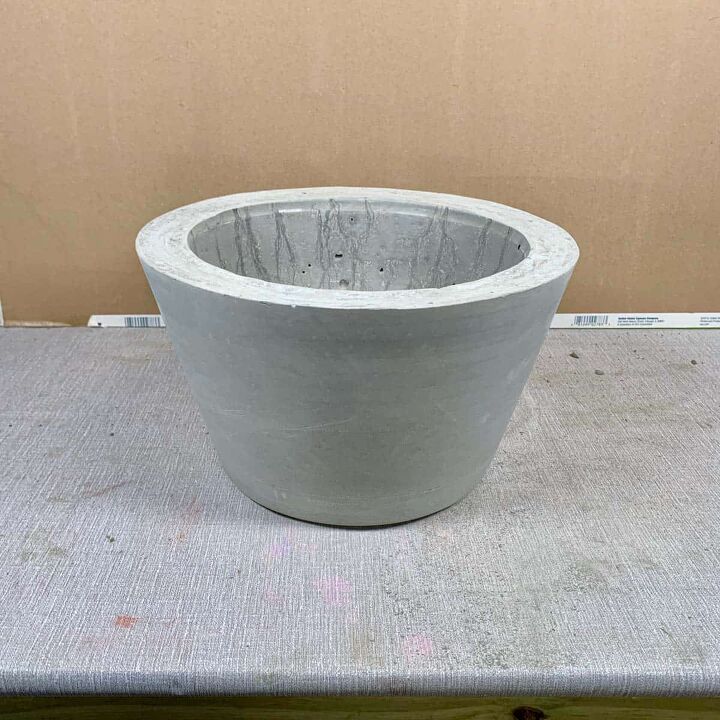
Now place your large DIY concrete bowl on a wood shelf or fireplace surround and fill it with a soft, cozy blanket or decorative items.


Frequently asked questions
Have a question about this project?