


Cinder Block Entryway Planter

Large cement planters make for great, modern outdoor style. However, as a DIY option, they take a lot of cement, and building the forms is no small task. When I saw these smaller, solid cinder blocks available at Menards for only $1.09, I decided to give this simple technique a shot. We're thrilled with the results.
Hometalk Recommends!
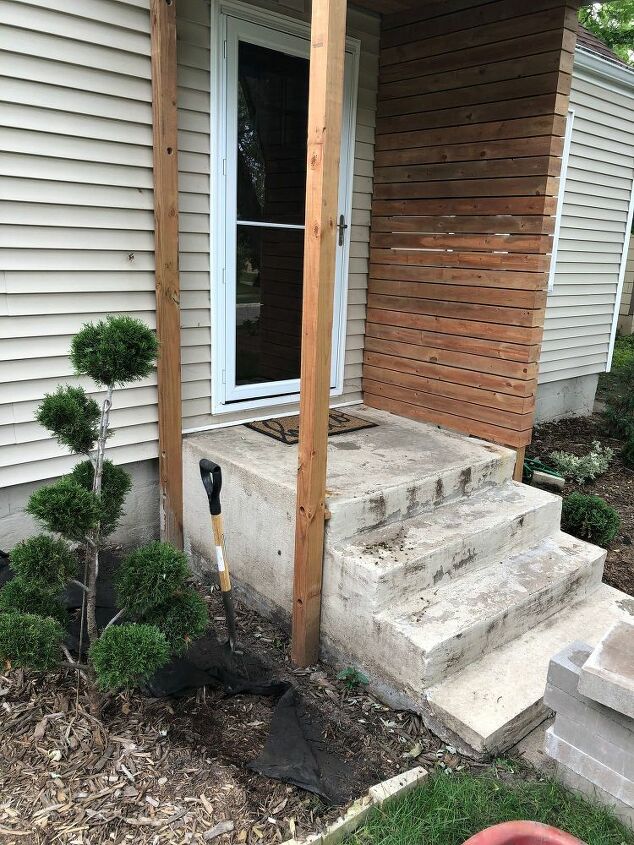
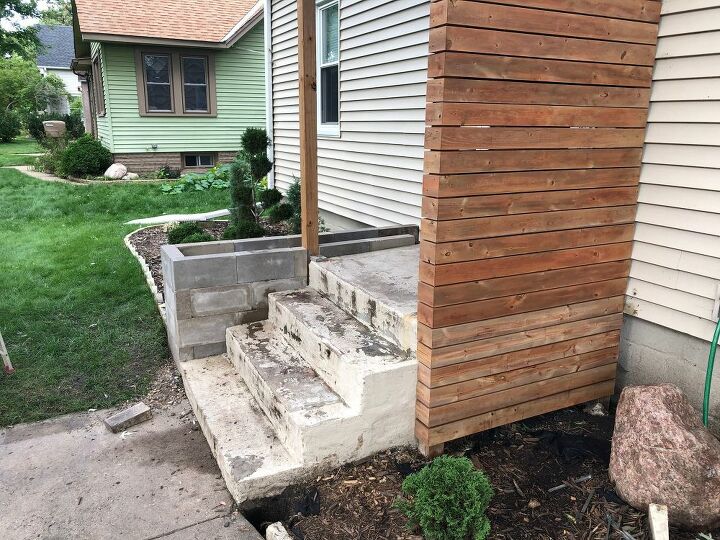
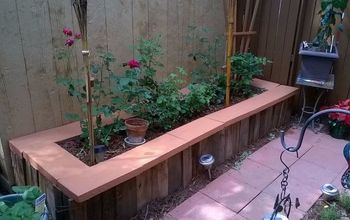
This is the area we wanted to upgrade. We'd recently added an awning to our front stoop and pulled out our old, wood planter. The 4x4 awning supports left a bit of an eyesore we'll be building the planter around.
Tools and Materials
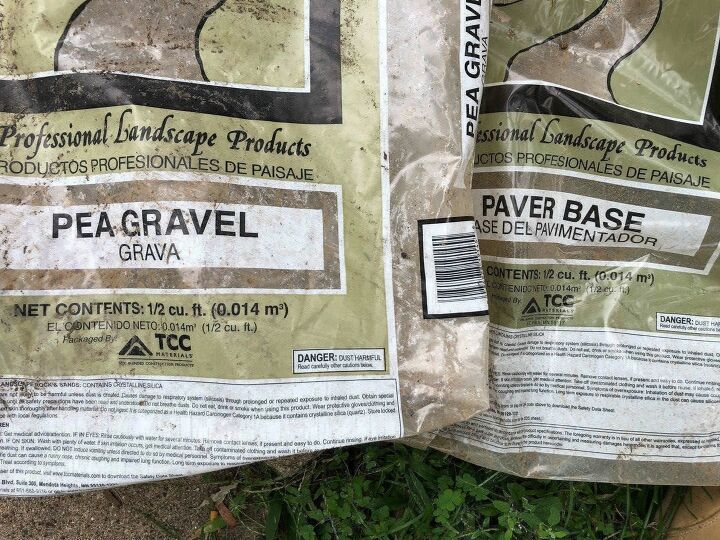
- pea gravel
- cinder blocks
- mason chisel
- landscape adhesive
- concrete polyurethane sealant
- 2x4s
- paint
- rail planters
Create a Base
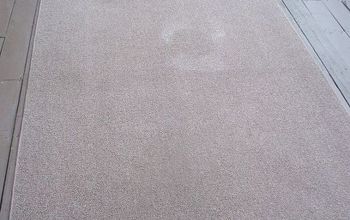
I started by digging out a flat area 20'' wide by 3-5" deep. I spread paver base and pea gravel to level the area out.
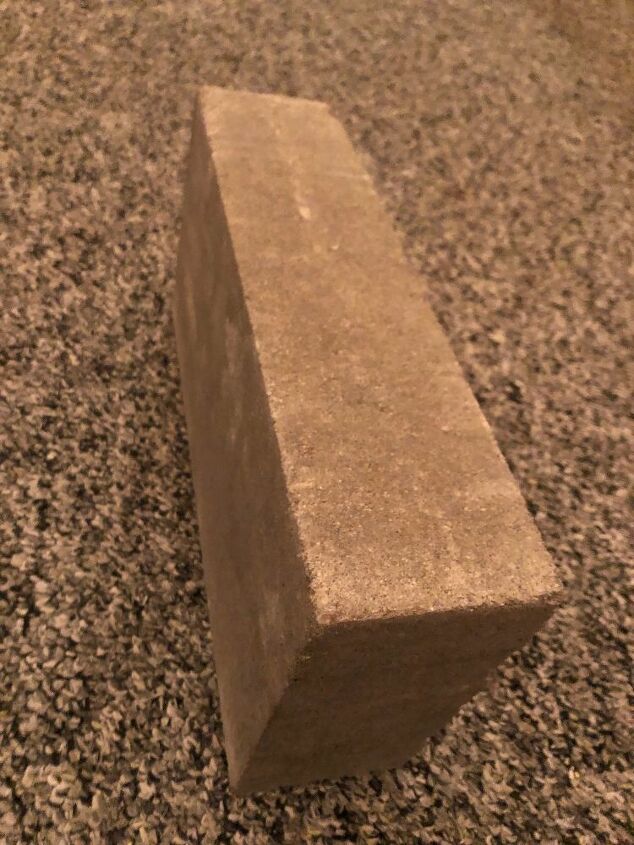
I used solid blocks that were 3 1/2" x 15 1/2" x 7 1/2". They only cost $1.09 each at Menards.
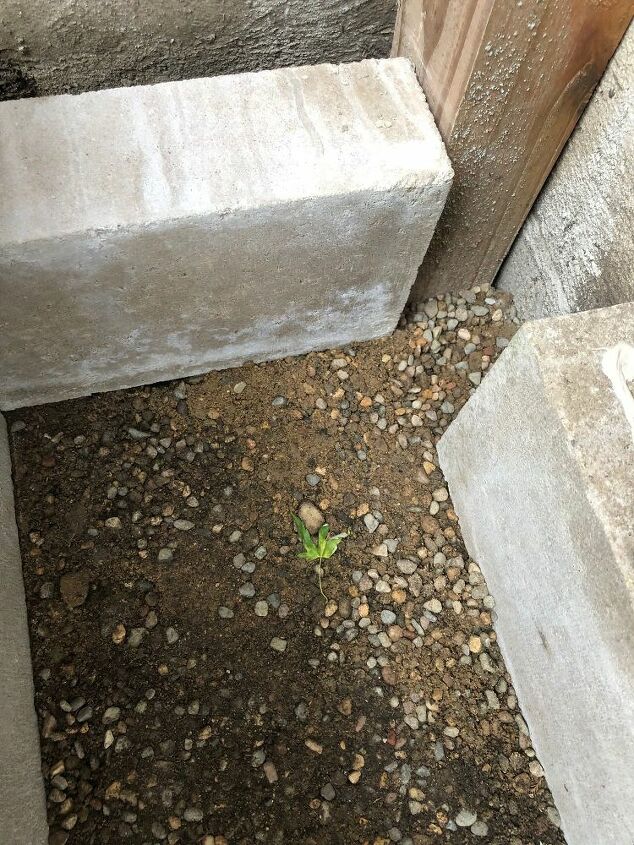
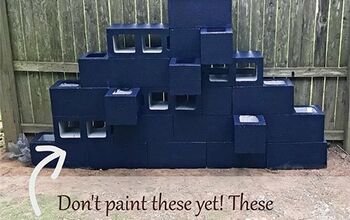
Stack the Blocks
I stacked the blocks in a basic pattern, overlapping the edges in each corner except for where I hit the pole I referenced earlier.
Cut if Needed
Because of the two 4x4 poles I was building around, I had to cut a few of the blocks. I'd never done this before, and it was far easier than I imagined it would be. I just scored the block on all 4 sides and hit it with a mason chisel.
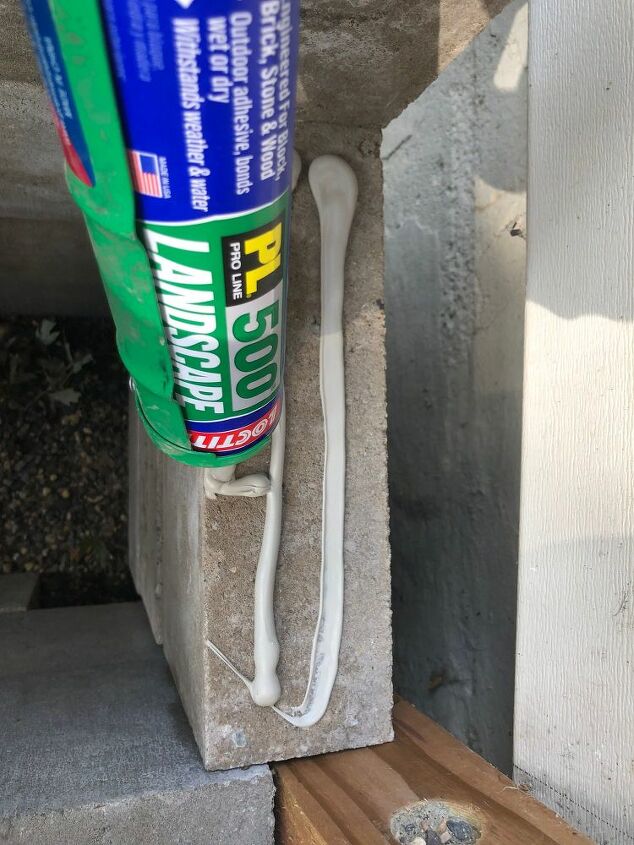
Stick Together
I used landscape adhesive between blocks to secure them. It's really easy to work with and, because it comes in a tube and you can use a calk gun, it's not messy at all.
This is the planter, blocks fully stacked, from another angle, before any of the finishing work.

Caulk
Once the planter was built, I caulked all the cracks with concrete polyurethane sealant. We wanted it to look as much like a solid concrete planter as possible.
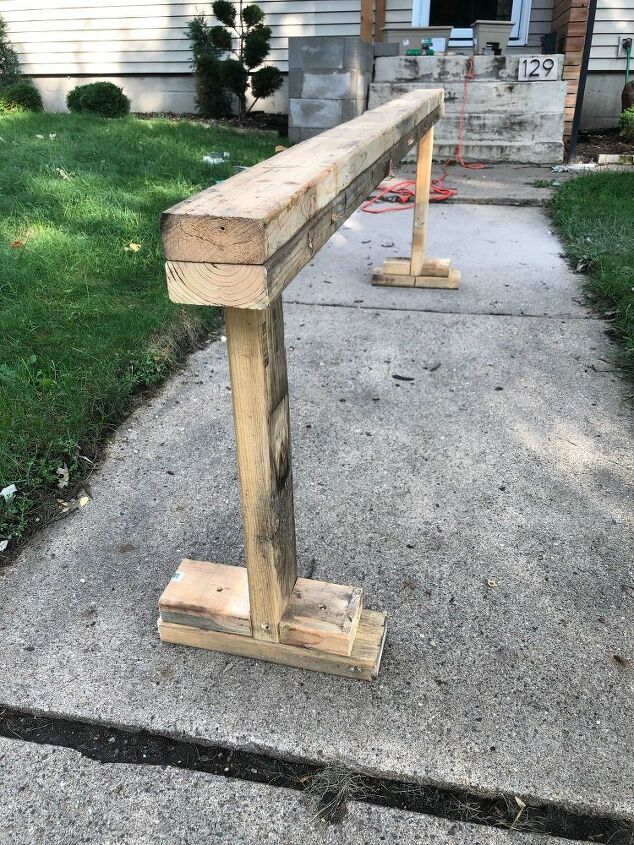
Build the Rail
I wanted the caulk to fully dry before painting. So, the next step was to build a rail that fit inside the planter to hold the plastic rail planters. I repurposed 2x4s that I had used to frame the old wood planter box we ripped out. These were previously sealed. As you can see, it's nothing pretty - just sturdy enough to get the job done.
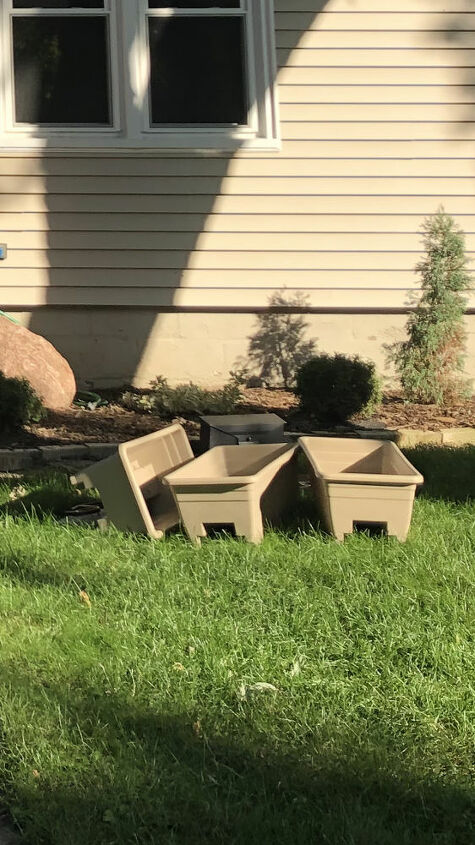
These are the rail planters I used inside the concrete planter. It was quite a bit more efficient (and cheap) to build a rail to mount these planters inside than it would have been to fill the entire large planter with dirt.
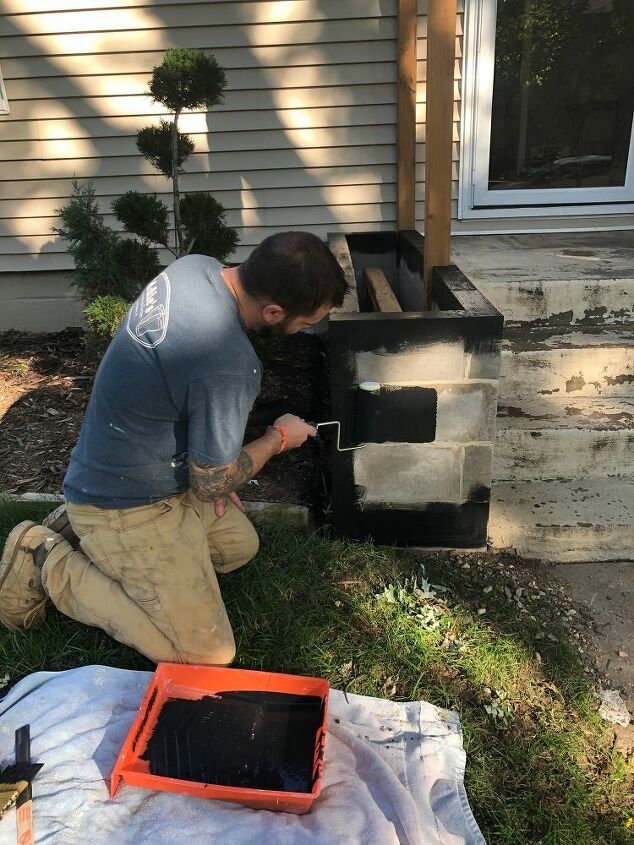
Paint
We painted the planter (and the front facing portion of the steps) black.
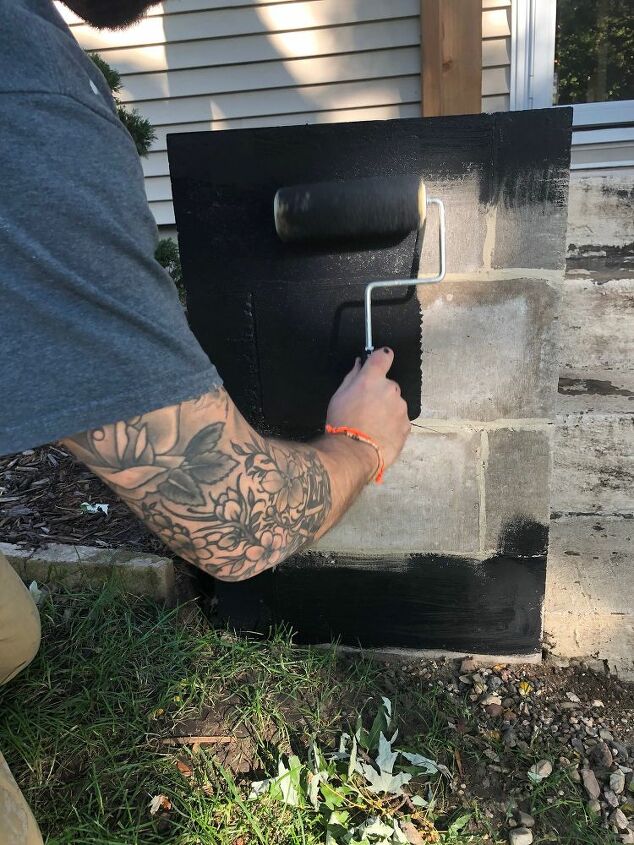
Just like any wall, I did the edges with a brush and rolled the majority. The can of black concrete paint was $21 at Home Depot.

Finished product!
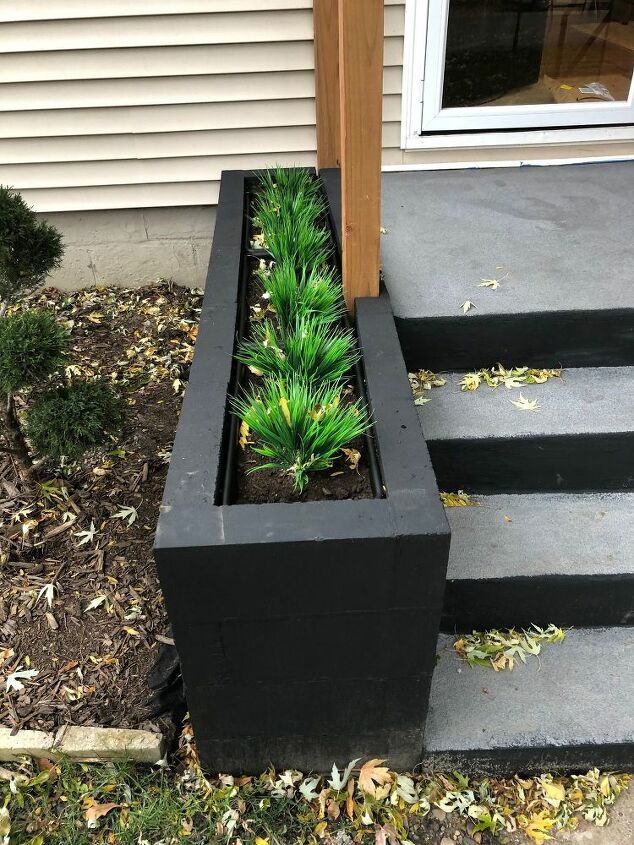
I used leftover black spray paint to cover the edges of the plastic rail planters and built the rail so the plastic planters sit about an inch below the top of the concrete. It looks great, and they blend together well.
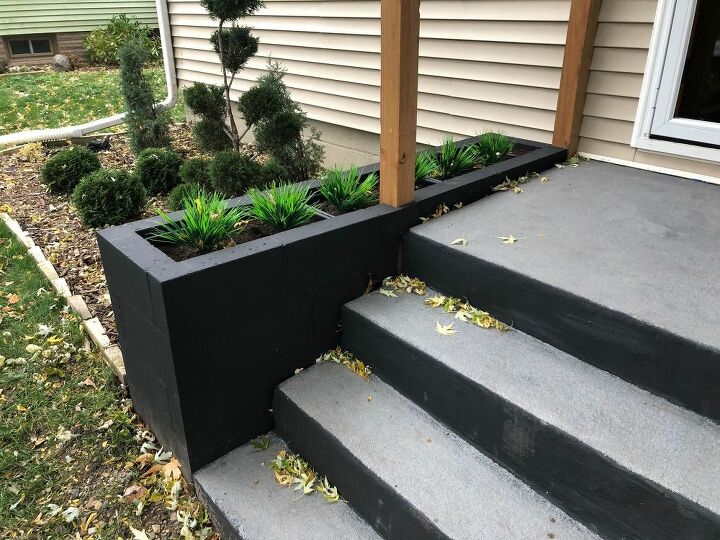
Even with the caulk and paint, you can still notice the cracks, but we're very pleased with the overall look. If you noticed... yes, those are fake plants. It's October in Minnesota, so I didn't want to put in real plants just to watch them die. That will have to wait until spring. Follow me on Instagram at @woodyworking for more simple woodworking DIY or home improvement projects.
Resources for this project:
See all materials


Comments
Join the conversation
-
Very nice! I like it. Thank you for sharing.
-
Looks very nice. Very inspiring for my back yard ideas. Thanks for sharing.


Frequently asked questions
Have a question about this project?
Great job Woody! The overall look is very good and I like the accent of the steps as well to blend in. 😊 I could use your talents at my house. Lol
Does your wife rent you out??🤪😜
How many blocks did you use?
What did you do to préserve the siding and post from rotting ?