


Wood Bowl (No Lathe, No Problem)

I wanted a large decorative wood bowl, but when I went to shop for them, they were all pretty expensive, so I decided to make my own bowl. I made these wood bowls without a lathe and without any strenuous carving! You can make these wood bowls using just a mitre saw (+ table saw to make it a little easier) and sanding tools!
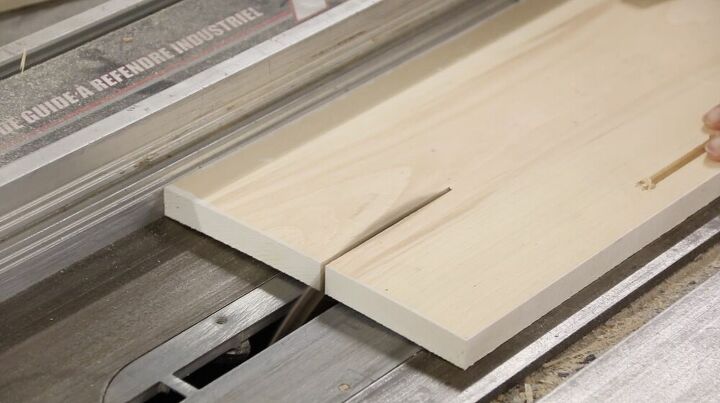
Starting with your table saw, cut your sides to width my sides are 4" but this number will vary depending on how deep or shallow you want your bowl.
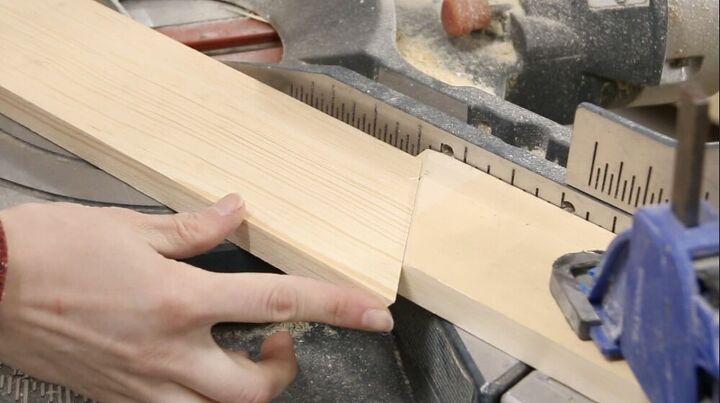
Now, without touching the fence, turn your saw blade to 33.9 degrees and cut one side of each piece on an angle. This is the bottom of your side pieces.
You can also cut this on your mitre saw.
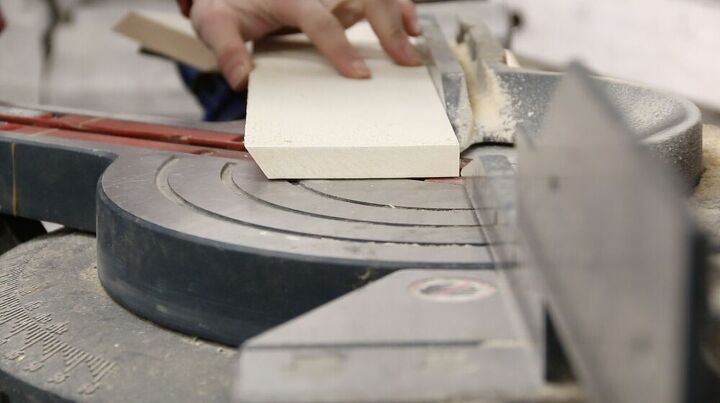
Blade: 33.9 degrees
Mitre: 31.6 degrees
Most compound mitre saws will have these numbers specially marked. We want to try and move the bevel as little as possible because even a slight variance in where we set the angle will make it difficult to get nice tight mitres.
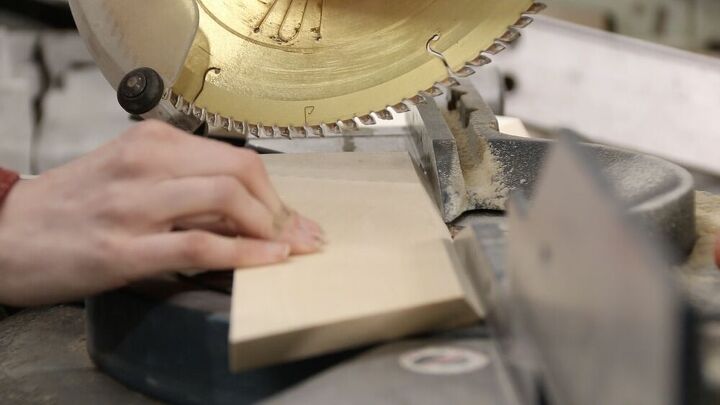
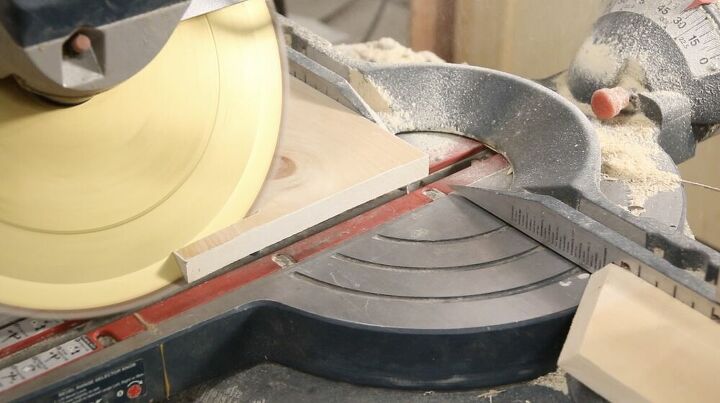
Piece side against fence, angled side facing outward with angle sloping inward (longest width on top).
Flip (width wise). Angle should be on fence side, sloping towards the fence.
Cut.
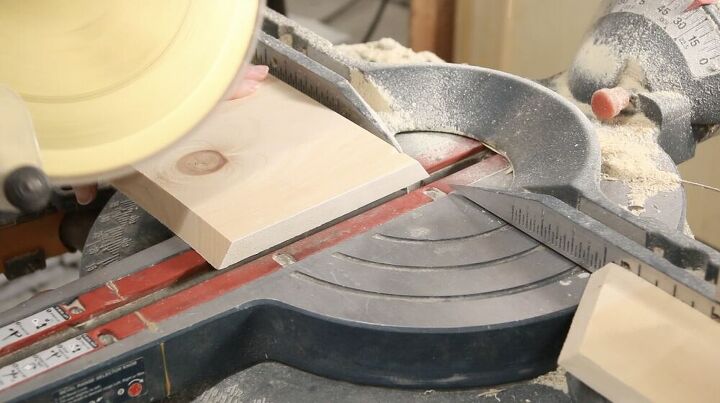
After you’ve got your first side cut, you can set up a stop to cut the rest.
Pieces side against the fence, angled side facing towards you with angle sloping inward (longest width on top)
Flip (width wise). Angle should be on fence side, sloping towards the fence.
Set to stop. Cut.
Keeping the stop in place, I cut my bottom piece.
Angle your saw back to 0 degrees, keeping the bevel at 33.9.
I cut the first side without measuring, cutting the angle so it is sloping outwards/downwards, then flip it and but it up to you stop to make the second cut.

Now your can either use your stop to help you cut the rest or your can measure from one of your side pieces.
Then cut without measuring, flip twice (vertically and hozintally),and cut using stop again.
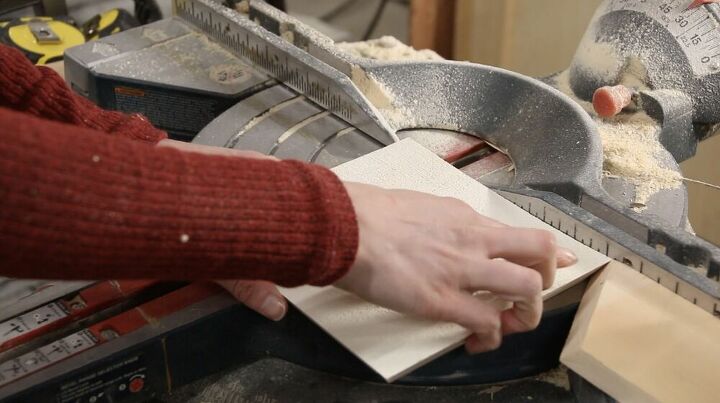
Flip, set to stop, cut.
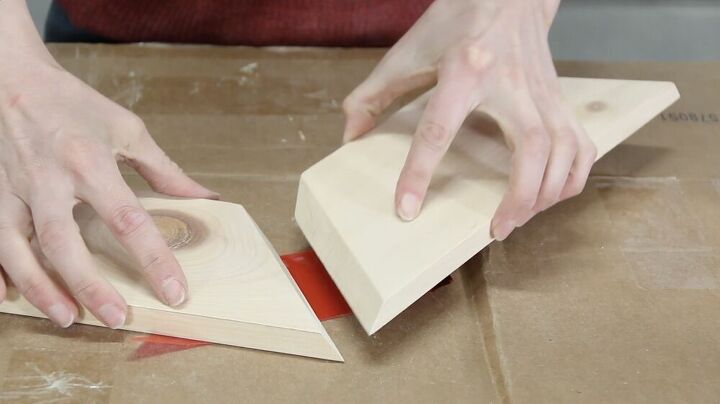
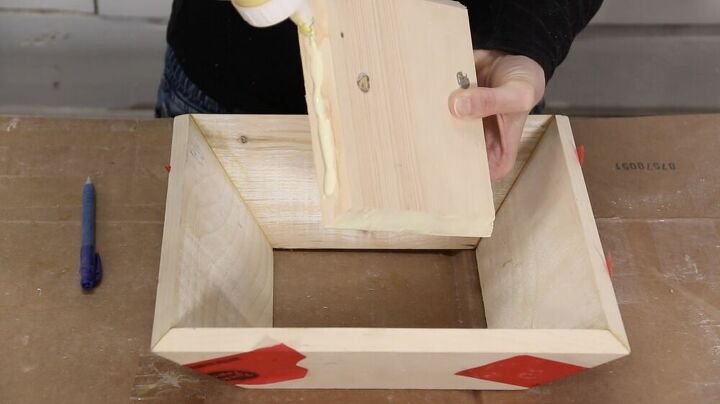
I assembled them in 3 parts; one corner, the opposite corner and then added the bottom.
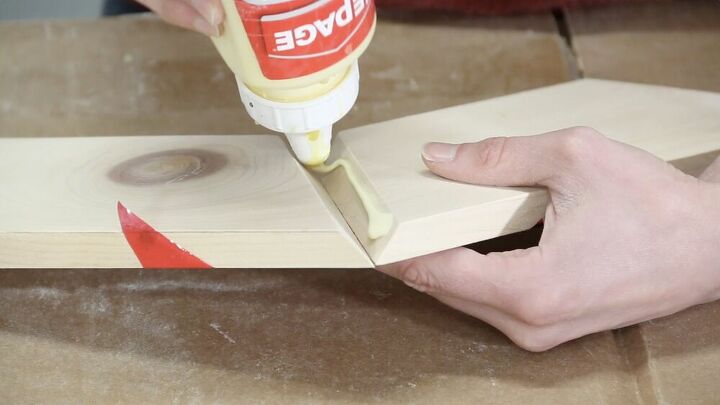
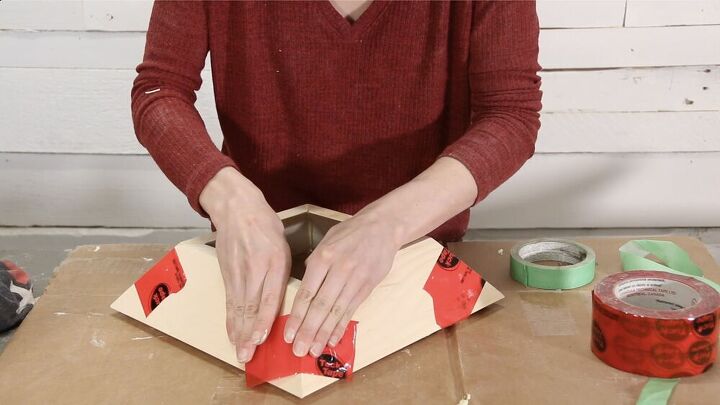
I put a generous amount of wood glue at the seam and then used tape to clamp it together while it dried. Its super important to make sure all of your corners are square as you’re glueing them up, other wise your corners will not fit together and your bottom won’t sit properly.
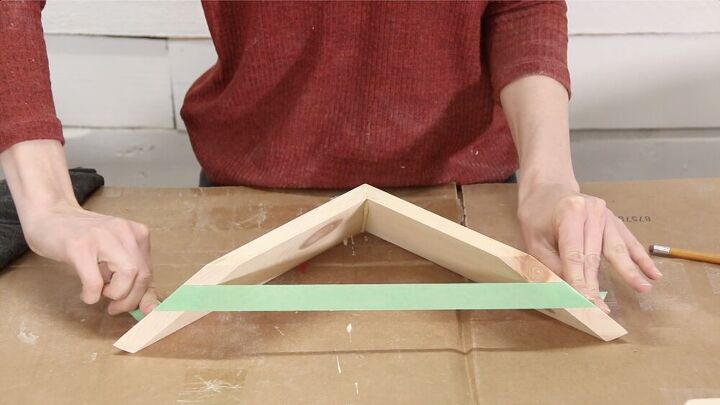
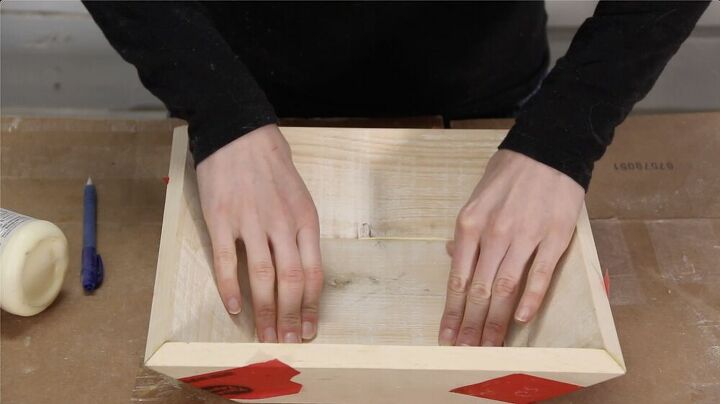
Once each corner was dry I glued them both together and secured them with tape. Once that was dry I added my bottom. If you’re slightly out of square you can always trim your bottom to be a perfect fit.
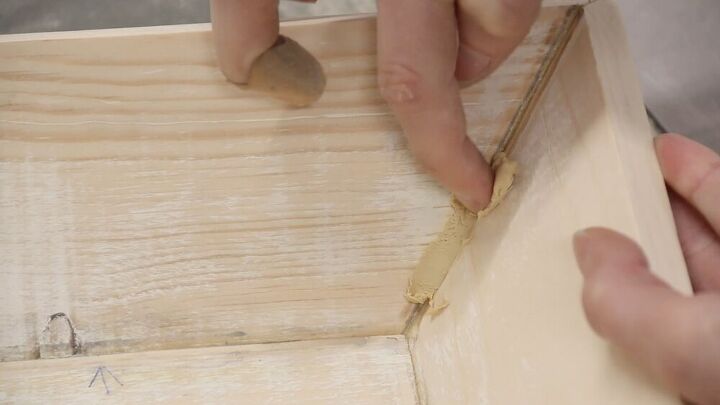
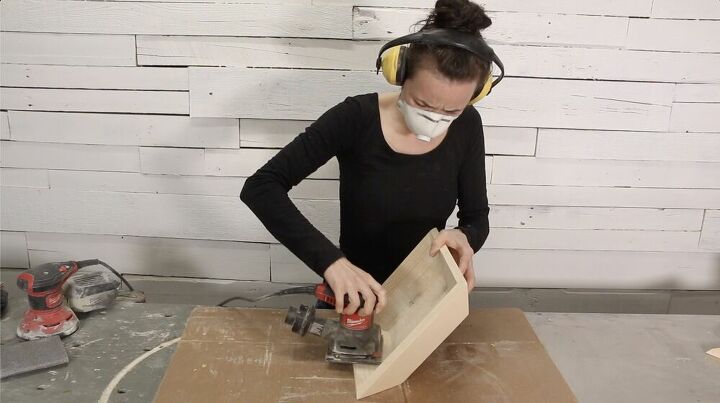
Once everything is dry I gave it another quick sand and filled and small gaps in my seams with wood putty.
You can also use wood glue mixed with saw dust to fill small void as well.
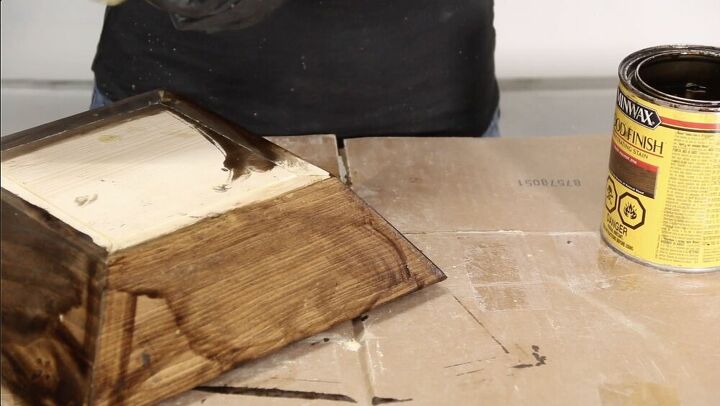
I wanted to give mine a rustic look so I used a technique I learned from Kathryn at Ava Berry Lane to create a chipped paint effect. I stained the entire piece then immediately went over it with a coat of paint.
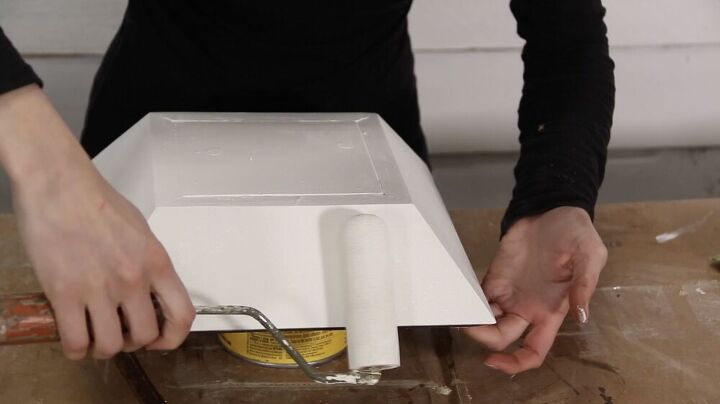
As soon as it was dry to the touch, I did another coat, and then another.
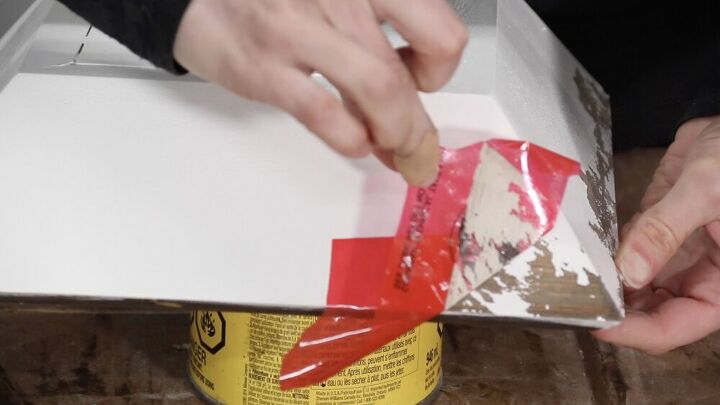
Then using tuck tape or packing tape I pealed away some of the paint. To seal your chippy paint, coat your bowl with sealer like varathane.

Resources for this project:
See all materials


Comments
Join the conversation
-
I did several of these many many years ago before DIY was even a trend. You did a nice job on these and they are certainly popular today!
-
I'm bookmarking your tutorial just to learn angles. I haven't installed crown molding because I hate angles.
You know you can make a round or oblong one with a jigsaw and sander. Start with you base shape. Then circles up to the width of the wood and then half circles or even quarter circles. Glue. Sand. Then I'd use butcher block wood preserver. It would look even better with mixed wood. Roy gave me some old barn wood, mostly oak, but at least one piece of cedar. The oak killed my table saw when I used it on an accent wall. Eugene fixed the saw. I love that man!


Frequently asked questions
Have a question about this project?
VERY NICE!!! Thank you so much for sharing your project. Have you thought about checking with stores in your area that will sell them at ? Etsy or a similar site that sells home based goods is also a good idea. Bet if you put a reasonable price on them they will sell like hotcakes. Good luck.
I wish I had alk your tools