


DIY Fire Pit

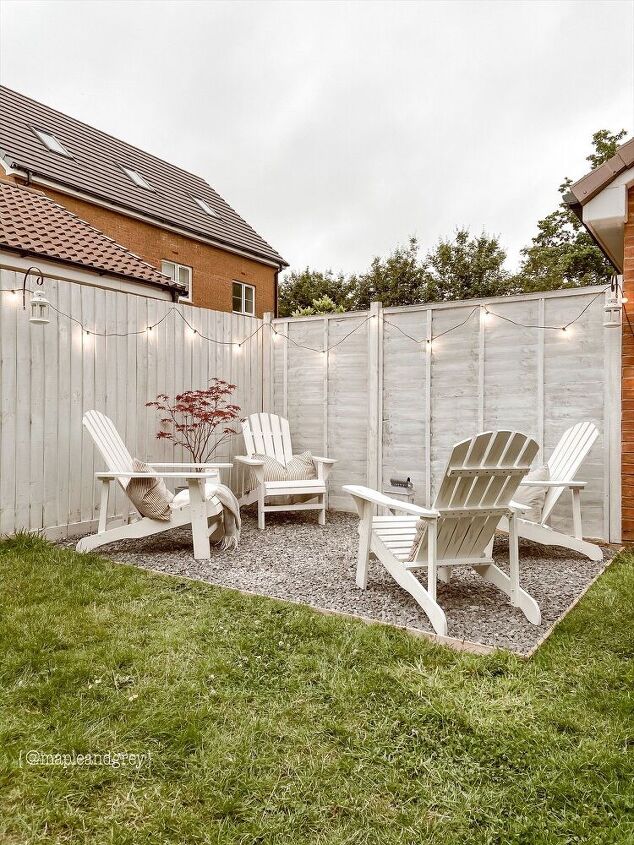
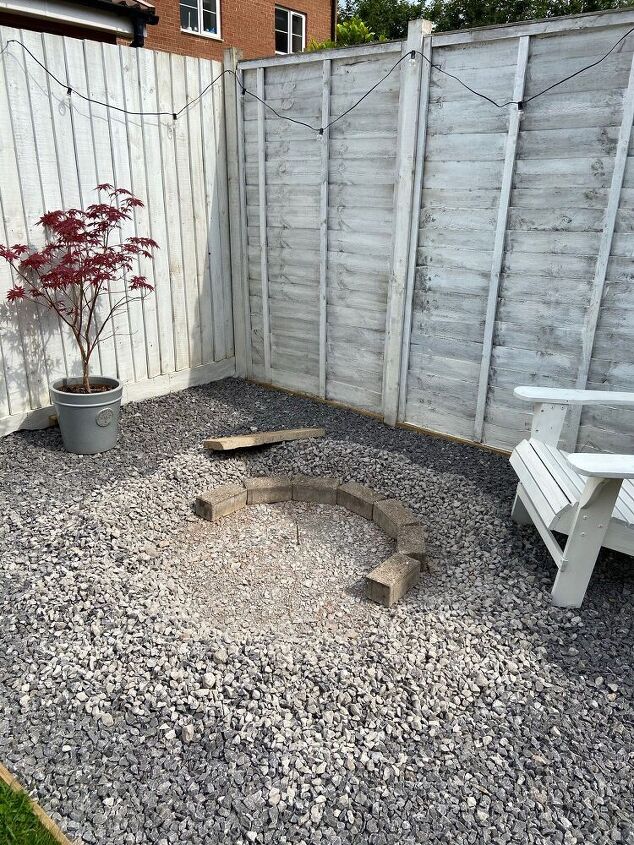
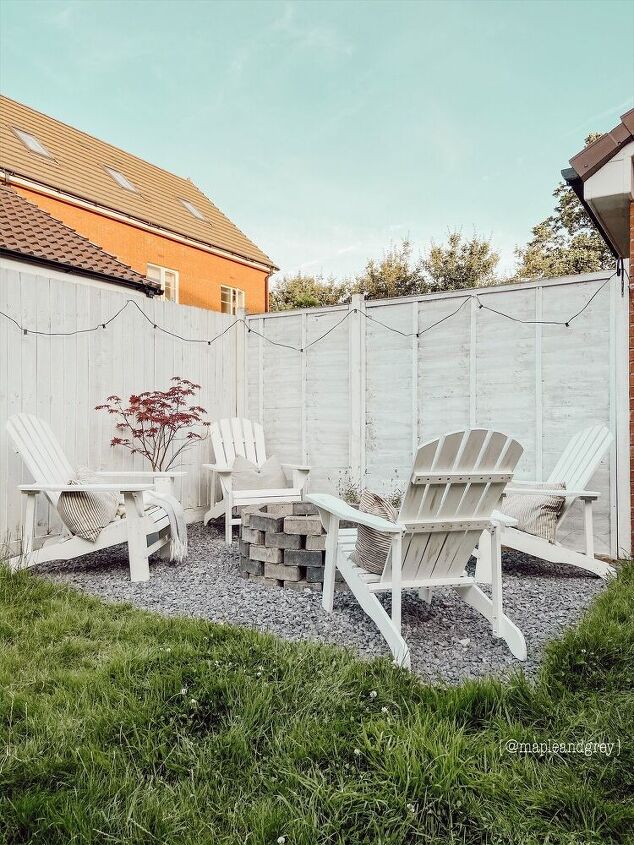
Last month we finished this corner seating area in our garden which we had built with the intention of having a fire pit. This month we put it together and completed the project.
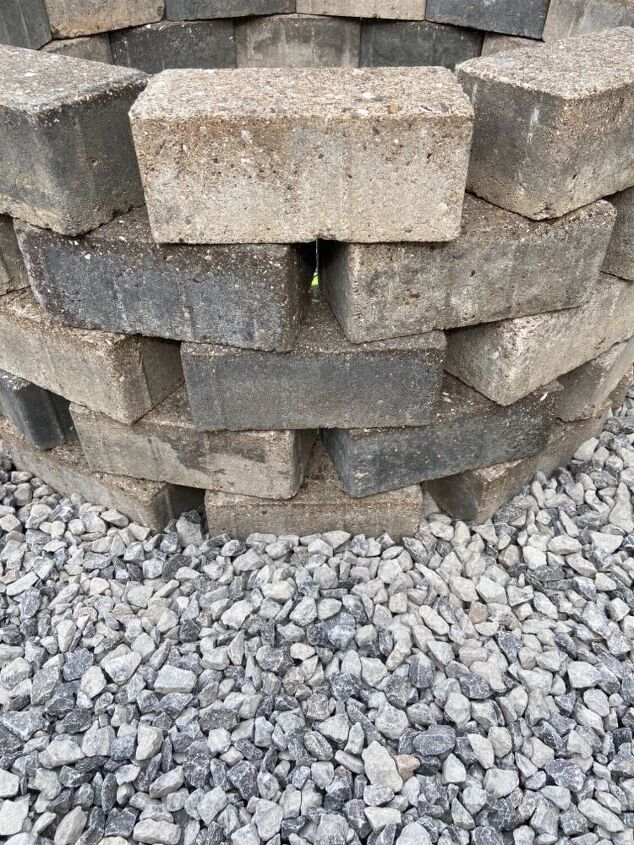
This is where we left off from last month. One day when my husband was out walking in the countryside near our house he came across some bricks which has been discarded. With this project in mind he collected them and brought them home to use this summer. Although the bricks are not quite the same as purpose built bricks that would be obtained from a DIY store for this purpose, in using them we have completed this project for free but also cleaned up the local area in the process!
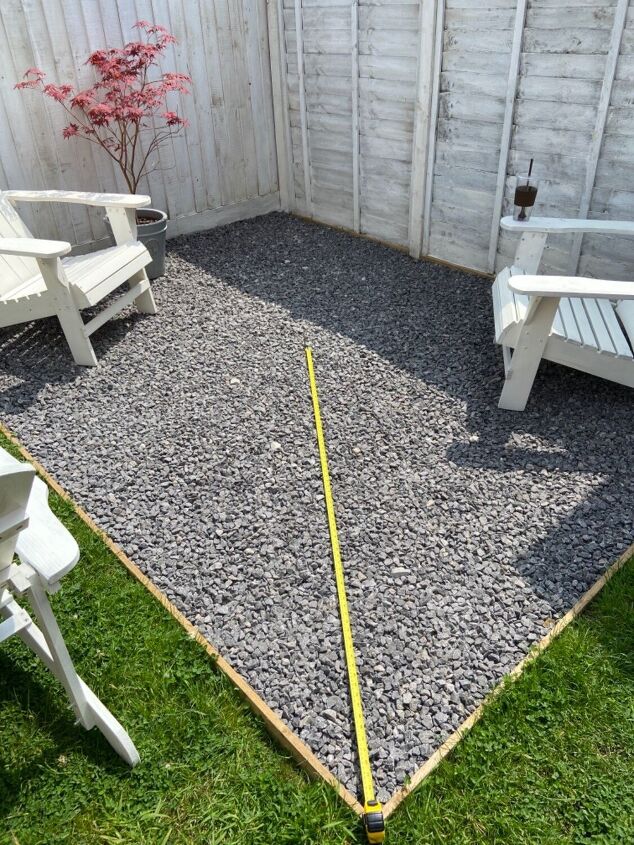
We started by measuring the centre point of the area with a tape measure.
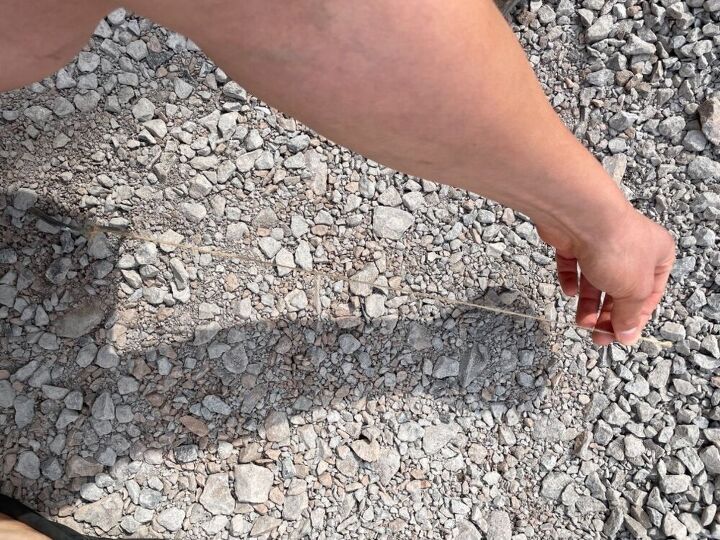
We used a tent peg to mark the centre point and from this used twine to mark out a circle area to the required size.
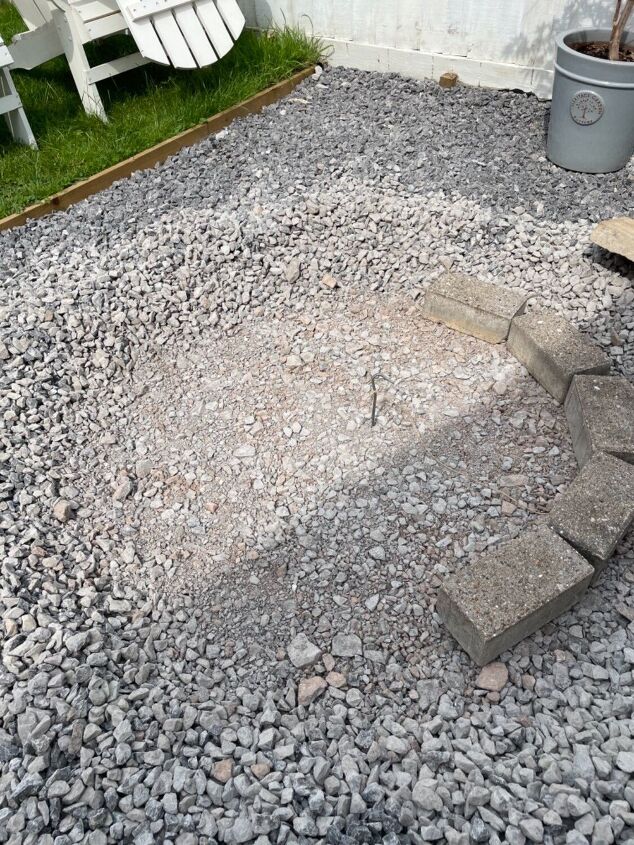
The top layer of gravel was moved and so the bottom layer of bricks are at a lower level than the gravel. It is lined with the sub base (hardcore) that is the base layer of this area.
Prior to using the bricks we used a pressure washer to clean them and remove any residue.
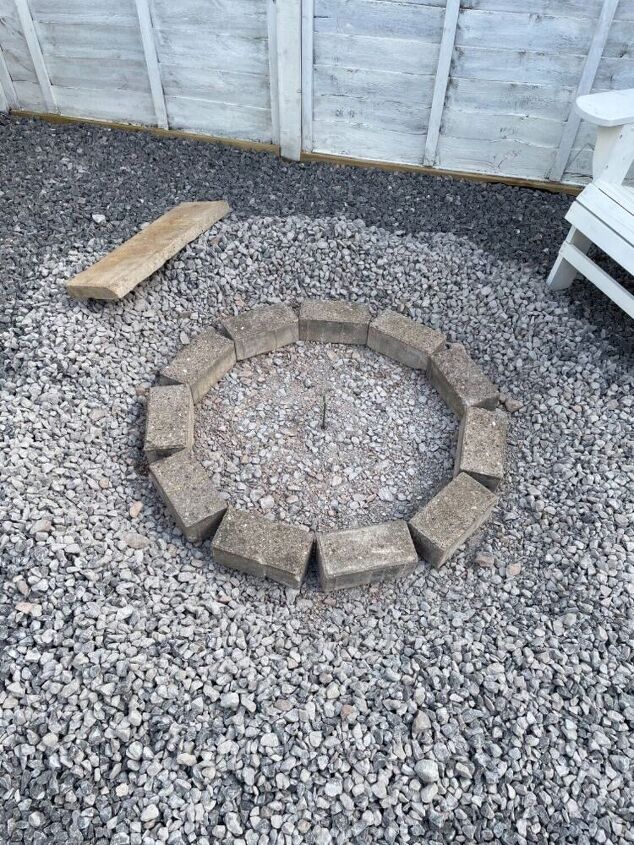
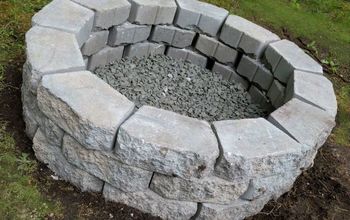
These were arranged in a circle in the area measured.
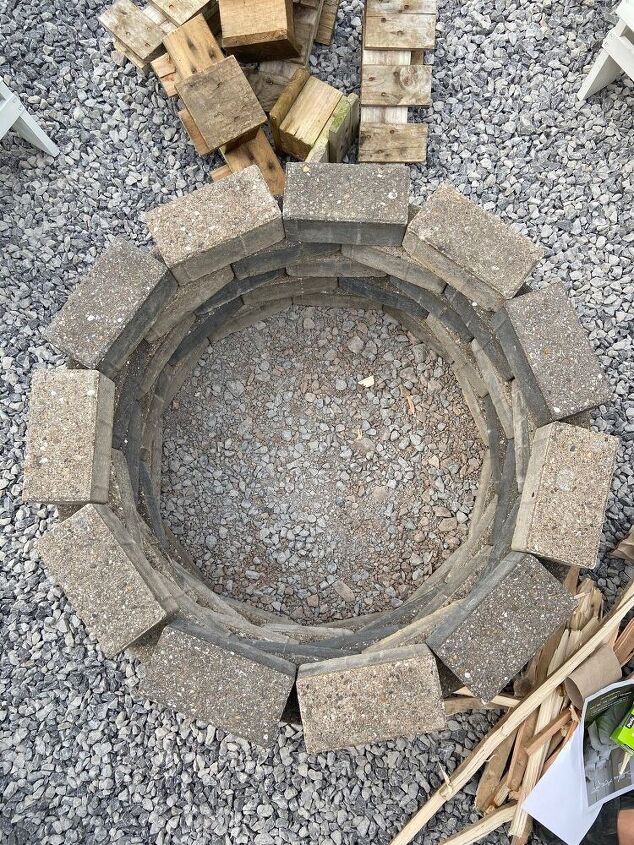
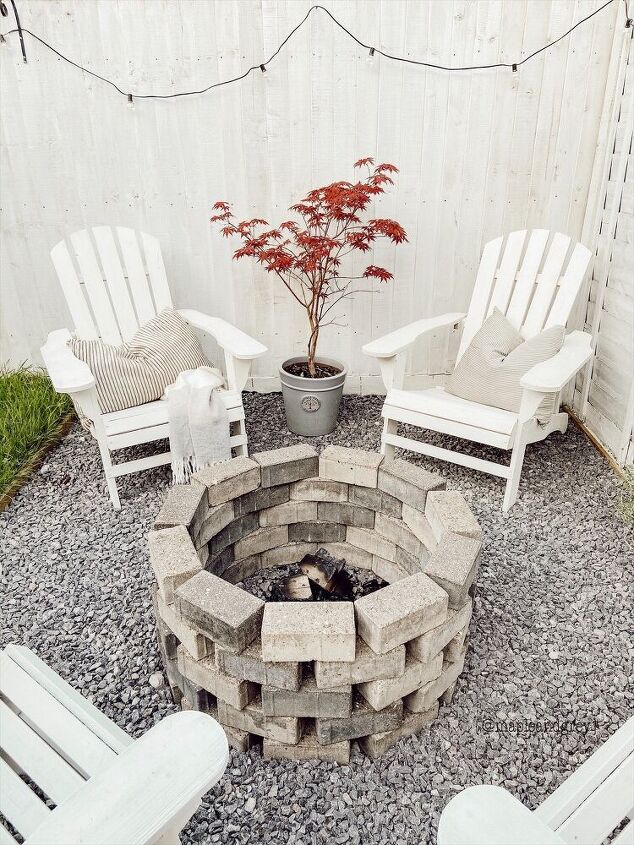
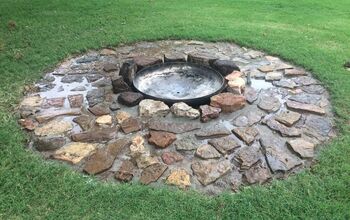
We stacked the bricks to five layers high. I looked at metal fire pit liners that line the top layer of bricks but this is not something that we could buy here. Looking at similar projects I decided that we would be able to construct this without one.
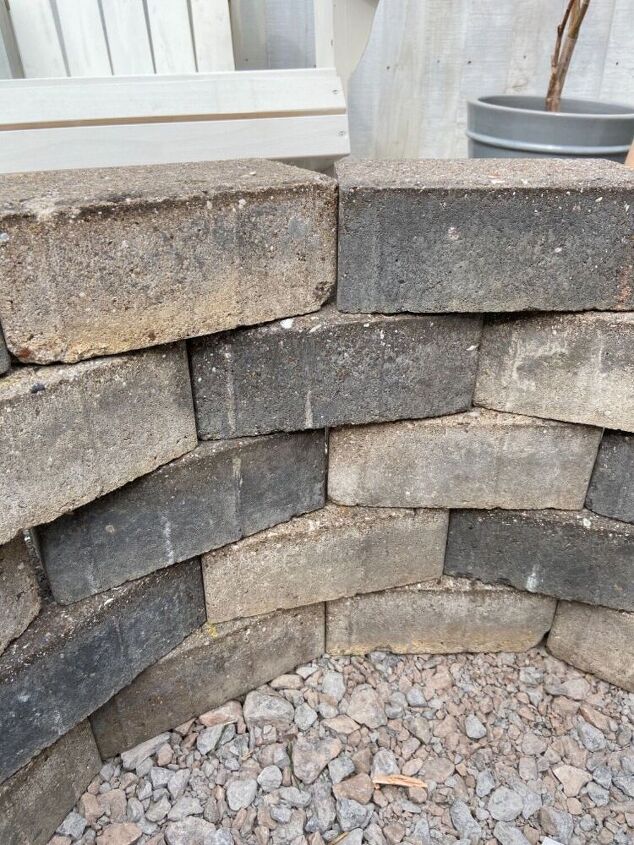
We are going to secure the top two layers together so that this cannot be knocked over and for safety. The rest of the structure will be held by weight. We decided this from looking at similar perfects and seeing what other people had done for this process.
There is a small natural gap in the bricks which will help with air flow when building a fire. We may add a grate the the bottom but it seems to work well without.
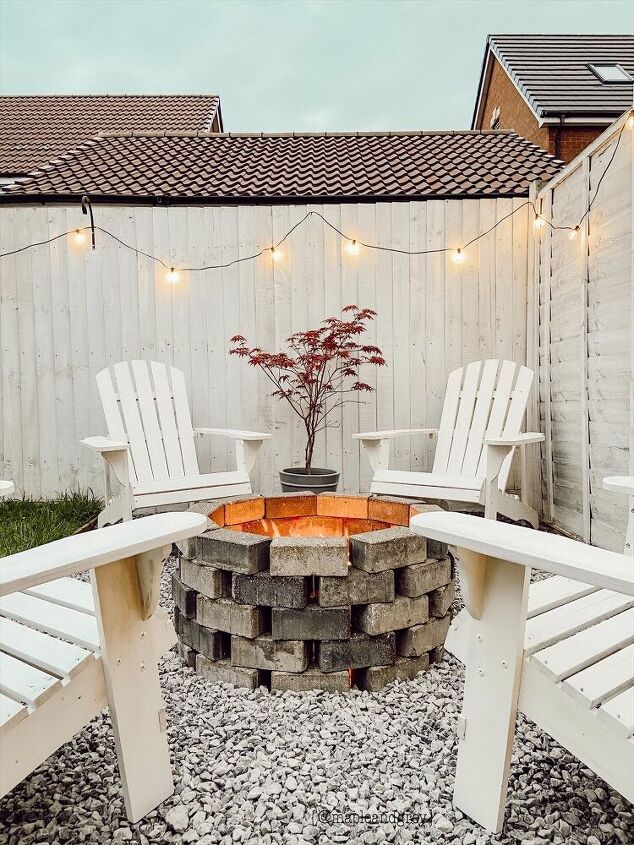
The finished area! Although this isn’t identical to what I imagined when collecting ideas from Pinterest for this project, I love how it has turned out considering we used reclaimed bricks.
Add even more warmth to your space with electric patio heaters.
We will make a round cover for this at some point using wooden planks so that it doubles up as a coffee table.

I am aware that different areas have certain fire regulations and in building this we have complied with the regulations of our local area. We will be considerate to our neighbours when building fires which will also be an appropriate size for this structure.
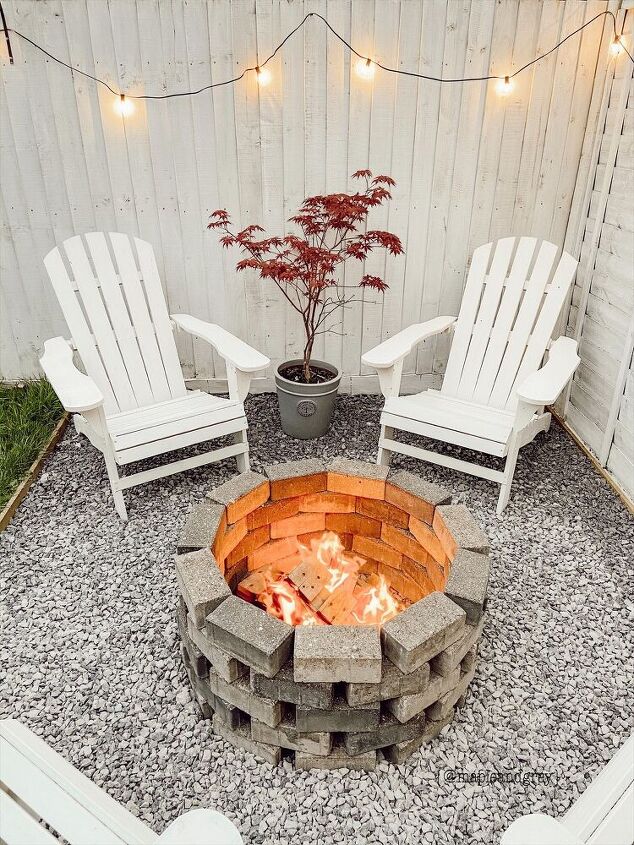
Our first fire! I’ve dreamed of having a fire pit for many years so I’m so excited that we can finally enjoy this in the evenings! I’m not sure if we will eventually remake it with different bricks but for now it works perfectly!
I hope this inspires you that you don’t need to spend a lot of money to create an idea. To see more of this and other projects follow along on Instagram!
~ Rachel ♡
Resources for this project:
See all materials


Comments
Join the conversation
-
I don't think it is too close to the fence unless they build large fires and leave them unattended. Two of my neighbors have fire pits, one neighbor is very close, the other is not, depending on the way the breeze blows I get smoke from their fires but really just the scent so I don't find it to be a problem. Living in a neighborhood has pluses and minuses, a little tolerance goes a long way toward living in a happy neighborhood.
I love that you used reclaimed bricks, free for you, better for the earth, and you cleaned up an area that most likely was an eye sore, win, win, win. I hope that you come to really like the look of these so you don't switch them out for 'pretty' new ones. Well done, I hope you enjoy your lovely new space and fire pit for years to come. Happy S'more making!!
-
So close to the fence. Most municipalities require 10 -20 feet from fences or dwellings.


Frequently asked questions
Have a question about this project?
How did you secure the two layers ? With what?
How many bricks do you need ? And what size are they ? 🐱🦁🐯🦁