


DIY Mudroom Bench
18 Materials
$200
1 Day
Medium
So it’s time to talk about the top part of my DIY Mudroom Bench. This part was actually pretty easy and painting was the longest part (isn’t it always?) But once you get past the first part of the actual bench, this part will seem easy.
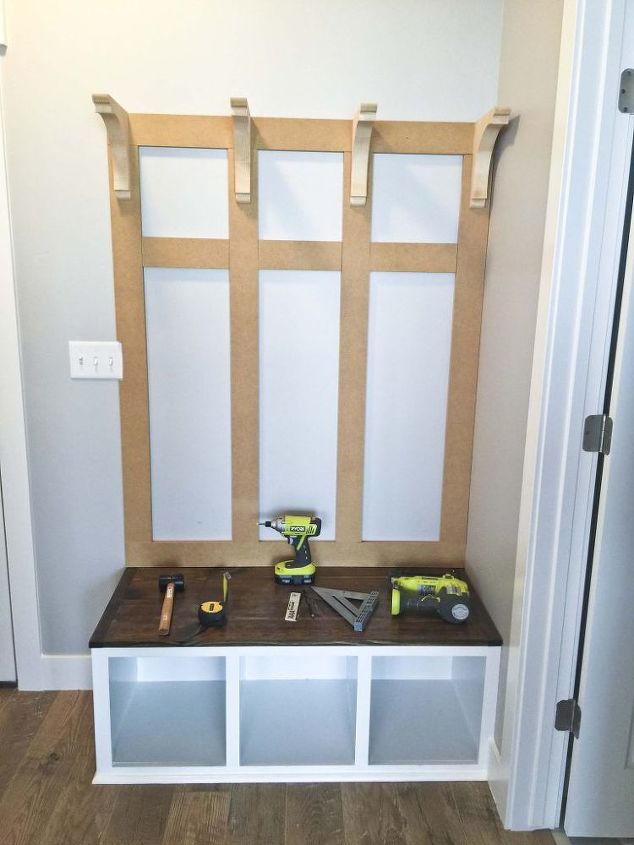
First I laid a piece of 3.5×48″ MDF across the bottom and then trimmed it to be the same length as the bench. I actually cut two of these, one for the bottom and one for the top. I put some caulking on the back and then used 1 1/4″ nails in my nailer to shoot about 4-5 nails in each piece, laid out like in this picture. Seriously, board and batten is the easiest thing ever once you’ve done it.
The next part was the corbels. This was tricky because they are hung by little screw hangers on the back. I had to be very precise in my measurements to make sure the top of the corbels was at the top of the board and batten. I measured it and then put two screws in the top center of each batten. But here’s a little tip: use a rubber mallet to bang the corbels in place. It’s hard to get the corbels on but using the mallet, it will just glide them right in place and leave them nice and tight.
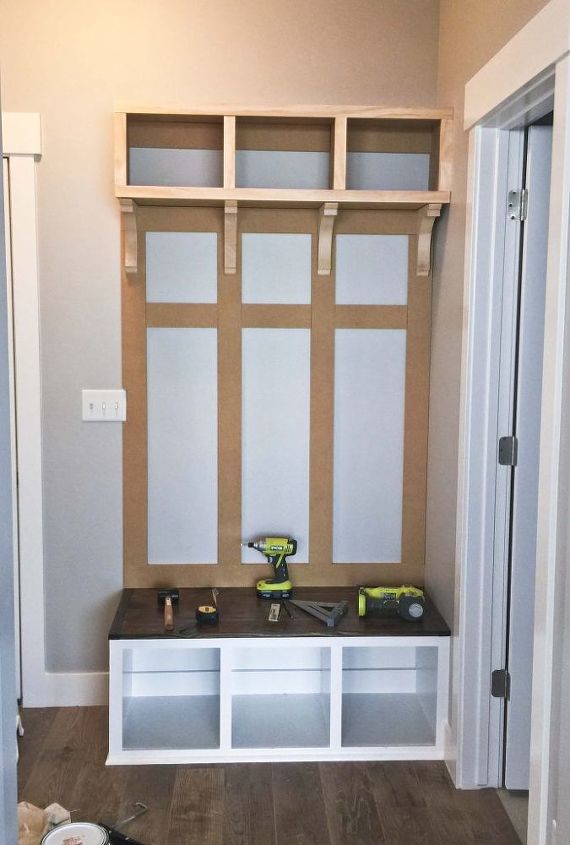
Finally, you need to build a top cabinet. Built it exactly like the bottom bench but with only one set of braces on the back. And I made the bench about 7″ less deep and 5″ less tall. This went a lot faster because I could use my miter saw instead of the circular + clamps + Ripcut. Anyway, then using a buddy or being He-Man like I was (ha!) lift it onto the top of the corbels and B&B. Push it over to wall and screw it in the studs. Then add the face frame and lattice.
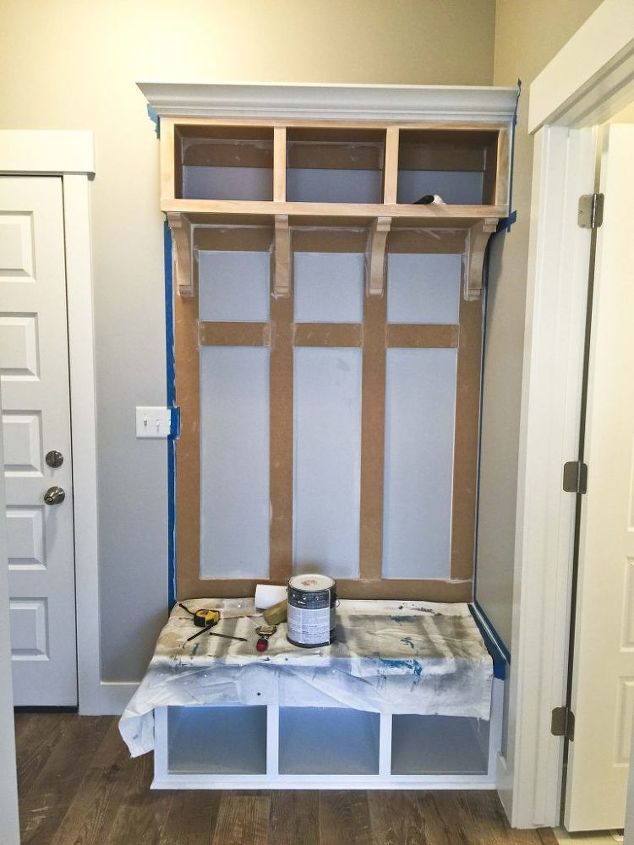
I was tempted to just be done at this point but I knew it needed that final touch–crown molding. I am not wild about crown molding and the angles and whatnot, plus I really didn’t want to go back to the store again. But I did and I’m so glad because it looks so much more finished with it. Please watch this tutorial on cutting crown molding because it will save you hours of frustration.
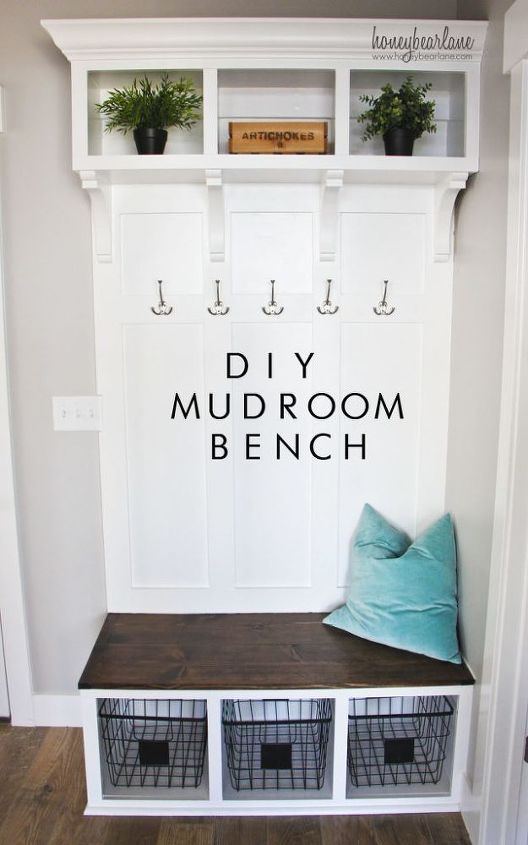
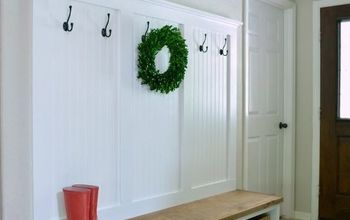
And here it is after cleaning and a coat or two of paint!

Want more details about this and other DIY projects? Check out my blog post!


Frequently asked questions
Have a question about this project?