


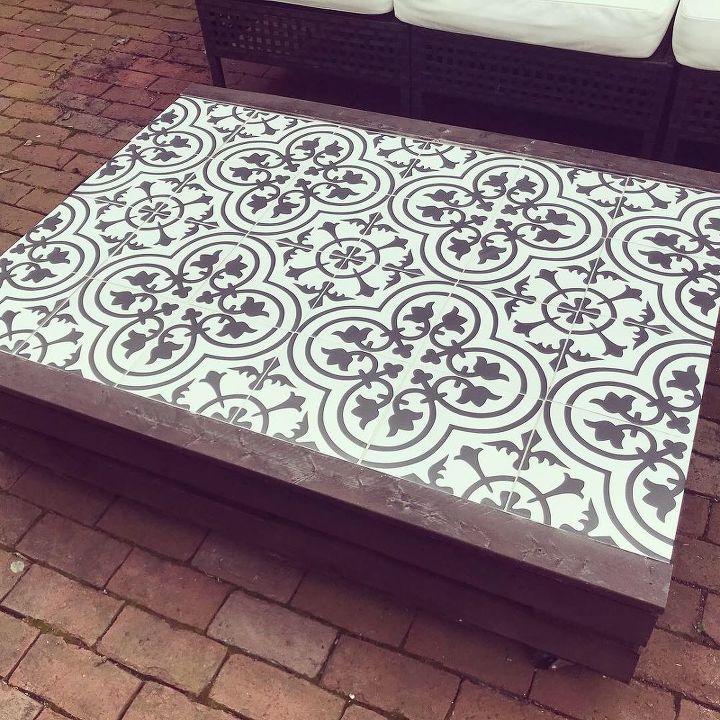
DIY Outdoor Pallet Tile Coffee Table

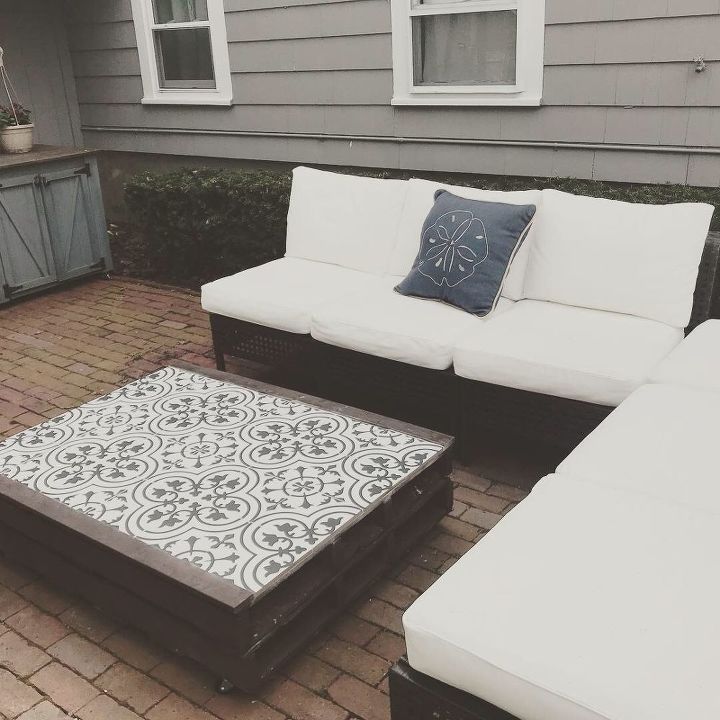
Ok, I hesitate to post this project because it was SO easy. Like so, so, so, so easy. I feel like I’m sharing a dirty little secret or something. But it’s super cute, sturdy, and I get a TON of compliments on it! So I would say this is definitely a project you can and should tackle. Like today. Make your own outdoor coffee table using wooden pallets and tile. Earn a little DIY street cred. HA!
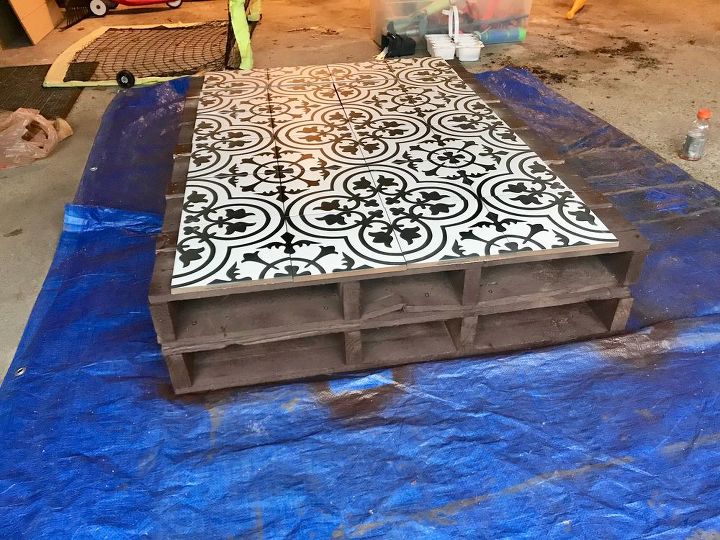
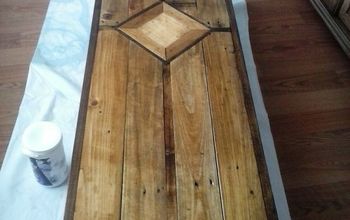
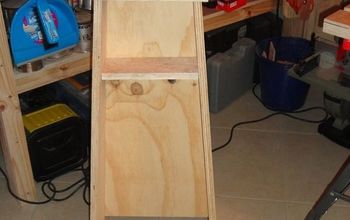
So, first thing you have to do is find two pallets that are the same size and in decent shape. Many places give these away for free so definitely look around and hit those places up first! I’m all about a free or cheap project! Then stack them on top of each other- I put the bottoms together in the middle so that the tops (the sides with more board coverage) were the more exposed sides. Then I attached them together with a few screws all the way around. I had some spare wood in my garage that I used to help fill in the gaps on the top of the pallet to make laying the tile a bit easier. I attached each board with a couple of screws. You can always buy a few pieces to fill this in if you need to. Just make sure the thickness is similar to the pallet boards.
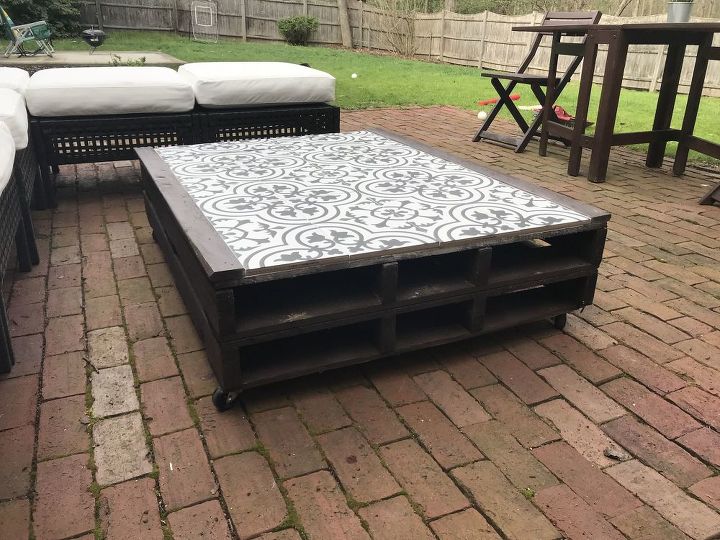
Next I painted this base with some spray paint. I chose a dark walnut type color but you could really do anything here! I think a nice grey, black, or fun pop of color would look great!
Then I flipped it over and attached 4 caster wheels on the bottom to give this a little height and make it easier to move around. I chose 4” wheels because they seemed a bit more substantial, but you can choose whatever size gives you the height you are looking for.
I purchased this tile from Home Depot and I love it! They have a lot of tile options these days so you can pick your favorite pattern. Mine are 8 x 8 inches and came in a case of 12 tiles. I picked up two cases which worked perfectly here (so chalk that up to about $36). Also at Home Depot they have a product that is premixed tile adhesive and grout. This means you can buy just one product to attach the tiles and fill in the grout lines!
This was super easy to use and I just spread a little on the top of the pallet before laying out the tile. I let that dry for a bit and then just followed the instructions to grout the tile.
Lastly, my tile didn’t fit perfectly on my pallet so I added a couple pieces of 1” x 3” wood trim to the sides to give it a finished look. Depending on the size of your pallets and tile, you may or may not have to do this step.
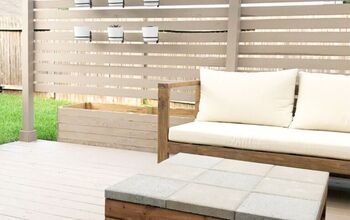
And that is IT!! This baby is done! It cost me approximately $50 to make and took less than 2 hours to finish…which included grout drying time! As my 3 year old would say, Easy Peasy Lemon Squeezy. Like for reals.
Comments
Join the conversation
-
Love it 👊🏻👌🏻
-
That’s a terrific idea. Looks good


Frequently asked questions
Have a question about this project?
im going to recreate this! Was your tile ceramic or porcelain? The back of the adhesive/grout mix says that it’s not for porcelain and not good for too much outdoor heat/ rain exposure. I just need some guidance before I ruin the tile and my table.
Did you paint the pallet boards that the tiles are laid on or leave them as they came. Looks really nice. You did a great job. Thank you.