


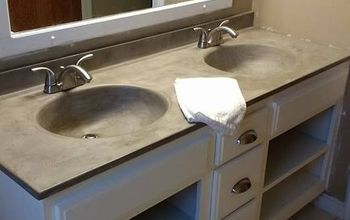
Ikea Hack: DIY Small Bathroom Vanity
21 Materials
$275
3 Days
Advanced
Ikea sinks are very affordable. You can build your own stylish vanity to go with the sink. This is perfect for a small budget or someone who just want to add some personal character to a bath renovation. So, put on those safety goggles and let's go build with our contributor, Scott, from Saws on Skates.
{
"id": "5052559",
"alt": "",
"title": "",
"video_link": "https://www.youtube.com/embed/w406cvD7stE",
"youtube_video_id": "w406cvD7stE"
}
{
"width": 634,
"height": 357,
"showRelated": true
}
Be sure to watch our YouTube tutorial. We offer tips and tricks for building your vanity.

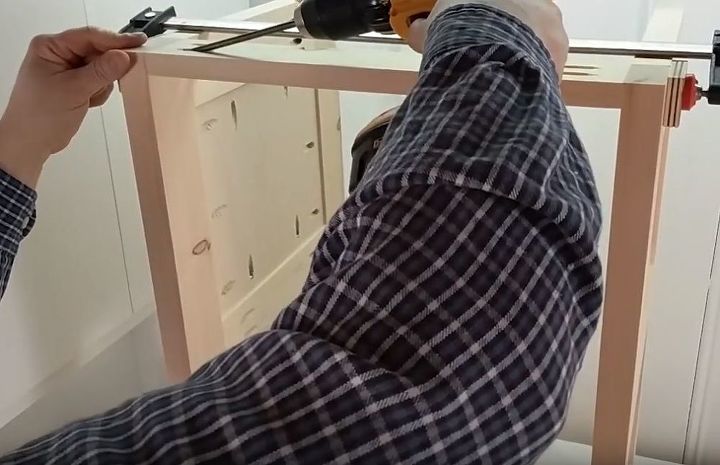
Head over to Remodelaholic.com and get your free printable building plan. Cut legs, side rails, and side panels. Drill pocket holes. Lay out side, angles in, with top, middle, and bottom rail. Set side panel in place, but do not attach. Apply glue to ends of rails, clamp, and attach with pocket hole screws. Check to make sure side panel is positioned correctly, then clamp and attach with pocket hole screws. Repeat for other side.
Time to assemble the carcass. Cut braces and plywood bottom piece, drilling pocket holes according to building plan. Glue, position, clamp and attach braces with pocket hole screws. Slide the bottom in position and attach. Attach top back brace using glue and pocket hole screws.
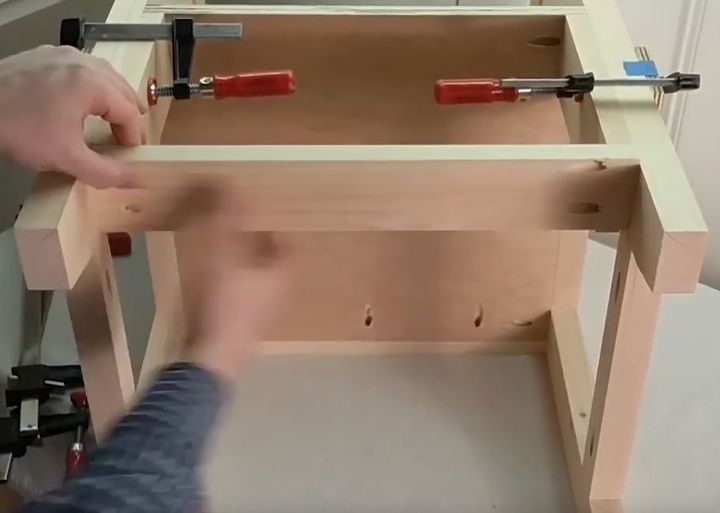
Now, attach bottom back slat, making sure it is flush against the back legs. Attach a 1x2 on top of the back slat, making sure to screw from bottom. Making sure to space correctly, attach vanity bottom slats. Leave 1/4 inch from front when attaching front slat (be sure to see building plans). Using a small piece of plywood, place behind each corner of front slat assembly to prevent rocking.
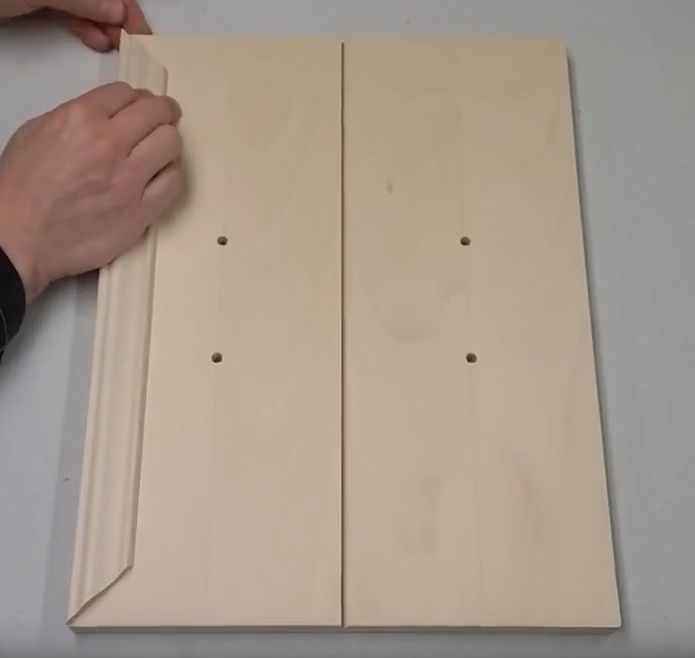
Build the faux drawer front using 3 pieces of plywood. Glue front panels to plywood back. You might also want to drill holes for hardware installation. Wrap drawer fronts with molding, mitered and glued in place, then tack with nails. Install cabinet hinges. Fill holes in molding, sand, and finish your vanity with your choice of paint or stain. Apply polyurethane. We recommend 3 coats.

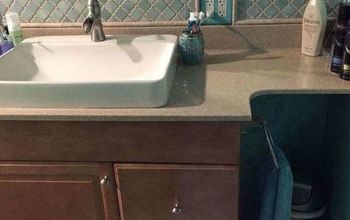
Display your new creation in that bathroom and admire your space!

Want more details about this and other DIY projects? Check out my blog post!


Frequently asked questions
Have a question about this project?