


Knock Off Pottery Barn Toddler Bed Build
Knock Off Pottery Barn Toddler Bed Build
Build a Montessori style toddler floor bed with this easy tutorial
The only thing I love more than a knockoff, is one that costs a quarter of the price of the original!
Building Eli a toddler bed is both exciting & a little sad for me.
My momma heart is full of joy watching him grow & learn all the new things.
It also feels a little sad that my baby is ready for a big kid bed & not the crib I brought him home to.

Building his new big boy bed though makes this next chapter even sweeter!
Also it makes it cheaper, a whole lot cheaper…
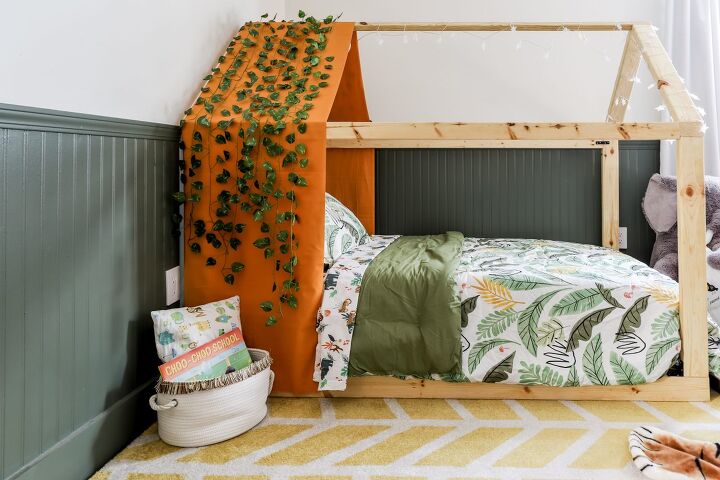
I feel in deep love with this Montessori style floor bed from Pottery Barn, but that price was a little steep.
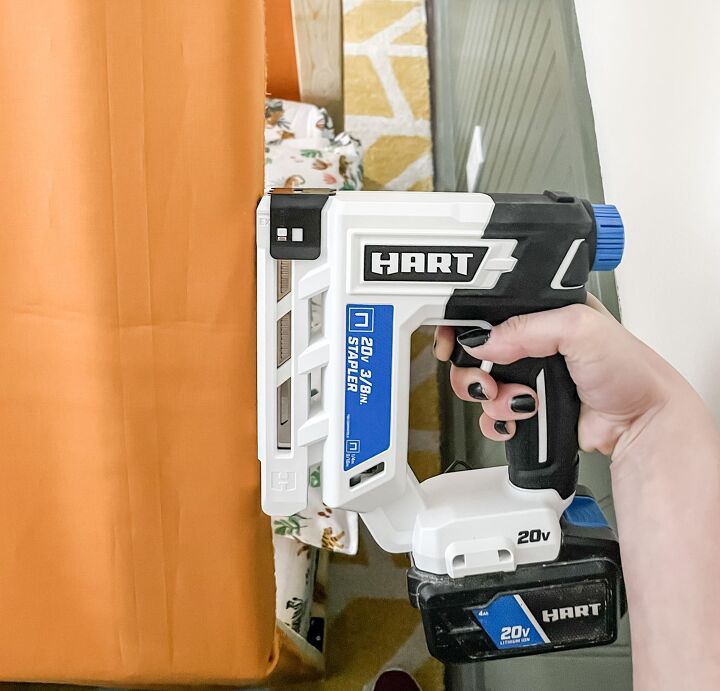
So naturally I grabbed all my favorite HART Tools & got to work on the easiest build ever!
Knock Off Pottery Barn Toddler Bed Build
Supplies: For Twin Size
- (7) 1x4x10 Pine Boards
- (1) 2x2x6 Pine Board
- (6) 2x4x8 Pine Boards
- (4) 2x3x6 Pine Board
- 2″ Screws
- 2-1/2″ Pocket Screws
- Brad Nails
- Wood Glue
- Stain or Paint
- Drop Cloth
Tools
- Level
- Drill
- Staple Gun
- Orbital Sander
- Clamps
- Measuring Tape
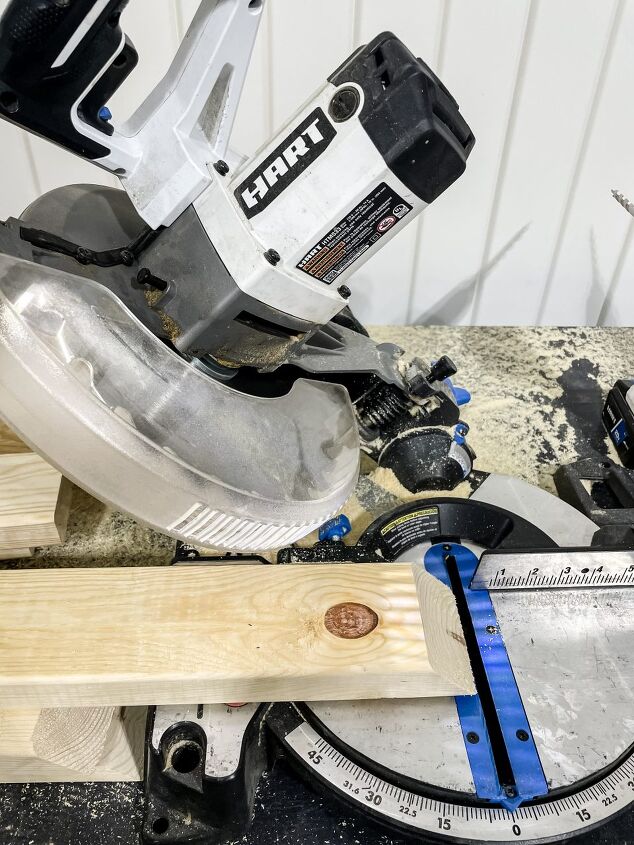
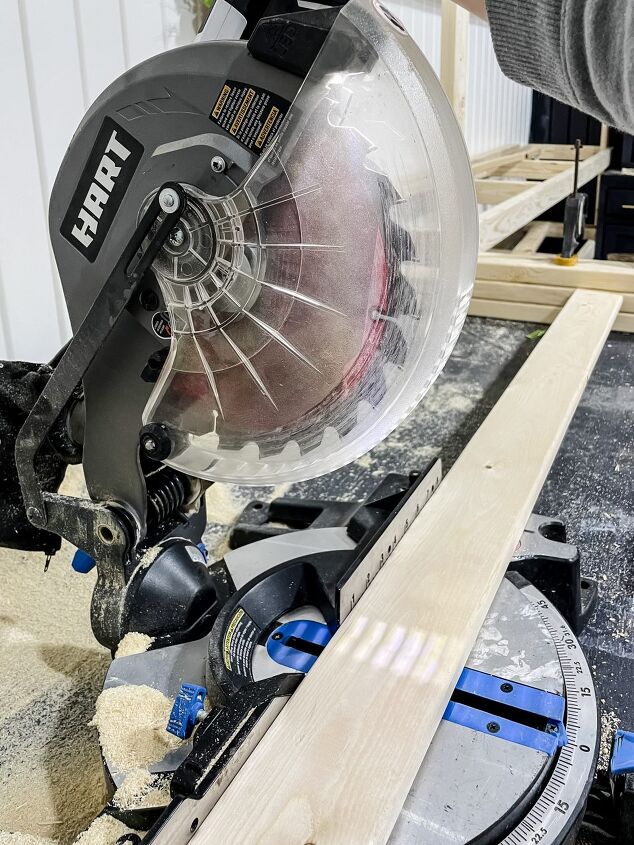
- Miter Saw
Cut List
- (3) 2X3 at 72″
- (2) 2×4 at 39″
- (4) 2X4 at 36″
- (2) 2X4 at 75″
- (2) 2X4 at 29 3/4″
- (14) 1×4 at 39″
- (2) 2×4 at 31 1/4″
- (2) 2X3 at 68″
- (1) 2X2 at 68″
Building The Base

The first step is to build the base of the bed.
Base & Middle Support- Cut (3) 2X3 at 72″ & drill pocket holes at each end of each board.
Header & Footer- Cut (2) 2×4 at 39″
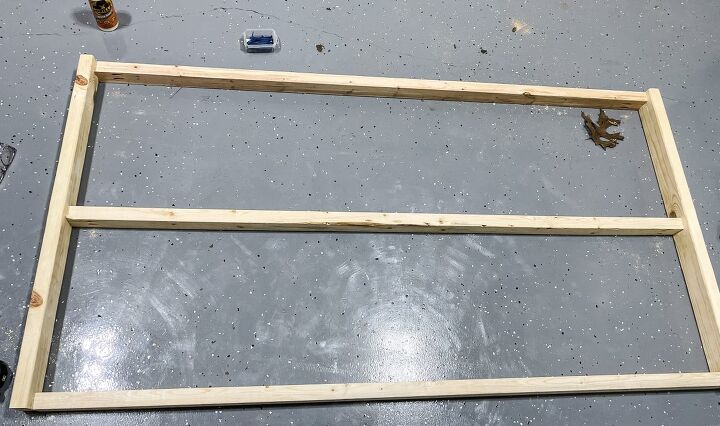
Attach (2) of the 2×3 to the inside of the (2) 2x4s.
Attach them using wood glue & pocket screws from the inside.
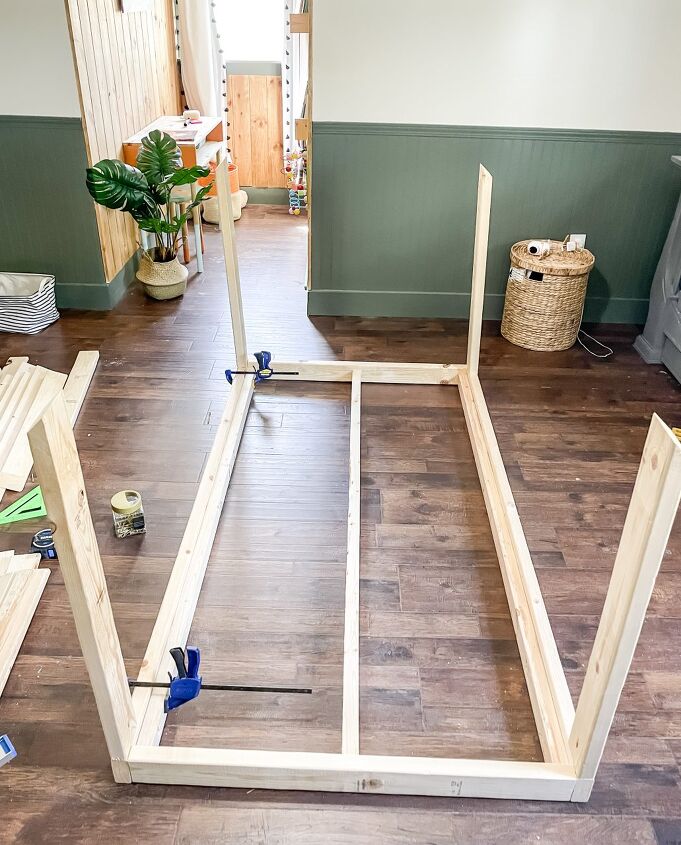
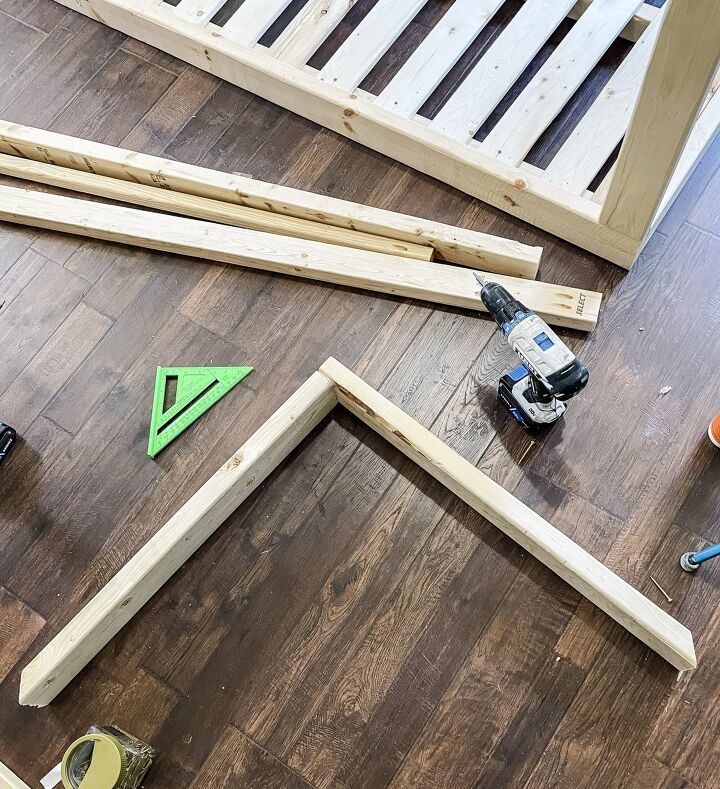
Building The Posts
Next build the posts & attach them to the outer side pieces.
Posts- Cut (4) 2X4 at 36″ & add a 45 degree bevel to one side of each post.
Drill 1 pocket hole on the opposite side of the bevel
Outer Sides- Cut (2) 2X4 at 75″
Drill pocket holes at each end.
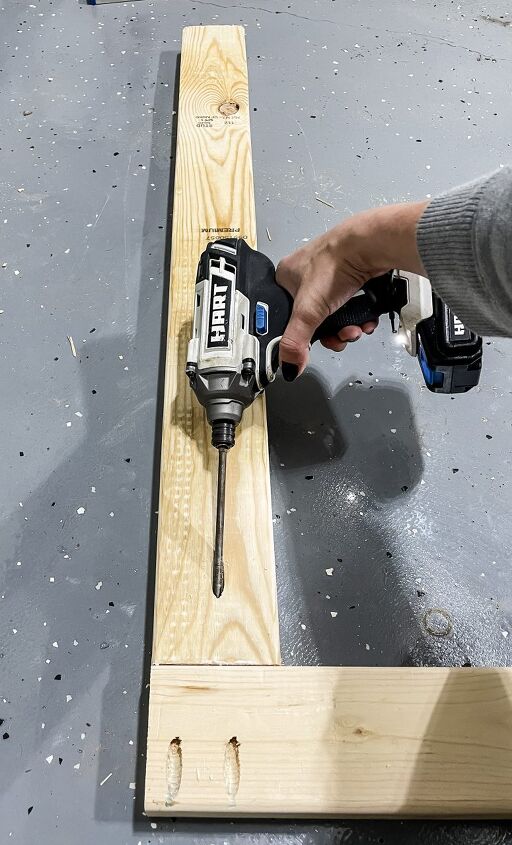
Attach the (4) 36″ 2X4’s to the 2 outer side pieces using pocket screws & wood glue.
Make sure to use a square to insure the posts are straight!
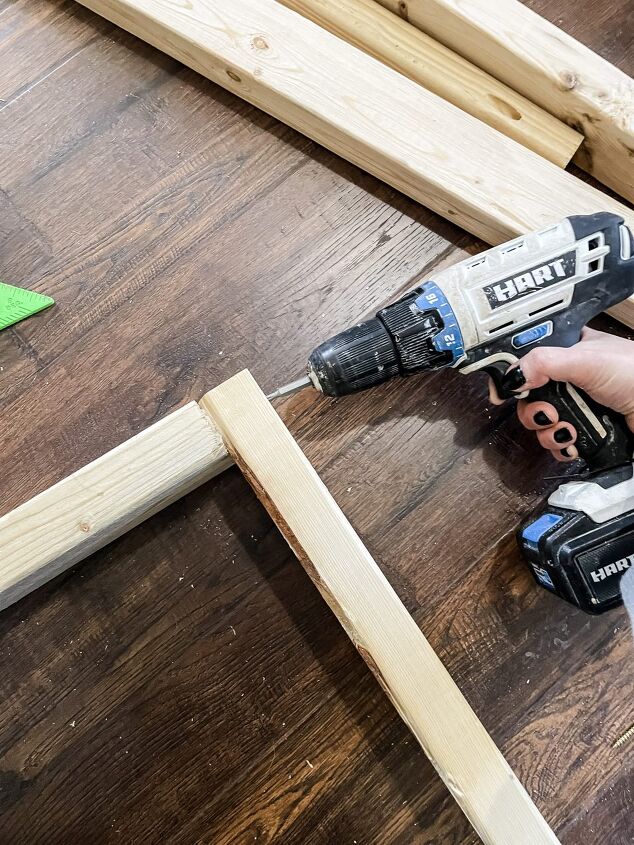
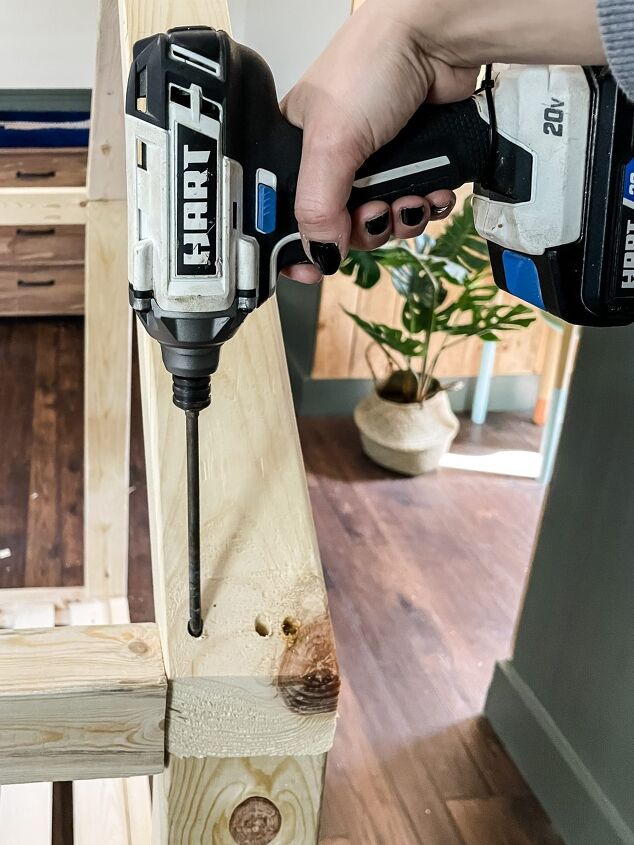
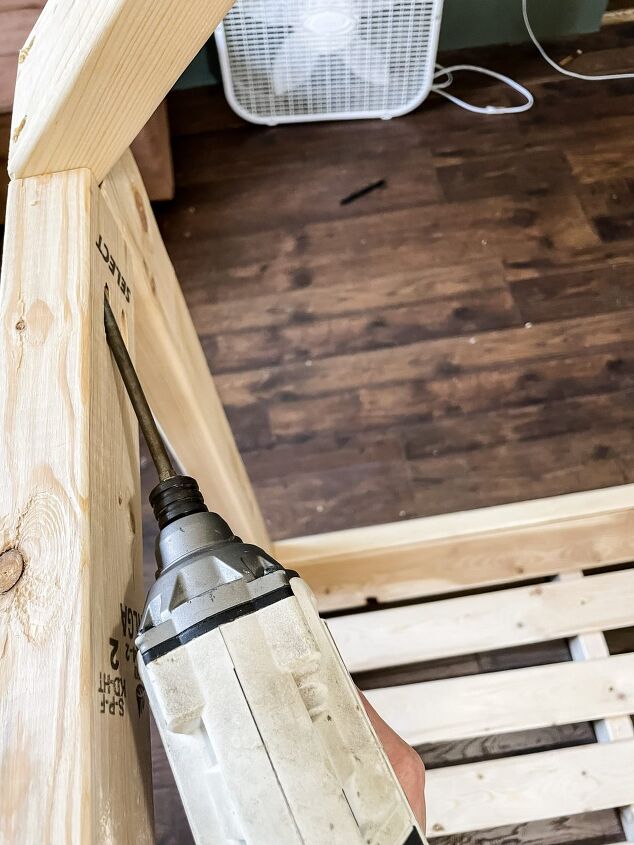
Attaching Posts To Base
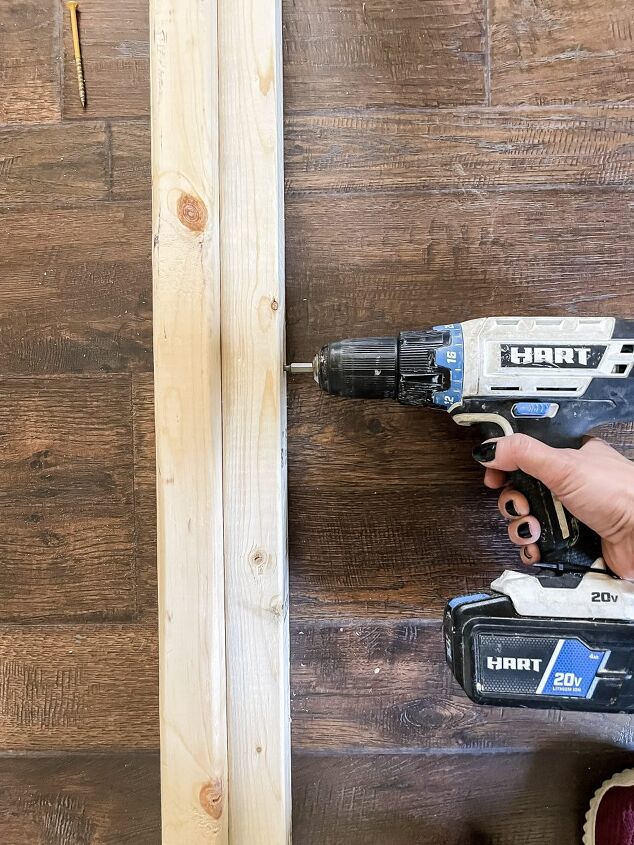
Attach the (2) post pieces to the base using wood screw.
Be sure that the bevels are facing out!
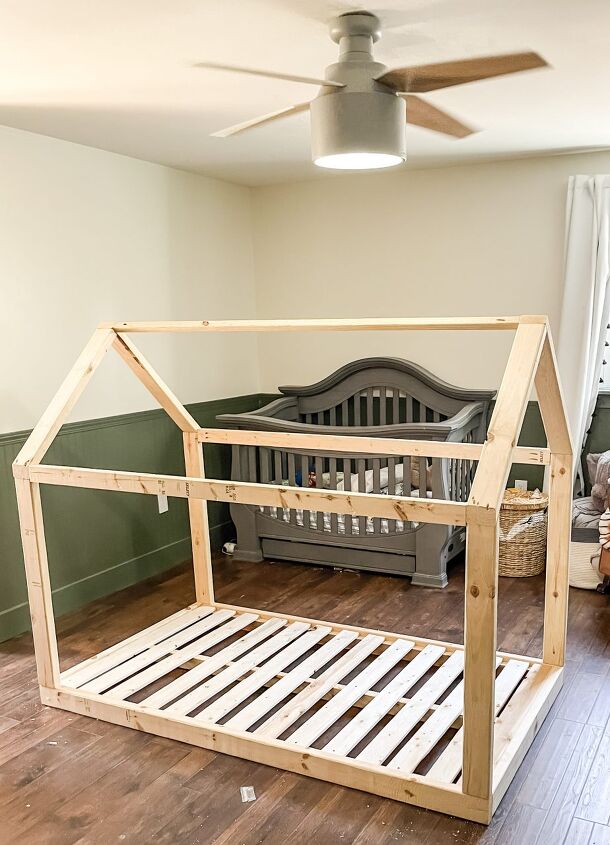
Drill from the inside of the base outwards
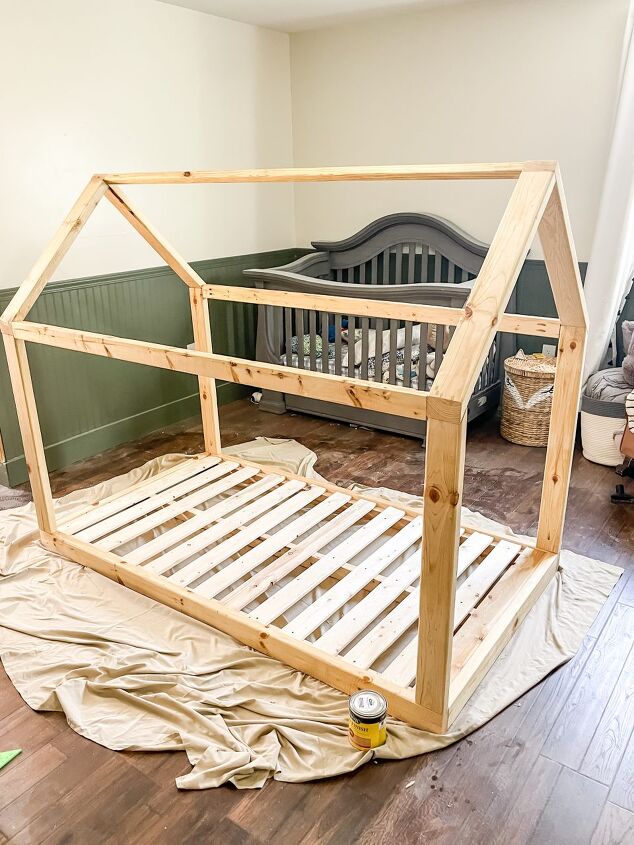
You should now have something that looks like this:
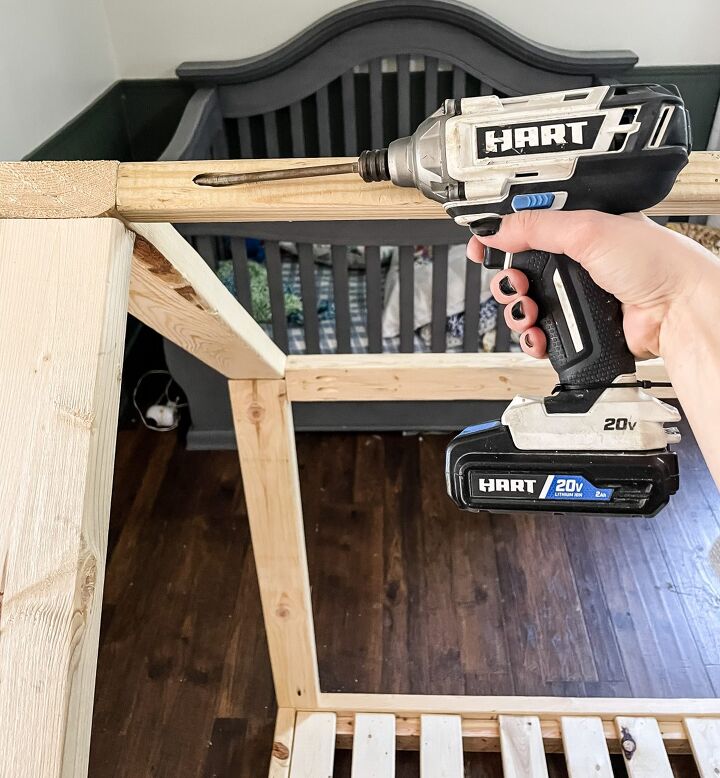
Cut & Attach Slats
Slats- Cut (14) 1×4 at 39″
Space them out evenly along the bed base.

Fasten the slat pieces to the base using 1-1/2″ screws or brad nails.
Cut & Attach Roof
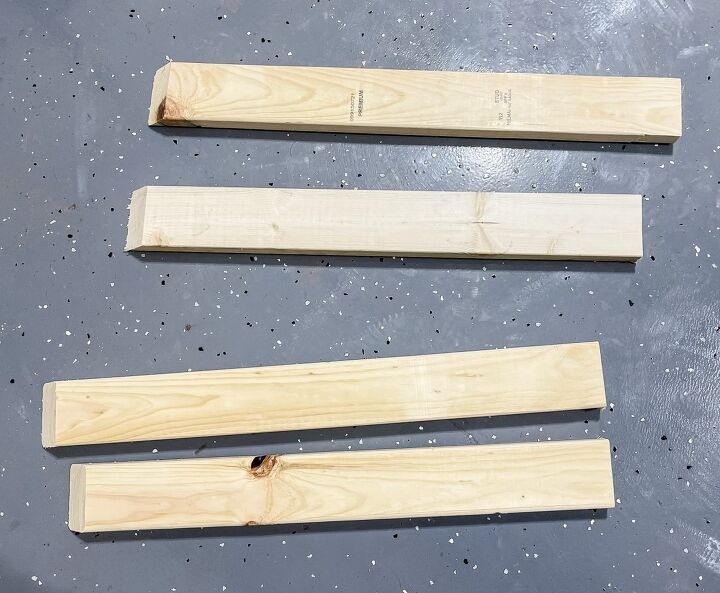
Short Roof Pieces- Cut (2) 2X4 at 29 3/4″ & bevel one side of each board at 45 degrees.
Long Roof Pieces- Cut (2) 2×4 at 31 1/4″ & bevel one side of each board at 45 degrees.
To make the roof we will build two pairs (that will make sense in a second I promise😉).
Pair 1: Attach the un-beveled side of (1) long roof piece & attach it to (1) un-beveled short roof piece.
Be sure the short piece is on the inside of the long piece
Build pair 2 the same way.
Once both pairs are built attach them to the posts.
The pairs will sit flush on the post’s bevels.
Use 2″ wood screws to attach the pairs to the posts.
Countersink the screws so that they can be filled later.
Cut/Attach Roof Side & Pitch Boards
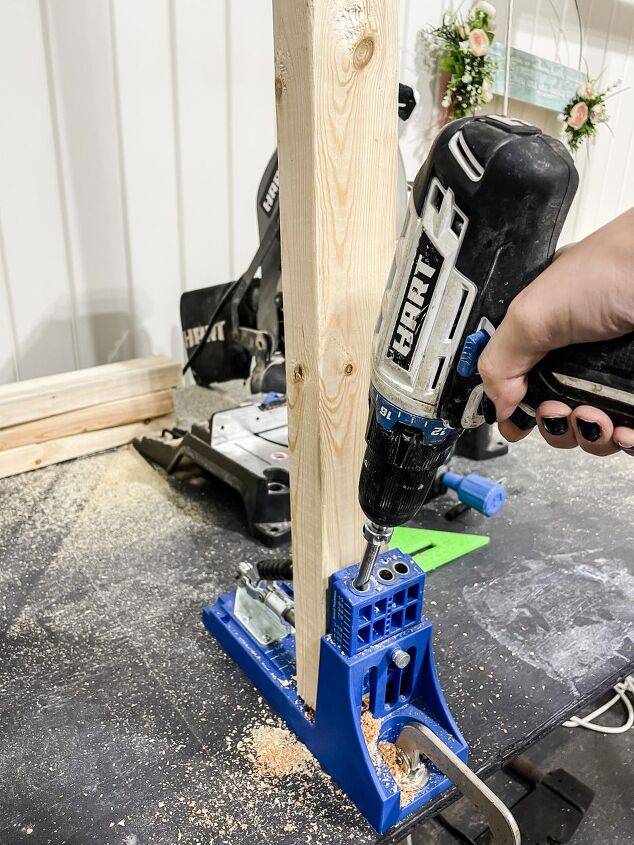
Roof Side Pieces- Cut (2) 2X3 at 68″ & drill pocket holes on both ends of each board.
Pitch Board- Cut (1) 2X2 at 68″ & drill pocket holes on both ends of the board.
Attach the (2) roof side pieces flush with the roof bevel.
After the board is level, use pocket screws & wood glue at secure them.
Once both roof side pieces are attached, attach the 2×2 pitch board.
This board will sit flush with the top of the long roof board.
Again use wood glue & pocket screws.
Finishing
Y’all it is officially happy dance time, you just built an entire bed!
Now let’s finish this thing!
Filling/Sanding
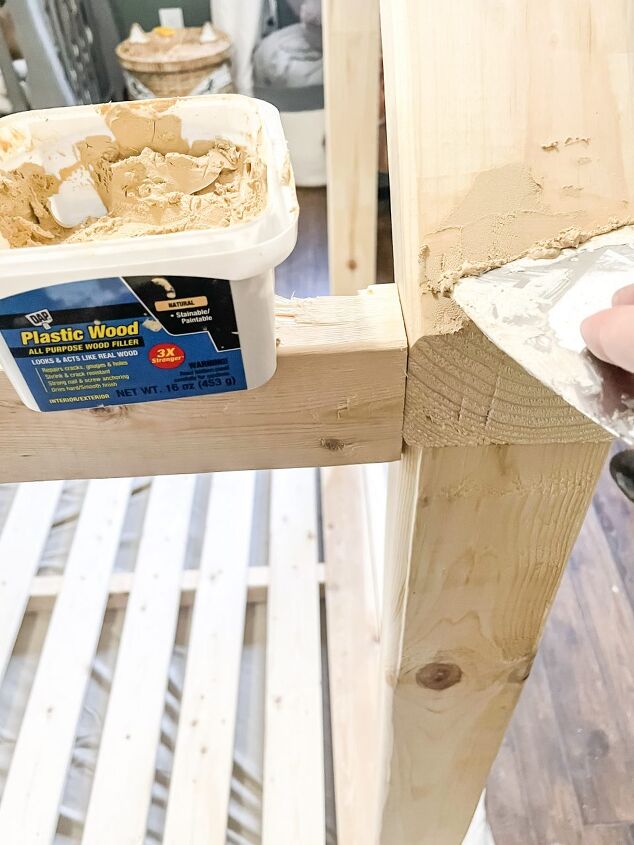
I started by filling in all the holes with sand-able wood filler.
Once it dried I used my favorite sander & shop vac attachment to sand the entire bed.
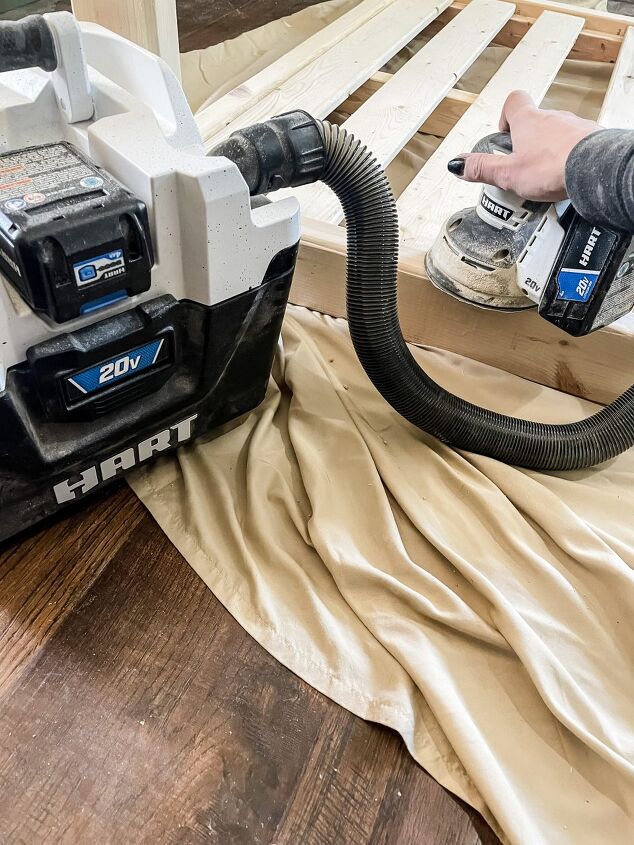
Start with 120 grit sandpaper & finish with 220 grit.
I just recently got this HART shop vac & I am already so attached!
I was not willing to risk the bed not fitting into the room, so I was forced to build & finish it inside.
The shop vac saves me from having to tarp the entire space & do hours of cleanup.
Staining
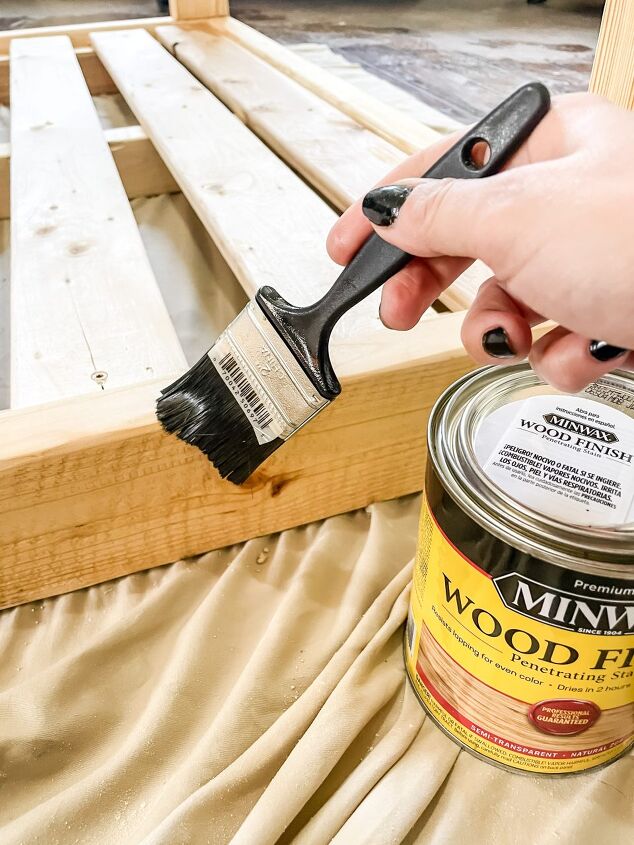
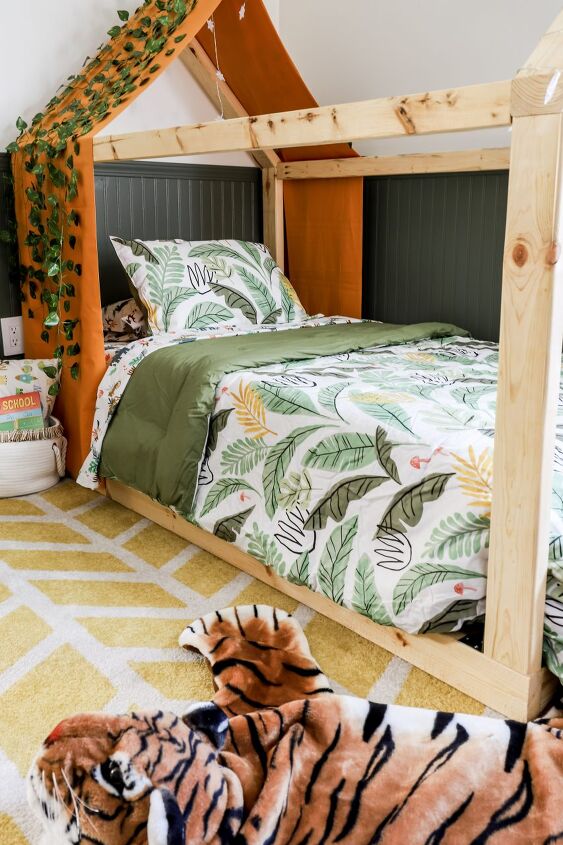
Next, I used a brush to apply Minwax Natural stain to the entire frame.
This stain color is nice & light which provides a good contrast to the dark green bead-board.
Adding Brackets
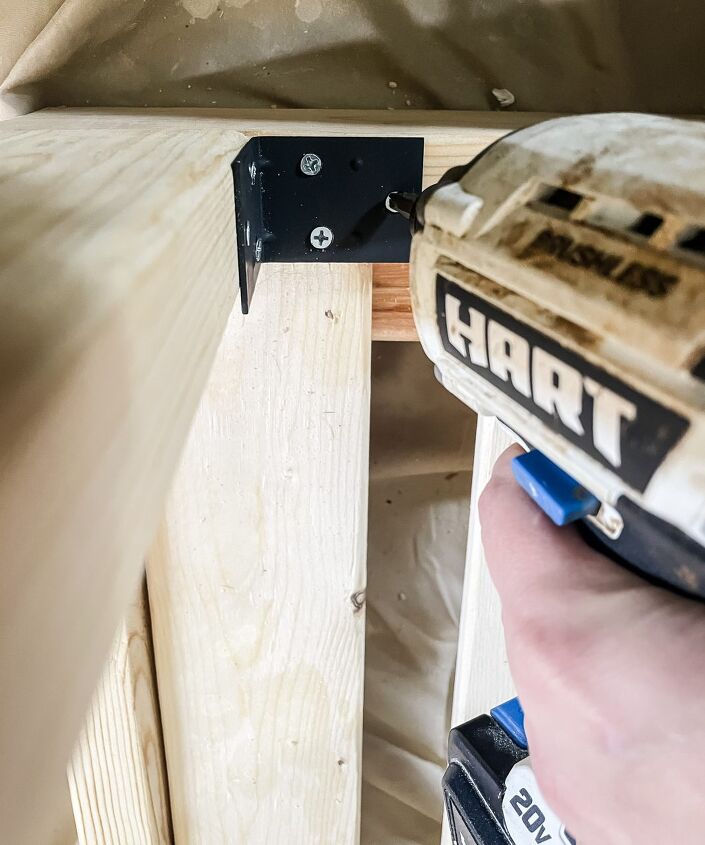
After I stained the bed I also added brackets for extra security.
This may not have been necessary but I know my toddler & in his case it was definitely necessary 😉
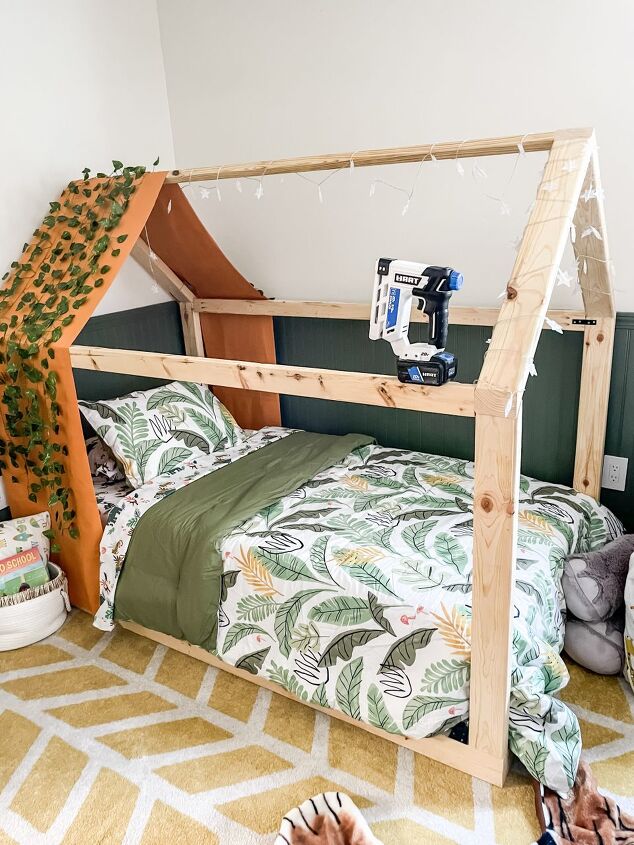
Adding The Canopy
Eli’s new toddler bedroom is going to have safari vibes so I thought adding a canopy would be perfect!
I found this one on Amazon but I thought I could DIY one for cheaper.
Instead I bought 3 1/2 yards of burnt orange fabric to make my own.
I simply sealed the seams & draped it over the front of the bed.
Once it was even on both sides I secured it with my HART Crown Stapler.
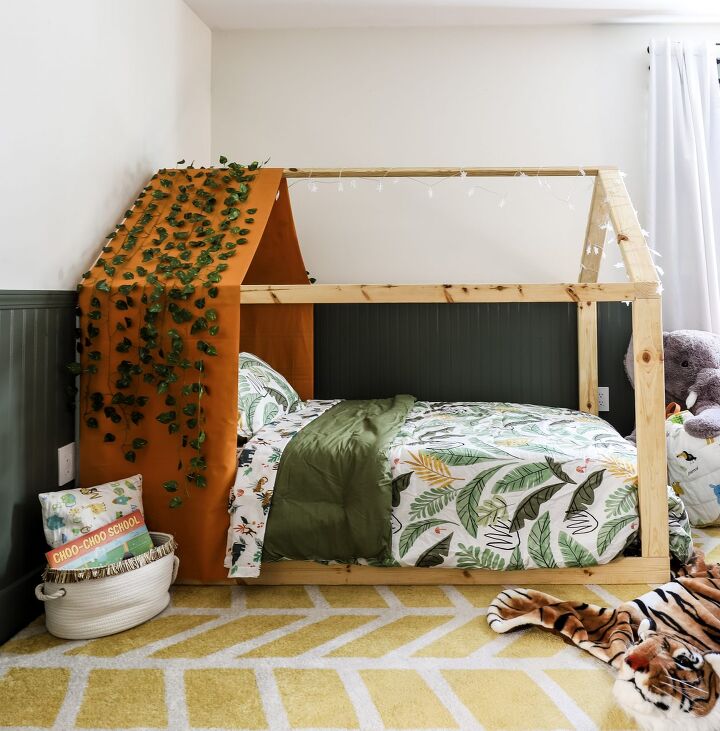
This little toddler bed is a thing of dreams!
Building this bed was so simple & only required a few of my favorite HART Tools.
I am super excited with how it turned out & I think it is the perfect addition to Eli’s big boy room.


Frequently asked questions
Have a question about this project?