


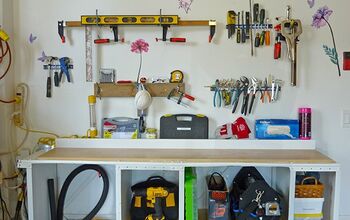
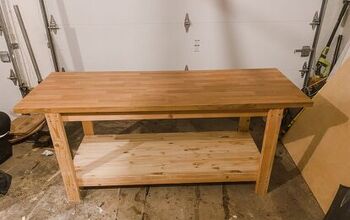
Rolling Workbench From Discarded Vanity

it seems we are always in need of more workspace in our garage workshop. Saw horses work in a pinch for some projects, but are too unstable for most of what we work on.
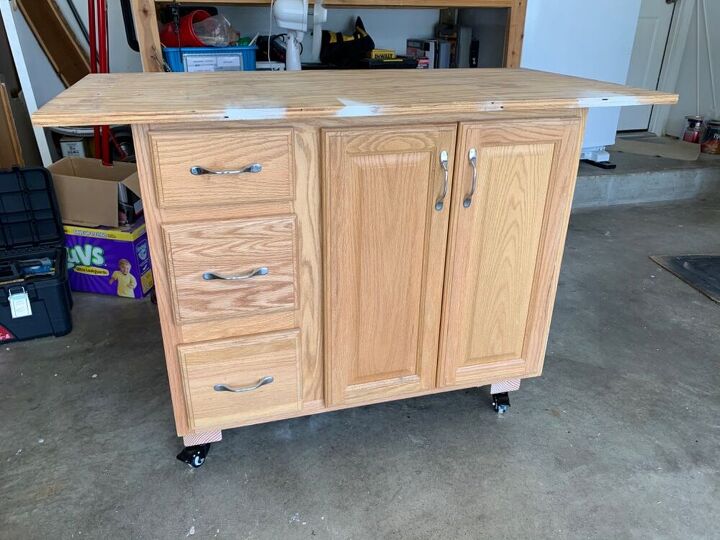
We came across a discarded vanity base. It was nothing fancy; veneered MDF sides, with some water damage along the bottom on one side, but still structurally sound.
Add some 2x4 supports, heavy duty casters, and plywood for the top and you get a rolling work table with storage!
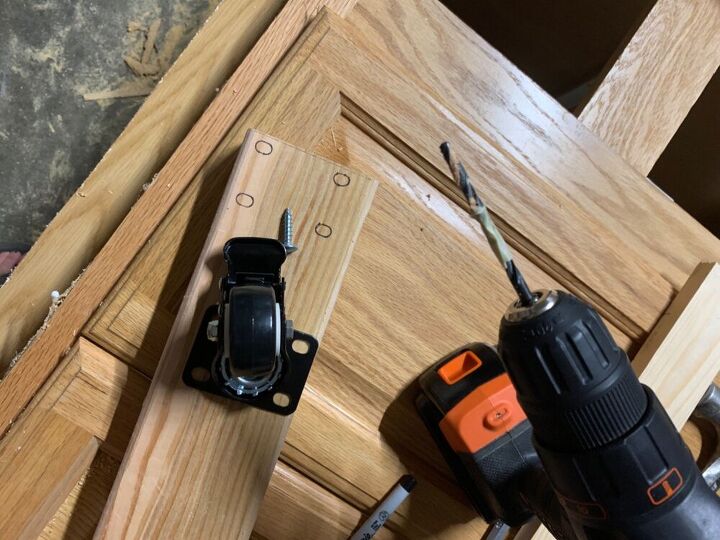
I also used (4) 1.5” corner braces for attaching the 2x4s to the vanity. These are optional if your base material is stronger than 1/2” MDF.
If you don’t have an old vanity, you can use a base cabinet or other wide-base furniture. Don’t use something too narrow, or it can tip over while you are moving it. Check out Craigslist for free ones, or find them cheap at your local Habitat Restore.
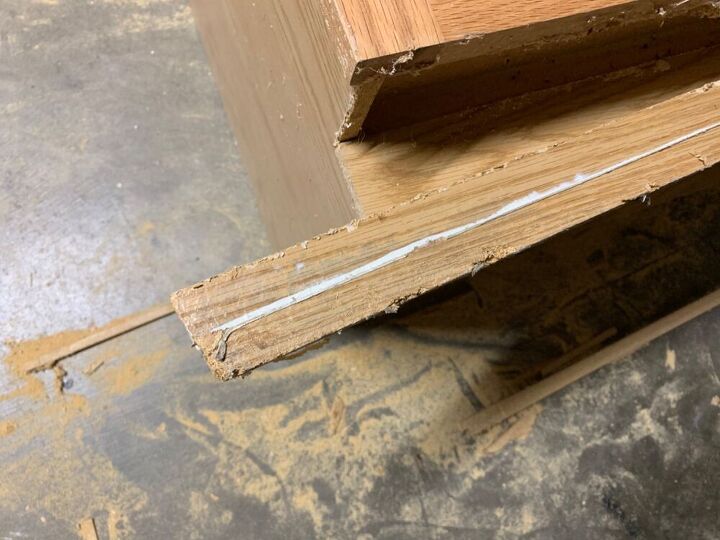
The first step was trimming the water damage from the bottom. I used a combination of a circular saw and jig saw for this.
Of course, if you trim and how much will depend on the piece you are using, but trimming also lowers the overall height after adding the 2x4s and casters.
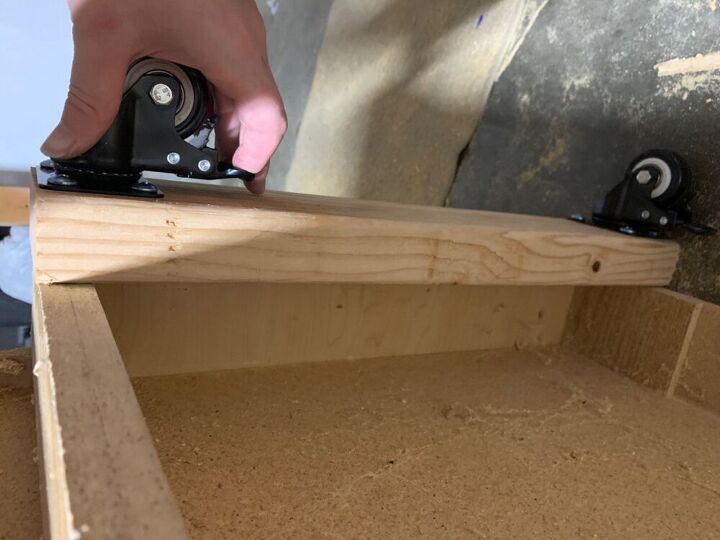
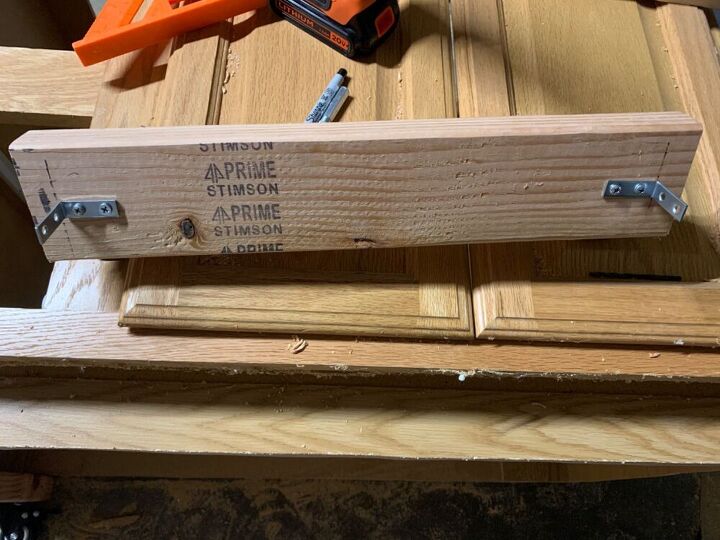
Cut 2x4 pieces to length. They need to be as wide as the base of the vanity in order for the vanity to sit securely on top.
Attach the casters to the 2x4s at each end. Depending on the casters you buy, you may also need to buy screws and washers. I bought a 4 pack of 2 inch heavy duty swivel casters, and they came with washer-head screws. (This set was rated for 600 lbs total weight, plenty for the type of projects we will use it for.)
To attach, I marked the holes with the caster lined up against the end and outer edge of the 2x4 and predrilled holes.
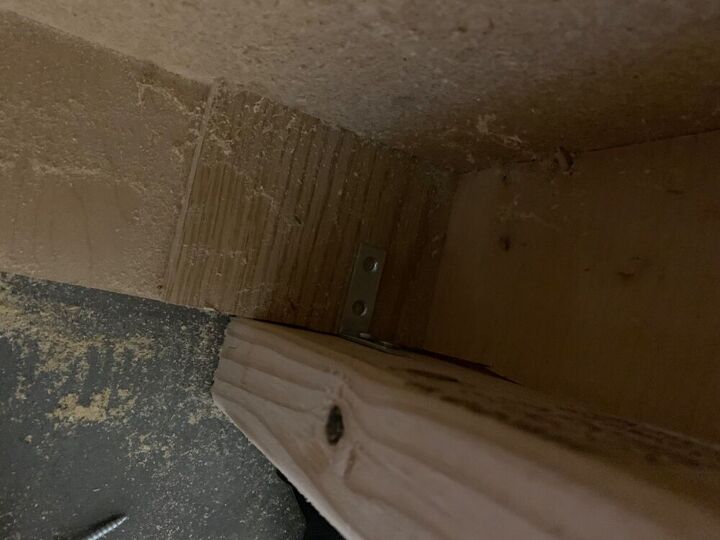
Because the MDF sides were fairly thin, I attached the 2x4s with casters to the vanity base using corner braces/ L brackets.
If you go this route, put the 2x4s in place and mark where the bracket should sit on the 2x4. Move the 2x4 and attach the bracket to the 2x4.
After attaching the brackets to each end, slide the 2x4s back in place and attach to the vanity. Being in an awkward place, I was only able to attach one screw from the bracket into the vanity.
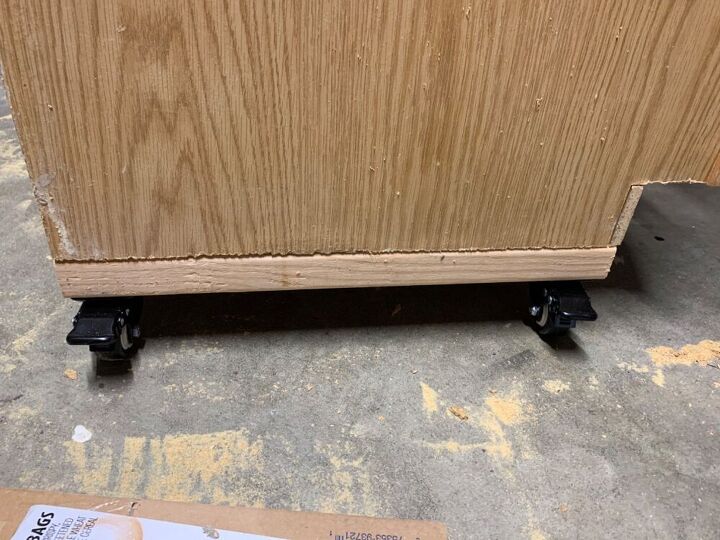
Set the newly-modified vanity turned workbench upright. (You may need help for this. With the casters attached it is harder to turn it upright.) Use a piece of plywood larger than the vanity for the top. I chose not to attach ours so we can take the top off and slide the whole thing into a small corner of the garage. We’ve also used it as a table for the tile saw, so having it unattached allows us to slide a trash bag over the plywood to temporarily waterproof it.

Storage is an added bonus! We store our air compressor inside, with other tools in the drawers, but it would be perfect for a shopvac with the pre-drilled holes at the back of the vanity for the hose and electrical cord.
All I had to buy for this project were the casters (~$15). The rest was already on hand or free!
Resources for this project:
See all materials


Comments
Join the conversation
-
I would love to try this
-
Well done! Very useful indeed. This is a huge step up from my lil cart I made, about 7-8 yrs ago, from a simple open shelf unit or end table. I use in garage also put castors. I had to put a top as much smaller but I Des it to store my then small supply of tools. Now still use it for my miter saw, supplies in below shelves. Love how yours is a great use for garage use. 👍🏼


Frequently asked questions
Have a question about this project?