


Rustic Modern DIY Hairpin Leg Wood Bench
2 Materials
$40
2 Hours
Easy
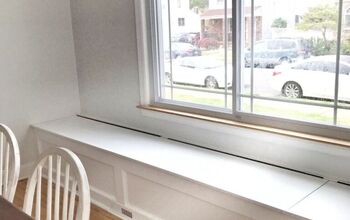
I had some leftover wood from trimming out our cabin and wanted to do something with it. I knew it could make a simple yet adorable bench that would really fit right in at the lake cabin.
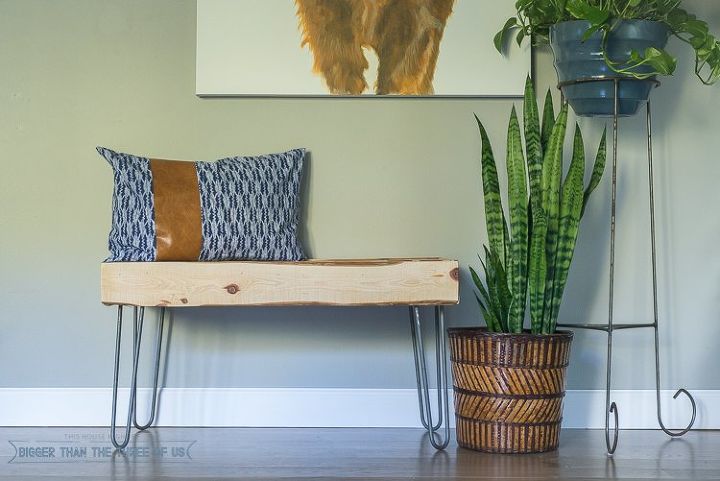
How cute is the bench? It wasn't hard to do and really fits perfect into the rustic vibe of the cabin. See the cabin renovation here. Alright, ready to see the tutorial?

Use this tutorial to create a bench of whatever size you want. Get creative here!
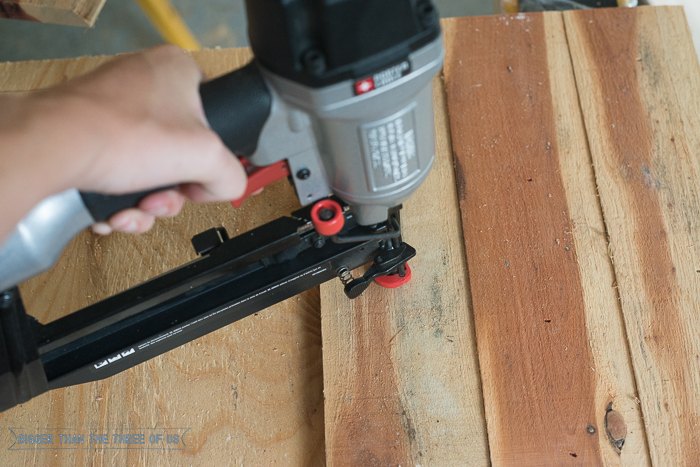
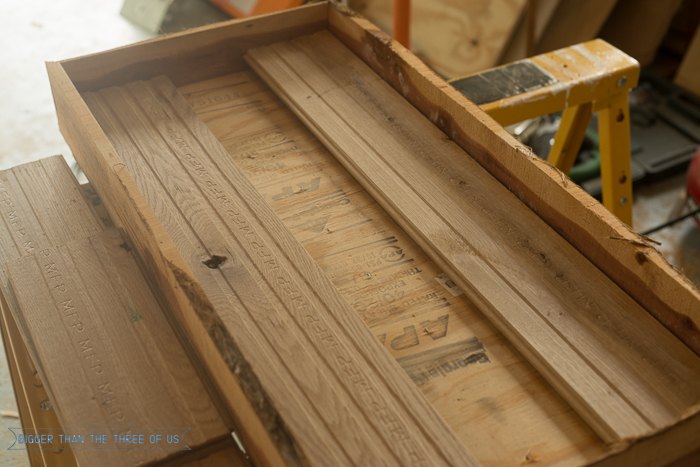
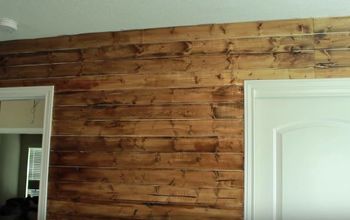
Use scrap wood or planks for the top. I cut my pieces on the miter saw but, again, you can pick how you cut yours. Add glue on top of the plywood, place each cut board on top of the glue and then nail down using a nail gun.
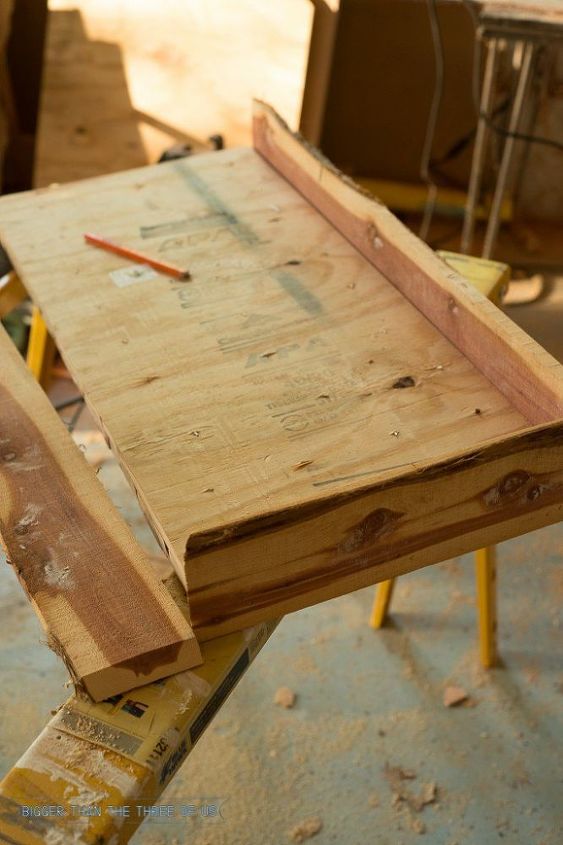
Add side trim pieces. I used the same wood as the top and cut them at 45 degrees. Glue and nail them in.
To give the bench extra stability, I reinforced it with extra hardwood that we had around.

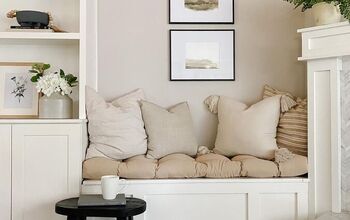
Grab your legs (I used hairpin but you could use regular bench legs) and screw them in. Flip over your bench and admire your new piece.

Want more details about this and other DIY projects? Check out my blog post!


Frequently asked questions
Have a question about this project?