How to Make an Impressive Rustic DIY Wood Crate Coffee Table

If you're searching for affordable living room furniture, this DIY coffee table made from wooden crates is a great option. With just a few inexpensive materials and some basic DIY skills, you can create a beautiful rustic farmhouse coffee table that will add style and functionality to your living room without breaking the bank.
This post was transcribed by a member of the Hometalk editorial team from the original HometalkTV episode.
Best wood crates!
This homemade coffee table is not only cost-effective, but it's also a fun project that you can do with your family or friends. You can easily find wooden crates at your local hardware or craft store for a fraction of the cost of a store-bought coffee table.
This rustic farmhouse coffee table will be the perfect centerpiece in your living room, providing a warm and welcoming atmosphere to your home.
1. Staining and assembling the wood crates
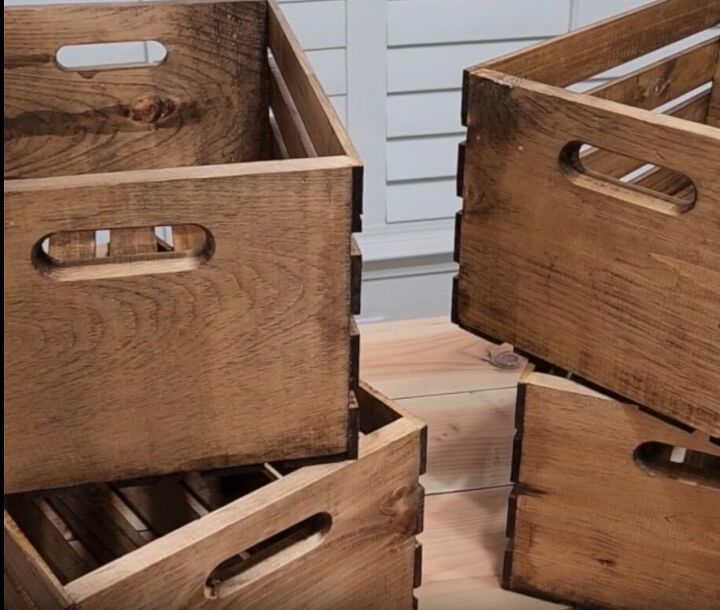
To begin, head to your local craft store and grab four wood crates.
Apply a coat of stain to each crate, and wipe off the excess with a rag to bring out the beautiful color of the wood.
Once dry, use wood glue to join two crates together to form an L shape. Spread the glue along the crate using your finger, this is okay if you are using non-toxic glue, but make sure not to get the glue on the edges as it will spill over the sides once you put the second crate on top.
Repeat with the remaining two crates. Use screws or one-inch brad nails to hold the crates in place while the glue dries.
2. Adding small strips of wood
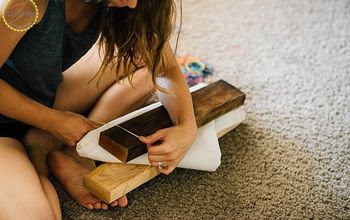
While the crates are drying, let's focus on creating the center part of our square coffee table. To do this, we will use little strips of wood, such as Jenga pieces. We're going to set those down from the top of the crate and glue those along the edge to make sure we have a straight line.
Once the strips are securely glued in place, they will form the center of our rustic coffee table. At the end of the project, we will insert a piece of wood on top of the strips. This will be the perfect base for adding a cute centerpiece to give the table some added style.
By incorporating this simple and affordable design element, we can transform our plain wooden crate table into a beautiful and functional piece of furniture that will enhance the overall look and feel of our living room.
3. Joining the two L-shapes together
Now that the 2 L-shapes have dried, it's time to connect them to create the final shape of the project. To do this, we will apply glue to the top part of one of the L-shapes and then attach the other L-shape to it, ensuring that they are lined up perfectly.
This step is really important and requires a bit of precision and patience to get it just right. But rest assured, with a little bit of focus and attention to detail, you'll be able to tackle this step without any issues.
Once the two halves are securely joined together, we will reinforce the connection with screws or brad nails. These fasteners will make our project super strong and sturdy, which means it'll last for years and years without any problems.
4. Creating Legs for the Coffee Table
Now it is time to construct the legs, which should measure 6 inches in length, using two by two pieces of wood.
Each piece of wood should be drilled in the center. To determine the center, take a ruler and mark it from corner to corner, creating an X shape. This will give you the perfect center point.
Use a quarter-inch drill bit to drill through the wood, down about two or three inches. It is important to clear out any sawdust or debris left inside.
Once that's done, stick a quarter-inch insert into each of the drilled holes. Use an Allen wrench to get the insert into the holes. It may be difficult at first, but as the piece goes in, it will start getting easier. Ensure that it is inserted tightly. The legs can now be stained.
At the bottom of the new table, mark the location of each leg's corner and drill a quarter-inch hole.
Then, use a dark bolt that matches the stain to connect the legs.
This screw mechanism makes the legs removable, if necessary. For now, ensure that they are tightly screwed on.
5. Decorating Your New Table
Finally, drop a piece of wood onto the Jenga strips on the table's bottom.
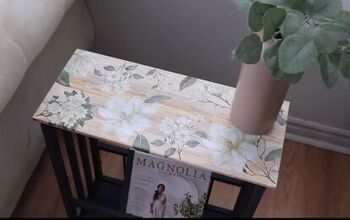
I added glass pebbles and a blue pitcher vase on top of my square.
I also styled the table with books and a farmer's truck in one section and a planter in another section. All these elements added to the rustic farmhouse vibe I wanted to achieve.
Go ahead and style your table with all the elements that fit your decor. The possibilities are endless.
More DIY Crate Furniture
DIY wood crate coffee table
This DIY project is an excellent way to create a square rustic coffee table that's perfect for any living room.
Making furniture from crates is an affordable and fun DIY project that will bring a unique farmhouse style to your home. With just a few tools and some creativity, you can create a beautiful DIY wood crate coffee table that will be the envy of all your guests.
So why not give it a try and make your own DIY coffee table with wooden crates? Share your thoughts in the comment section below!
Enjoyed the project?
Suggested materials:
- Four wood crates
- Stain
- Towel or rag
- Glue
- Brad nails or screws
- Strips of wood (such as Jenga pieces)
- Two-by-two pieces of wood
- Drill
- Drill bit (quarter inch)
- Quarter inch insert Allen wrench
- Bolts
- Thin square piece of wood
Comments
Join the conversation
-
-
 Rita Schrimsher
on Mar 22, 2024
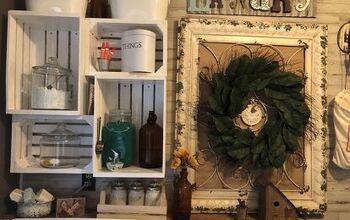
Not a table, but I hung the crates in my laundry room for storage.
-














Frequently asked questions
Have a question about this project?
What’s the height after putting the legs on ?