


Updated Cocktail Ottoman

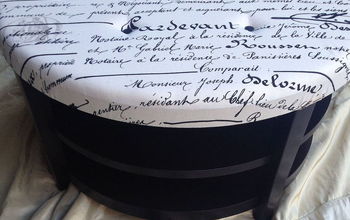
When you live in a small-ish home, sometimes you have to get creative with your storage. My mom actually suggested this one. We have a large cocktail ottoman that came with our living room suite, I was never the biggest fan of the polka dot fabric, it’s not terrible, but just not my favorite. I started talking with my mom about re-upholstering it, and she suggested working some storage into the mix! GREAT IDEA! The the drawing board!
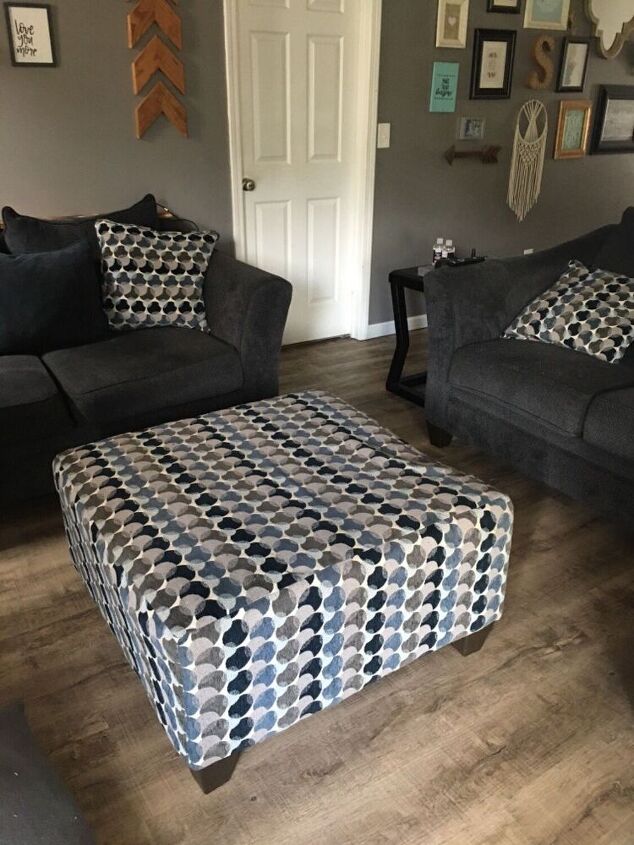
So here she is, in her polka dotted glory. Overall it was in great shape, it had a saggy spot on one side that we couldn’t figure out, until I opened it up and saw a broken strap! But anyway! It had a zipper on the bottom panel and I peeked inside and noticed the body of it was wood, OSB, so unsightly, but wood none the less. Initially I thought to upholster the sides and top separate add a hinge and poof! Storage ottoman! But I really wanted to make it something special. So after a few days of deliberating what I would like to do, I decided I would “faux shiplap” the sides and upholster the top!
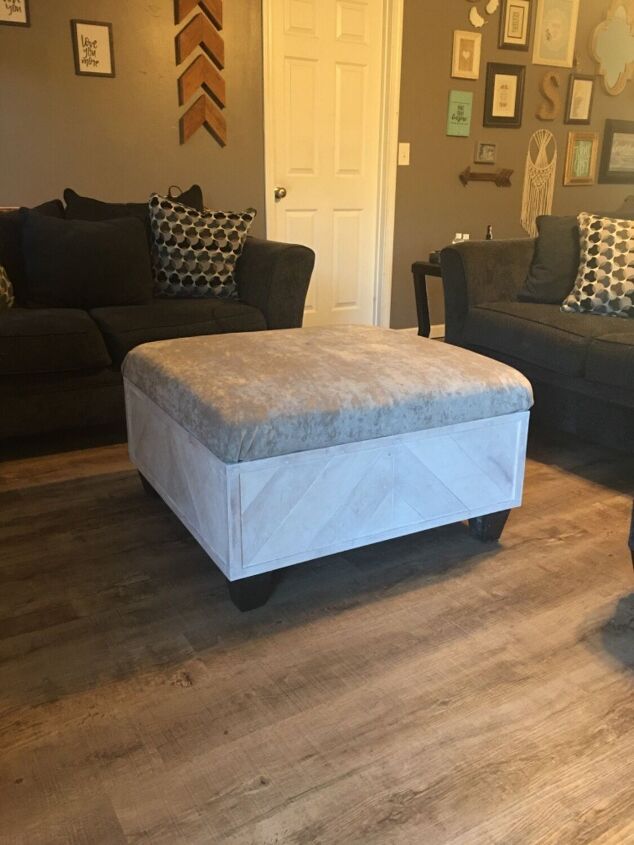
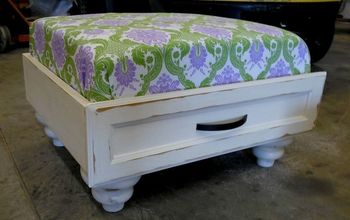
This is where we landed! Haha! My faux shiplap turned into a white washed chevron moment and I’m obsessed! Follow along for the journey on how we got from polka dot upholstery to chevron beauty! For this project I used:
- ottoman or you could build a box if starting from scratch!
- 1 - 4x8 sheet 5 mil underlayment ripped down into 4” strips
- brad nailer with 5/8” nails
- 1/4” ply for bottom
- 1/2”-3/4” ply for top
- stain of choice
- table saw
- miter saw
- foam (I used what the ottoman had on it already)
- upholstery fabric of choice
- staple gun with staples
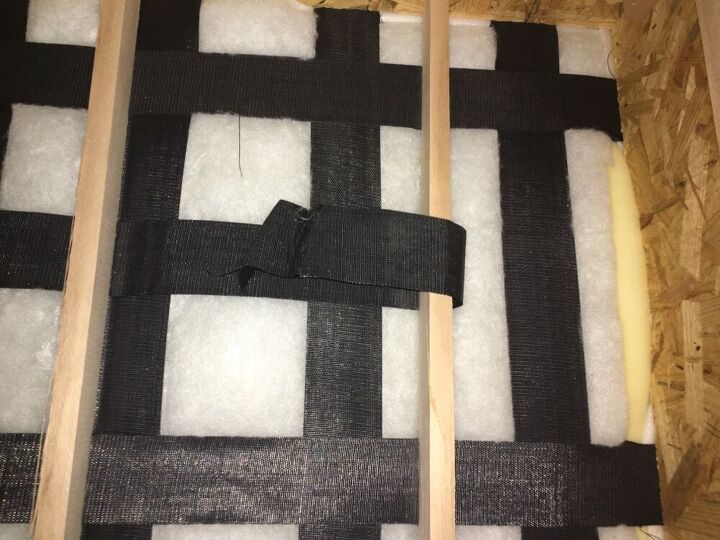
Start stripping it down! The is what I found underneath! No wonder it had a saggy spot!
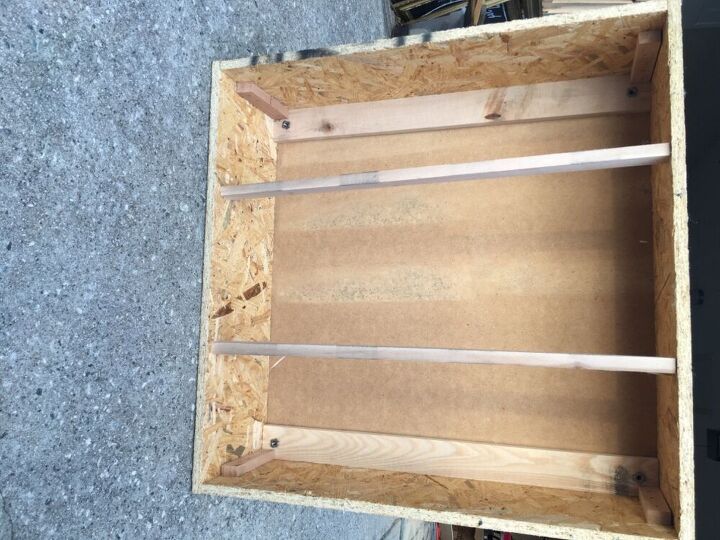
Once everything was stripped down I took it outside! I relocated those two boards to either side to maximize storage space, it’s 35” square, it it were more rectangle I would probably leave a center support. We usually only use the ottoman for feet and occasionally the dog will lay on it, so I’m not too concerned here. I also added the 1/4” plywood to the bottom using wood screws! I laid the ottoman on if of the wood, traced the size and took it over to the table saw to cutdown.

Here’s just a peak at all that storage space!! I’m so excited!
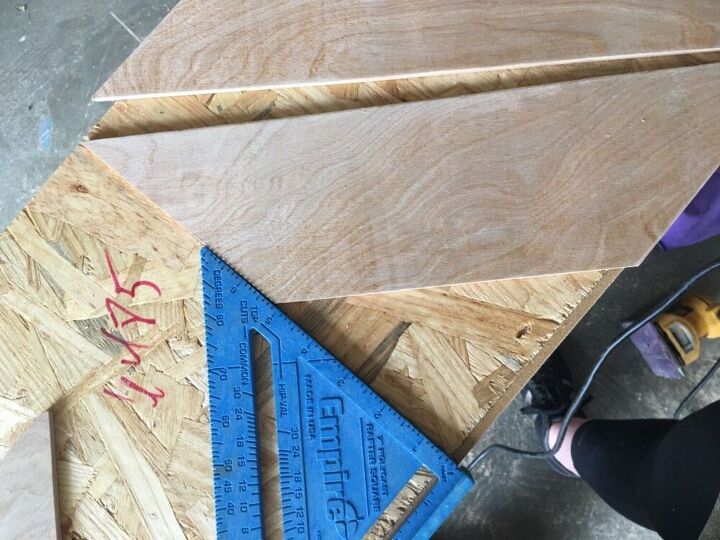
Now for the fun part. Initially I wanted to do a simple shiplap, then I saw a video on YouTube of a chevron wall treatment and I needed it in my life! But let’s start small! Ha! The center and the ends of the chevron will both be 45° miter cuts, so I cut one end at a 45°, found my center and lined the board up with the top and the center, then starved a line on the back side of the board to show my next cut. Not super exact, but it worked! I continued this method until the whole side was finished, then... attach!
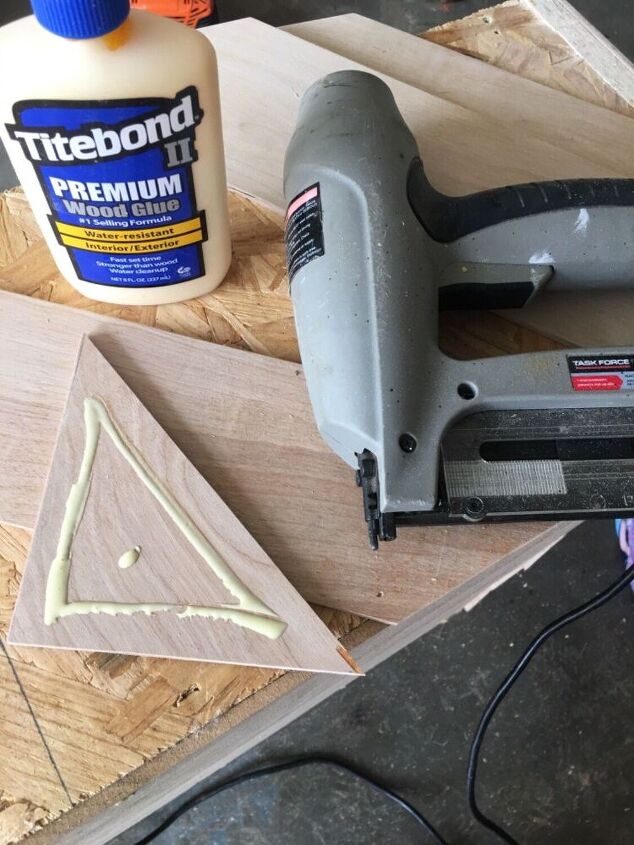
I would cut, then attach all the wood for each side to keep things organized. I used wood glue and brad nails to attach each piece. Keep the nails to the edge so that they can be covered with trim at the end!

My edges were far from perfect! Pretty sure my laser in my miter needs a tweak or two! But that’s okay it’ll be covered in the end!
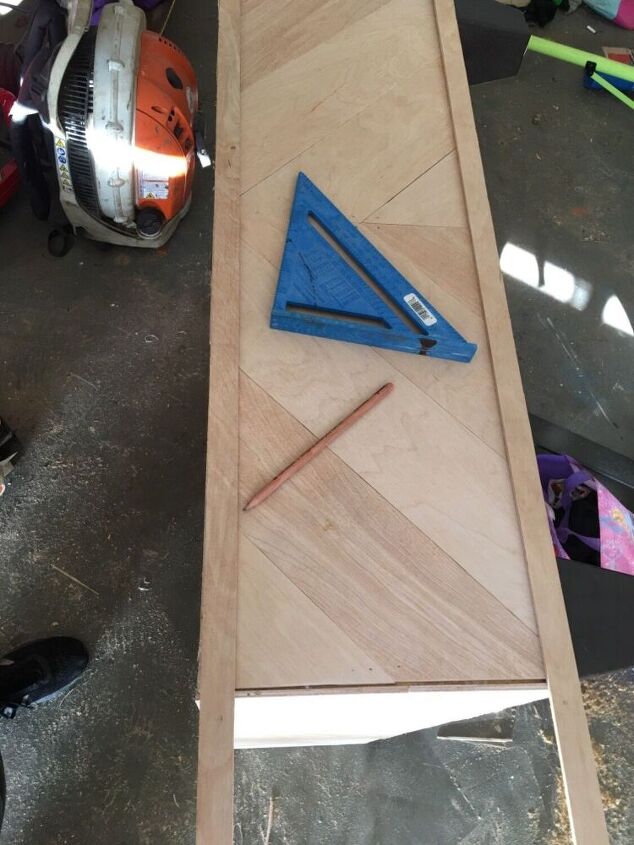
I ripped down some more of the same 5 mil underlayment into 1” strips to edge it off! Cut those to length and attach the same way! Glue and brad nails! Well patch these in the end!
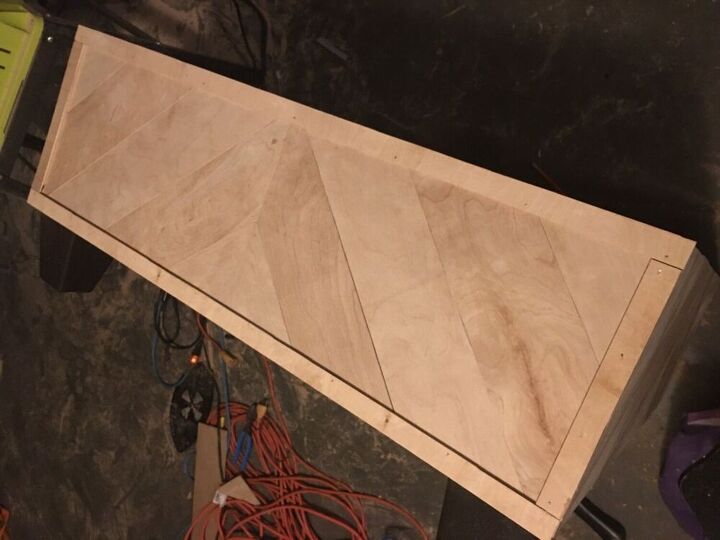
The finished side! 1 down 3 to go!
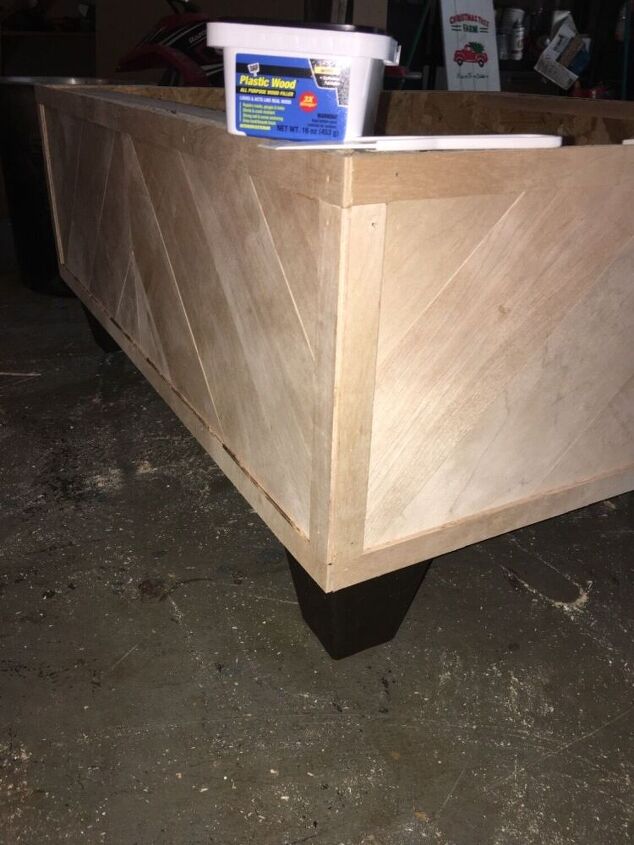
I used wood filler on the corner and to patch the brad nail holes, then sanded to a 220 grit prior to staining!
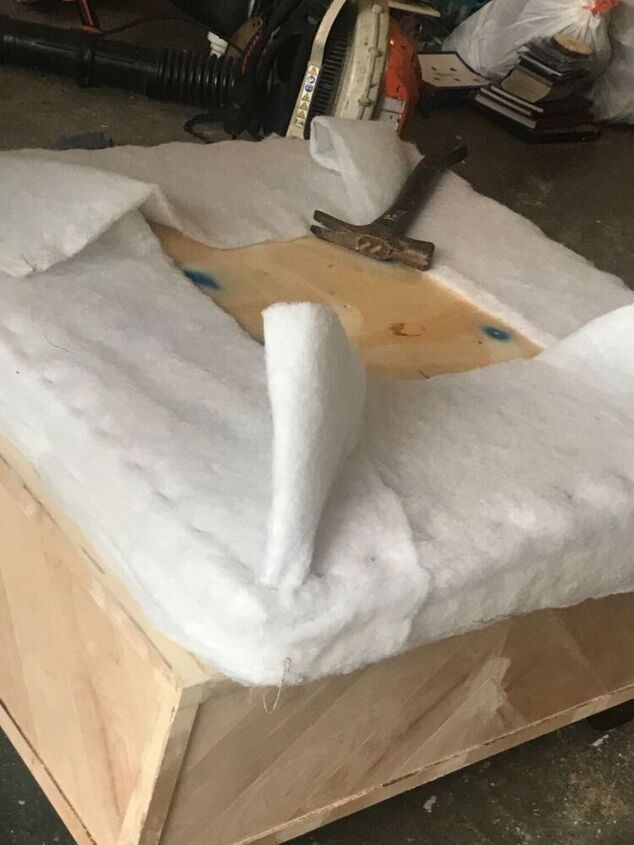
I somehow only got one photo of the upholstery process, but start with your foam and batting, pull it taught, and staple about an 1/2 from the edge. Cut off excess batting, repeat the same process with your fabric, making sure to pull it tight in between. I like to do one side, the the one across from that one then either edge. I fold and staple my corners last. Sorry for the lack of photos! There are tons of videos on YouTube that give great demonstration of the upholstery process and that’s honestly how I did my corners!
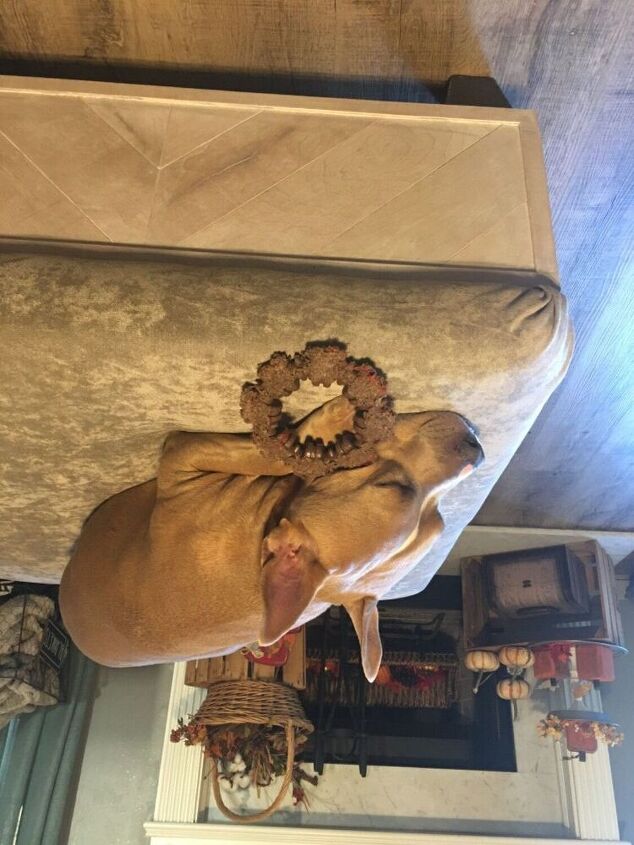
Its got the queens seal of approval already! I hope you enjoyed this tutorial! If you have any questions feel free to comment!


Comments
Join the conversation
-
Great save. Love the chevron sides. Lots of storage there. Your PUP approves. Great job and share
-
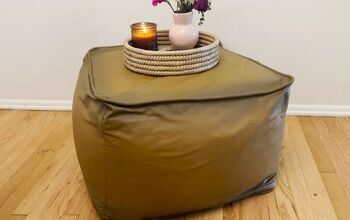
Wow! Great tutorial on a beautiful project. I have a leather ottoman that would be perfect for this treatment!


Frequently asked questions
Have a question about this project?