


How to Build a DIY Planter Box

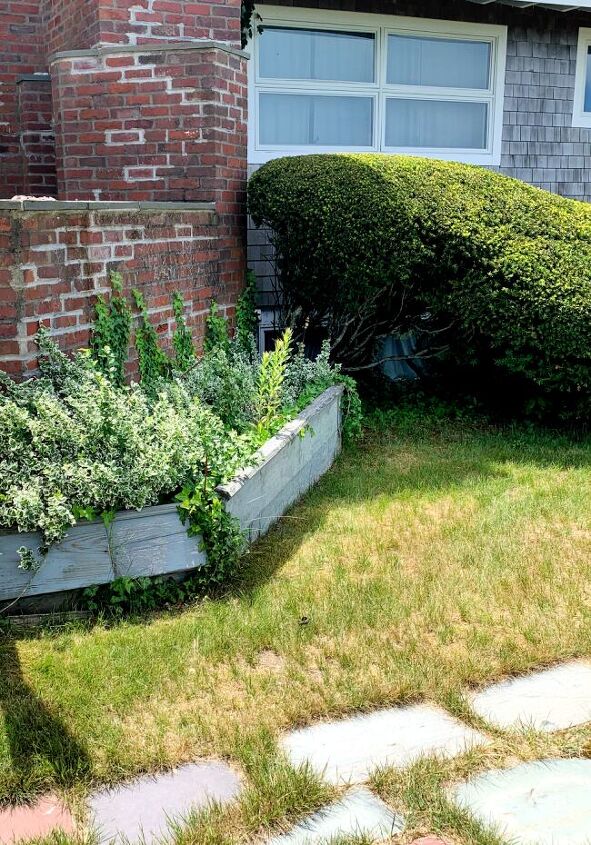
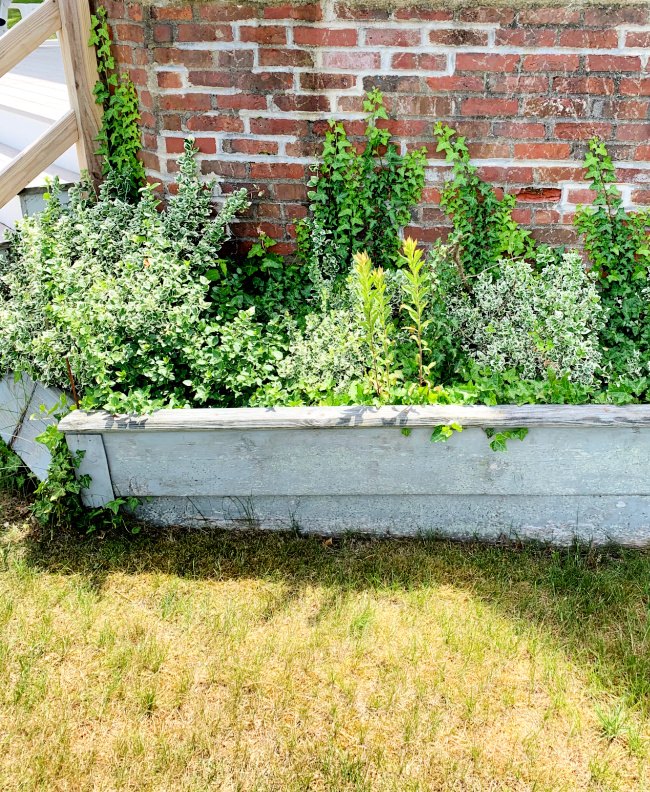
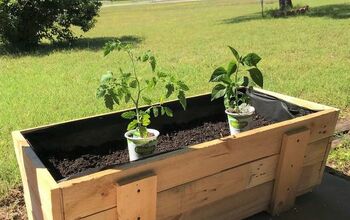
Just in case you were wondering, this is NOT the after.
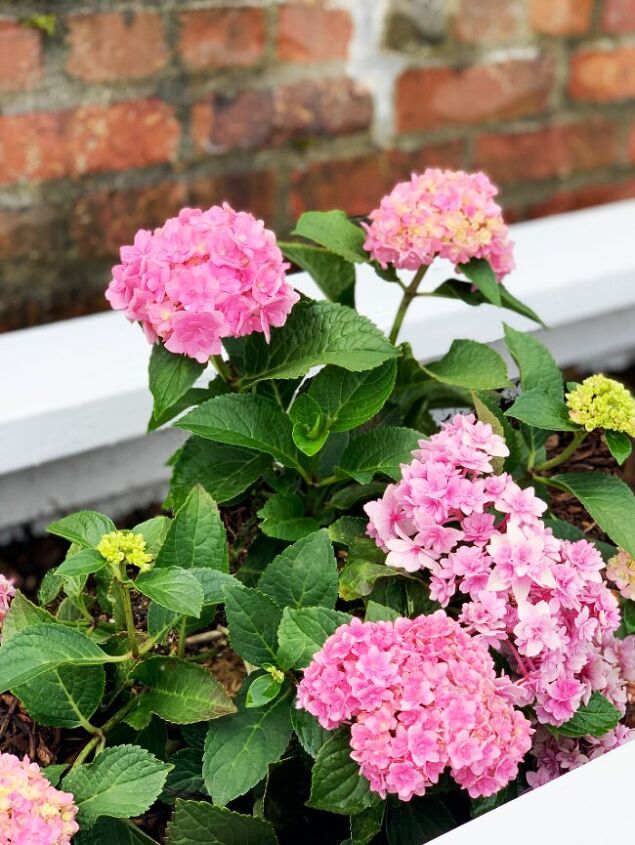
This is not the beautiful new planter box overlooking the ocean that is currently full of pink hydrangeas.
It’s the before.
We actually built this planter years ago at the beach house.
Before we had a blog.
Before we knew anything about DIY.
Before we knew how to build a planter.
We just decided one day that my mother needed a planter box and we built one with scrap wood from the basement. I’m actually kind of patting those long-ago selves on the back for the fact that it was still standing more than 15 years later.
But it was time.
Time for a change.
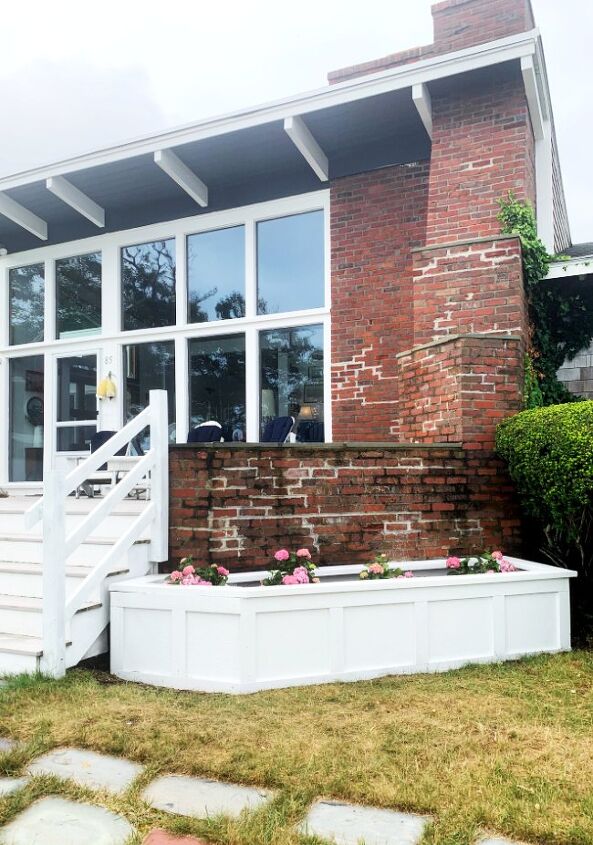
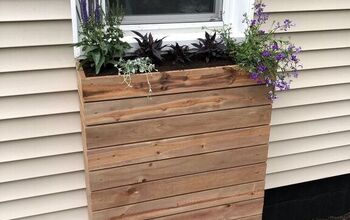
So a couple of weeks ago when we were at the beach house we built a new planter.
One that looks like this.
It’s like we’ve learned a few things in 15 years.
Things we want to share with you.
Here’s the DIY.
Here’s the step-by-step.
Here’s the story of how we built a planter with the ocean breezes in our hair.

step 1: rip out the old planter
We started the process ripping out the old planter.
Most of the plants in the planter were replanted in other beds.
The original planter had a false bottom and dirt had collected under there. We removed the old wood and the piles of dirt and leveled the ground to have a good foundation for the new planter.
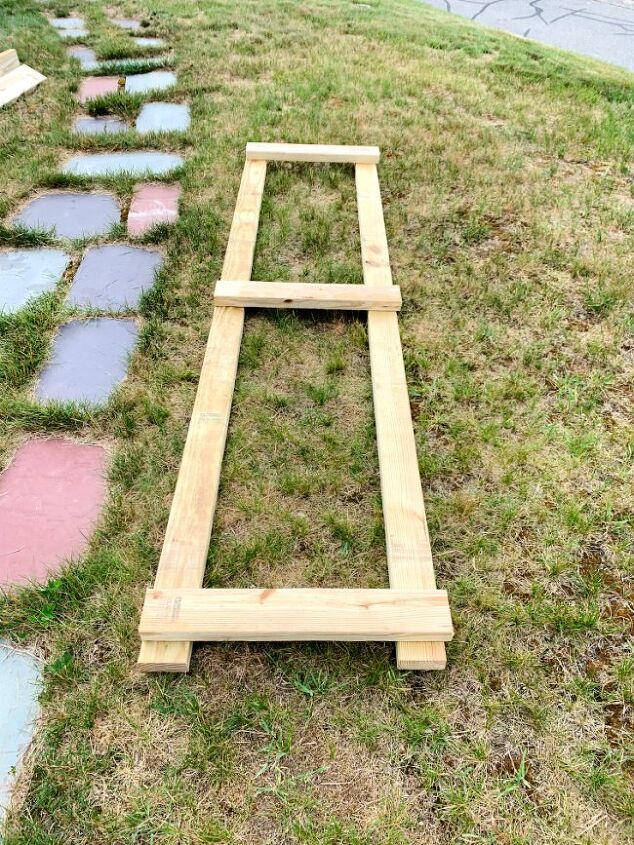
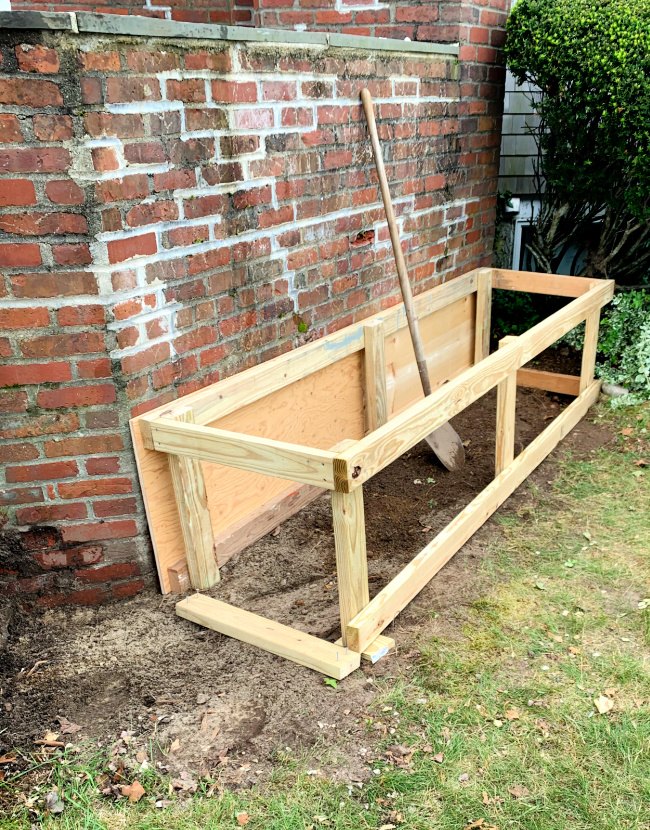
step 2: build a frame
We constructed the frame for the box.
The frame measures:
8′ long X 24″ high X 20″ deep.
The box was constructed in two parts. We started with this frame for the box and added an addition to the side of the box that was constructed later.
My husband wanted to be sure and let anyone know who is building this that you need to use treated lumber (something we did not do the first time around).
step 3: complete frame and add plywood
Here’s the frame being constructed in place.
See how the brick porch wraps around? That’s why we had to add the addition to the side of the box.
After we finished the frame, we added plywood to the back, front and three of the sides (we left the side next to the addition we were about to construct open).
Last time we didn’t add plywood to the back of the box.
Big mistake.
BIG mistake.
The dirt kind of eroded the brick away. This time we learned and constructed the complete box.
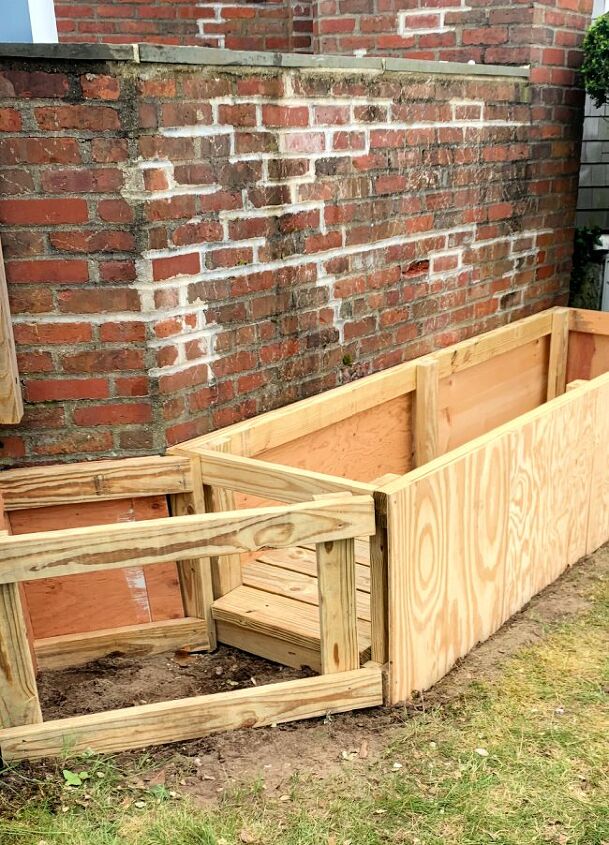
step 4: add addition to side of box
The next step was to complete the rest of the planter to wrap around the base of the porch.
The size of the addition was as follows:
4′ long X 24″ high X 20″ deep.
We built a frame and added plywood to the back, front and three of the sides (we left the side next to the rest of the box open as shown).
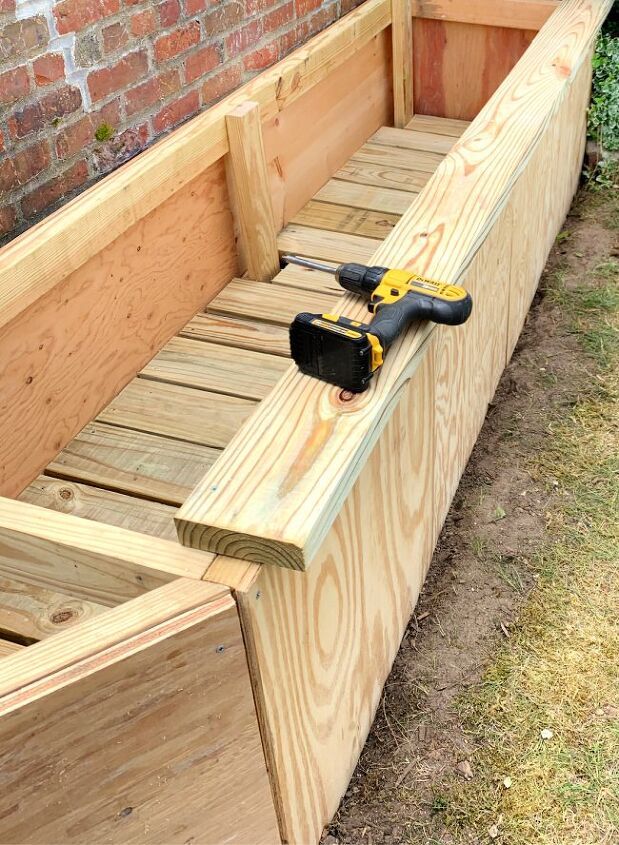
step 5: add bottom of box
The next step was to build the bottom of the box.
The bottom of the box is constructed from 1″ x 6″ pieces of treated wood cut width-wise.
We left spaces between the boards for drainage.
The boards were screwed into place with galvanized screws.
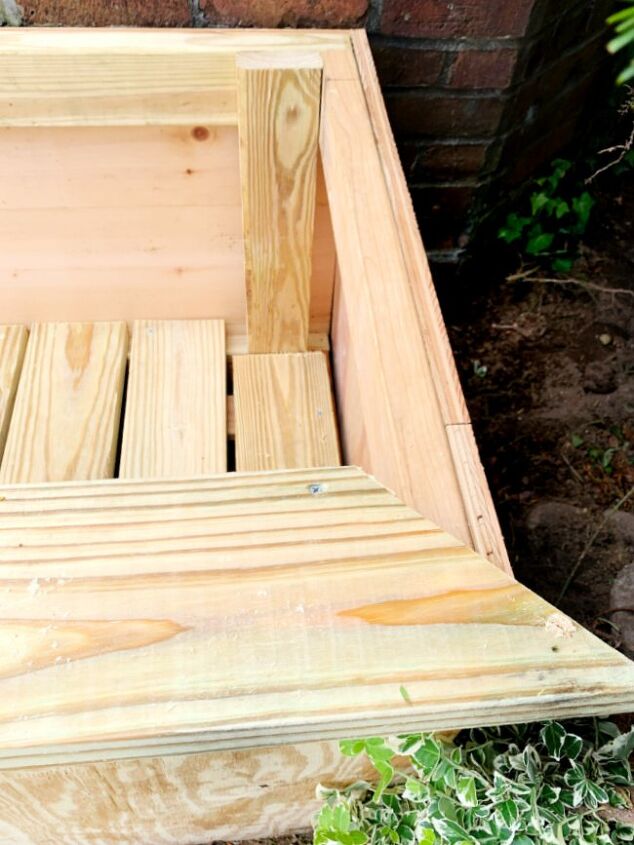
step 5: finish out the planter box with molding
We added 2″ x 6″ treated wood pieces to the top of the box.
They were mitered and screwed into place with galvanized screws.
The last step to the building process was to add 1″ x 4″ molding pieces to the front of the planter box to give it that classic Cape Cod look.
Now?
The box was constructed and it was time to paint.

step 6: caulk and fill in with wood putty
Make sure your boards are primed and caulk all around the edges where the boards connect.
Use wood putty to fill in any small holes.
Sand smooth.
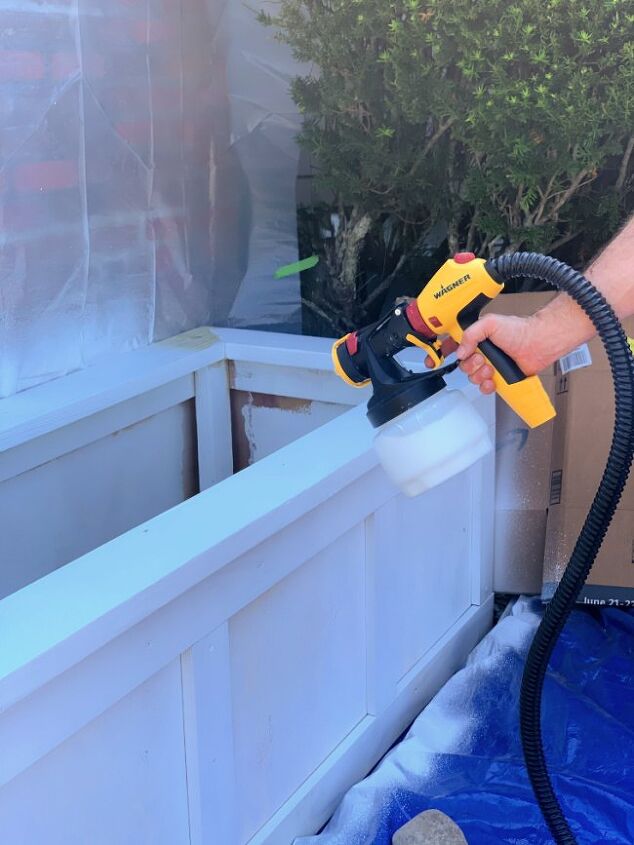
step 7: paint
Now you’re ready to paint.
We used a paint sprayer that made the job so much easier.
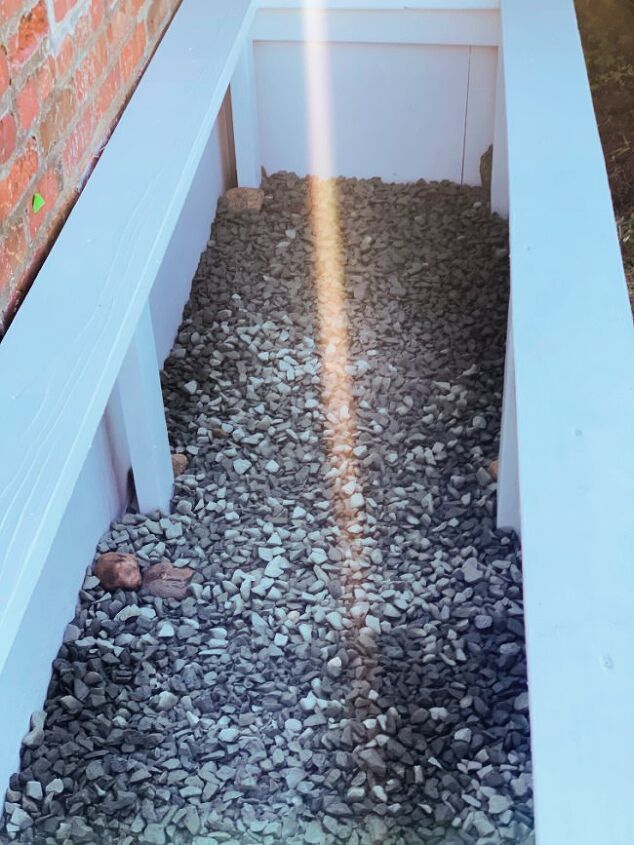

step 8: prepare the planter for planting
We started with a layer of rock in the bottom.
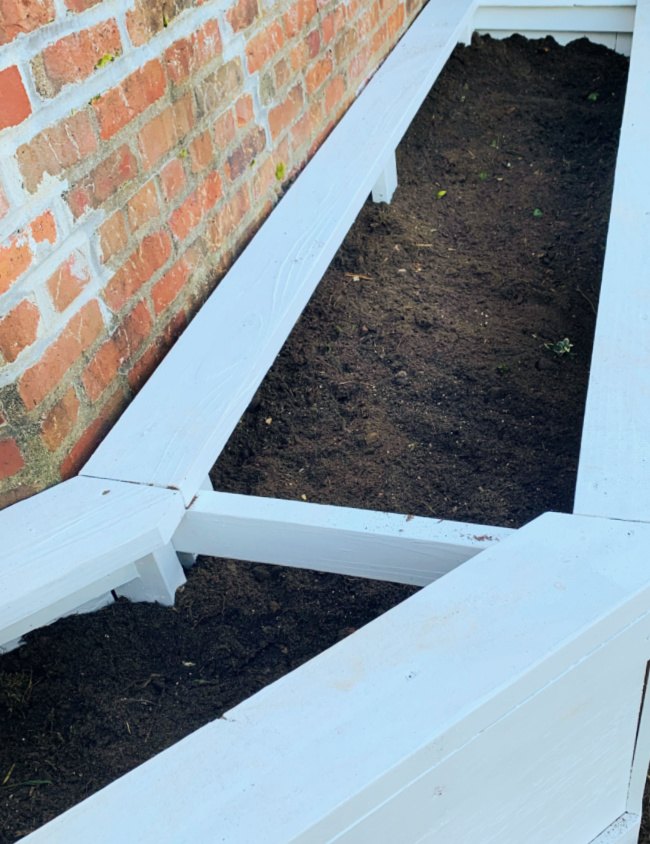
Then we added dirt and tons of plant food to help those flowers grow.
Then we planted several hydrangea bushes and finished it all with mulch.
And now?
The planter went from this.
To this.
Don't you love a DIY that saves money and makes the flowers look even better?
Here's to learning all the things to Do It Yourself.
If you liked this project, you might like these projects, too:
Comments
Join the conversation
-
I'm like you. I am not an all time diyer. I like your plant box because you did it yourselves. I am so OVER the NAY SAYERS. Great job!!😁🌺🌹


Frequently asked questions
Have a question about this project?
Since the planter rests on soil why was it necessary to build a bottom? Wouldn’t it have worked without one?