


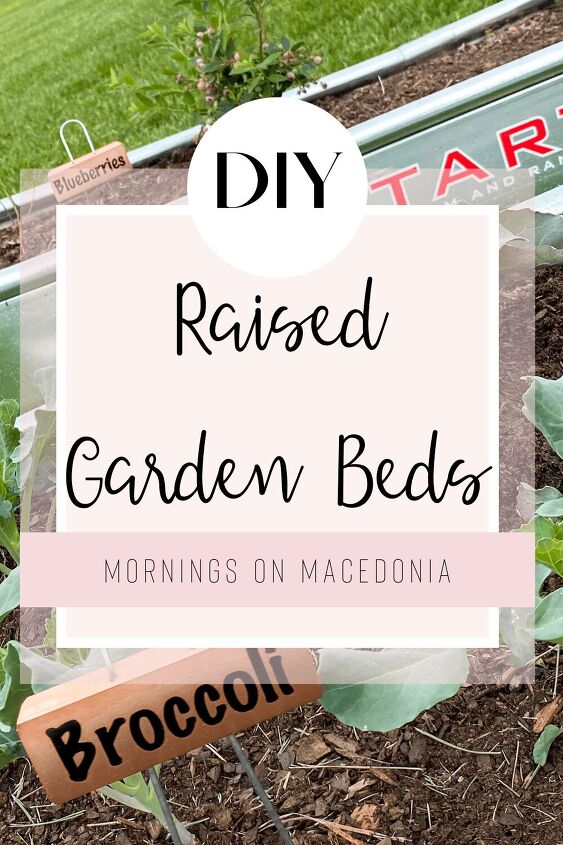
DIY Raised Garden Beds

We are trying something new out this spring- DIY Raised Garden Beds! I have never had my own garden before, besides my simple and easy DIY Herb Garden. So I am super excited to start growing my own fruits and vegetables. I thought it would be fun to share the whole process on how we started it here with you all.
This post contains affiliate links. Click here to read my disclosure policy.
Selecting a Raised Garden Bed
We had two options when it came to selecting a raised garden bed. We could either buy one as is, or build our own. There are pros and cons to each. The pros to building our own would be the way we could really customize it to our liking. The cons would be that it would be pretty expensive to build them and time consuming to complete them.
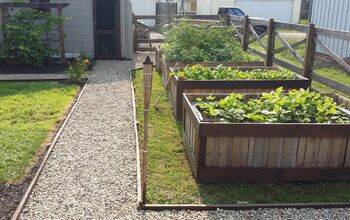
The pros to just buying a raised bed itself were that it was much easier, cheaper, and convenient. The cons to this were the annoying stickers that they put on the beds at the store. We decided ultimately though to just buy them from Tractor Supply Co instead of building our own.
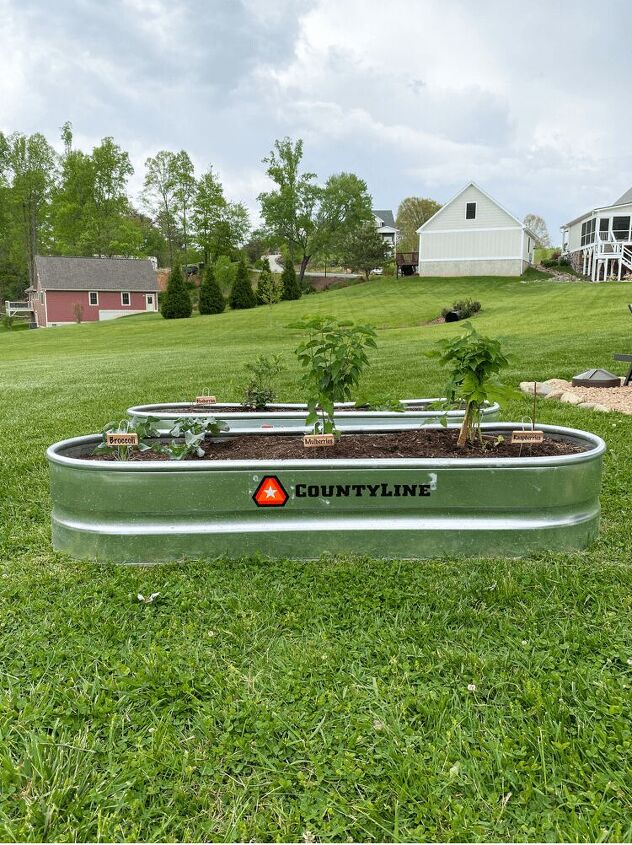
Another pro to this was that we got the beds to match our stock tank pool exactly. We bought our stock tank pool from there last year, so we were able to get the same brand for the raised garden beds too. I love how they all have the galvanized metal look to them.
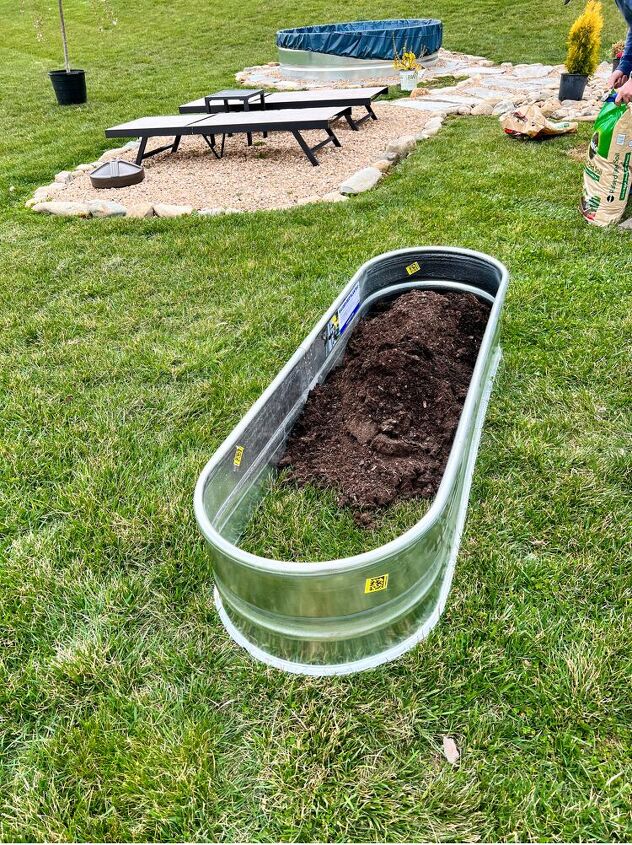
Preparing the Raised Garden Beds
We were, however, not able to get two of the same raised garden beds from Tractor Supply Co. One had a bottom to it and the other did not. Plus, they were two separate brands. So again, the con of the stickers not matching was something that my OCD self did not enjoy!
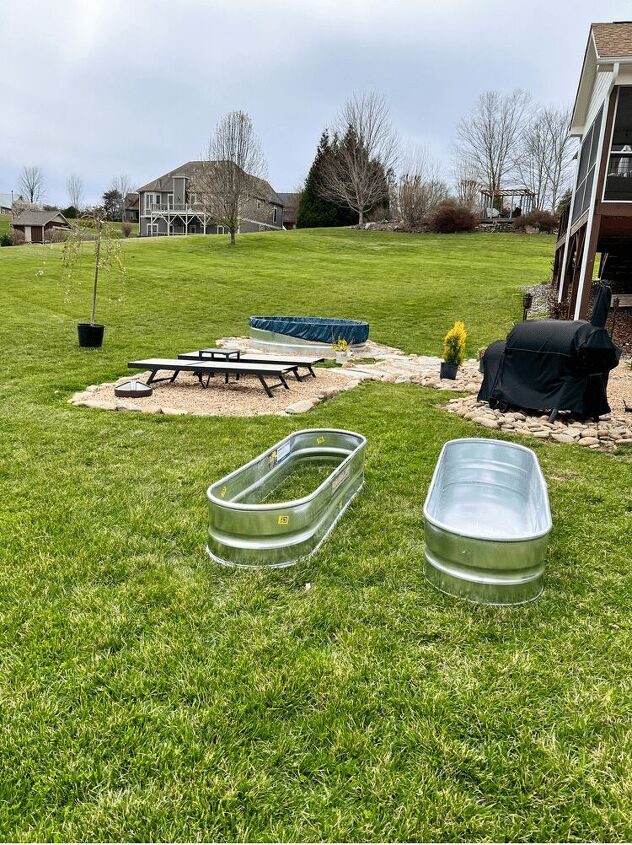
But since one of the beds did have a bottom to it, we needed to add holes for proper drainage. My hubby drilled some holes into the bottom of it before we added the gardening soil on top. And since the other one just sits on top the grass, it was already good to go!
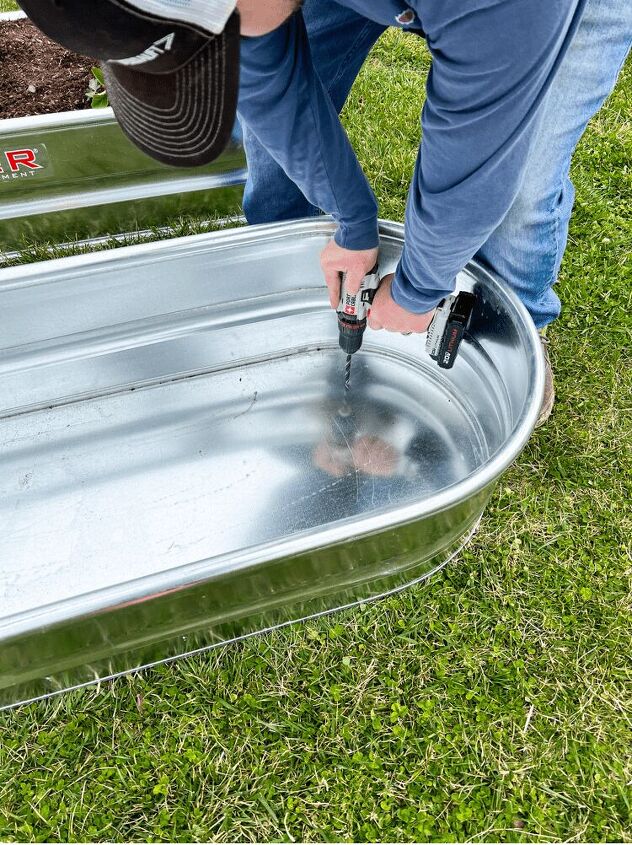
After the holes were drilled, we were then able to add in some gardening soil on top. We didn’t skimp with the soil and decided to use some high quality raised bed soil for this. And each bed took a total of six bags to completely fill up.
Planting in the Raised Beds
The last step in these DIY Raised Garden Beds is to start planting obviously! We are starting small and only doing two right now, mainly filled with fruit. But later on in the summer, we want to add more beds and do more vegetables.
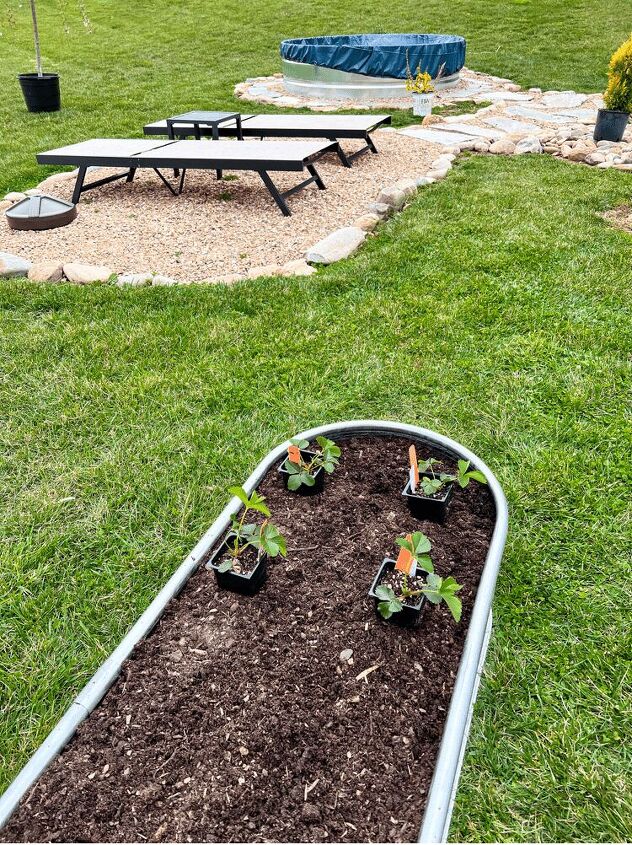
After I got some plants, I spaced them out and put them on top of the bed before planting them. I wanted to make sure I spaced them out properly. I also did some research to make sure I was planting the correct things together.
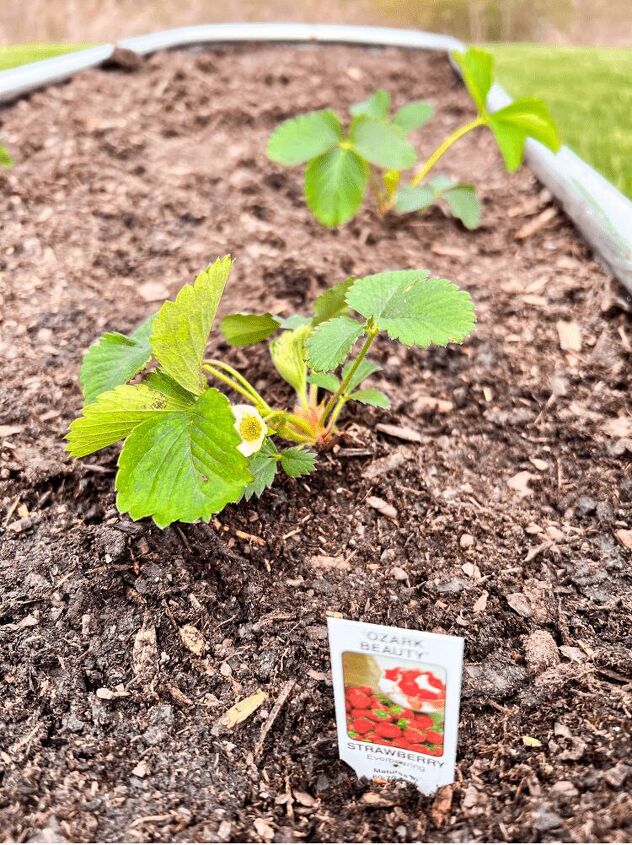
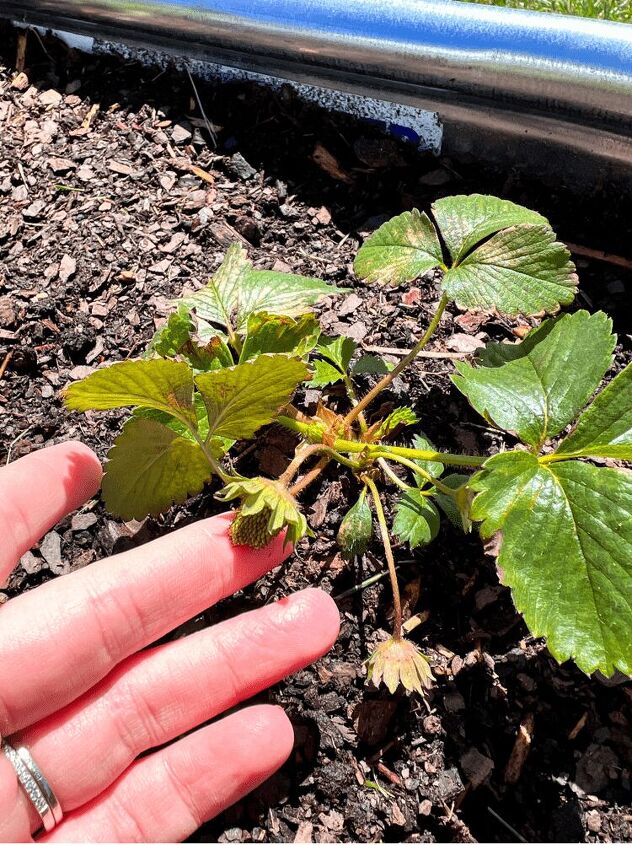
For example, I got strawberries, raspberries, and blueberries. But, you shouldn’t plant strawberries and raspberries together in the same bed. However, you can plant strawberries and blueberries together. So no matter what plants you get, be sure to do your research before you plant them in your raised garden beds together.
Well, I cant wait to document this whole process with you guys throughout the summer. I am hoping we have a very bountiful harvest and that our efforts will be well worth it. But, of course, I will let you guys know either way. Do y’all like to garden too? If so, give me all the tips and tricks since I am a complete newbie!
Resources for this project:


Comments
Join the conversation
-
I like the tank idea!!
-
I just purchased online a metal raised bed like this for only $39.00! Had to put it together but I love it!!!


Frequently asked questions
Have a question about this project?
Tractor Supply at $149.99 is for a 4' x 2' x 1'. Your tanks look longer than that. ???
Do you drill holes in the bottom of the metal water tanks?
What is the purpose of these? The deer groundhogs and rabbits can still reach plants.