


How to Build Open Shelves Without Brackets


In this tutorial, I’m going to teach you an easy way to build open shelves without spending extra money on brackets or mounting hardware. This particular method is ideal when the shelves will be between two walls.
- Finish Nailer
- Miter Saw
- Table Saw
- Tape Measurer
- Wood Glue
- Wood Stain
- Sand Paper
- Wood Filler
- 1 1/4″ Finish Nails
- 2″ Finish Nails
Wood
- 1×12 Oak Boards
- 1/2 x 1/2″ Square Dowels
The first thing you need to decide is how many shelves you need or want. This will mainly depend on how much vertical space you have. In our guest bathroom, the space where I put the shelves extended all the way from the floor to the ceiling. So I have 10 ft of vertical space to work with. But obviously, you don’t want to place your first shelf too low.
I decided to place my bottom shelf 32 inches off of the floor, and each shelf would have a 15 inch space between them. There really isn’t a right or wrong when it comes to your spacing. Think about what kind of things you will be placing on the shelves and how much space you will need between each one.
I decided to build three shelves, knowing that if we ended up needing more storage, I could always add a couple more above.
Next, I measured the distance between the two walls where the open shelves would be. Using a tape measure, I placed one end in the inside corner and then extended the tape to the other inside corner. Then I came out about 12 inches from the corners and measured again to make sure the walls were not out of square.
If they were out of square, I would need to cut the ends of the oak boards at a slight angle to avoid having a noticeable gap between the end of the shelves and the wall.
You can certainly stain the open shelves after you install them, but I like to do it before. That way I don’t have to worry about getting stain on the walls. I used a stain from Olympic called Driftwood Gray.
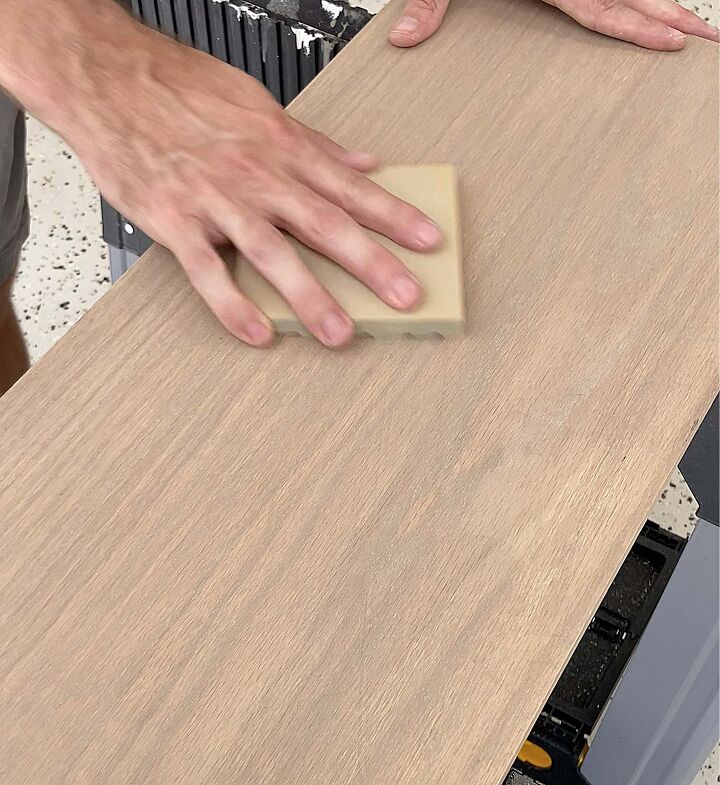
I used a clean rag to wipe the stain on the 1x12s and 1x3s. Then I let the boards dry completely before sanding with s fine sanding block. Then I applied a coat of satin polyurethane.
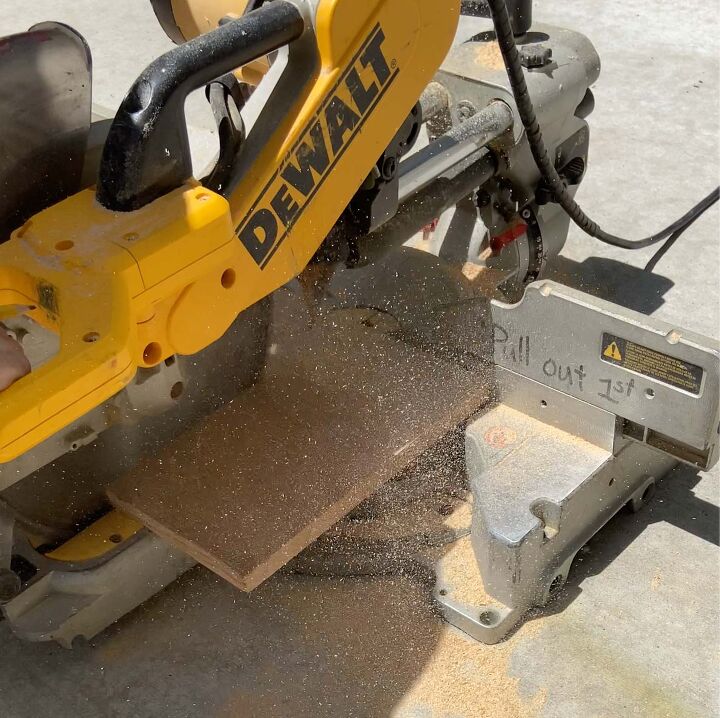
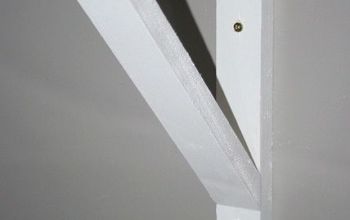
I started by cutting the square dowels. I cut two pieces 11 inches long and one piece 22 inches long. These will be attached to the walls to support the shelf.
Using the measurement from step 2, I cut two pieces of the 1×12 23 inches long for the top and bottom of the shelf. Then I cut a piece of the 1×3 the same length for the front of the shelf.
I used a table saw to cut the 1×3 length-wise down to 2 inches to match the thickness of the top and bottom pieces plus the thickness of the dowel.
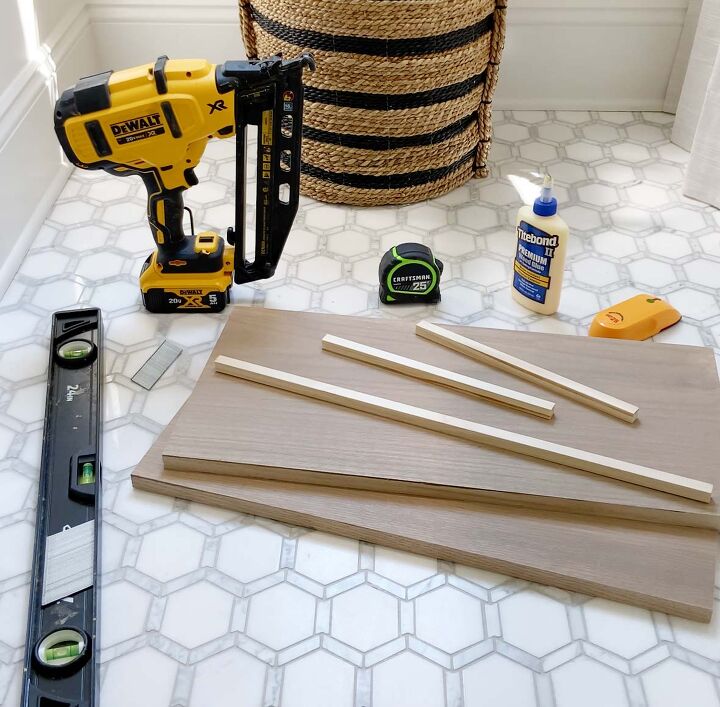
Once I had all of the boards cut, I gathered everything I would need to start installing the shelves.
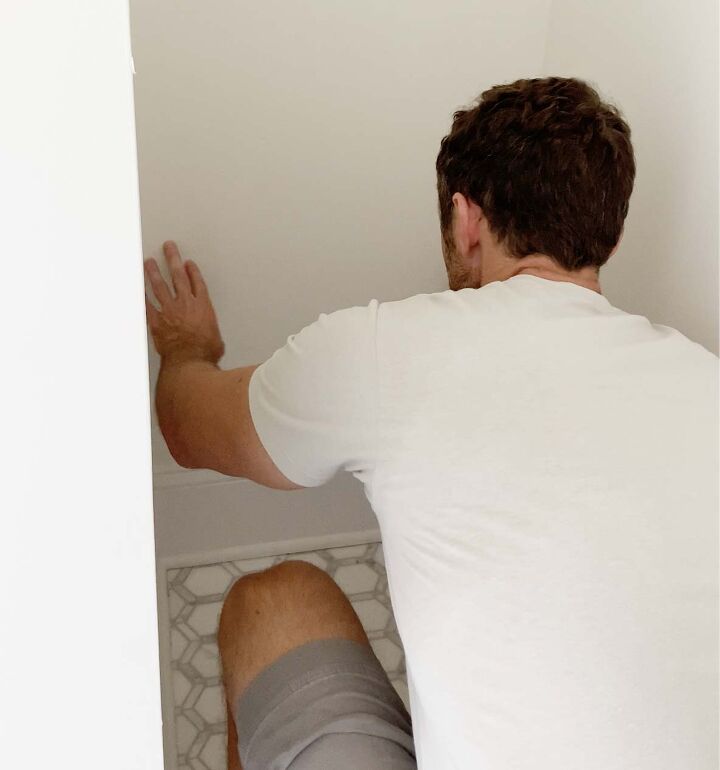
First, I measured and marked 32 inches from the floor for the bottom shelf. Then I used a stud finder to find the studs in the wall and marked each one.
Since the dowels on the side walls only intersected one stud, I applied some wood glue to the back of them, before using 2″ finish nails to fasten them to the wall. I used a level to make sure all three of the dowels were level and lined up with each other.
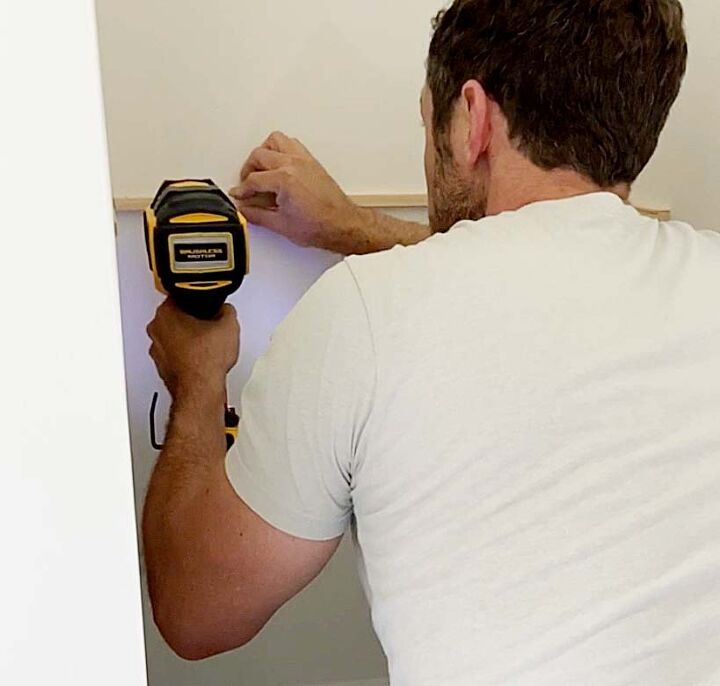
Once the square dowels were securely fastened to the walls, I added the top piece of 1×12 oak. I applied a little wood glue around the perimeter where the board and dowels would touch.
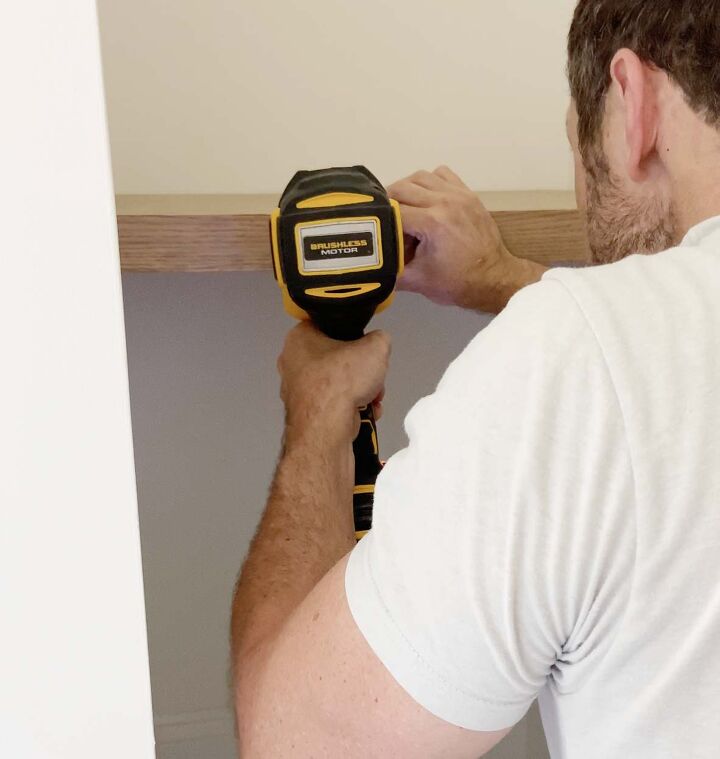
Then I placed the board on top of the dowels and used 1″ finish nails to nail the board to the dowels.
I did the same for the bottom piece of 1×12, followed by the front piece.
Once I was finished nailing, I used wood filler to fill all of the nail holes in the open shelves.
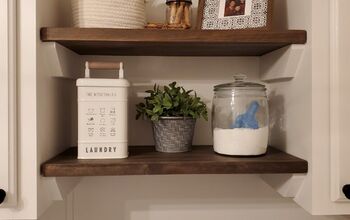
And that’s all there is to it! For additional shelves, repeat steps 4-7.
Comments
Join the conversation
-
Love this method of creating and installing! Will definitely try it between two of our kitchen cupboards for open shelving. Thank you!


Frequently asked questions
Have a question about this project?