


Easy DIY Shelf Brackets

This DIY was created from necessity for my specific shelving obstacles I had to over come.
In the first photo you can see I had purchased metal shelf brackets and once I put them up I realized how unlevel and bent they were. My shelves were tipping forward and as you can see, the bottom shelf pulled out my large wall anchors. Creating another issue...giant holes in my wall.
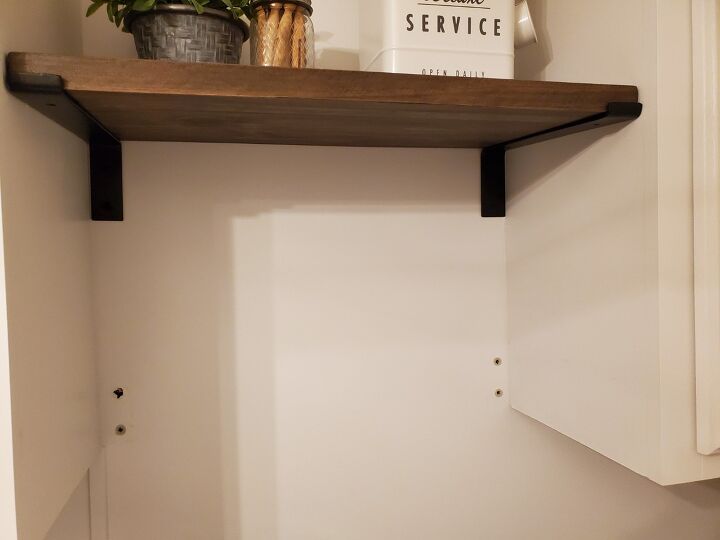
I knew I needed new brackets for my 12" shelf boards so I removed the lower shelf to see what I was dealing with. It was also the shelf that was tipping forward the most.
I love the look of black brackets and have them in other areas of my home and they have all held up really well.
NOTE- The black metal brackets were purchased from Hobby Lobby. Sadly I can't recommend them. I have others purchased on Amazon that are much better quality.
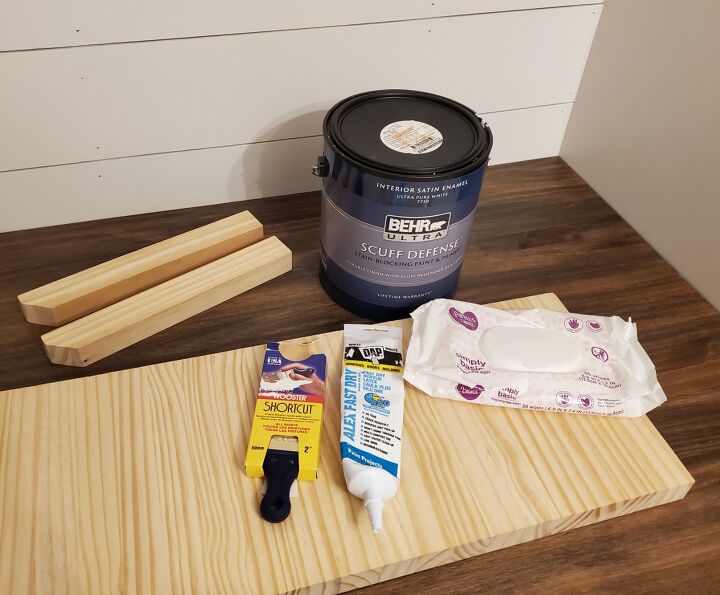
Material List:
- Glued Panel
- Level
- Table saw
- Kreg table saw precision miter gauge system (fence)
- Sandpaper - 120 grit
- Drill
- Screws
- Paint
- Paint brush
- Caulk
- Baby wipes
Also posted...
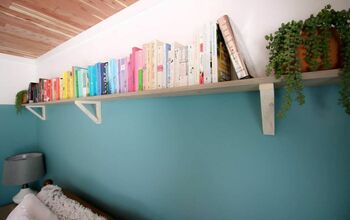
TOP LEFT SIDE- The first brackets we made that weren't tall enough to cover the holes left from the old bracket anchors.
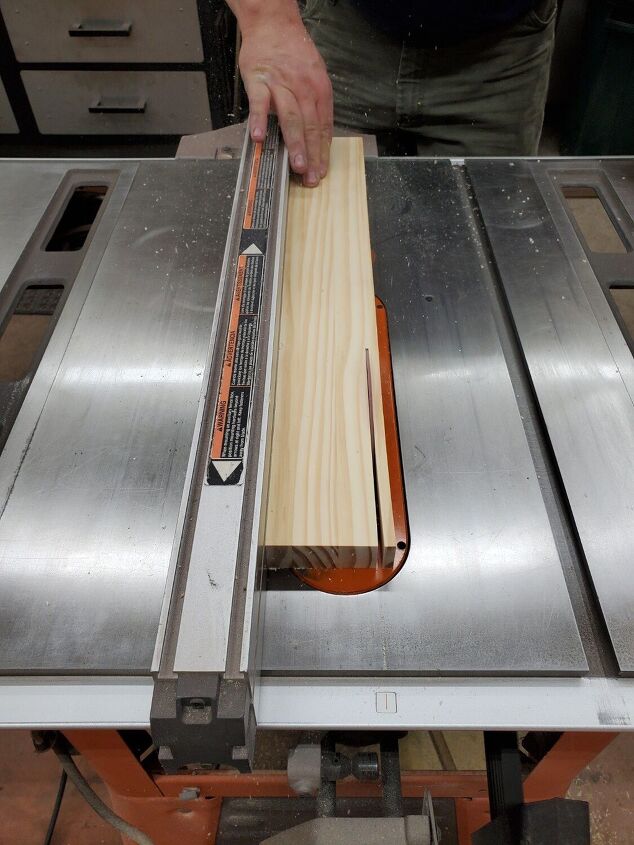
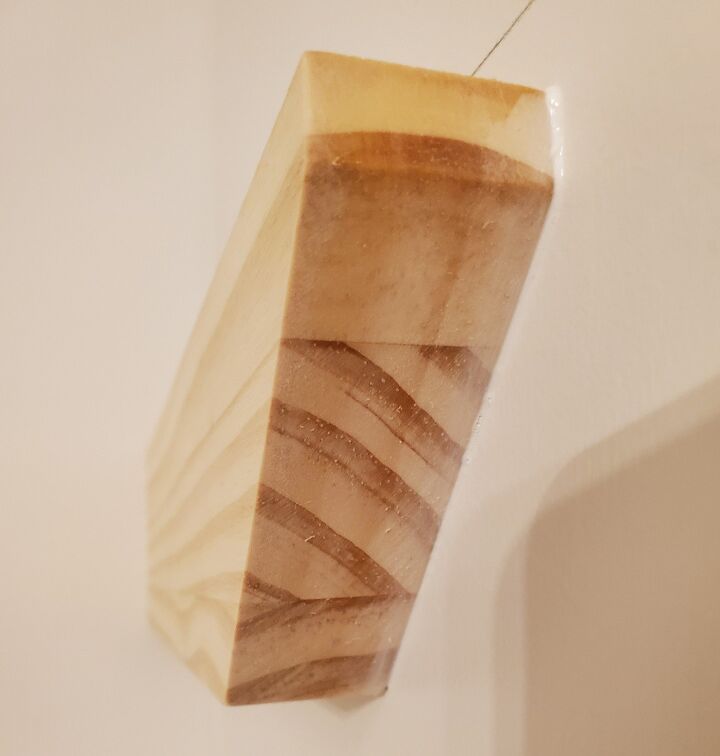
Start by ripping down the boards on the table saw. The dimensions you make your brackets will depends on your specific shelving need.
We ended up making 2 sets of brackets once I realized the first set was not going to cover the holes the anchors made in the wall.
For our needs the brackets are 1 1/8"W X 11"L X 3.5"H

Using the fence we cut the 4 brackets down to 11 inches.
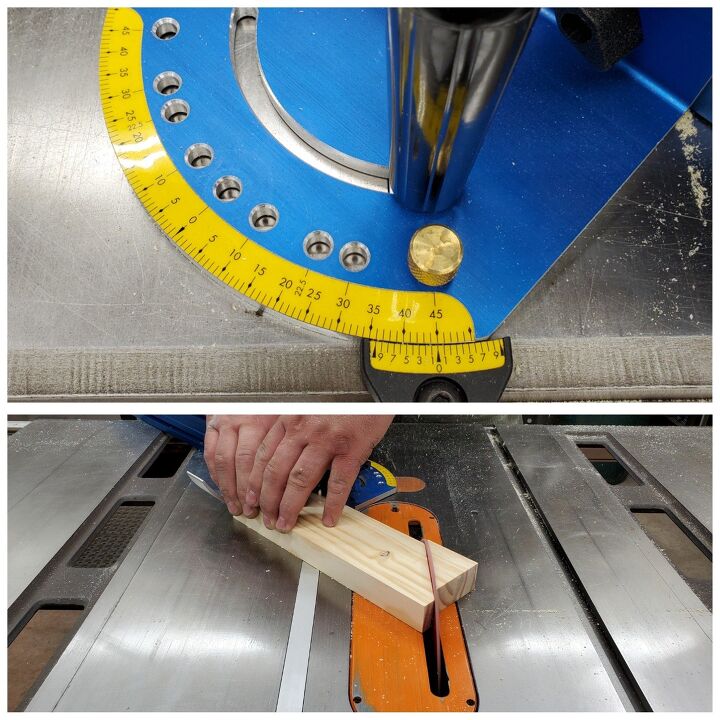
Then turn the fence to cut a 45 degree angle on one end. We did this to make the bracket have a little style and not just be a square block of wood. We left a half inch before the cut. This step is optional.
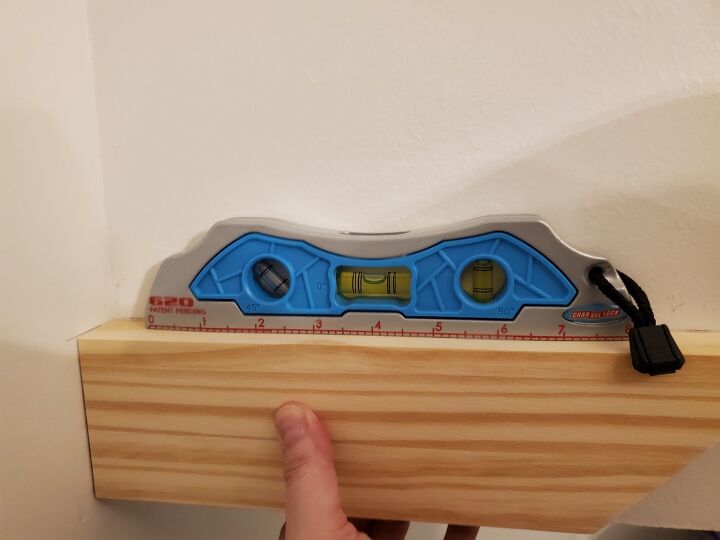
When deciding where to put the bracket use a level and make marks on the back wall and the cabinet so you will know where to hold the bracket when screwing it onto the cabinet.
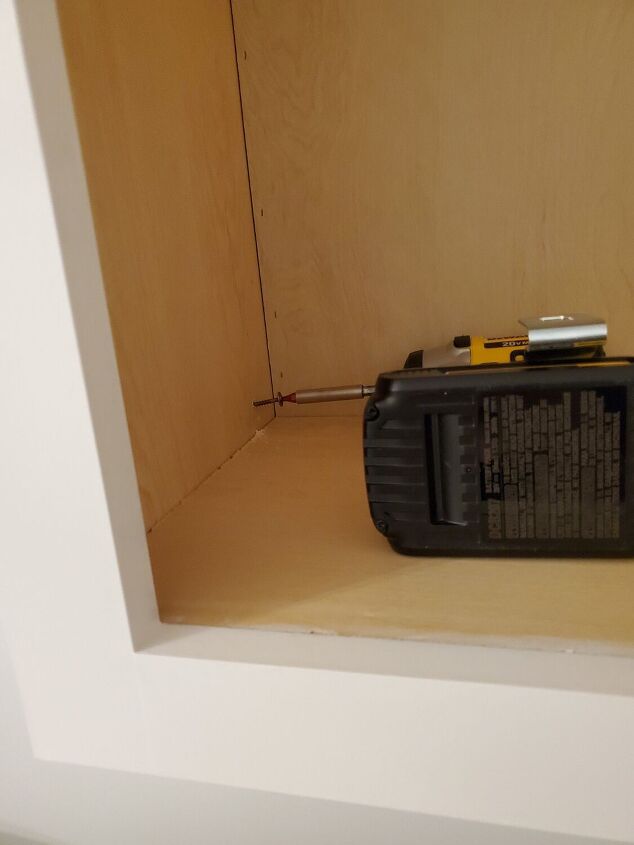
I wanted to screw the brackets right to the cabinets and not have to worry about hitting a stud in the back wall. I used 2- 1 1/4" screws to hold up each bracket.
NOTE- The length of the screw will be dependent on how thick your cabinet wall is and how wide your wooden bracket is.
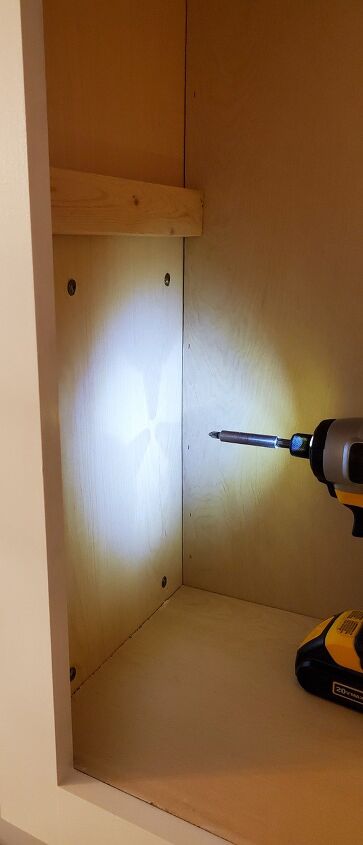
Inside the cabinet you can see the screw heads but they do not interfere with the function of the cabinet.
Once the brackets were in place I laid my shelf board on top and made sure I felt everything was secure and safe for heavy objects.
I could easily add another screw per bracket if I felt it needed it.
I wanted to close the gaps in between the cabinet side, the shelf bracket and the wall. I used caulk and wiped the excess away with my finger and a baby wipe. For me, baby wipes are really the best clean up tool when using caulk.
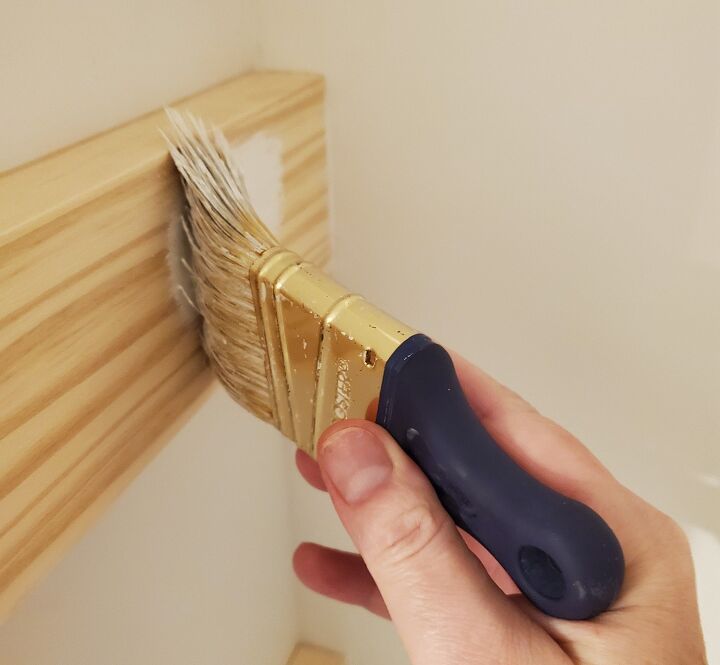
I let the caulk dry for 30 minutes and then painted the brackets. You could paint them first but I like to paint over caulk so they are easy to clean.
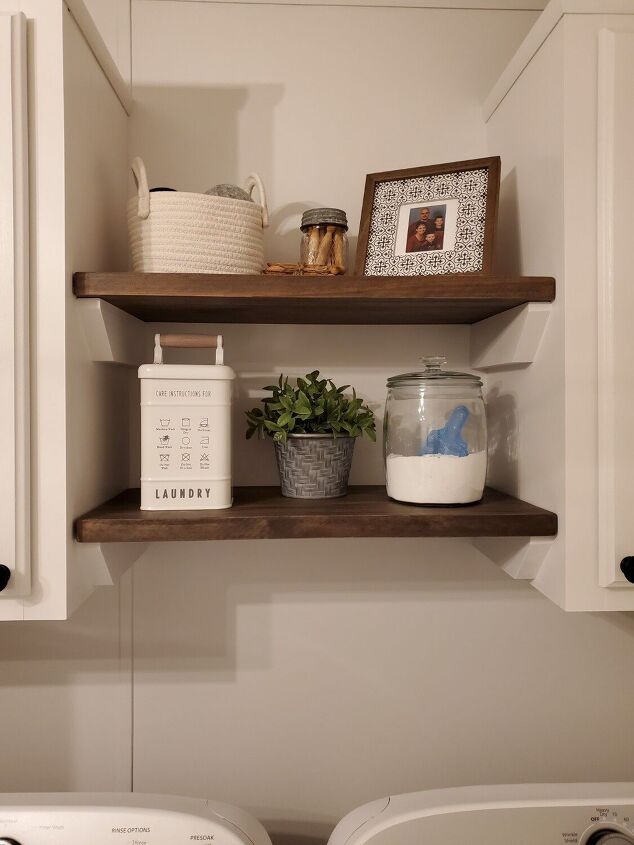
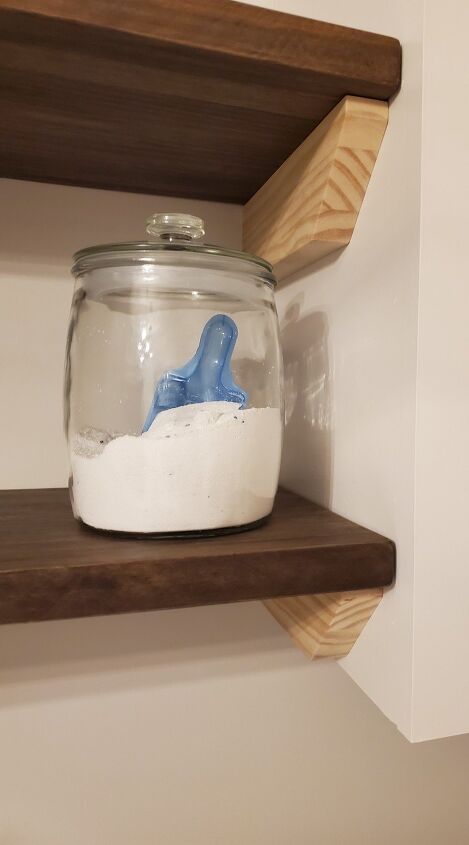
I love the finished shelves! The brackets blend in well with the cabinets & walls.
The best part...the shelves are level, secure and can hold a lot more weight. Functional and great for decor!!


Comments
Join the conversation
-
The supports virtually disappears 🙀, beautiful!
-
This is exactly the way shelves were put in to closets in houses built in the 60s. Same cut off on the end. Then wood dowel for hangers attached to walls under shelf. I wish they still did closets that way. Now the just put up those metal rack things that I absolutely hate!


Frequently asked questions
Have a question about this project?
Why not consider metal “L” brackets or corner brackets/braces that simply screw into to get the hidden option, and create a shelf that is flush with the bottom of the cabinet? Then you keep the floating shelf look. No painting, no cutting wood, a quick $5 solution? You only need a phillips head screwdriver and the level. It should be adequate to support atleast 20# per shelf.
Your option is certainly stronger —heavier items will be well supported. Stronger support can also be accomplished by mounting horizontal support boards to connect the cabinets then slide the shelf on top of the supports to achieve a cohesive built in “single unit” appearance.
If you are a renter, the option this poster chose will permanently damage/alter the external appearance of the cabinets. Know that going forward. The bracket option DOES NOT.