


How to Make Wooden Shelf Brackets
Want the look of a chunky wooden triangle shelf bracket without spending much money? They are easy to DIY!
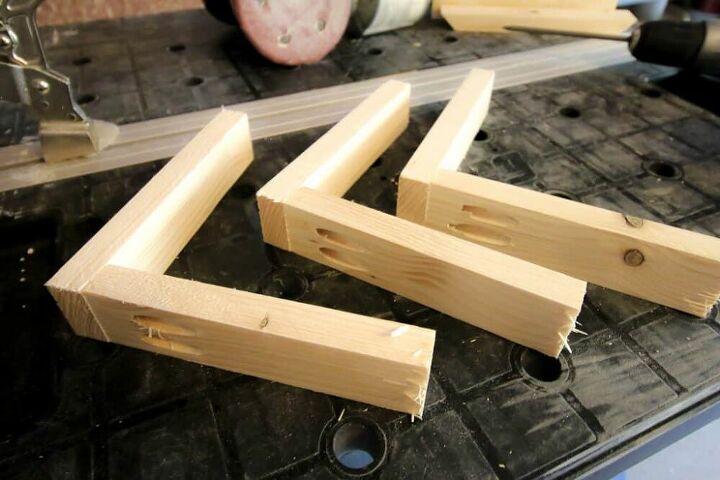
- We used 1×3 lumber for these brackets, meaning they are 3/4″ thick by 2 1/2″ wide.
- Honestly, if you just wanted to make one or two brackets, you could use scrap pieces of wood!
- For each bracket, we cut three pieces- 7″, 6 1/4″, and 9″ (this one being beveled at 45 degrees on each end and the 9″ being the longest side.
- In the 6 1/4″ piece, we drilled two pocket holes and then attached this piece into the 7″ piece.
- The Kreg pocket hole screws make this a really heavy duty bracket!
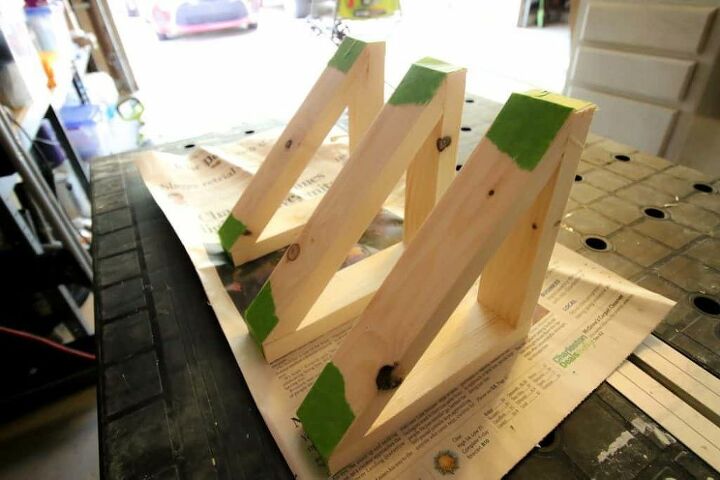
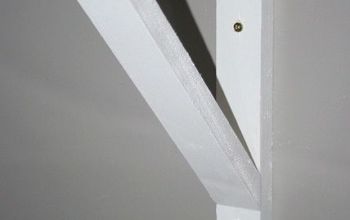
Spread wood glue on the two cut edges of the 9″ piece and secure that to the angle of the other two pieces.
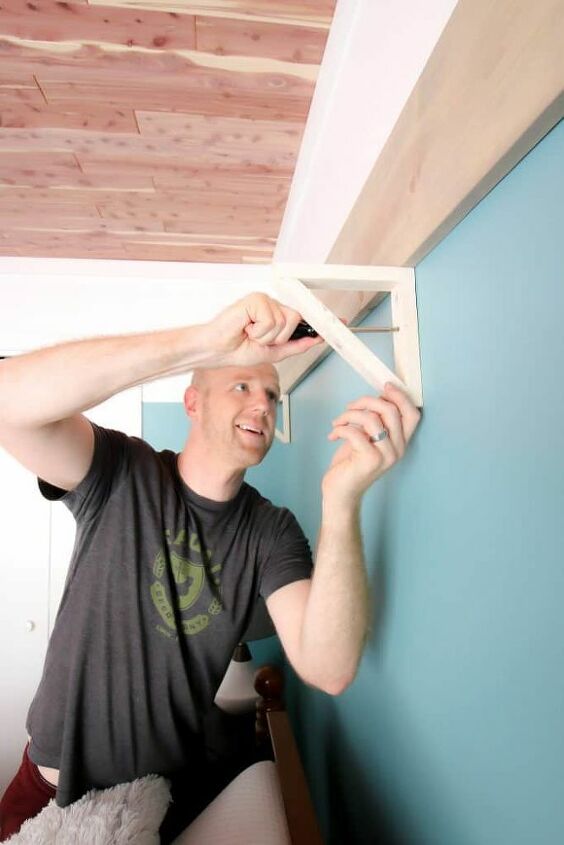
Pre-drill holes and then screw your brackets into the wall. We had a hard time fitting a drill into the triangle so had to use a screw driver, which was slow moving but fine since we pre-drilled the holes.
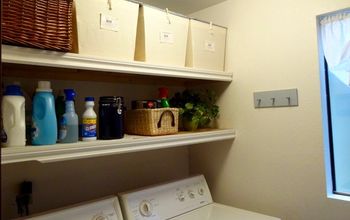
Be sure to hang them in a stud OR add anchors so that your shelf doesn't rip off the drywall.
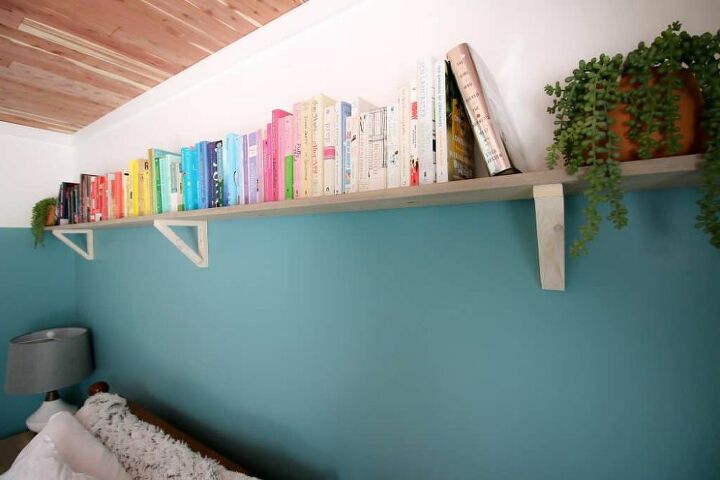
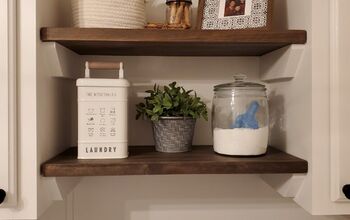
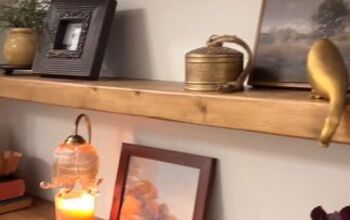
Lay the shelf across the top and enjoy your new shelving! You do not need to attach the shelf to the bracket, but if it makes you feel better, you could definitely use a nail gun to add nails from above down into the bracket.
Resources for this project:
See all materials


Comments
Join the conversation
-
Thank you for sharing!!
-
excellent post I love how they make clear the subject to be confused and the skills of the person without a doubt that leaves me amazed


Frequently asked questions
Have a question about this project?