


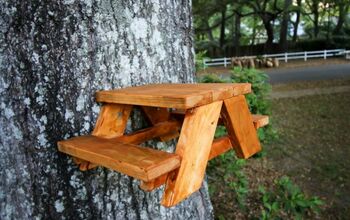
DIY Small Animal Hay Feeder For Rabbits & Guinea Pigs
Here's how to make your own wooden small animal hay feeder for $2 with supplies from a craft store. Don't spend $25 on buying a similar one when making your own is so easy!
We have seen a similar hay feeder on the YouTube channel Little Adventures and wanted one for our guinea pig.
He wasn't eating much hay from the store-bought rack we had hanging from the side of his cage.
When I went to look at buying one I was appalled at how much they cost! I figured I could make one from supplies from the craft store (we went to Michaels) and I was right!
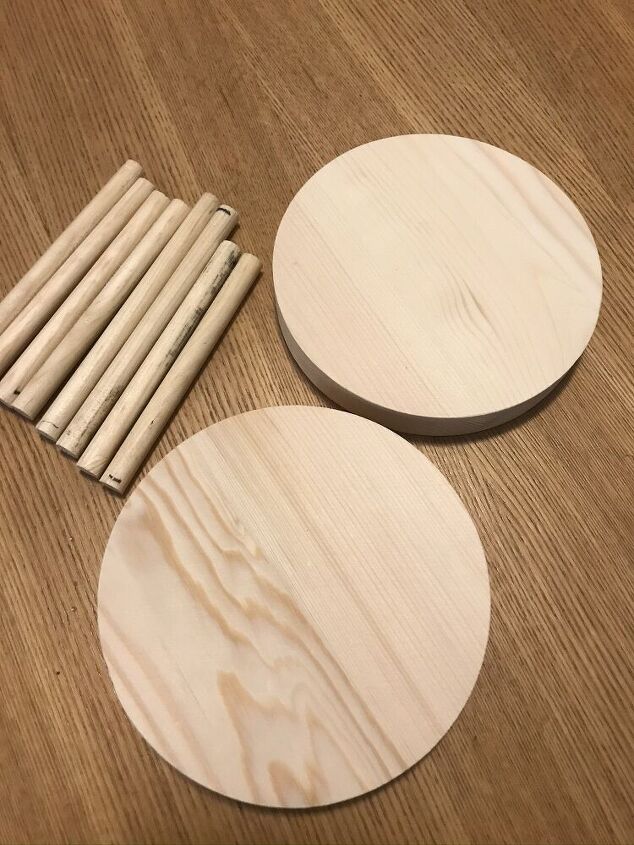
We bought a 3/8 inch thick 36" long wooden dowel for about 50 cents from the craft store.
Always use a store coupon to bring your price down! I use them in the app now so I don't have to remember to bring the paper coupon with me.
For the top and bottom we used two 6" round and 3/4 inch thick wooden plaques that were about 75 cents each after my coupon. I think they are normally $0.99 each.
I marked six 4.25" lengths and two 4.75" lengths for my husband to cut. remember that the saw blade takes 1/8".
The two longer pieces are to go into the top to hold it in place.
You will have a bit left over.
This was the hardest part of the project.
If you had a template to draw the holes and a drill press it would be SO much easier!
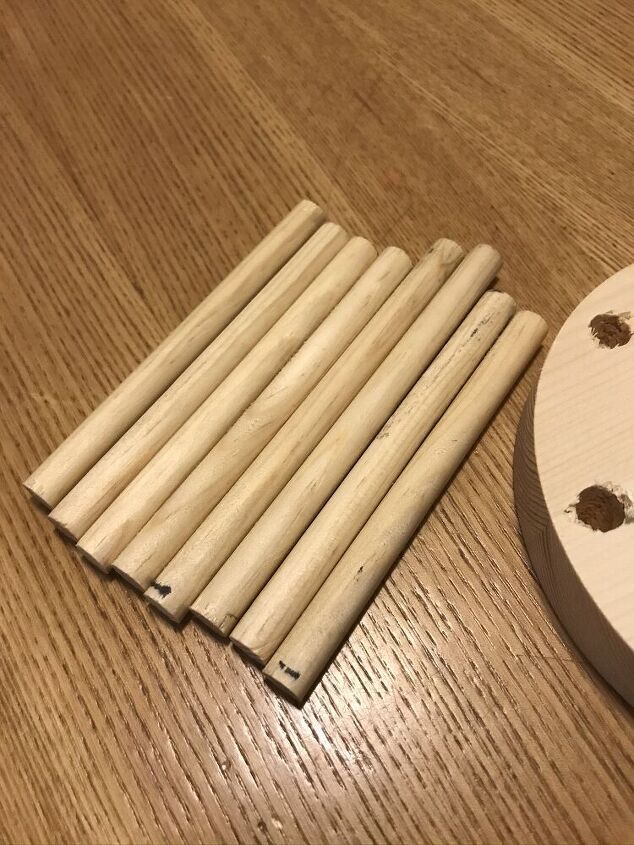
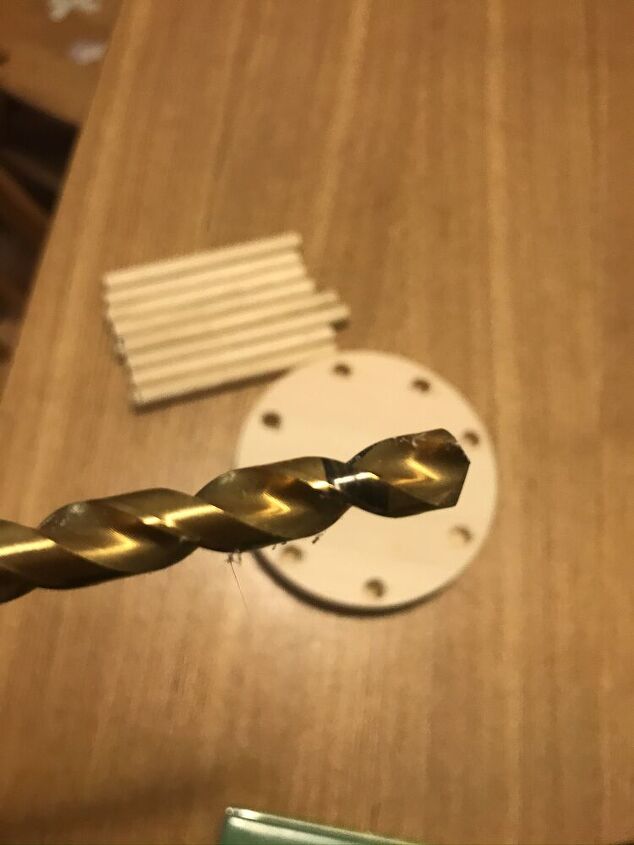
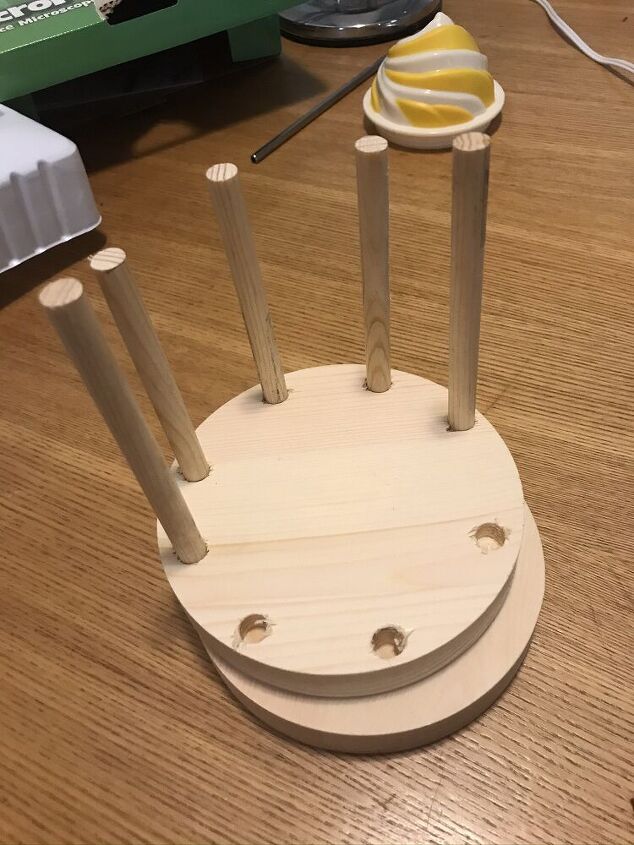
I placed dots around the circle for where I wanted the posts to go. Then my husband marked 1/2" depth on the 3/8 inch drill bit to show me where to stop drilling.
I am a novice with the drill but I managed to not go too far into any holes.
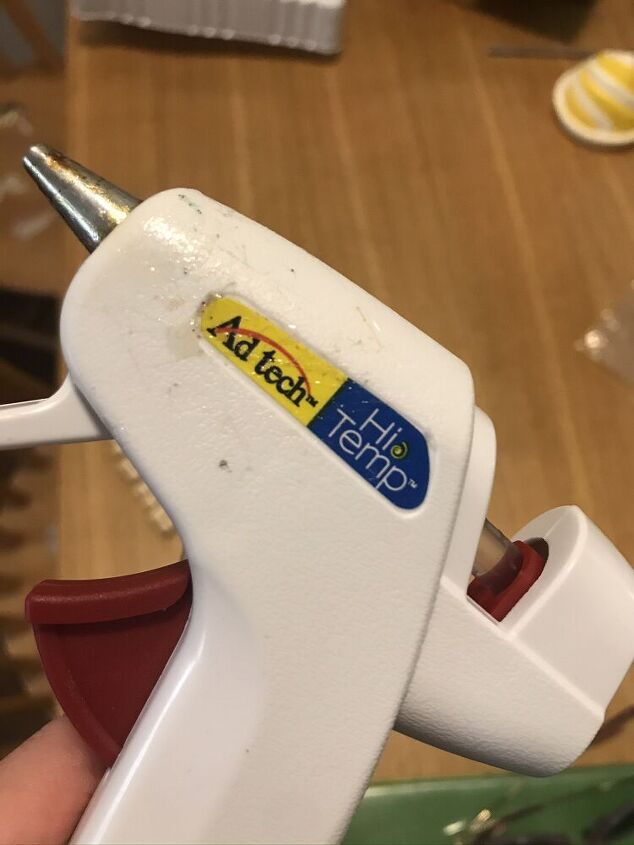
I used some high temp hot glue to secure the dowels into their holes.
I put a small dollop of hot glue into each hole and then put the dowels in.
Place the two longer dowels across the circle from each other.
I take it back, this was actually the hardest part!
I needed to drill two holes in the top for the longer pieces to go through.
I placed dowels onto the top piece and drew two small circles to show me where to drill my holes.
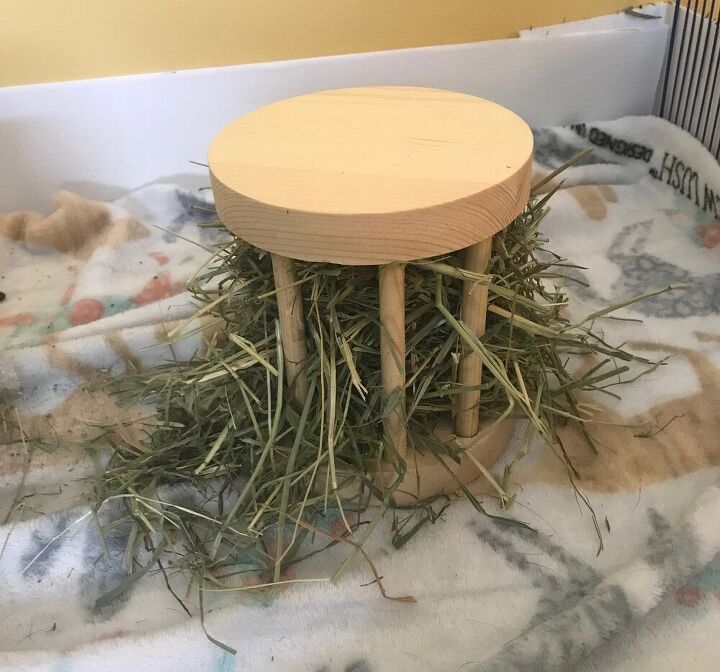
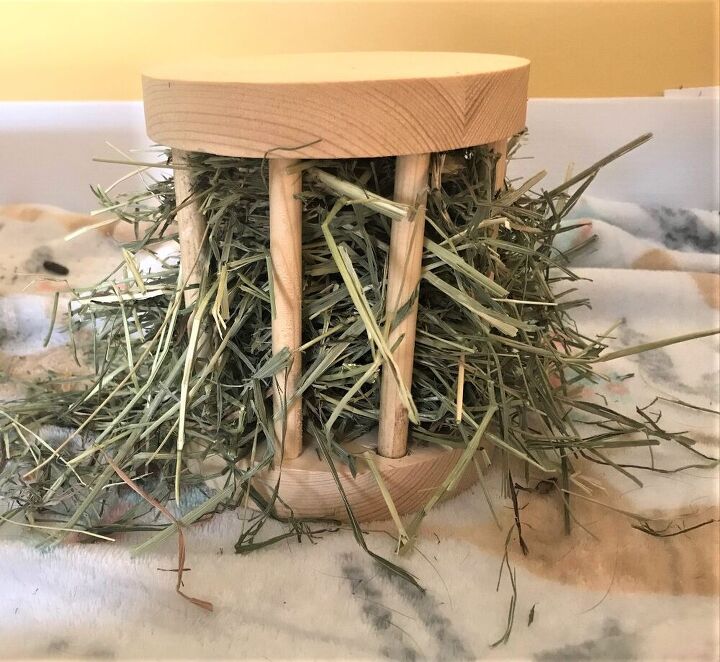
After you drill the two top holes it is ready to fill with hay and place in your cage!
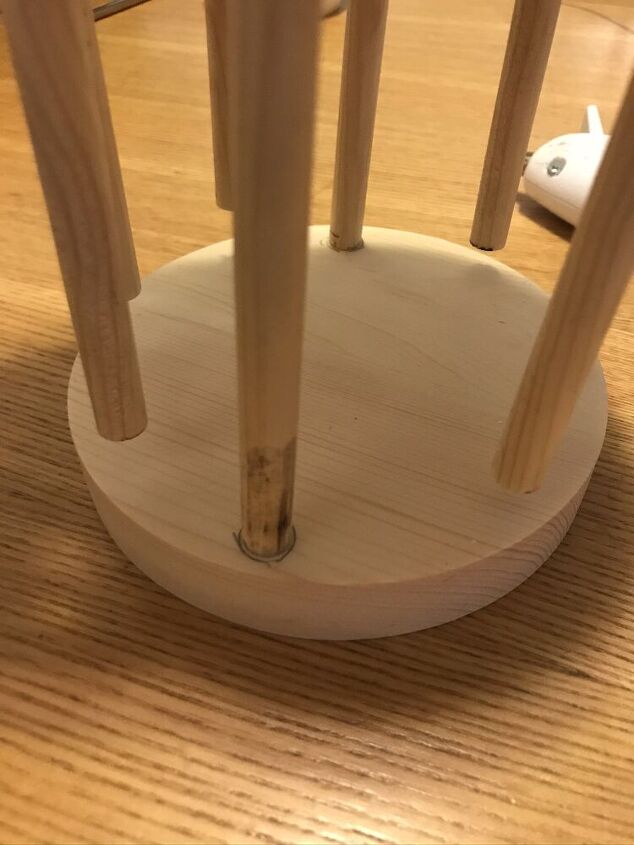
Because I didn't use a template and just free handed the holes, the pieces only line up when they are matched up just right.
To make it easy on myself I used a black sharpie to mark the top of the post and the hole it needs to go into.
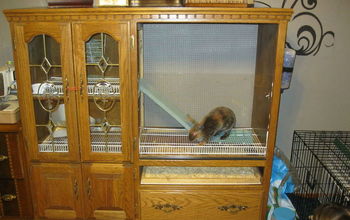
Our piggy loves his new feeder and he is eating SO much more hay!
Resources for this project:
See all materials


Frequently asked questions
Have a question about this project?